{{superHeaderAds.title}}
Live Chat
Embroidery Designs
Welcome, Embroiderer
Login
Wing It Makeup Bag
{{mainImageAlt || (productInfo._source && productInfo._source.name) || ''}}

Wing It Makeup Bag Embroidery Project

By   Kylie Burke   on   September 14, 2018

PROJECT DETAILS

SKILL LEVEL
Intermediate
TIME REQUIRED
01:15
FINISHED SIZE
7 x 6 inches
Description

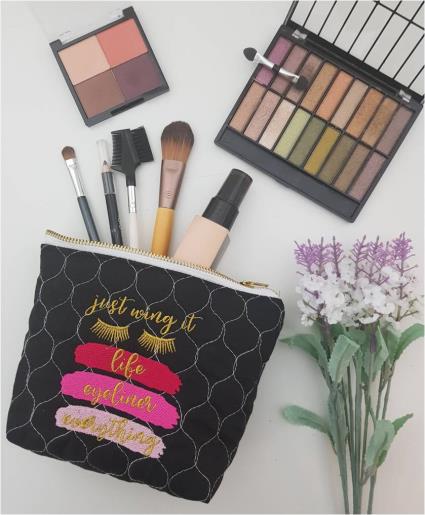
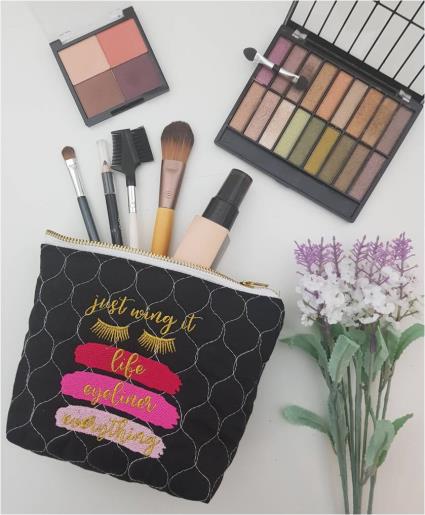
You can never have too many make-up bags! Create a funky bag with this great embroidery and jazz it up with a metallic thread.

Project Preview Video

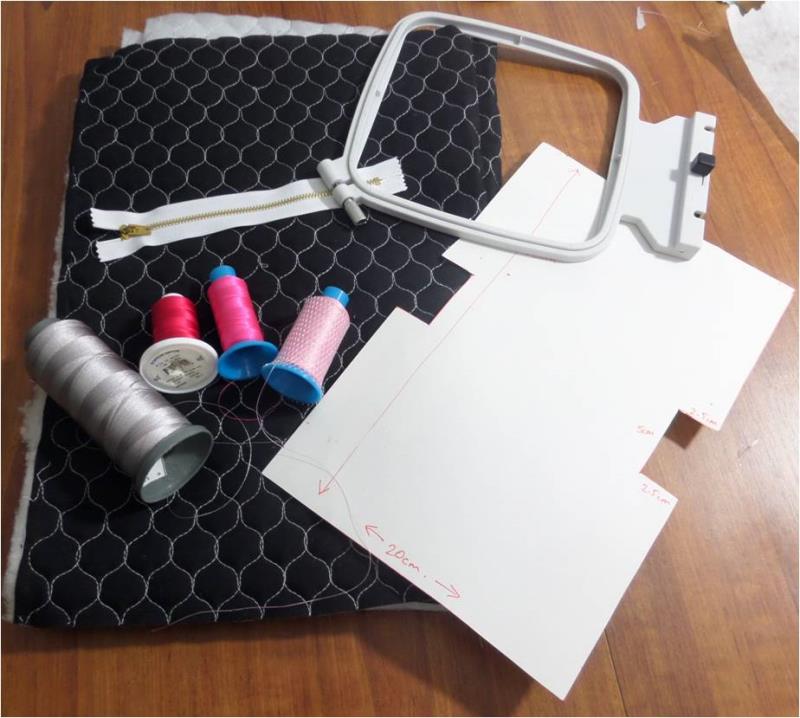
Materials
  • A4 paper
  • 13” x 8” quilted fabric
  • 8” zip
  • Tearaway stabilizer
  • Thread colors of your choice

  • Designs used in this project

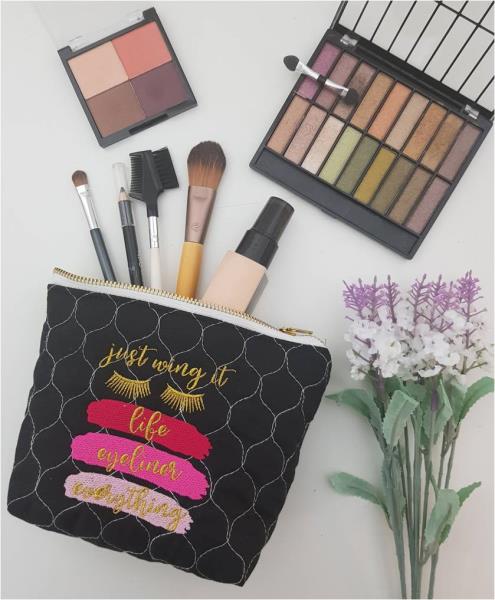
    Final Product: What You Will Create


    Step 1:
    Gather the materials and read through the instructions before beginning. Have a copy of the color sequence on hand

    (Click Image to Enlarge)


    Step 2:
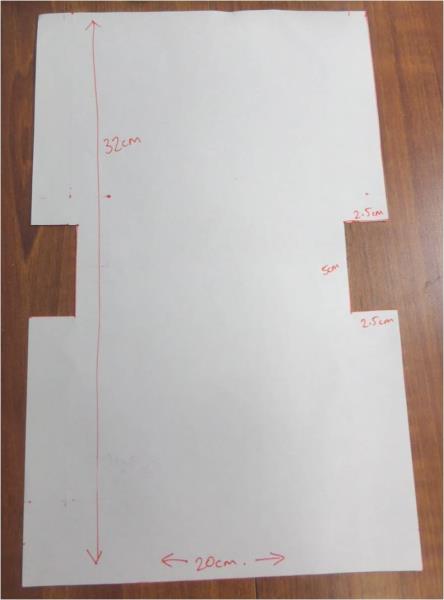
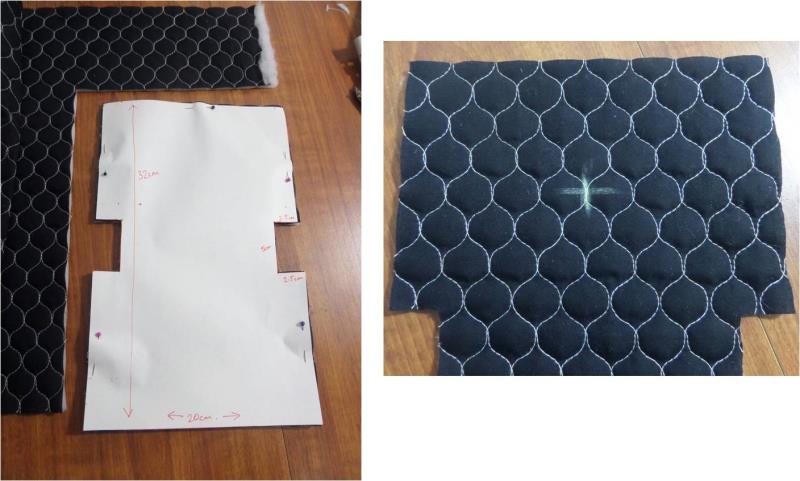
    Using an A4 piece of paper, draw out the template using the measurements in the following picture. 

    (Click Image to Enlarge)


    Step 3:
    Lay the template on the fabric, pin down and cut it out. Then mark the centre point of the upper rectangle section which will form the front of the bag. 

    (Click Image to Enlarge)


    Step 4:
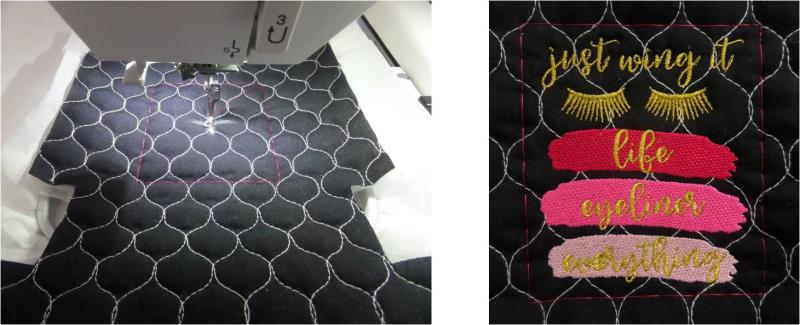
    Hoop the tearaway stabilizer and attach the hoop to your machine. Lay the fabric ontop of the stabilizer, centering it under the needle then use a tackdown stitch to hold it in place. Stitch out the design

    (Click Image to Enlarge)


    Step 5:
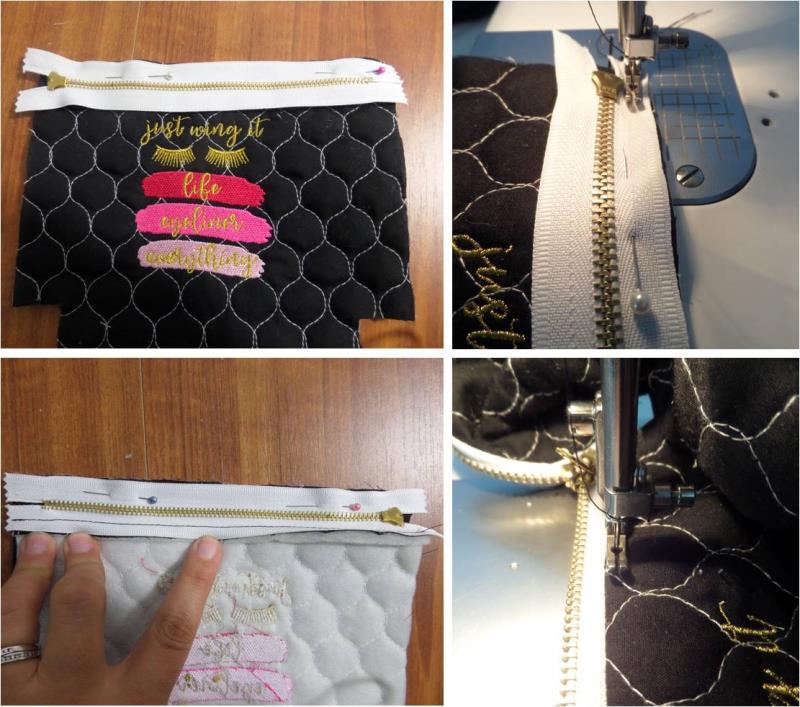
    Lay your zipper, teeth facing down along the top edge of the fabric. Pin in place then use your zipper foot to stitch it down. Fold the bag in half, right sides together, and pin the other side of the zip to the other edge and stitch in place. You may then choose to top stitch along the zipper, on the right side of the bag. 

    (Click Image to Enlarge)


    Step 6:
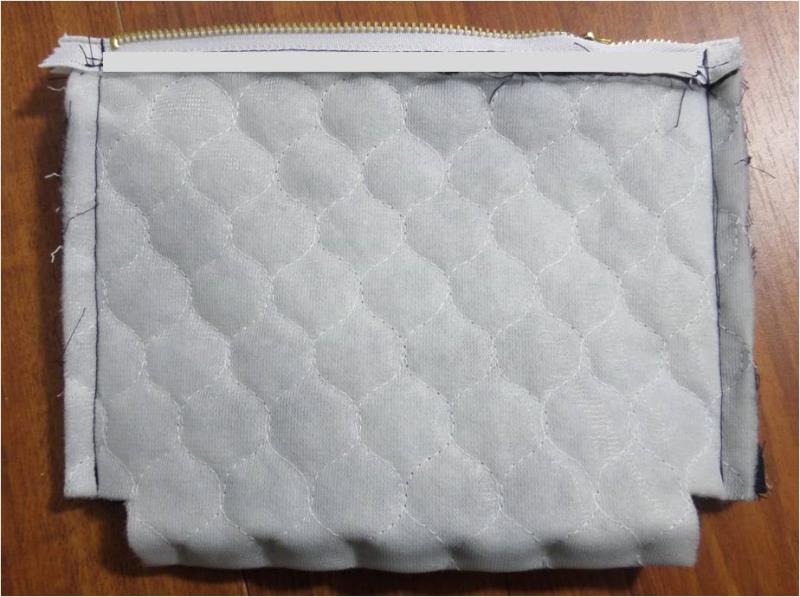
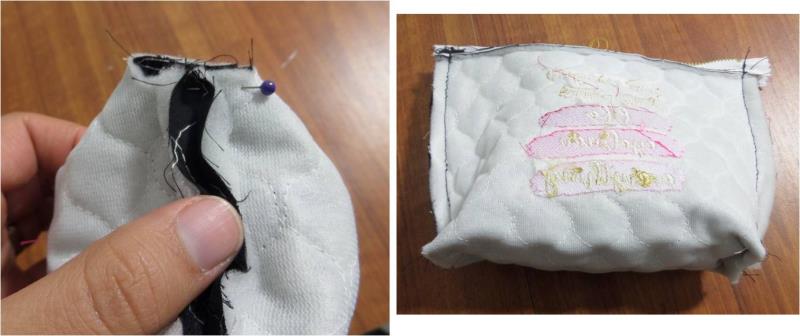
    With right sides of the bag facing, stitch down either side of the bag. 

    (Click Image to Enlarge)


    Step 7:
    At the base of the bag, fold the cutout so it lays flat against the side seam, then stitch down to form the base of the bag. 

    (Click Image to Enlarge)


    Step 8:
    Turn your bag right side out, fill with your make-up goodies and “just wing it”. 

    (Click Image to Enlarge)

    Meet the Author: Kylie Burke
    Kylie Burke
    Kylie is based in Australia and loves creating and sharing her unique pieces.
    More From This Author
    Link is Broken, Please check the URL
    Exclusive Embroidery Offers!
    Copyright © {{ currentDate | date:'yyyy'}} - EmbroideryDesigns.com
    GET 50% OFF! ×