Border OptionsHugging border, circle, square, or rectangle — with a 3mm satin stitch.
Backing OptionsAvailable with iron-on, sew-on, or velcro backing.
Fast ShippingShipped quickly from the USA.
Free Online Tools
Powerful embroidery utilities that save time and prevent costly mistakes.
Stitch AssistantRECOMMENDED
Get the exact stabilizer, machine settings, needle, and thread color sequence for every embroidery design you purchase — based on that design's stitch density, dimensions, and color count.
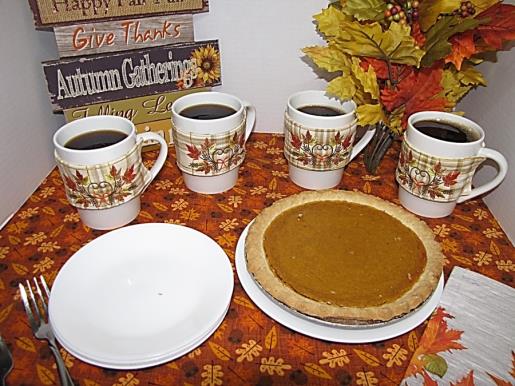
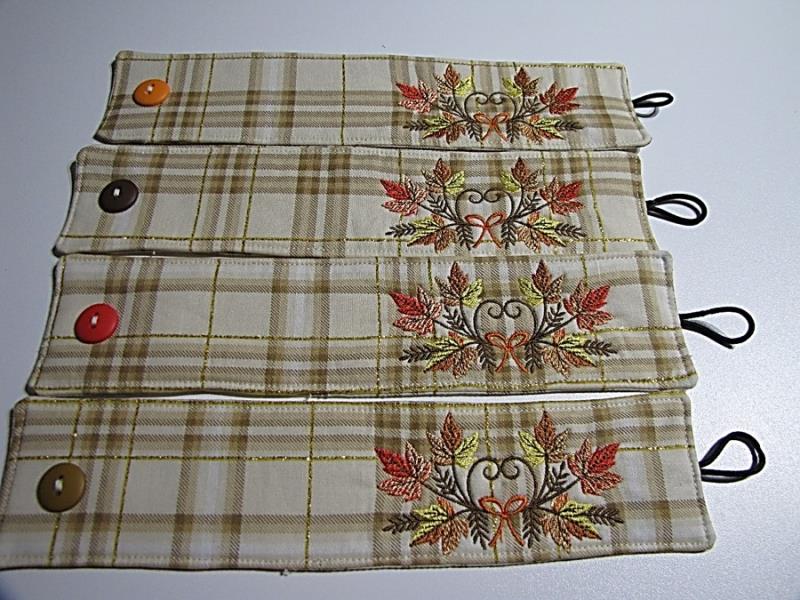
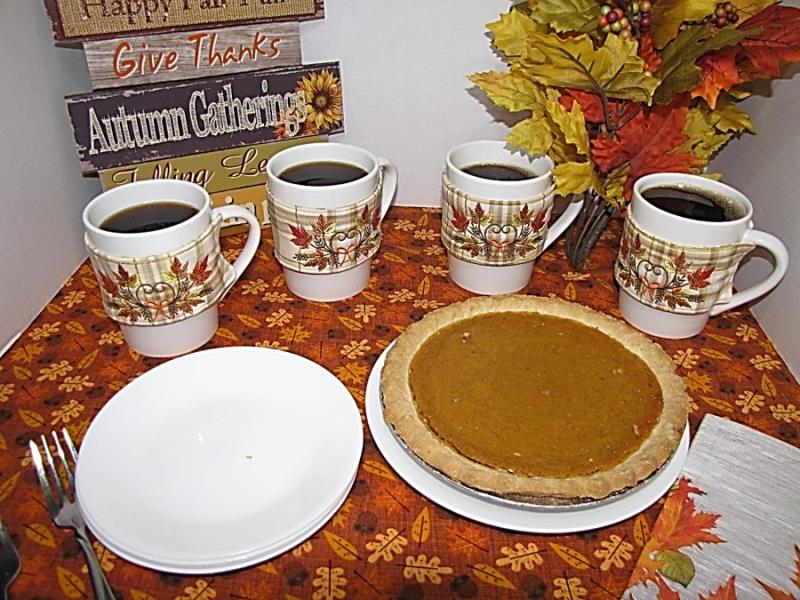
This decorative set of Autumn mug wraps will add a festive touch to your favorite hot beverage. Make a set for every season and special occasion. They make lovely gifts, or enjoy them yourself! No hand sewing is required if your sewing machine can be set up to sew the buttons on the finished wraps. You can hoop these so that you can sew more than one in each hooping.
Note: This set as made in this project is not microwave safe due to the metallic thread in the background fabric. The mug wrap set can easily be made microwave safe by using cotton fabric without metallic threads and substituting cotton batting for the fusible fleece.
Step 1:
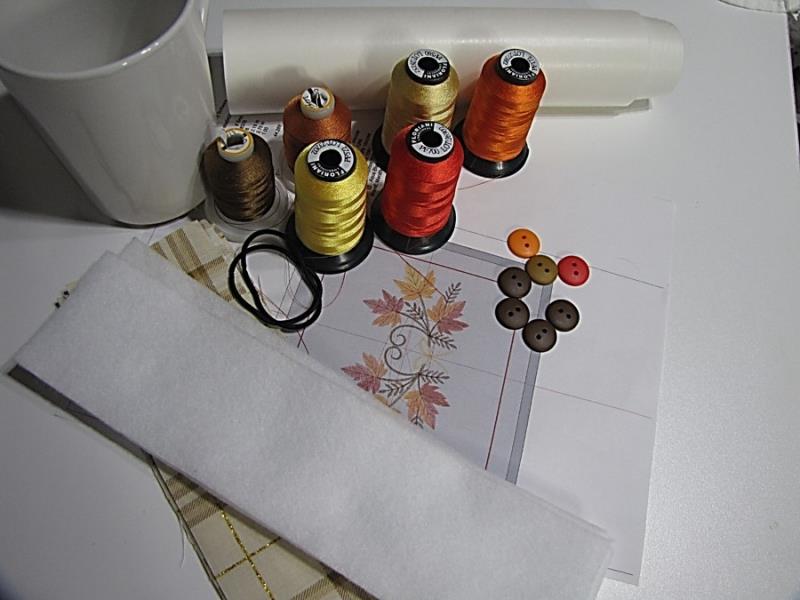
Gather the materials and read through the instructions before beginning. Print out a paper template of the design and color sequence.
(Click Image to Enlarge)
Step 2:
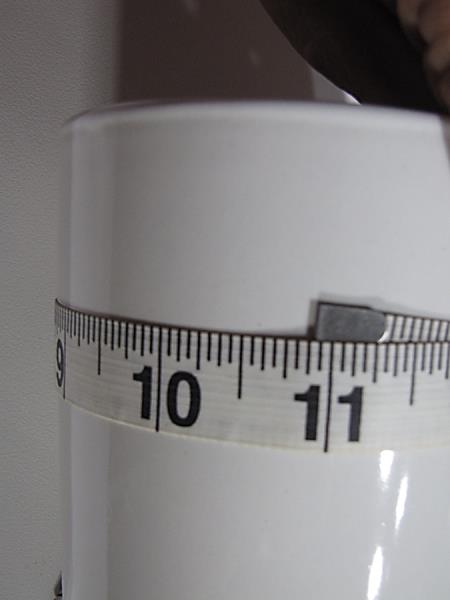
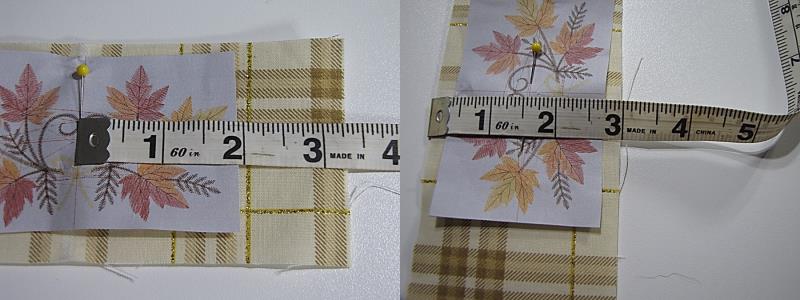
Measure the circumference of the mugs you have chosen. This will determine the dimensions of the fabric pieces and fusible fleece.
(Click Image to Enlarge)
Step 3:
Following manufacturer’s directions, fuse the fleece to the wrong side of 4 pieces of fabric. The remaining 4 pieces will be used to make the lining (back) of the mug wrap.
Step 4:
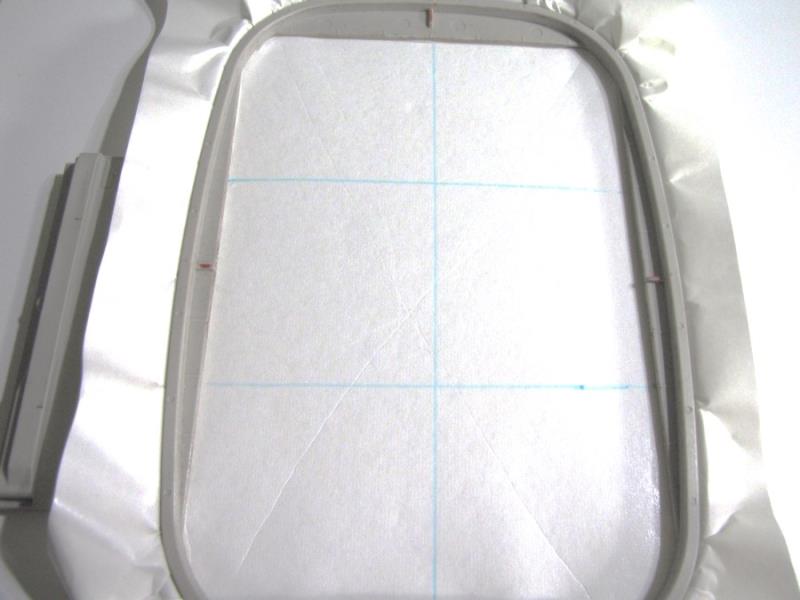
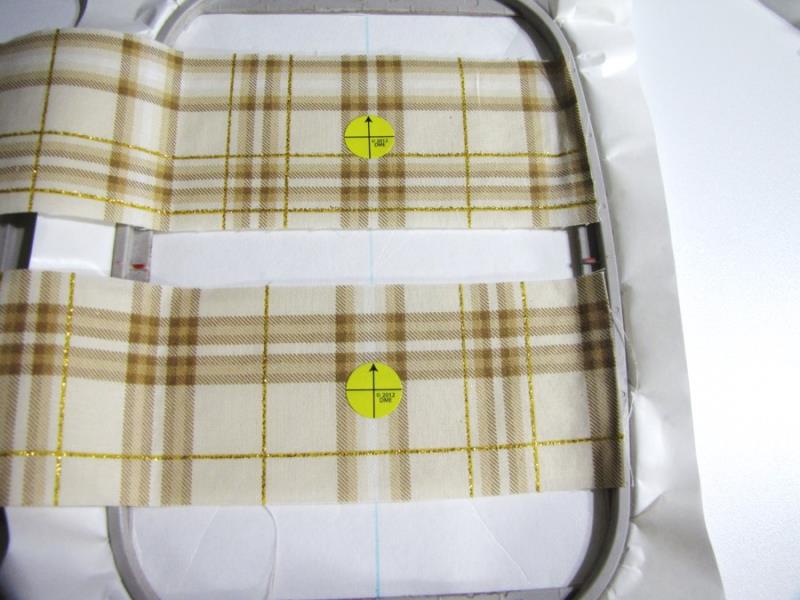
Following manufacturer’s directions, hoop the stabilizer, removing the cover sheet as directed. Mark the vertical center line and two horizontal lines to aid in hooping multiple pieces.
(Click Image to Enlarge)
Step 5:
Measure 3 ½” from the short edge to the center of the design and 1 ½” from the long edge to the center of the design to ensure proper placement of the completed wrap on the mug. Mark the center with a target sticker.
(Click Image to Enlarge)
Step 6:
Hoop two top pieces of the mug wrap in each hooping to speed up the stitching process.
(Click Image to Enlarge)
Step 7:
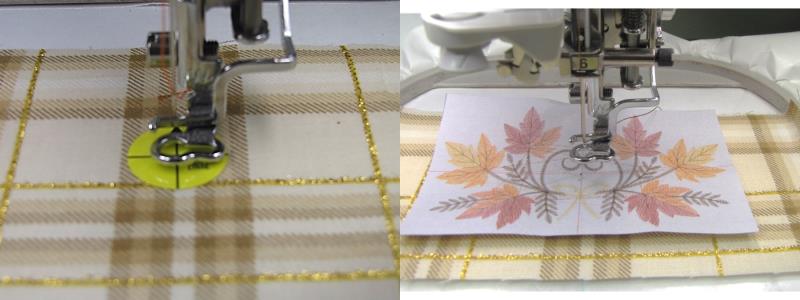
Confirm the center placement of the design with your needle and also using the paper template to confirm fit and placement.
TIP: Be sure to remove the paper template before stitching.
(Click Image to Enlarge)
Step 8:
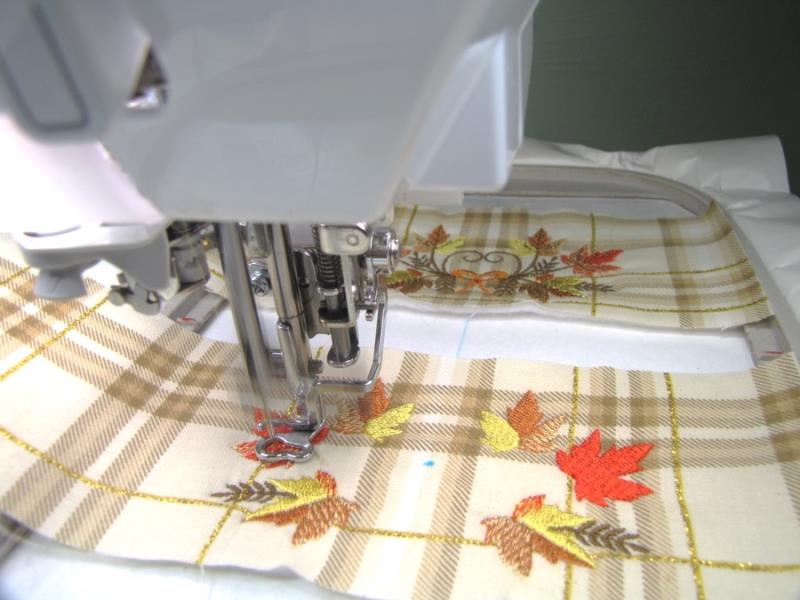
Stitch the design following color sequence.
(Click Image to Enlarge)
Step 9:
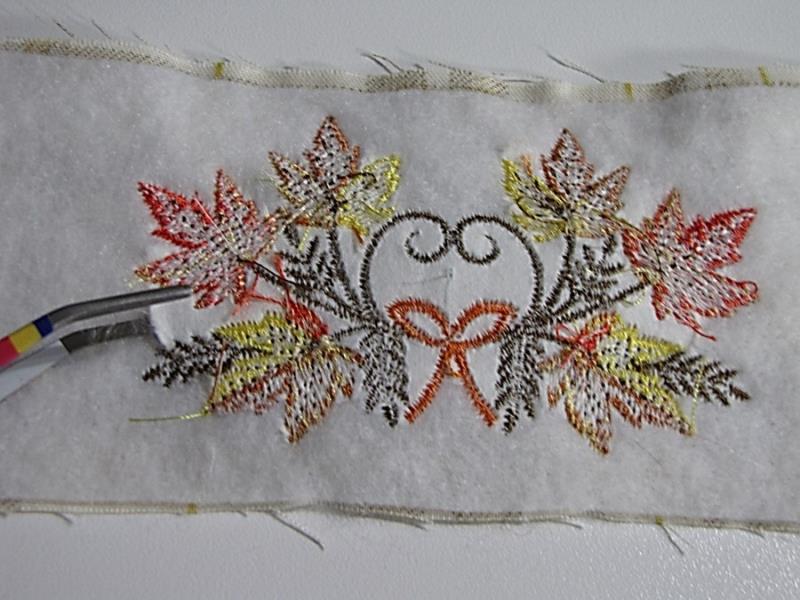
Remove the project from the hoop and trim the excess stabilizer around the design.
(Click Image to Enlarge)
Step 10:
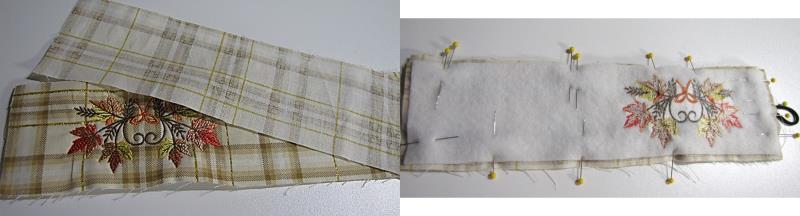
Place the lining (back) of the wrap, right sides together, on the stitched piece. Pin around the edges, leaving an area approximately 3” long open for turning. Pin the elastic in place on the design end of the wrap, placing it between the back and front of the wrap.
TIP: I put two pins together on either end of the space to be left open to remind me where to start and stop for the opening.
(Click Image to Enlarge)
Step 11:
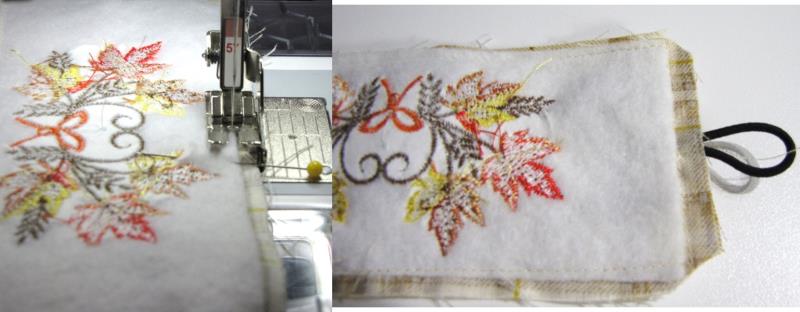
Stitch around the edges of the wrap, using a ¼” seam. Clip the corners.
(Click Image to Enlarge)
Step 12:
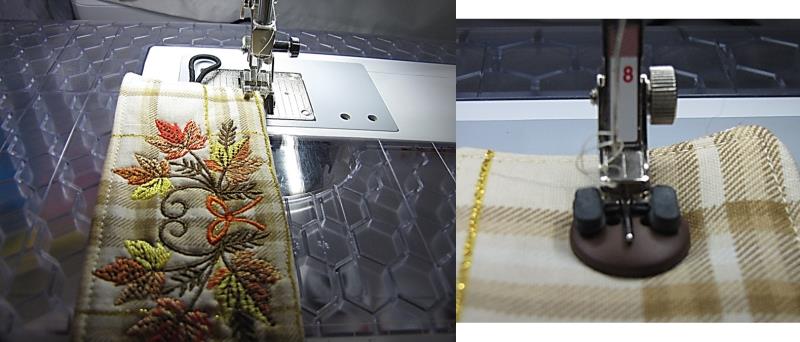
Turn the wrap right side out, using a point turner or chop stick, etc. to carefully turn the corners. Press the wrap and top stitch along the outside edge of the wrap. This will stabilize the wrap and close the opening you used to turn the wrap. If your machine can sew buttons, you can sew them on by machine. If not, sew the button on by hand. The placement of the button will vary, depending on how you want the wrap to fit, so check placement before stitching. For this project, the button holes were placed ¾” from the short edge, opposite the end with the elastic.
(Click Image to Enlarge)
Step 13:
For this project, I chose a different color button for each wrap. This adds a pop of color and also makes it easy for people to keep track of their mug based on the button color.
(Click Image to Enlarge)
Step 14:
Congratulations! You have just finished a beautiful set of mug wraps to celebrate the Autumn season. Enjoy!
Martha has been sewing since childhood. She is a maker of garments, quilter and machine embroiderer. Martha loves all things fabric and fabric-related.