Border OptionsHugging border, circle, square, or rectangle — with a 3mm satin stitch.
Backing OptionsAvailable with iron-on, sew-on, or velcro backing.
Fast ShippingShipped quickly from the USA.
Free Online Tools
Powerful embroidery utilities that save time and prevent costly mistakes.
Stitch AssistantRECOMMENDED
Get the exact stabilizer, machine settings, needle, and thread color sequence for every embroidery design you purchase — based on that design's stitch density, dimensions, and color count.
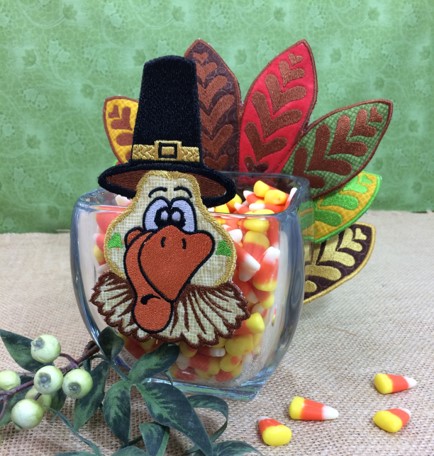
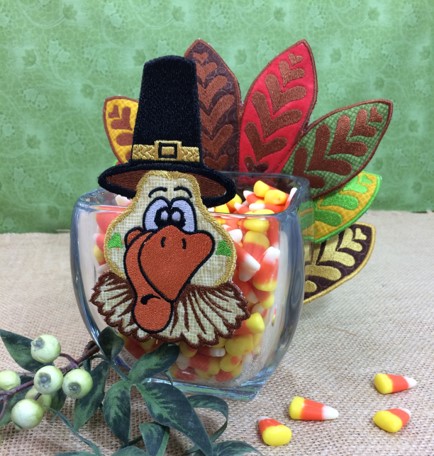
Gobble up your candy corn before Tom Turkey finds it! This project combines machine embroidery and sewing. Transform an ordinary glass cube into a Thanksgiving favorite.
Step
of
Thanksgiving Turkey Candy Dish
By Marisa Littleton
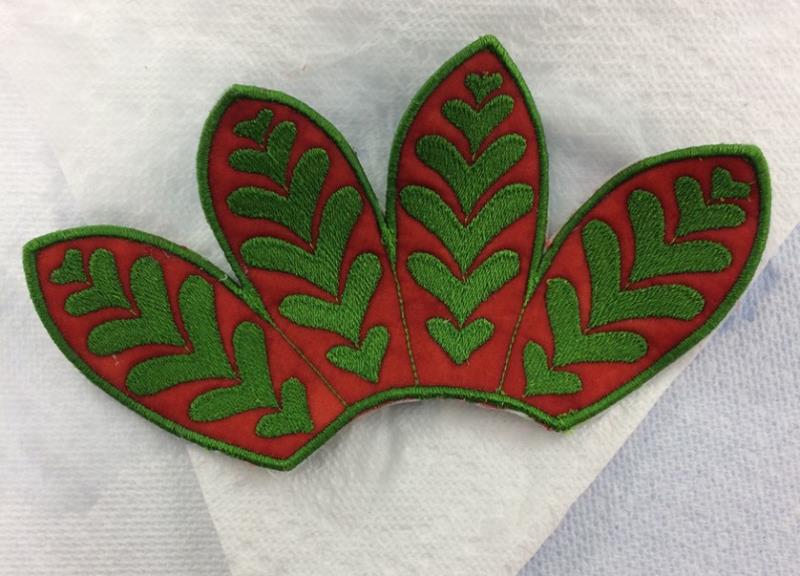
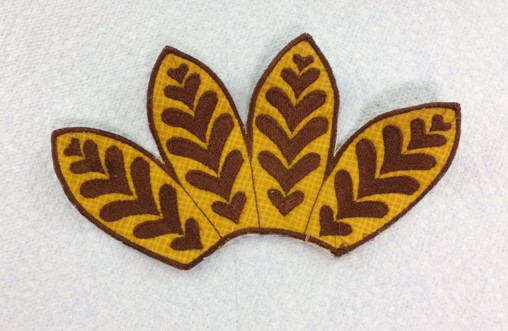
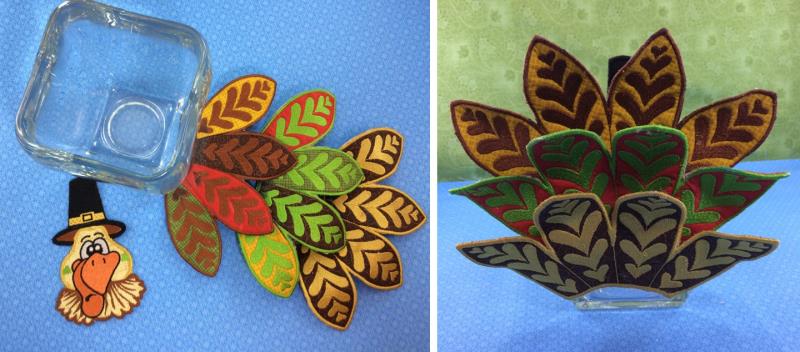
Three feather designs were used for this project. You can make the feathers two ways, one solid color or multicolored. A Dresden style block was used to make the multicolored design. Two multicolored feather designs and one solid feather design was used in this project.
Step 1:
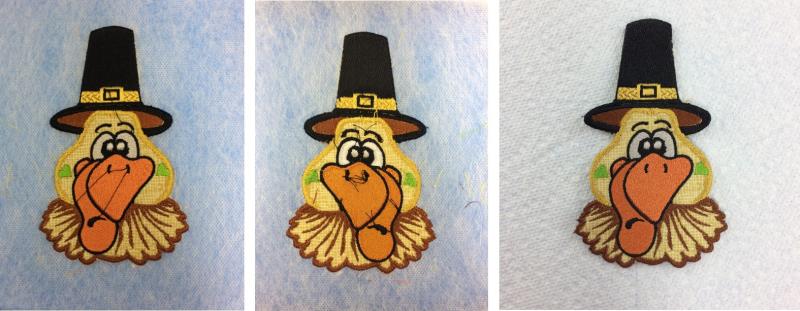
Print out the Design Templates & Color Charts for the Turkey Head and the Turkey Feather. The stitch count for the turkey head is 15,170. The turkey feathers have a stitch count of 16,465. Three sets of the turkey feathers were used in this project.
(Click Image to Enlarge)
Step 2:
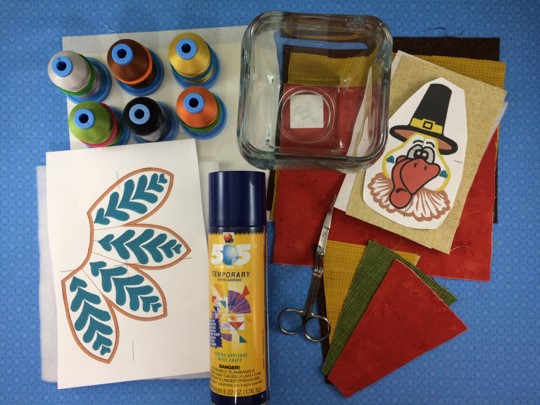
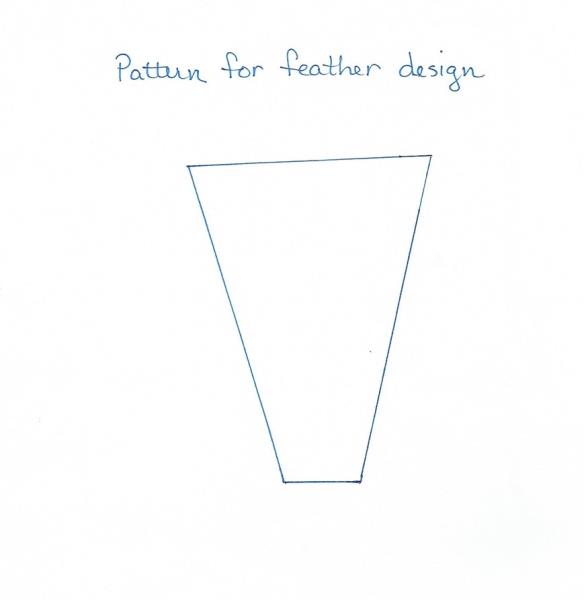
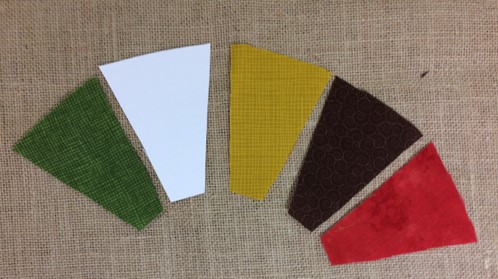
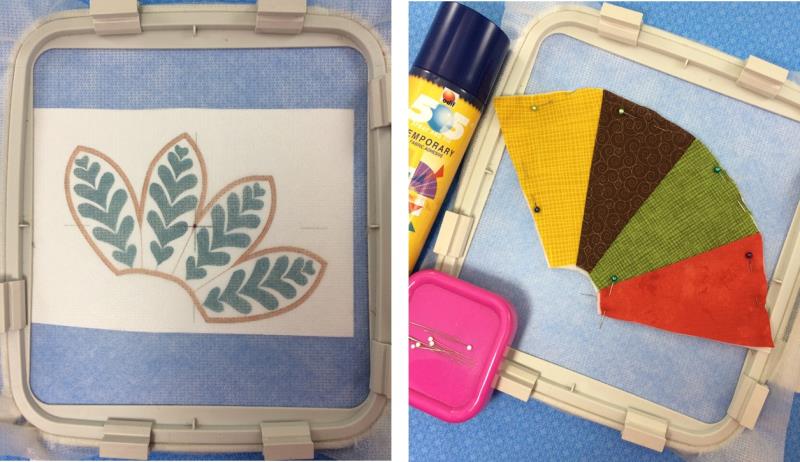
Print out the pattern for the feather design. Read through the instructions before beginning. Gather the materials for the project. Iron and starch the fabrics. The photo is a picture of the pattern. The actual pattern is included with materials.
(Click Image to Enlarge)
Step 3:
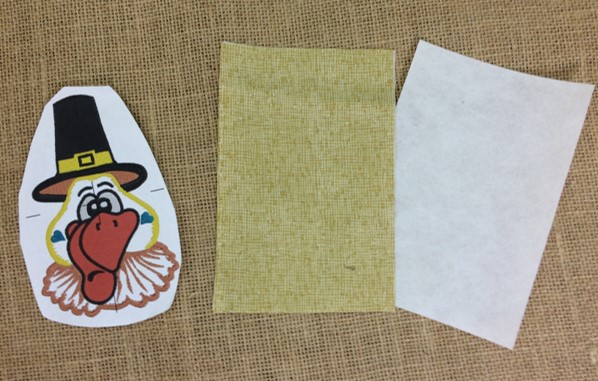
FOR THE HEAD: Cut two 4" x 6" pieces of tan/neutral fabric. Cut one 4" x 6" piece of the 2.5 oz. cutaway stabilizer. Vilene water soluble stabilizer to fit the hoop.
(Click Image to Enlarge)
Step 4:
FEATHERS Using the feather pattern, cut 2 each from the rust, golden yellow, meadow green, chocolate brown fabrics. Cut one 6" x 8" from the rust fabric. Cut one 6" x 8" from the yellow fabric. Cut two 6" x 8" from the brown fabric Cut three 6" x 8" pieces from the 2.5 oz. cutaway stabilizer. Cut three 6" x 8" pieces of low nap batting. Vilene water soluble stabilizer.
Step 5:
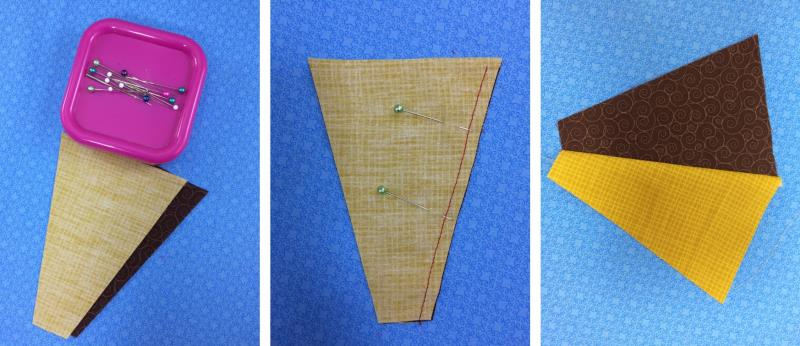
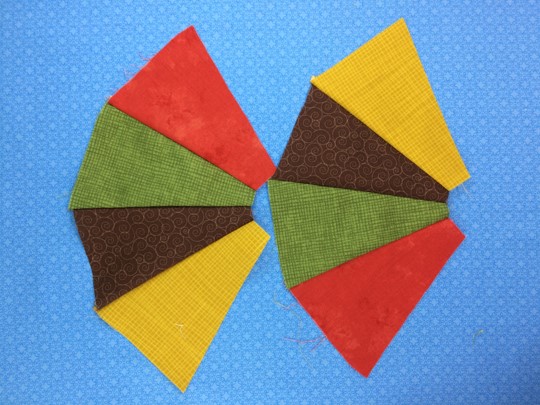
Lay one feather block of each color on a tabletop. Take two blocks and place right sides together. Sew a ¼” seam along the longest side.
(Click Image to Enlarge)
Step 6:
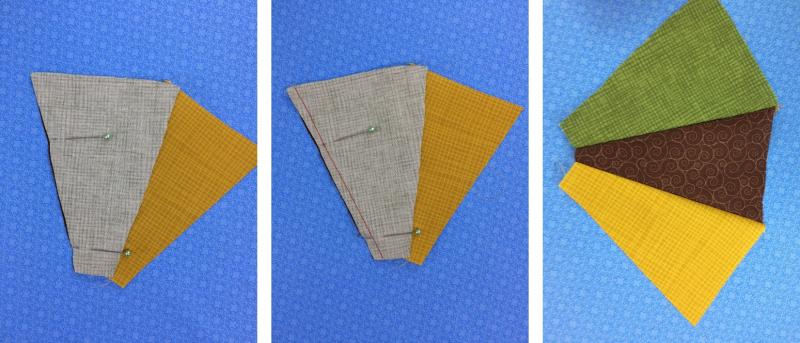
Add another block right side down and pin the pieces together. Sew a ¼” seam.
(Click Image to Enlarge)
Step 7:
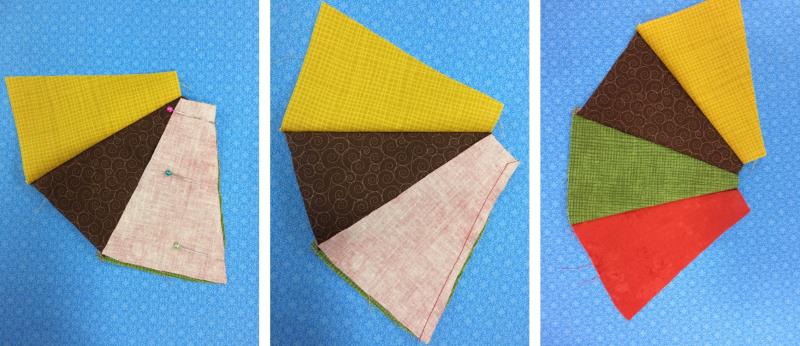
Repeat until all 4 blocks are sewn together. Press the seams with a hot iron.
(Click Image to Enlarge)
Step 8:
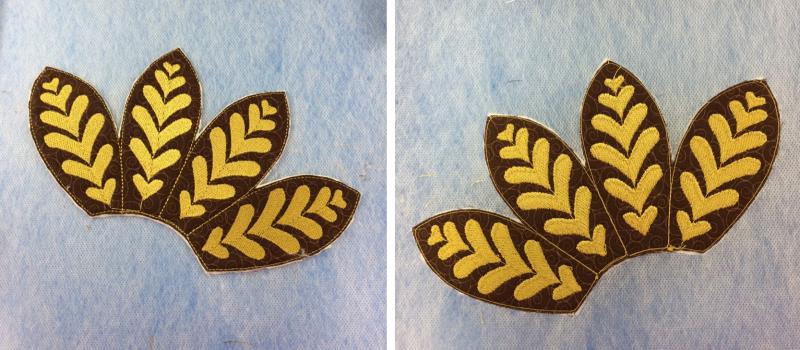
Repeat step 5,6, & 7 to make another feather panel. I put the colors in different places for the second feather layout.
(Click Image to Enlarge)
Step 9:
(Click Image to Enlarge)
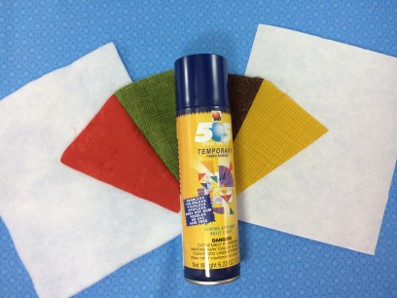
Sandwich one feather block, one 6"x8" piece of low nap batting, and one 6"x8" piece of 2.5 oz. cutaway stabilizer together. Use temporary adhesive spray between the layers. Repeat this step for the other feather block
Step 10:
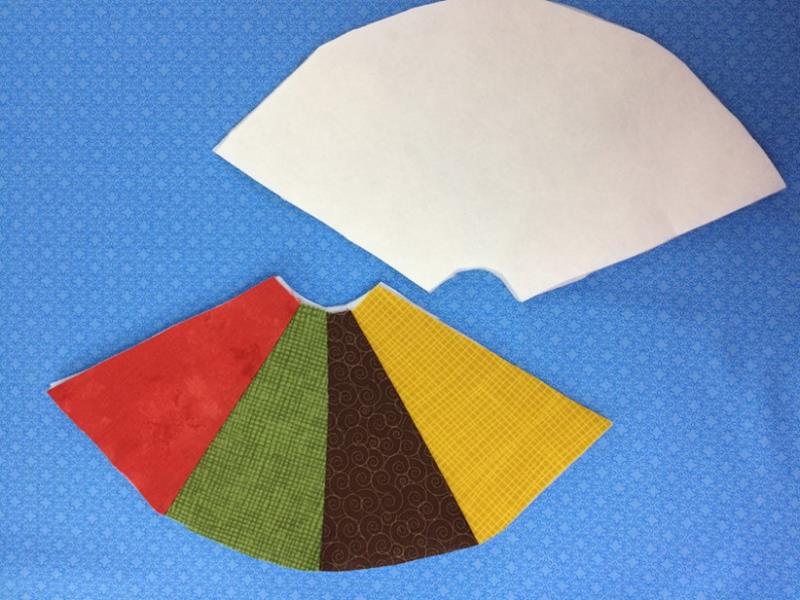
Trim the batting and stabilizer to match the feather blocks.
(Click Image to Enlarge)
Step 11:
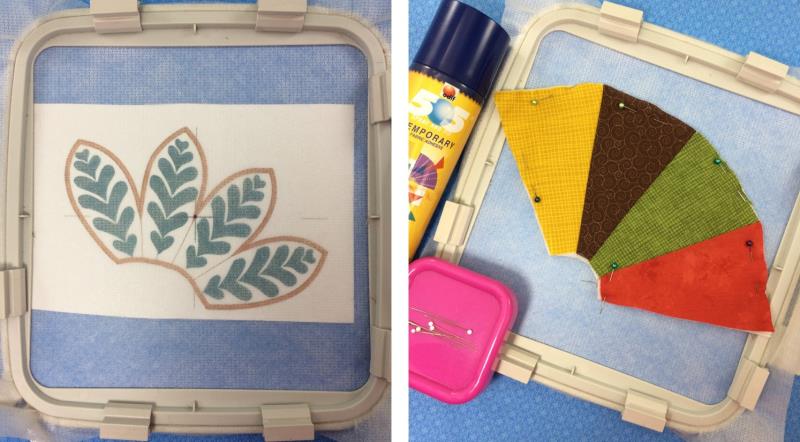
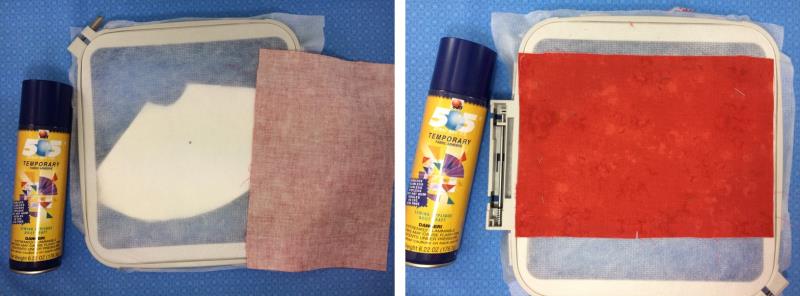
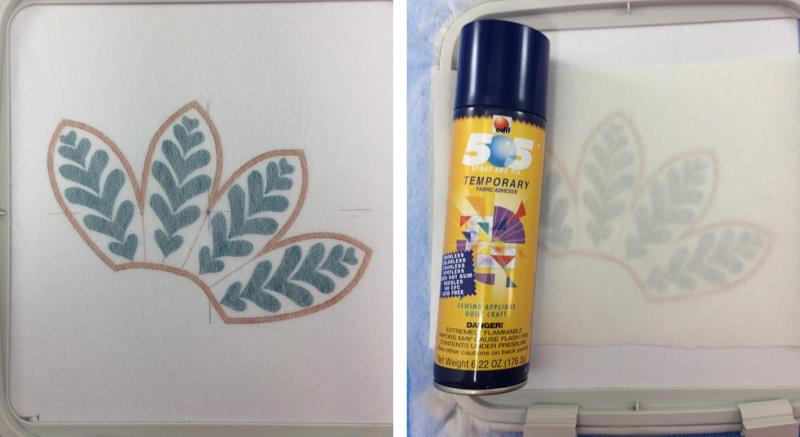
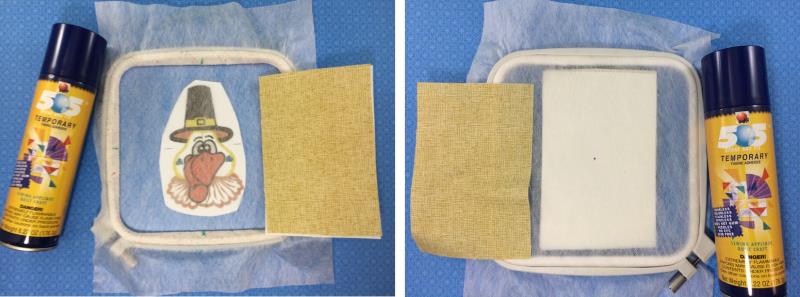
FEATHER 1 Hoop 1 piece of Vilene water soluble stabilizer. Mark the center point on the stabilizer. Lay the design template for the feather onto a flat surface. Lay the hoop on top of the template and align the axis with the center point. Lay the feather panel on top of the stabilizer matching seam lines with the design. Use temporary adhesive spray to hold the fabric in place.
(Click Image to Enlarge)
Step 12:
Turn the hoop over so that the wrong side of the hoop is facing you. Lightly mist the stabilizer with a temporary adhesive spray. Place rust colored 6" x 8" fabric onto the stabilizer. Gently press in place.
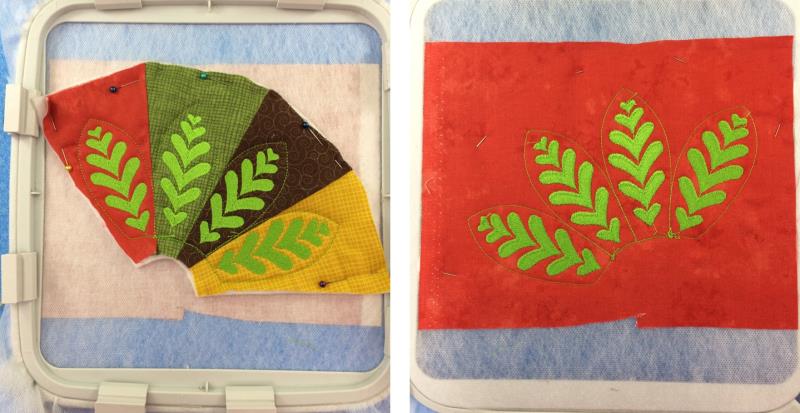
Turn the hoop over so that the right side is facing you. Put some pins on the outer edges of the fabric for added support.
(Click Image to Enlarge)
Step 13:
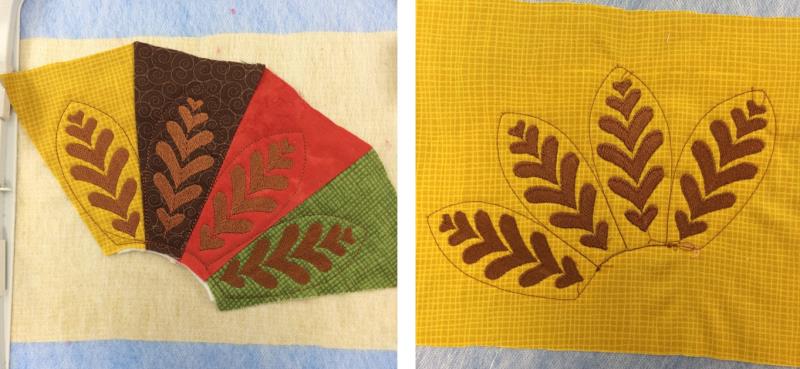
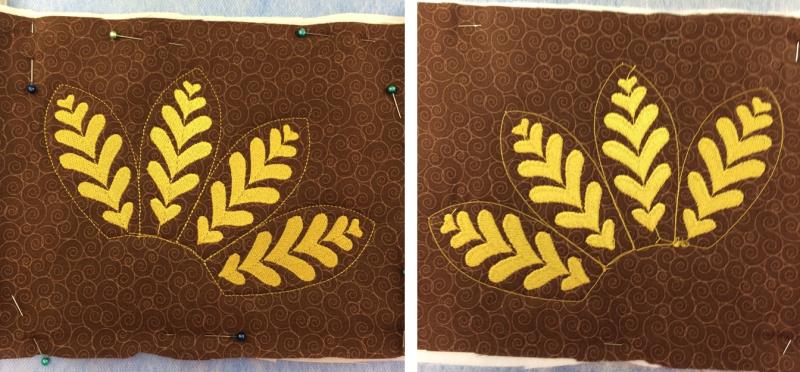
Load the feather design. Adjust machine to the desired speed. I reduced my speed to 500 stitches per minute because the design is mostly satin stitch. Machine and bobbin thread should be the same color. I used one color to stitch all of a feather design.
Begin stitching the design. Color 1 stitches the design in the center of each feather. Color 2 will outline the feather design.
(Click Image to Enlarge)
Step 14:
After Color 2 stitches, remove the hoop from the machine but do not remove the project from the hoop.
Trim excess fabric, batting, and the cutaway stabilizer close to the outline seam without cutting any stitches.
Turn the hoop over to the wrong side. Trim the excess fabric around the feather design being careful not to cut any stitches. Return the hoop to the machine. Finish stitching the design.
(Click Image to Enlarge)
Step 15:
(Click Image to Enlarge)
Remove the hoop from the machine. Remove the design from the hoop. Trim excess stabilizer about ¼” from the edge of the stitching.
Step 16:
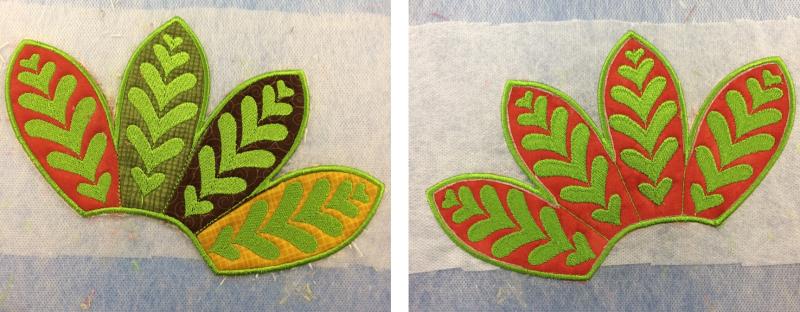
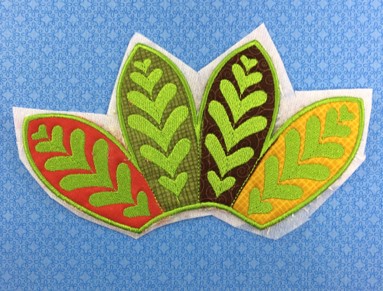
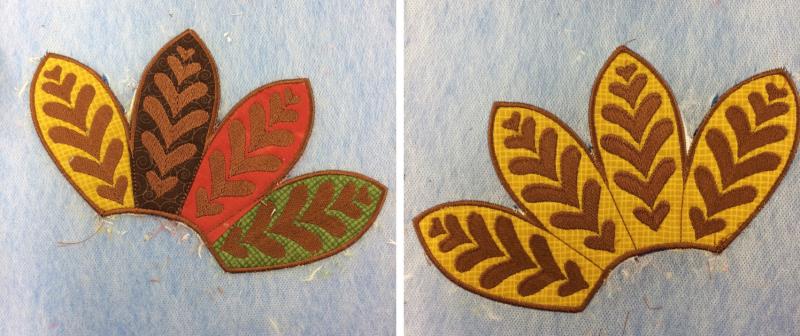
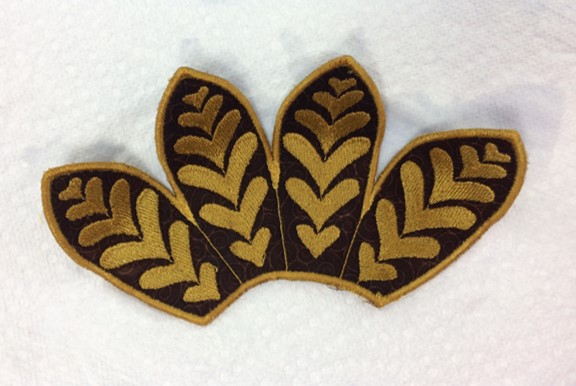
Quickly moisten the feather panel under hot water. You do not want to saturate the panel. Use just enough water to remove the water-soluble stabilizer (WSS) along the edges. The fabric will feel pasty/silk-like. Lay the fabric on an old towel or paper towel to dry. Shape the feather tips to resemble turkey tail feathers.
(Click Image to Enlarge)
Step 17:
FEATHER 2: Hoop 1 piece of Vilene water soluble stabilizer. Mark the center point on the stabilizer.
Lay the design template for the feather onto a flat surface. Lay the hoop on top of the template and align the axis with the center point. Lay the feather panel on top of the stabilizer matching seam lines with the design. Use temporary adhesive spray to hold the fabric in place.
Turn the hoop over so that the wrong side of the hoop is facing you. Lightly mist the stabilizer with a temporary adhesive spray. Place the yellow 6" x 8" fabric onto the stabilizer. Gently press in place.
(Click Image to Enlarge)
Step 18:
Begin stitching the design. Color 1 stitches the design in the center of each feather. Color 2 will outline the feather design.
(Click Image to Enlarge)
Step 19:
After Color 2 stitches, remove the hoop from the machine but do not remove the project from the hoop. Trim excess fabric, batting, and the cutaway stabilizer close to the outline seam without cutting any stitches.
Turn the hoop over to the wrong side. Trim the excess fabric around the feather design being careful not to cut any stitches. Return the hoop to the machine. Finish stitching the design.
(Click Image to Enlarge)
Step 20:
Remove the hoop from the machine. Remove the design from the hoop. Trim excess stabilizer about ¼” from the edge of the stitching.
Quickly moisten the feather panel under hot water. You do not want to saturate the panel. Use just enough water to remove the WSS along the edges. The fabric will feel pasty/silk-like. Lay the fabric on an old towel or paper towel to dry. Shape the feather tips to resemble turkey tail feathers.
Step 21:
FEATHER 3 Hoop 1 piece of Vilene water soluble stabilizer. Mark the center point on the stabilizer.
Lay the design template for the feather onto a flat surface. Lay the hoop on top of the template and align the axis with the center point. Lightly mist the Vilene water soluble stabilizer with temporary adhesive spray. Lay one 6" x 8" piece of cutaway stabilizer on top of the stabilizer.
(Click Image to Enlarge)
Step 22:
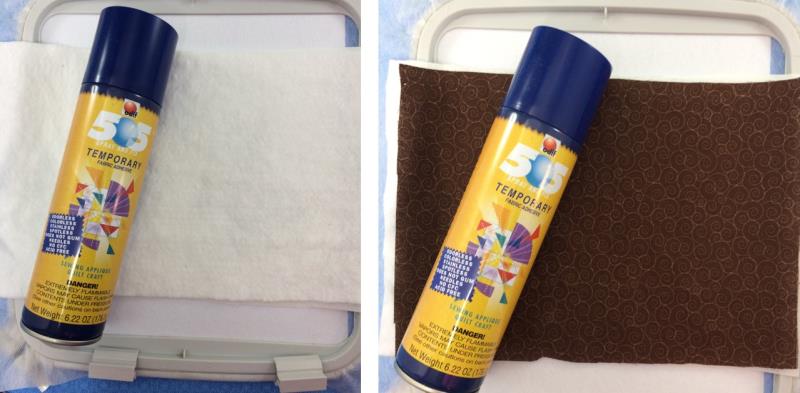
Lightly mist the Vilene water soluble stabilizer with temporary adhesive spray. Cover the cutaway stabilizer with the 6" x 8" piece of low nap batting.
Lightly mist the water-soluble stabilizer with temporary adhesive spray. Lay the brown 6" x 8" piece of fabric on top of the batting. Press gently in place and smooth surface.
(Click Image to Enlarge)
Step 23:
Begin stitching the design. Color 1 stitches the design in the center of each feather. Color 2 will outline the feather design.
(Click Image to Enlarge)
Step 24:
After Color 2 stitches, remove the hoop from the machine but do not remove the project from the hoop. Trim excess fabric, batting, and the cutaway stabilizer close to the outline seam without cutting any stitches.
Turn the hoop over to the wrong side. Trim the excess fabric around the feather design being careful not to cut any stitches. Return the hoop to the machine. Finish stitching the design.
(Click Image to Enlarge)
Step 25:
Remove the hoop from the machine. Remove the design from the hoop. Trim excess stabilizer about ¼” from the edge of the stitching.
Quickly moisten the feather panel under hot water. You do not want to saturate the panel. Use just enough water to remove the WSS along the edges. The fabric will feel pasty/silk-like. Lay the fabric on an old towel or paper towel to dry. Shape the feather tips to resemble turkey tail feathers.
(Click Image to Enlarge)
Step 26:
Hoop Vilene water soluble stabilizer. Lay the turkey head template on a tabletop. Align the axis with the center point.
Lightly mist the stabilizer with temporary adhesive spray. Lay the 4" x6" piece of cutaway on top of the WSS stabilizer making sure to cover the template.
Lightly mist the cutaway stabilizer with temporary adhesive spray. Lay the 4" x 6" piece of tan fabric on top of the cutaway stabilizer. Press gently and smooth surface.
Turn the hoop over so that the wrong side of the hoop is facing you. Lightly mist the stabilizer with a temporary adhesive spray. Place the brown 6" x 8" fabric onto the stabilizer. Gently press in place.
(Click Image to Enlarge)
Step 27:
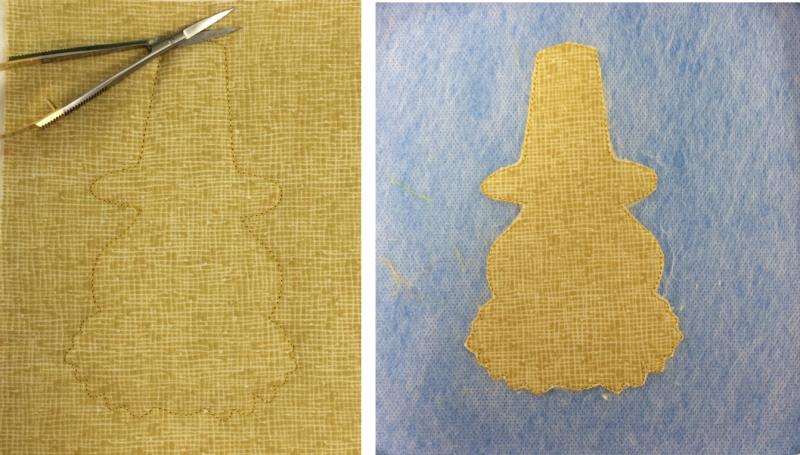
Load the design. Stitch Color 1. Remove the hoop from the machine but do not remove the project from the hoop. Trim around the outline stitch being careful not to cut the stitches.
Turn the hoop to the wrong side, trim excess fabric from around the design. Return the hoop to the machine.
(Click Image to Enlarge)
Step 28:
Finish stitching the design. Remove hoop from the machine. Remove the project from the hoop. Clip any long threads as needed on the front and back.
Quickly run the design under hot water just long enough for the WSS to dissolve. Lay flat on an old towel or paper towel to dry overnight.
(Click Image to Enlarge)
Step 29:
Assembling the turkey centerpiece. Using a hot glue gun, put glue along the bottom edge of the first feather piece. Place this piece about 1” from the top edge. Press firmly in place.
Put hot glue along the bottom edge of the second feather piece. Place this piece about midway down on the container. Press firmly in place.
Put hot glue along the bottom edge of the third feather piece. Place this piece about 1” from the bottom edge of the container. Press firmly in place.
(Click Image to Enlarge)
Step 30:
(Click Image to Enlarge)
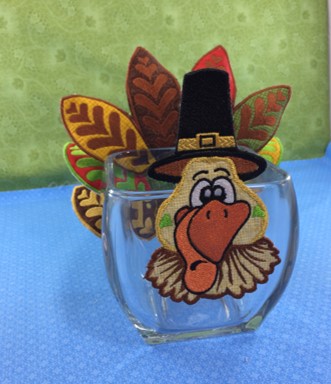
Put hot glue on the back of the turkey head. Place the turkey head on the center front of the container. Press firmly in place.
Marisa Littleton is a retired educator with a love for teaching and learning. Interests include machine embroidery, hand embroidery, quilting, cooking, and antiques.