Live Chat
Embroidery Designs
Welcome, Embroiderer
Login
Monogrammed Fall Placemats
{{mainImageAlt || (productInfo._source && productInfo._source.name) || ''}}

Monogrammed Fall Placemats Embroidery Project

By   Marisa Littleton   on   August 31, 2018
  • SKILL LEVELBeginner
  • TIME REQUIRED01:00
  • FINISHED SIZE13 x 18 inches
Description

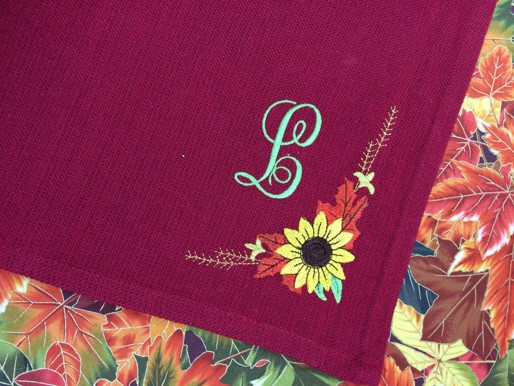
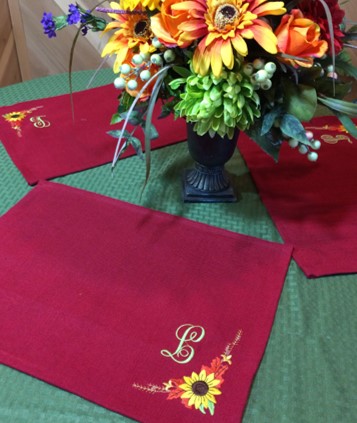
Monogrammed seasonal placemats perfect for all fall décor.

Step of

Materials

Project Preview Video

Materials
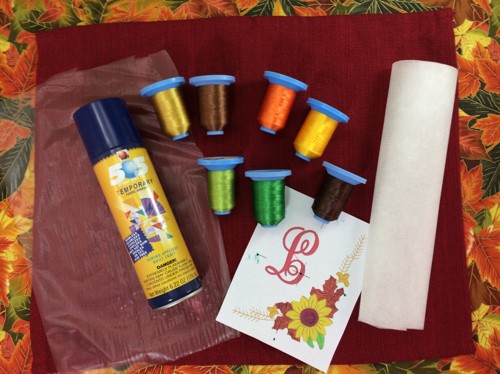
  • Design Template & Color Chart
  • 40 wt. Embroidery Thread (Robison-Anton)
  • 75/11 embroidery needle
  • 505 Temporary Adhesive Spray
  • No Show Mesh Stabilizer
  • Lightweight water-soluble stabilizer (WSS)
  • Seam-Fix (seam ripper)
  • 4 x 4 hoop
  • 13x18” placemat
  • Embroidery Software program (Embrilliance Essentials)

  • Designs used in this project

    Preface:
    Monogram fall placemats for a seasonal addition to your décor.  Perfect for your Thanksgiving holiday gatherings.


    Step 1:
    Collect the materials needed for this project.  Print a design template and color chart.  The monogram ‘L’ was added to the design used Embrilliance Essentials embroidery software program.


    Step 2:
    (Click Image to Enlarge)
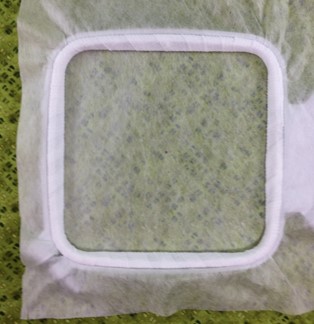
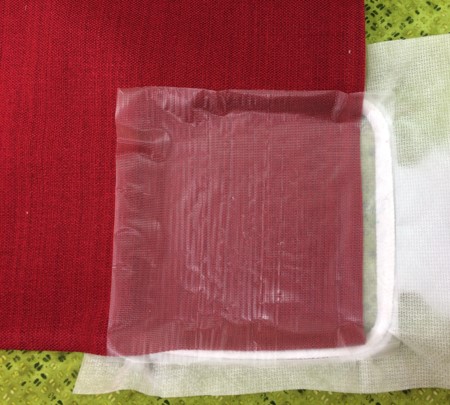
    Hoop the No Show Mesh stabilizer.


    Step 3:
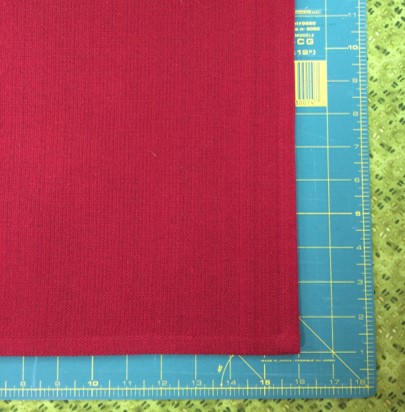
    Align the lower right edges of the placemat with the grid lines on a cutting board.  Sometimes the measurements of placements are not correct and seams corrected.  Make the edges as even as possible.


    Step 4:
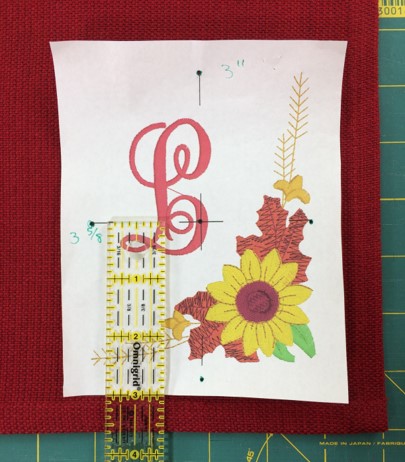
    Measure over 3” from the left side and 3 5/8” from the bottom.  Mark the center point and axis on the placemat.


    Step 5:
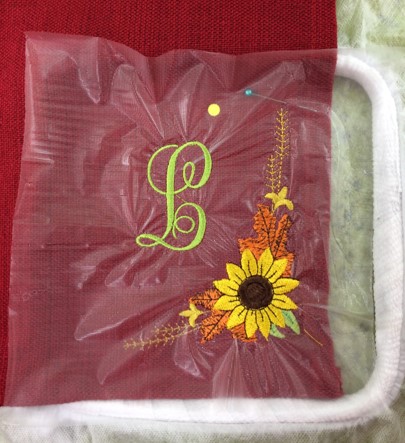
    Lightly mist the temporary adhesive spray on the stabilizer.  Align the center point and axis on the placemat and stabilizer.  Place water-soluble
    stabilizer/topping over the design area.


    Step 6:
    Load the design.  Embroider the design.  Follow the color chart for color
    changes.


    Step 7:
    (Click Image to Enlarge)
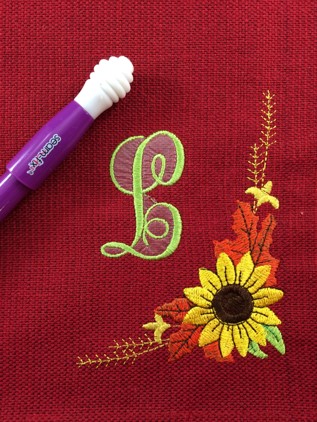
    Remove the hoop from the machine after the stitching has completed.  Gently tear or cut away the water-soluble stabilizer (WSS) from the top.  The bee hive tip on Seam Fix works great removing the WSS.


    Step 8:
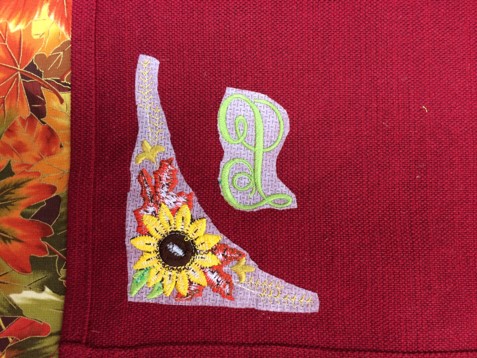
    Trim the excess stabilizer from the back of the placemat.  Clip stray threads as needed.


    Step 9:
    Congrats!  You have completed a fall placemat.


    Step 10:
    (Click Image to Enlarge)
    WTG!  Repeat these steps to make a set for your Thanksgiving/Fall table.

    Learn by teaching others...
     
    Marisa Littleton 
    Meet the Author: Marisa Littleton
    Marisa Littleton
    Marisa Littleton is a retired educator with a love for teaching and learning. Interests include machine embroidery, hand embroidery, quilting, cooking, and antiques.
    More From This Author
    Link is Broken, Please check the URL
    Exclusive Embroidery Offers!
    Copyright © {{ currentDate | date:'yyyy'}} - EmbroideryDesigns.com
    GET 50% OFF! ×