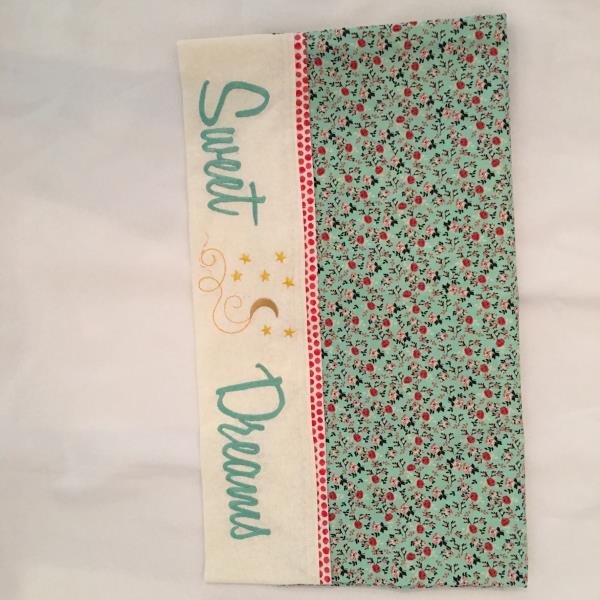
A pillow case with an embroidery design that says it all! Slumber the night away with a wish of “Sweet Dreams” incorporated with a celestial embroidery design.
This tutorial is based on a standard size pillow which is approximately 20” x 29”. This pillowcase is made using French seams so there are no exposed seams on the inside which gives it a clean and crisp look. Perfect pillowcase for a child/young girls room decor!
Step 1:
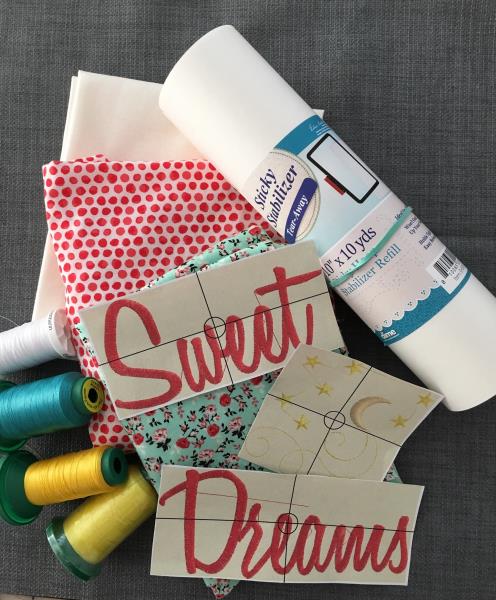
Gather all materials and review instructions before beginning.
(Click Image to Enlarge)
Step 2:
Cut your fabric pieces. Main fabric cut 26” by the width of the fabric. For the cuff cut 9” by the width of the fabric. Accent trim cut 1 ½” by width. You should now have 3 cut pieces of fabric.
Step 3:
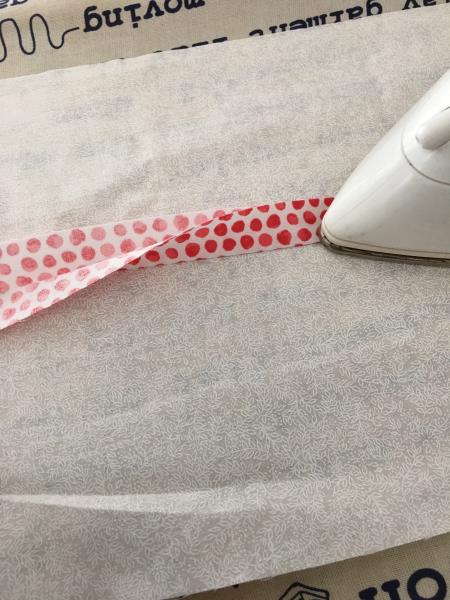
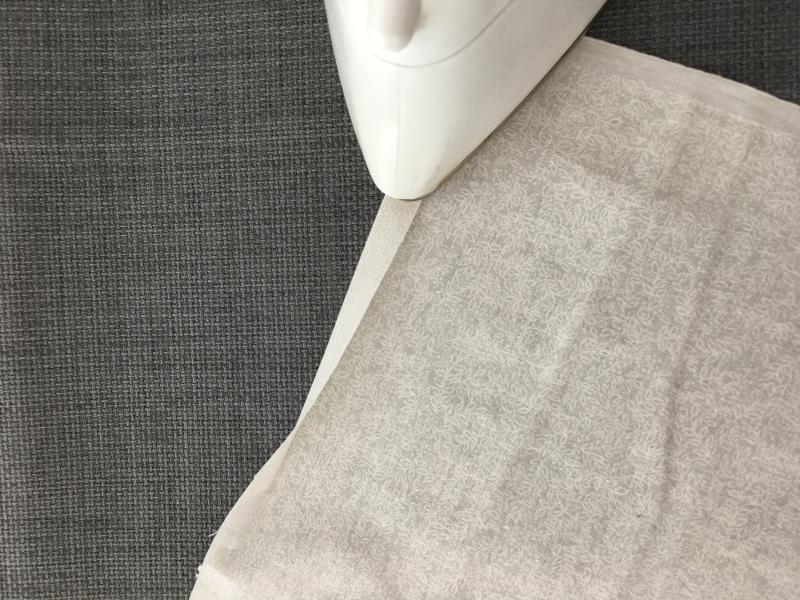
Using your accent trim, fold in half lengthwise, wrong sides together and press.
(Click Image to Enlarge)
Step 4:
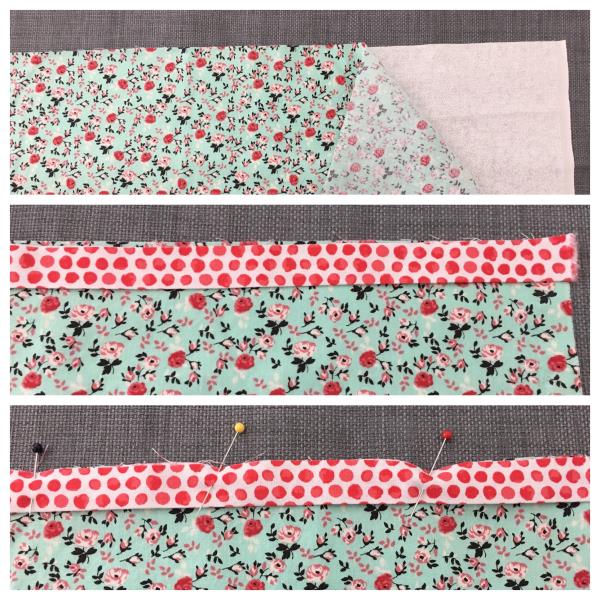
Using your cut pieces of main fabric, accent trim, and cuff. Open your 9” cuff fabric and place face up. Next, open your main fabric
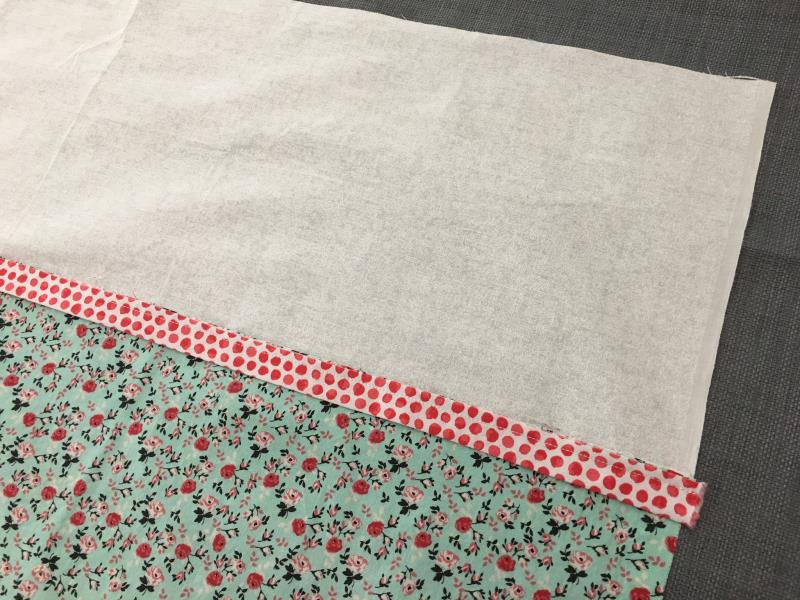
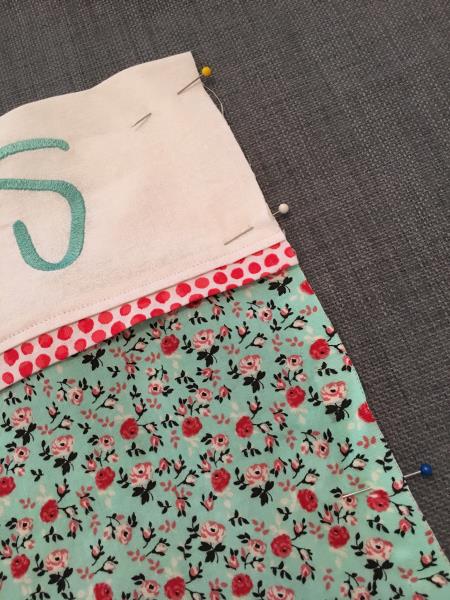
( this is the main body of the pillowcase), align the long edge on top of the cuff piece face up. Next, align the raw edge of the trim. Pin all three layers together.
(Click Image to Enlarge)
Step 5:
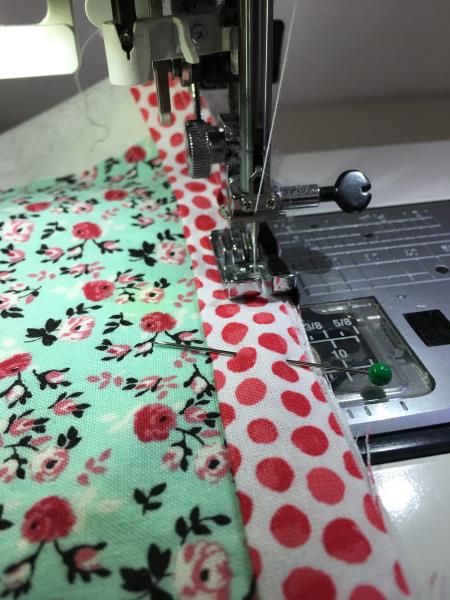
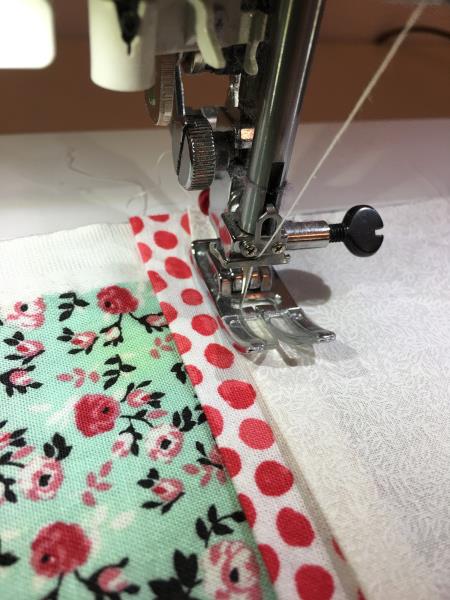
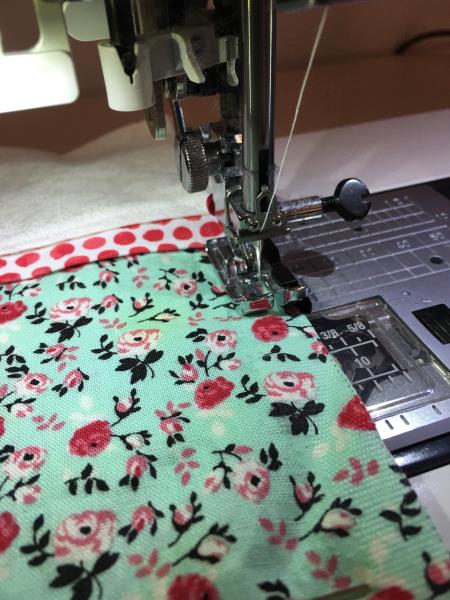
Stitch all three layers together using ¼’ seam allowance.
(Click Image to Enlarge)
Step 6:
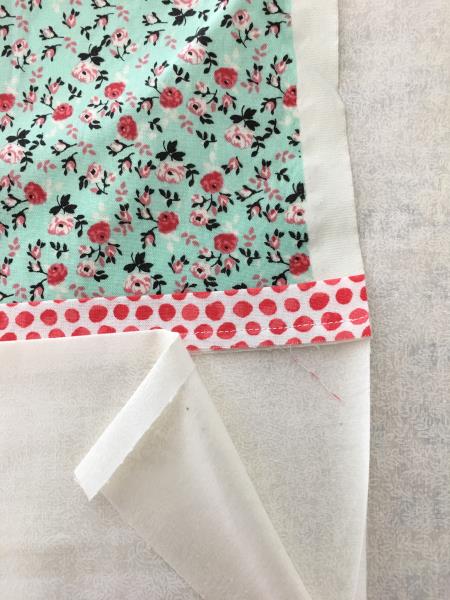
Lift up cuff fabric and the sewn three pieces should now look like this.
(Click Image to Enlarge)
Step 7:
Fold top of cuff down 1/4” and press.
(Click Image to Enlarge)
Step 8:
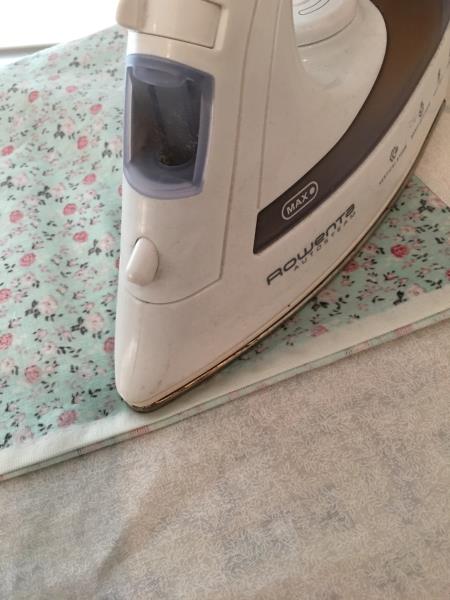
Fold cuff down to meet seam of trim. Covering the stitch line. Leave ¼” of trim showing. Press. This method is preparing for the placement of embroidery designs so the back side of the stitched design will not show as they will be on the inside of the cuff.
(Click Image to Enlarge)
Step 9:
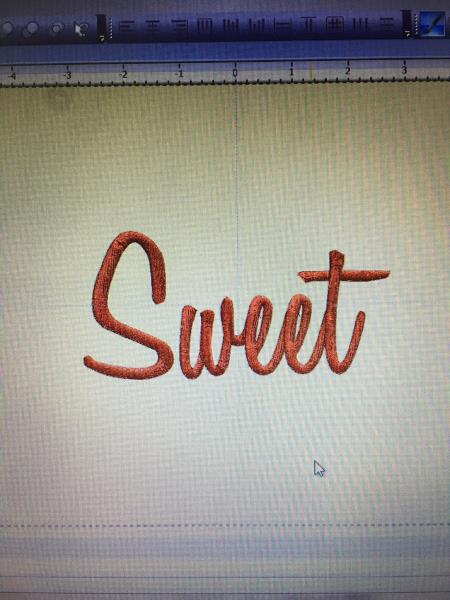
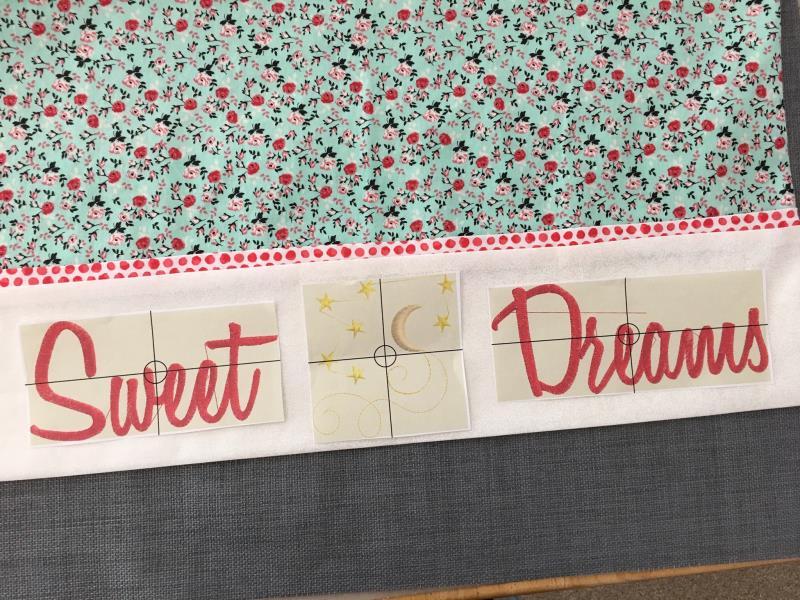
Create the words “Sweet Dreams” using the Honey Script Font. You will need to bring each letter into your embroidery software program as this is not a keyboard font, following your embroidery software instructions. Print templates. Also, print a template of the Celestial embroidery design.
(Click Image to Enlarge)
Step 10:
Place templates on folded cuff for placement alignment and mark center using chalk pen or fabric erase pen.
(Click Image to Enlarge)
Step 11:
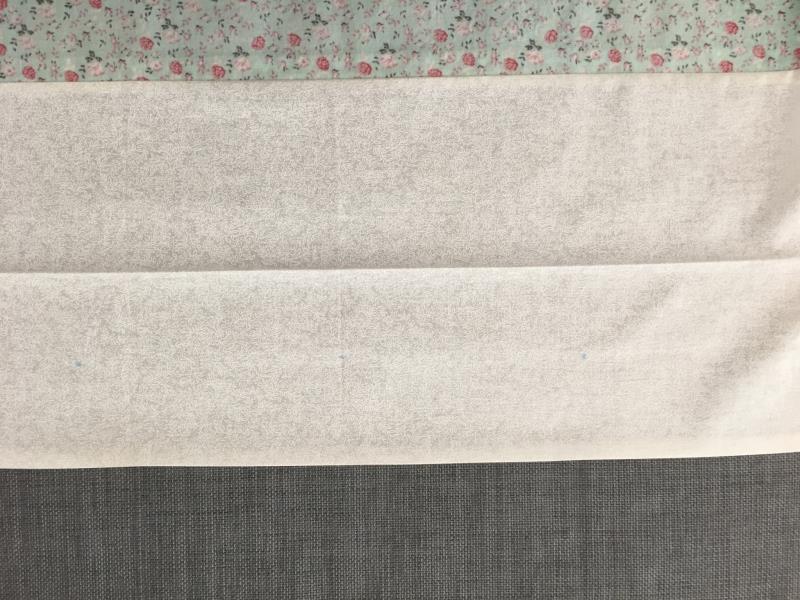
Unfold cuff. Fold in half lengthwise fingertip press as this will create a crosshair for center placement of your celestial design.
(Click Image to Enlarge)
Step 12:
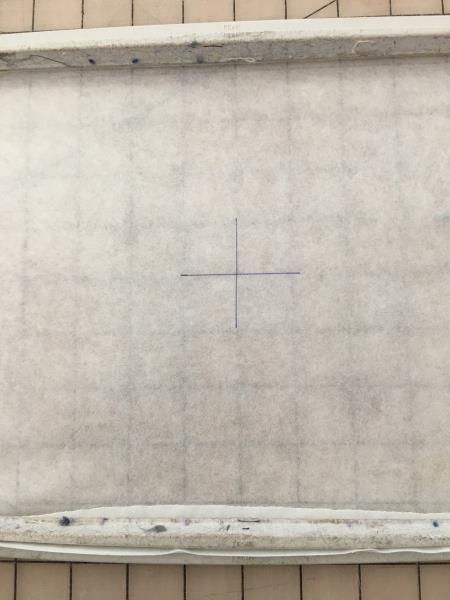
Hoop your sticky stabilizer and remove the top layer of paper to reveal the adhesive. Mark center with a crosshair.
(Click Image to Enlarge)
Step 13:
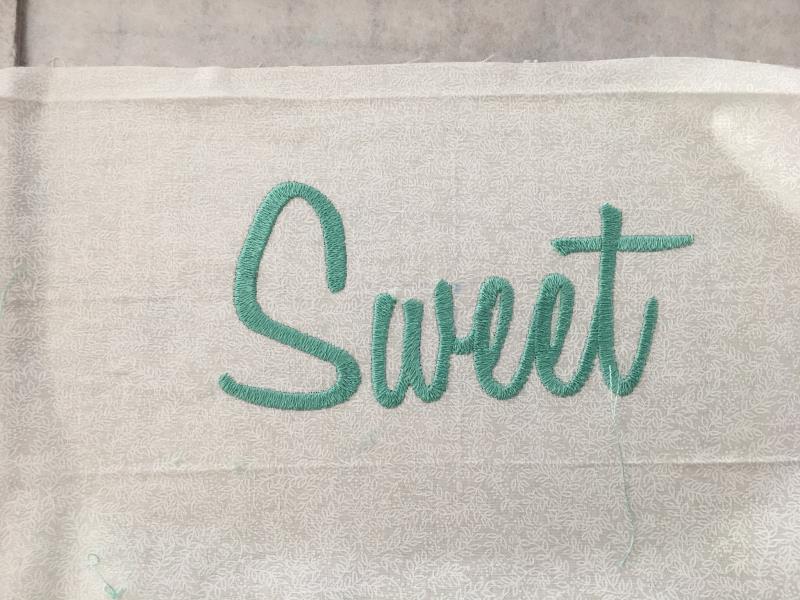
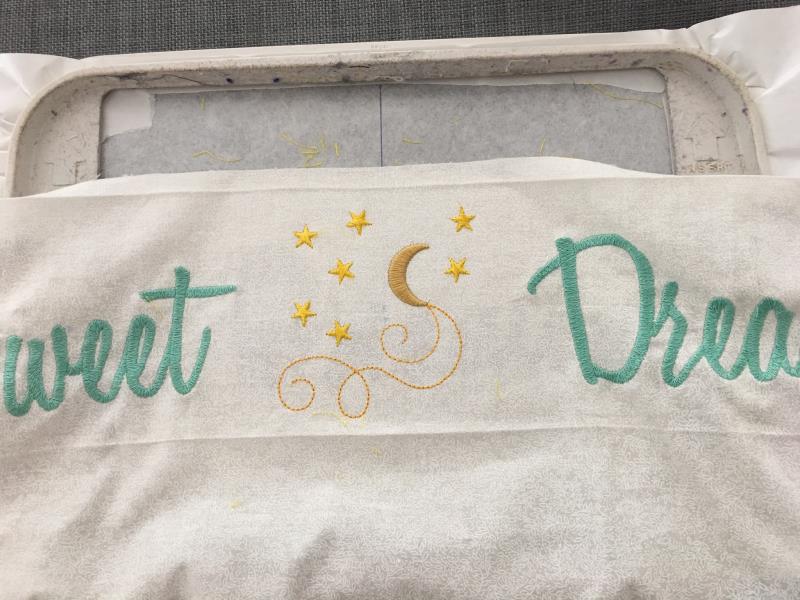
There is no order in which to embroider your designs. I embroidered out the words first. Center place the cuff on stabilizer for your choice of design to stitch first, using your center marks. Attach to your machine. Trace design per your machine’s instructions. If needed adjust per your machine's instructions to center. Begin the embroidering process. Repeat these steps with the next two designs.
(Click Image to Enlarge)
Step 14:
Designs complete. Snip all jump stitches and loose thread ends. Remove stabilizer.
(Click Image to Enlarge)
Step 15:
Fold down cuff to meet seam of trim. If needed press again. Pin in place. Top stitch along the edge using approx. a ¼” seam allowance.
(Click Image to Enlarge)
Step 16:
To construct the body with the French seams, fold the pillowcase in half. Wrong sides together. Align the raw edges. Pin both sides. Ensure your cuff edges match up.
(Click Image to Enlarge)
Step 17:
Stitch both sides using ¼” seam allowance. Snip corners.
(Click Image to Enlarge)
Step 18:
Turn inside out and press both side seams. Sew the edges again. Right sides together using a 3/8” seam allowance. Using this wider seam allowance will ensure that the sewn “raw” edges will not show.
(Click Image to Enlarge)
Step 19:
Turn right side out... Viola your pillowcase with French Seams is now complete!






.jpg)




.jpg)