2026 Flash Sale
Live Chat
Embroidery Designs
Welcome, Embroiderer
Login
Personalized Mouse Pad
{{mainImageAlt || (productInfo._source && productInfo._source.name) || ''}}

Personalized Mouse Pad Embroidery Project

By   Linda Mills   on   August 07, 2018
  • SKILL LEVELBeginner
  • TIME REQUIRED00:45
Description

Personalize a mouse pad with an embroidered design or motivational quote to inspire your inner energy while at your work space.

Step of

Materials

Project Preview Video

Materials
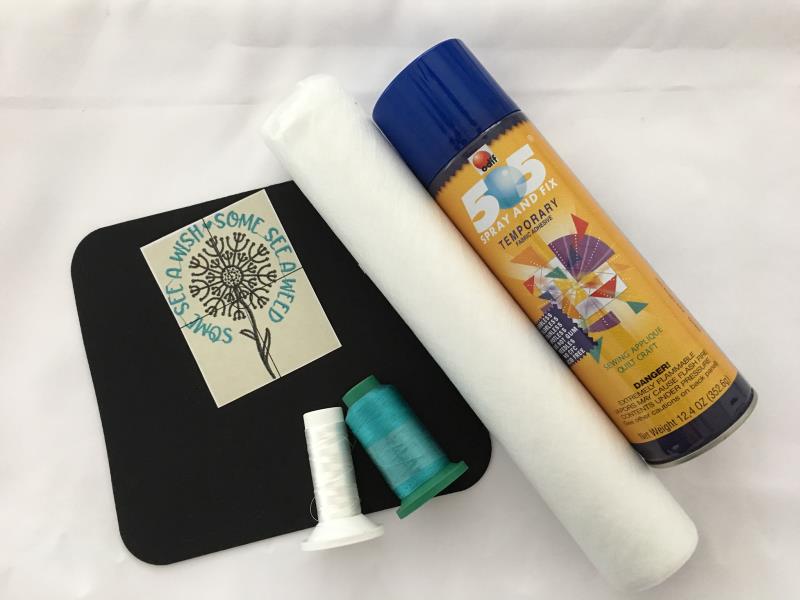
  • Purchased Foam Mousepad ( about 1/8” thick )
  • Light to Medium weight Cut-Away Stabilizer
  • Embroidery thread
  • Temp Adhesive spray
  • The template of selected embroidery design
  • Chalk Pen

  • Designs used in this project

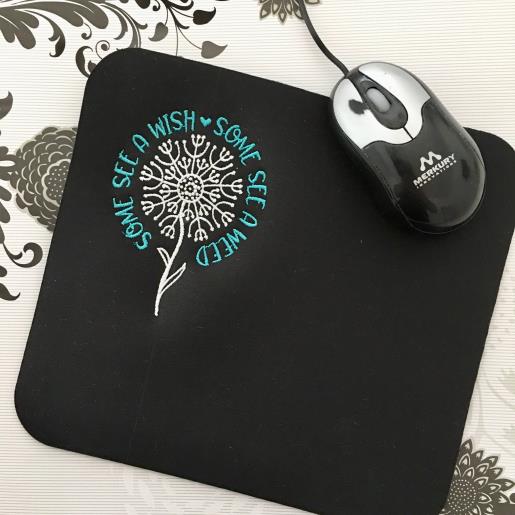
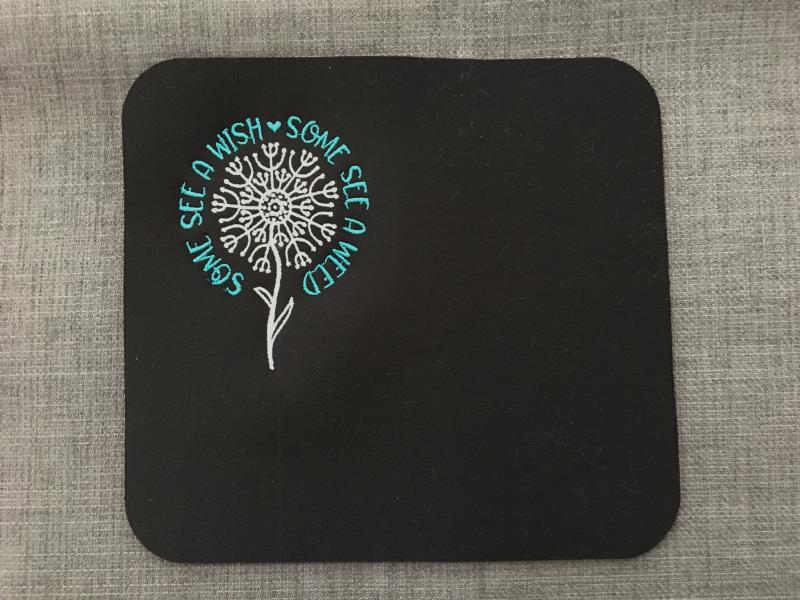
    Final Product: What You Will Create

    Preface:
    Using a purchased foam mouse pad and adding a fun embroidery design will add panache to any workspace. Makes great gifts!


    Step 1:
    Gather all materials and review instructions before beginning. 

    (Click Image to Enlarge)


    Step 2:
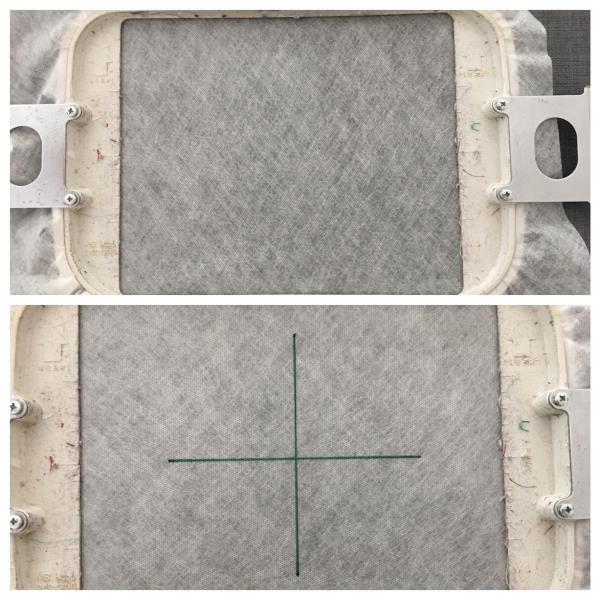
    Hoop cutaway stabilizer and mark with center crosshair.

    (Click Image to Enlarge)


    Step 3:
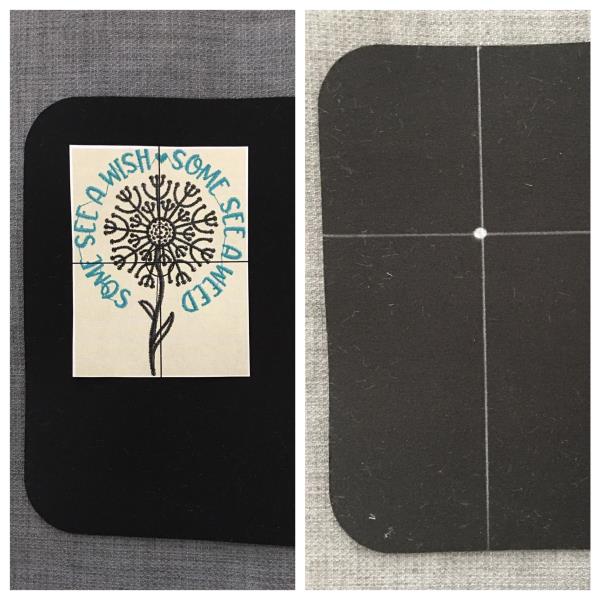
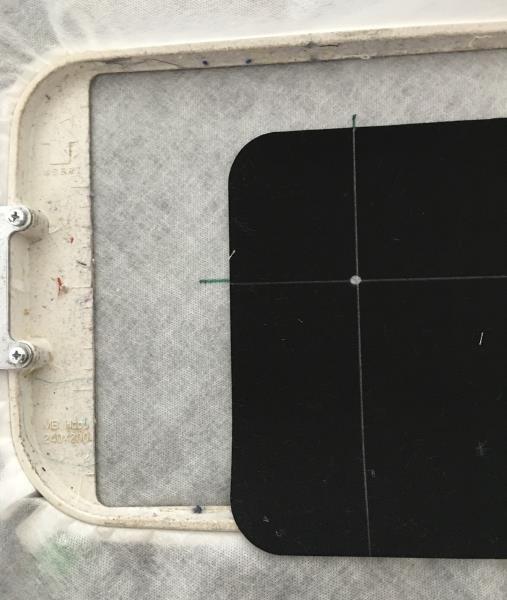
    Place design template onto mouse pad where you want it. ( I placed in upper left-hand corner.) Center mark and remove the template to draw axis lines using your chalk pen. 

    (Click Image to Enlarge)


    Step 4:
    Spray temporary adhesive spray on the stabilizer. Center mouse pad onto stabilizer aligning cross hair marks. Press down to secure in place.  

    (Click Image to Enlarge)


    Step 5:
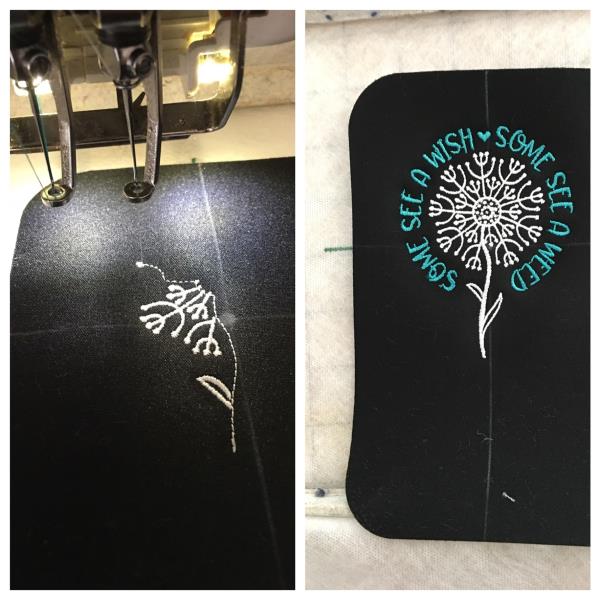
    Attach the hoop to machine. If you haven’t already, load your design into your machine. Trace per your machines instructions to confirm center placement. Make any needed adjustments.   Begin the embroidering process.

    (Click Image to Enlarge)


    Step 6:
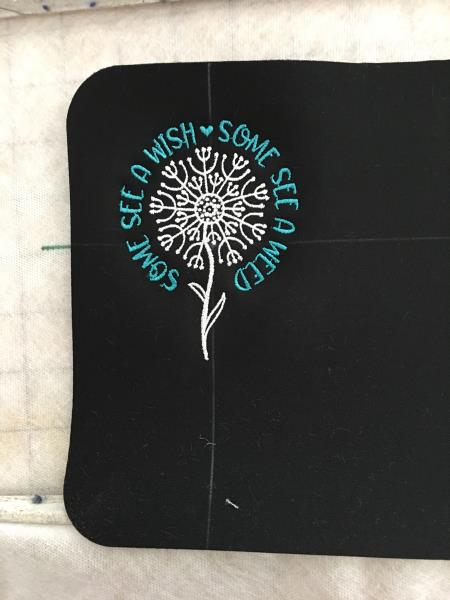
    Embroidery complete. Remove hoop and cut all jump stitches and loose thread ends. Remove hoop from the mouse pad and cut away excess stabilizer. Using a damp cloth you can remove any chalk residue from the marking of your axis lines.
    ( If the mouse pad is a bit warped/not laying flat, using your iron, press with a cloth overlay at the lowest setting.) 

    (Click Image to Enlarge)


    Step 7:
    Viola! Your personalized mouse pad is now finished. 

    (Click Image to Enlarge)

    Meet the Author: Linda Mills
    Linda Mills
    Linda loves to create by sharing her different sewing and machine embroidery techniques so others can utilize their machines to the fullest
    More From This Author
    Link is Broken, Please check the URL
    Exclusive Embroidery Offers!
    Copyright © {{ currentDate | date:'yyyy'}} - EmbroideryDesigns.com
    GET 50% OFF! ×