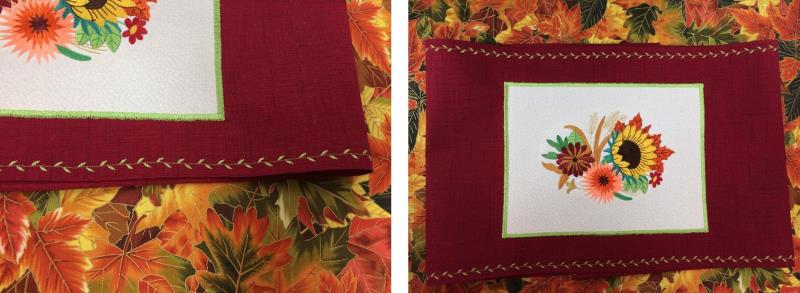
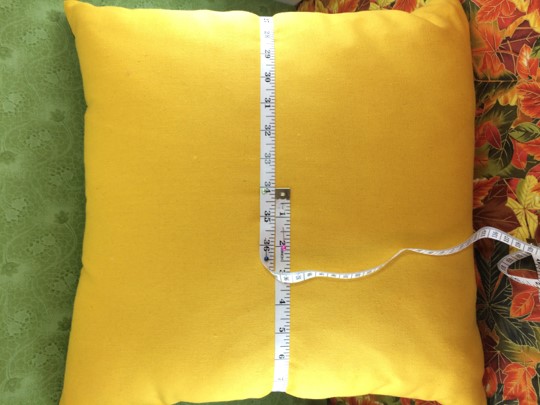
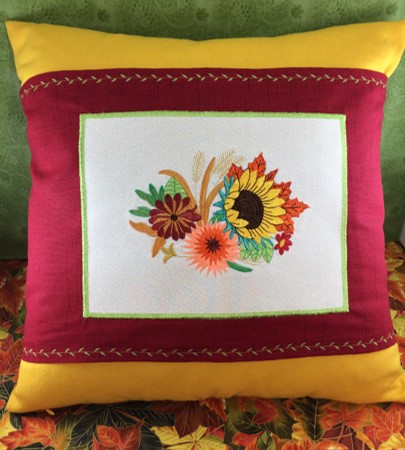
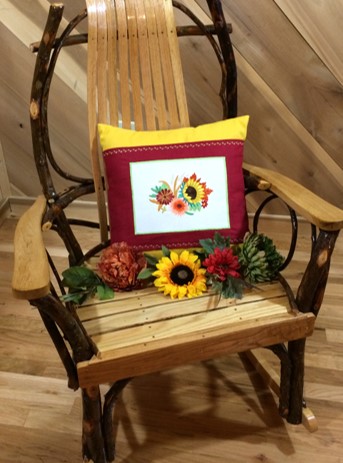
An 18” x 18” pillow insert was covered with a 17” x 17” commercial sham. Using a slightly larger pillow insert gave a snug fit for the sham.
The dimensions for the red wrap fabric are 13" x 36". Wait until you are ready to sew the final seam for the wrap before trimming any excess fabric. Measure the diameter of your pillow as actual sizes can vary greatly. Allow ½ “ for a seam allowance to your measurement. If you measure 34 inches in diameter, cut the wrap 34.5".
Step 1:
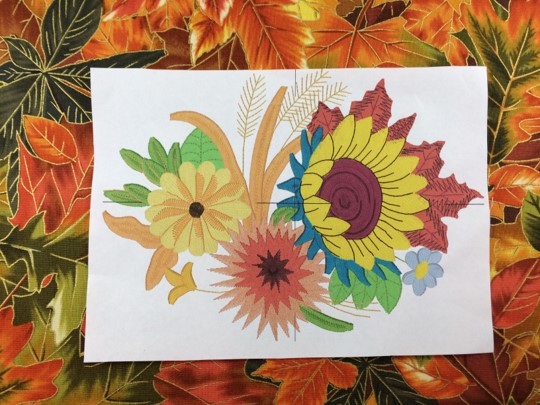
Print out the Design Template & Color Chart. The embroidery design was resized slightly from 4.7” x 6.5” to 5” x 7” to make it more proportional to the 18” x 18” pillow using Embrilliance Essentials software. The stitch count is 35,676 with the 5” x 7” dimensions.
(Click Image to Enlarge)
Step 2:
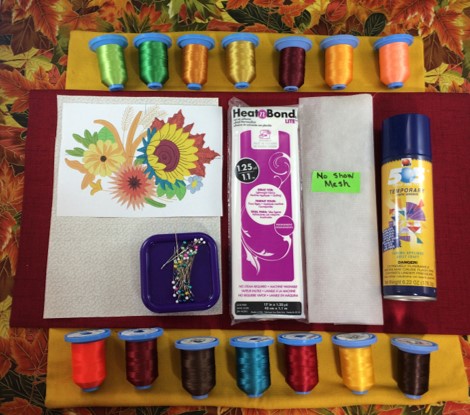
Read through the instructions before beginning. Gather the materials for the project. Iron and starch the fabrics.
Step 3:
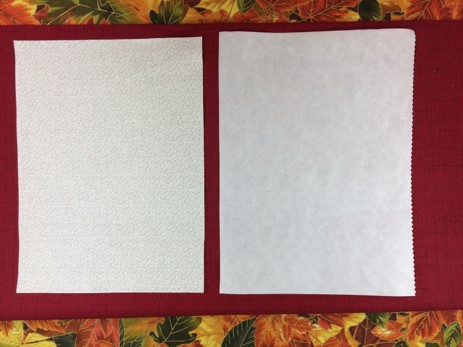
Cut one 7.5” x 10” piece neutral fabric. Cut one 13” x 36” piece from the red fabric. Cut one 7.5” x 10” piece of Heat n Bond lite.
Step 4:
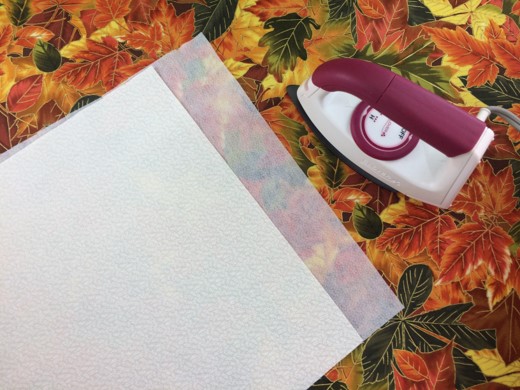
Adhere the Heat n Bond lite to the wrong side of the 7.5” x 10” block. Follow the instructions on the Heat n Bond lite package. A hot, dry iron is recommended for best results.
(Click Image to Enlarge)
Step 5:
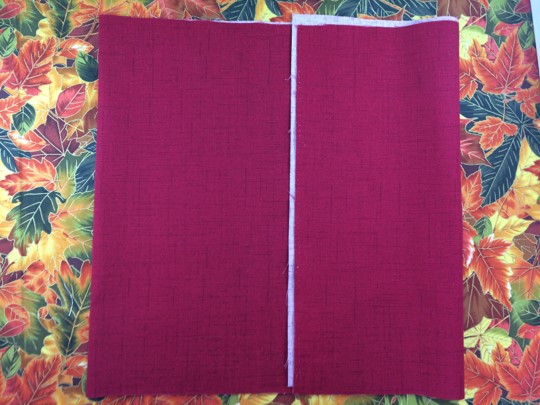
Find the center on the red fabric for the wrap. Fold the 13” x 36” fabric piece in half lengthwise going left to right. Iron a crease on the fold line.
(Click Image to Enlarge)
Step 6:
(Click Image to Enlarge)
Lay the wrap fabric piece RIGHT side up on a table.
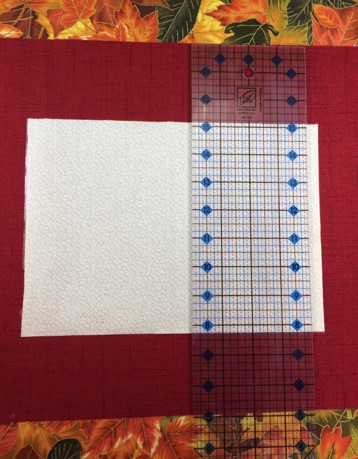
Center the 7.5” x 10” neutral fabric on the fold line. Pin in place.
Bond the fabric following the directions on the Heat n Bond package.
Step 7:
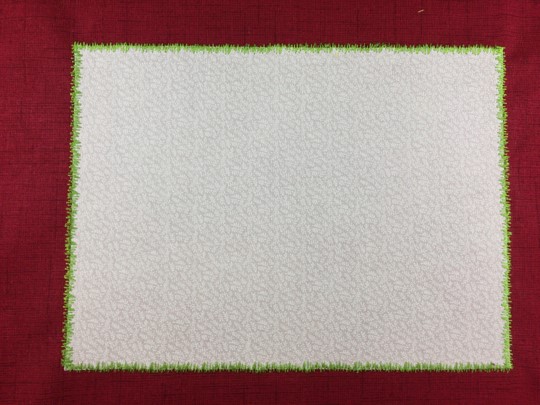
Topstitch around the outer edge of the fabric. A satin stitch in a contrasting thread color was used for the stitching.
(Click Image to Enlarge)
Step 8:
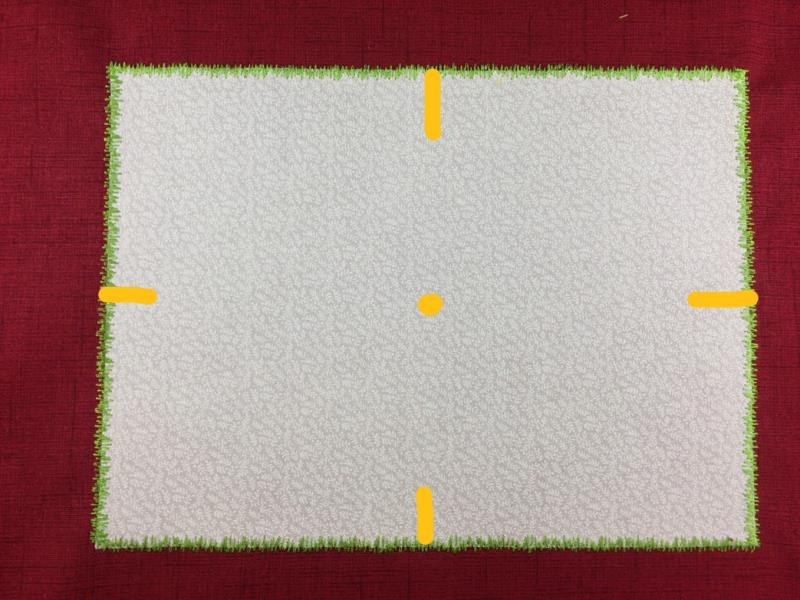
Mark the vertical and horizontal axis lines on the fabric using an erasable fabric pen. Mark the center point on the fabric using an erasable fabric pen.
(Click Image to Enlarge)
Step 9:
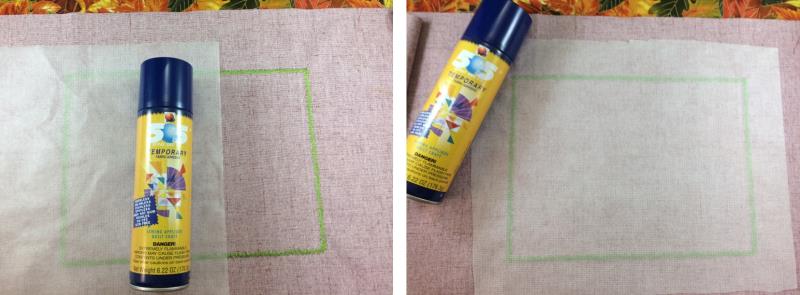
Spray temporary adhesive on the wrong fabric side of the wrap where the patch has been stitched large enough for your piece of stabilizer.
Cover the area with the No Show Mesh stabilizer. Smooth the surface of the fabric.
(Click Image to Enlarge)
Step 10:
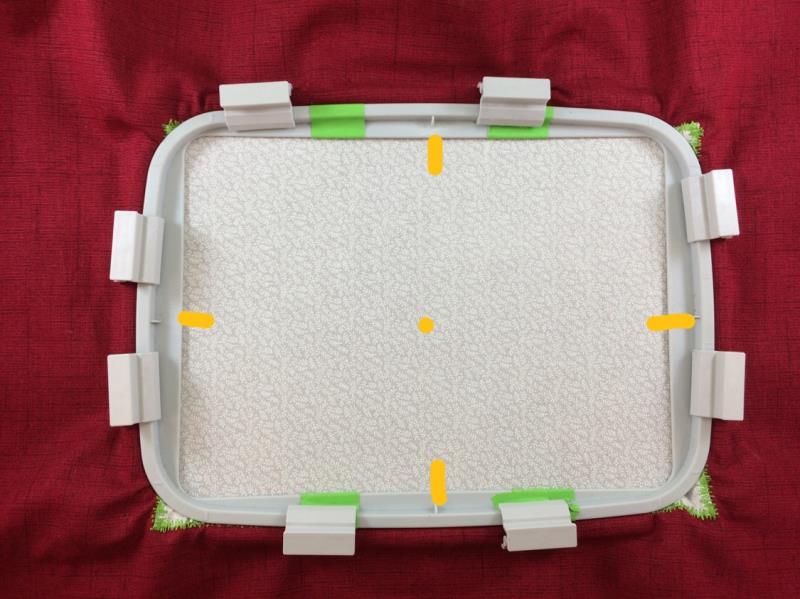
Hoop the fabric and stabilizer.
(Click Image to Enlarge)
Step 11:
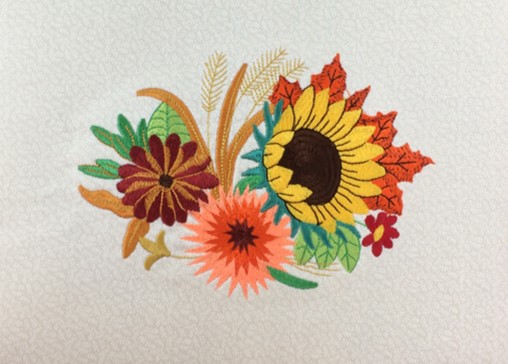
Load the design on your machine. Embroider the design.
Trim thread as needed on the front and back of the design.
Cut away excess stabilizer leaving about ½” or less around the design.
Step 12:
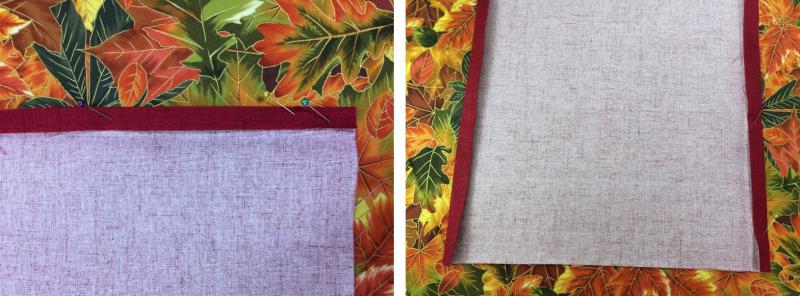
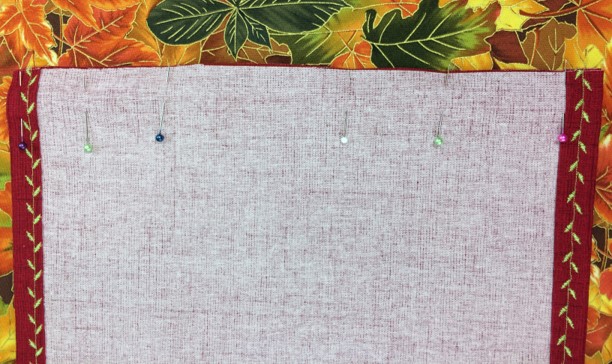
On the 36” sides of the fabric, fold the fabric ½ inch down with the wrong side to wrong side and press. Fold again. Press and pin in place.
(Click Image to Enlarge)
Step 13:
Topstitch a seam on each side. A decorative vine stitch in a contrasting thread color was used for this part. A simple running stitch works well also.
(Click Image to Enlarge)
Step 14:
Measure the diameter of the pillow. Add 1/2" to your measurement for a seam allowance.
Measure the length of the fabric wrap. The wrap should be around 36” long. You may need to trim the fabric length slightly to match the pillow measurement before sewing the seam.
(Click Image to Enlarge)
Step 15:
Fold the wrap in half lengthwise with right sides together. Match the raw edges together and pin in place.
(Click Image to Enlarge)
Step 16:
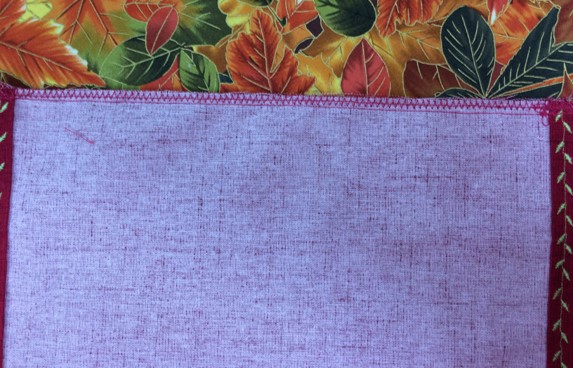
Sew a ½” straight seam along the edge. Use a zip zag stitch along the edge of the fabric.
(Click Image to Enlarge)
Step 17:
Turn the wrap right side out. Slide the wrap on the pillow. Center the design in the front. If the wrap does not have a snug fit, you may need to sew another seam along the edge.
Marisa Littleton is a retired educator with a love for teaching and learning. Interests include machine embroidery, hand embroidery, quilting, cooking, and antiques.