2026 Flash Sale
Live Chat
Embroidery Designs
Welcome, Embroiderer
Login
Blue Jacobean Tablescape
{{mainImageAlt || (productInfo._source && productInfo._source.name) || ''}}

Blue Jacobean Tablescape  Embroidery Project

By   Marisa Littleton   on   August 01, 2018
  • SKILL LEVELSome Experience
  • TIME REQUIRED01:30
Description

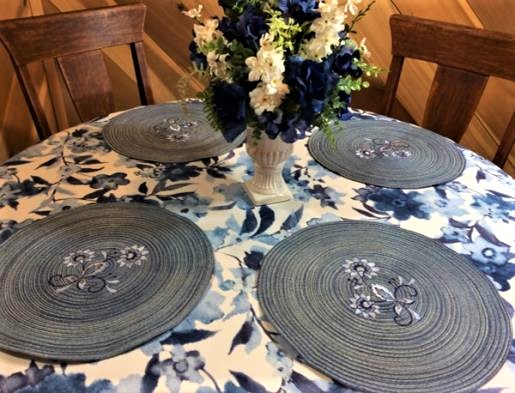
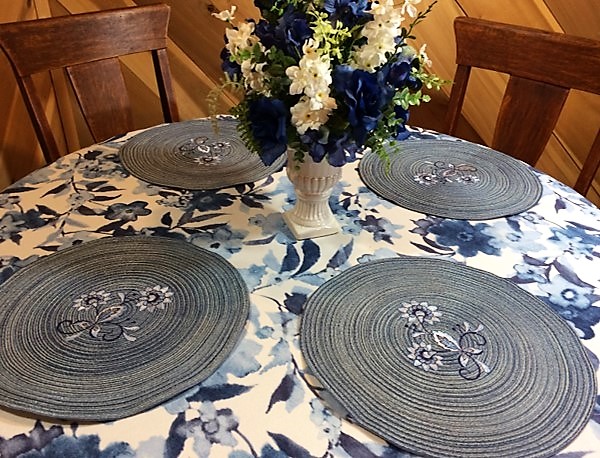
Feeling blue? Don't be fooled. A splash of color can really perk up your home. Shades of blue with white are highlighted in this table setting.

Step of

Materials

Project Preview Video

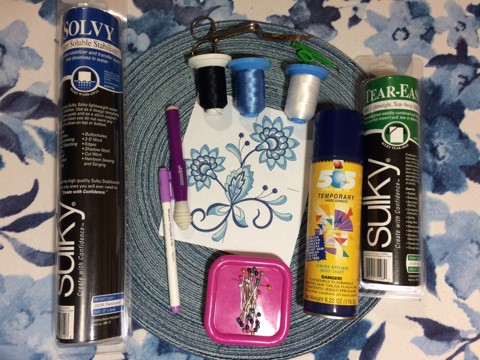
Materials
  • Design Template & Color Chart
  • 40 wt. Embroidery Thread (Robison-Anton)
  • 75/11 embroidery needle
  • 505 Temporary Adhesive Spray
  • Synthetic straw/woven polypropylene placemats (14” diameter)
  • Medium-weight (2.5 ounces) cutaway stabilizer
  • Lightweight water-soluble stabilizer (WSS)
  • Air-erase pen for marking (Clover)
  • Seam-Fixs (seam ripper)

  • Designs used in this project

    Final Product: What You Will Create

    Preface:
    Feeling blue?  Use shades of blue and white to create a welcoming little kitchen nook.  Combine machine embroidery with very basic machine sewing to make placemats with a complimentary tablecloth.


    Step 1:
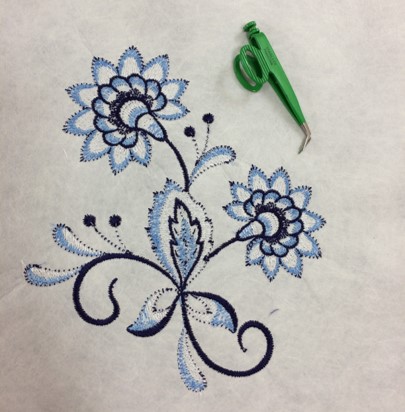
    A design template is a printout of the actual size of the design.  It's an excellent tool to use as a guide for placement and positioning.  Print a design template and color chart from your embroidery software.  Embrilliance 'Essentials' software was used to print out the design template.
     
    Gather the materials needed for this project.  Read the directions carefully before beginning.   


    Step 2:
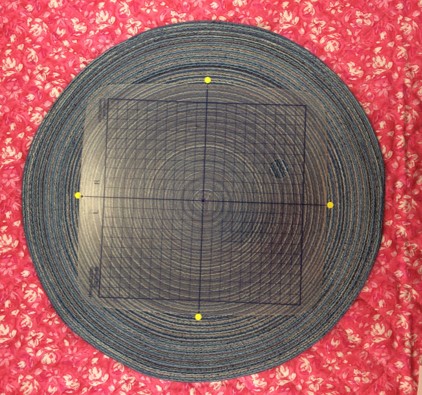
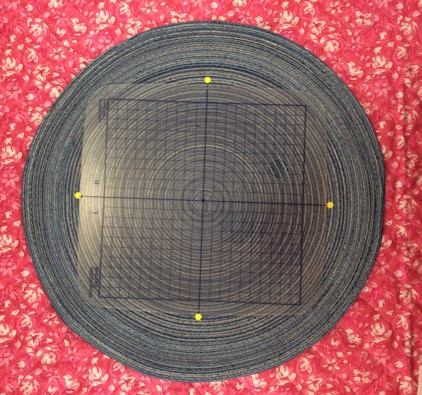
    Determine the placement of the design on the placemat.  Position the center of the template so it is in the center of the placemat.

    Mark the horizontal and vertical axis lines.


    Step 3:
    Straw placemats are a little too thick to hoop.  Mark the center point on the placemat.  Mark the vertical and horizontal axis lines on the stabilizer with an air-erase fabric pen.


    Step 4:
    (Click Image to Enlarge)
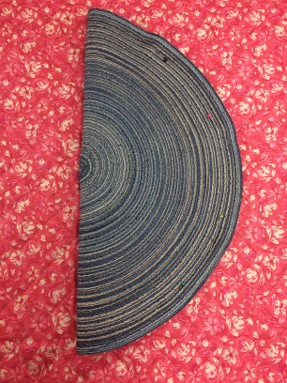
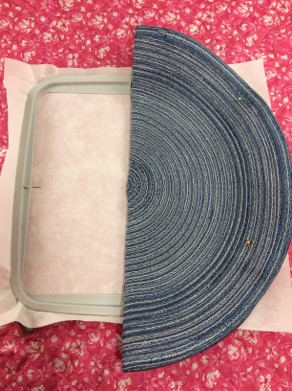
    Fold the placemat in half with WRONG sides out.  Pin the edges.  


    Step 5:
    (Click Image to Enlarge)
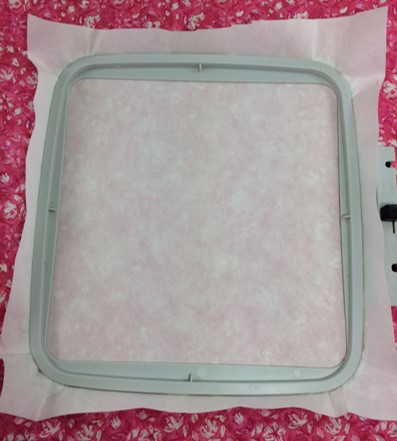
    Hoop the cut-away stabilizer.  


    Step 6:
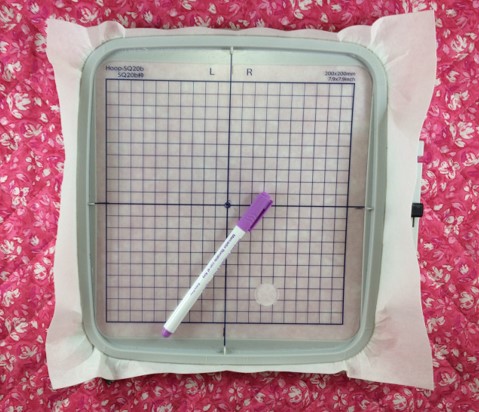
    Mark the center point with an air eraser pen.  Mark the vertical and horizontal axis lines on the stabilizer.


    Step 7:
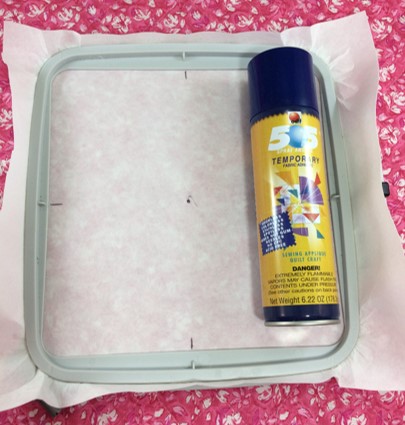
    Spray the stabilizer generously with the 505 temporary adhesive.


    Step 8:
    (Click Image to Enlarge)
    Align the folded placemat with the horizontal axis line.  Press the placemat gently onto the stabilizer.  Repeat this step for the other side of the placemat.


    Step 9:
    (Click Image to Enlarge)
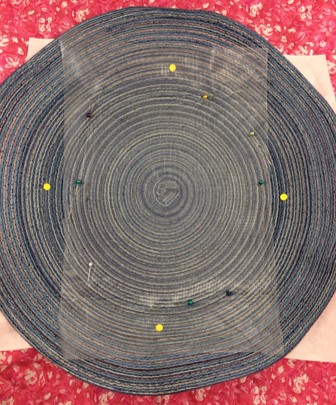
    Place a piece of Water Soluble Stabilizer over the placemat.  Pin in place.  The placemats have ridges, so use a piece of lightweight water-soluble stabilizer as a topping. The Water Soluble Stabilizer will help the stitches stay on the surface of the placemat for an even finish.


    Step 10:
    (Click Image to Enlarge)
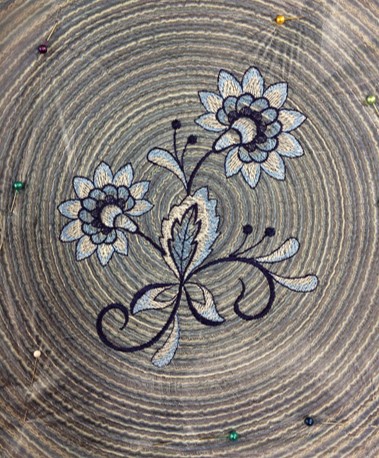
    Attach the embroidery hoop to your machine.  Use a 75/11 embroidery needle. Load the embroidery design on your machine.  Stitch the design.  Use the color guide on the machine and printed chart as a guide.


    Step 11:
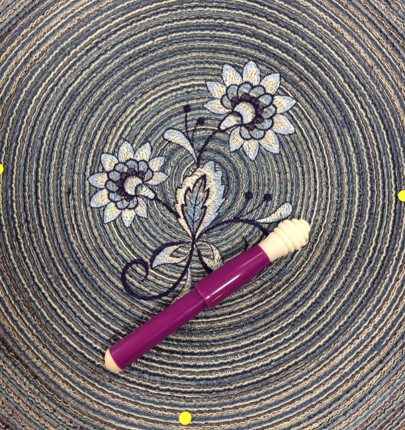
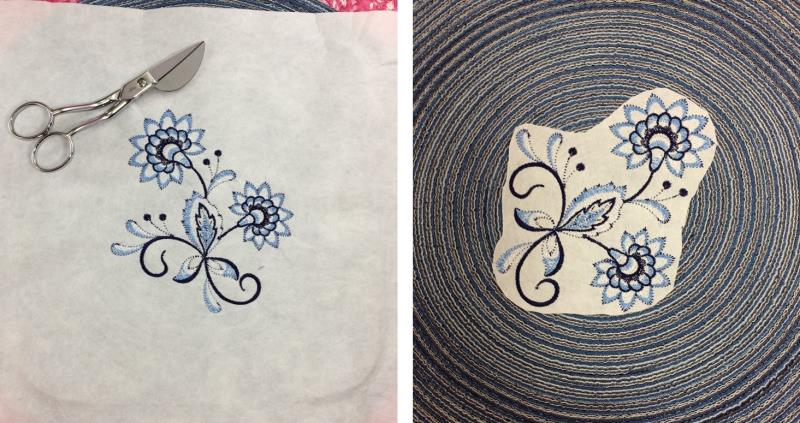
    After embroidering, tear the water-soluble stabilizer away from the top.  The beehive end on the Seam-fix is a really easy way to remove any extra bits of the water-soluble stabilizer.  Another was to remove the water-soluble stabilizer is with a damp paper towel.  


    Step 12:
    Trim any threads as needed on the back of the placemats.  


    Step 13:
    Trim the cutaway stabilizer away from the back leaving approximately ½”
    from the stitches.

    (Click Image to Enlarge)


    Step 14:
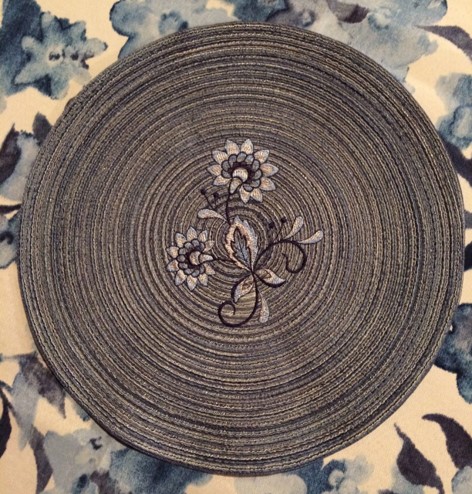
    Congrats!  You have completed a placemat!  Repeat these steps if you plan to make a set of placemats.  
     
    Make a matching or complimentary tablecloth to go with your set very simply.  Canvas or duck cloth is an ideal weight for a tablecloth.  The duck cloth fabric also comes in wider widths.  Decide the width and length of the tablecloth you want to make.  Trim the fabric to even the edges.  Fold the wrong side of the fabric 1/2" and press.  Fold again and press.  Stitch along the edges.  A simple or decorative stitches work well for the hem.  


    Step 15:
    You finished your project!  Think of the possibilities!!  I really enjoyed making the Jacobean Table Setting and hope you will too.  

    (Click Image to Enlarge)


    We teach ourselves by teaching others!
     
    Marisa Littleton 
    Meet the Author: Marisa Littleton
    Marisa Littleton
    Marisa Littleton is a retired educator with a love for teaching and learning. Interests include machine embroidery, hand embroidery, quilting, cooking, and antiques.
    More From This Author
    Link is Broken, Please check the URL
    Exclusive Embroidery Offers!
    Copyright © {{ currentDate | date:'yyyy'}} - EmbroideryDesigns.com
    GET 50% OFF! ×