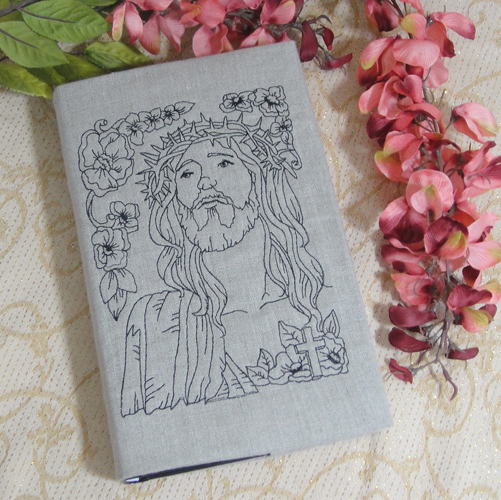
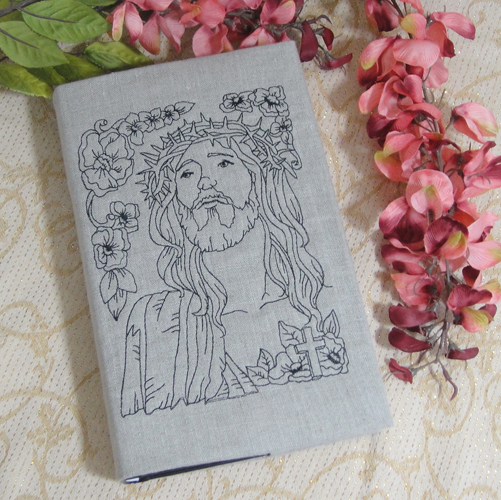
The bible used in this sample measures 8 ¾” by 5 ½”, however the instructions below will tell let you make this well-fitted cover regardless of the size of your bible. Due to the thickness of bibles, it is easier to insert the Bible into the cover if it has a flexible hardcover, i.e., both the front and back cover can turn backward beyond the spine. Linen seemed to the natural choice for this cover, but feel free to use the fabric of your choice.
Step 1:
(Click Image to Enlarge)
Measure the height and width of the bible front. This Bible measures 8 ¾” x 5 ½”.
Step 2:
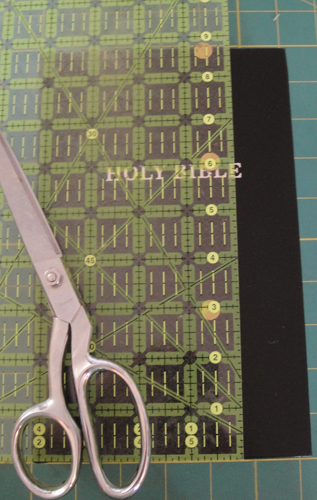
To measure the length of the Bible place the left-hand edge of the bible cover on the edge of a ruler. Hold the pages of the bible straight up with one hand so that the spine will lie flat and note the measurement of the cover on the right. This bible cover measures 12 ½”.
(Click Image to Enlarge)
Step 3:
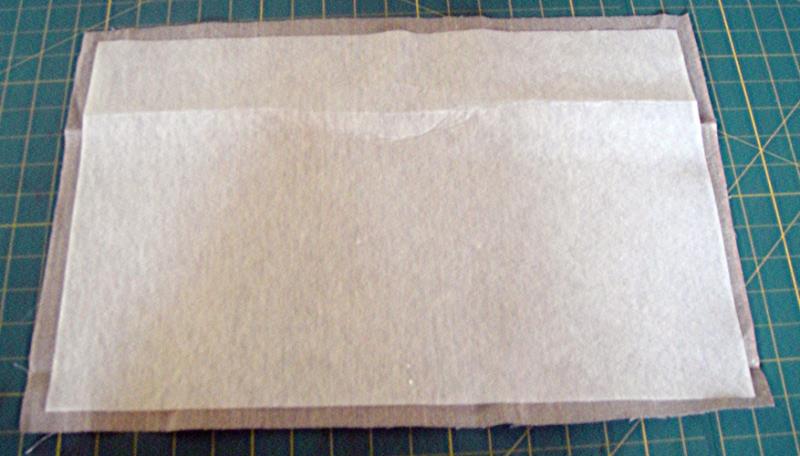
To determine the height to cut your fabric add 4” to the height measurement. In this sample 8 ¾” + 4” = 12 ¾”. To determine the width to cut your fabric decide how wide you want the flaps to be inside the book. Two and a half inches is standard, but I chose to make mine 3”. Add twice the width that you want your flaps plus 1” for hemming the edges of the flaps. So in this case 12 ¾ ” book width + 7” for flaps = 19 ½” is the required fabric size. As 13” of fabric fits well into a 5” x 7” embroidery hoop I chose to cut the fabric 13” by 19 ¾”. It is advisable to cut the height of the bible to cover to completely fit in the hoop. If your bible is shorter I suggest that you cut the fabric 13” to start with and cut it down to the required size after the front is embroidered. Cut the fusible knit interfacing 2” shorter in height and width than your linen fabric and fuse to linen following the manufacturer’s instructions.
(Click Image to Enlarge)
Step 4:
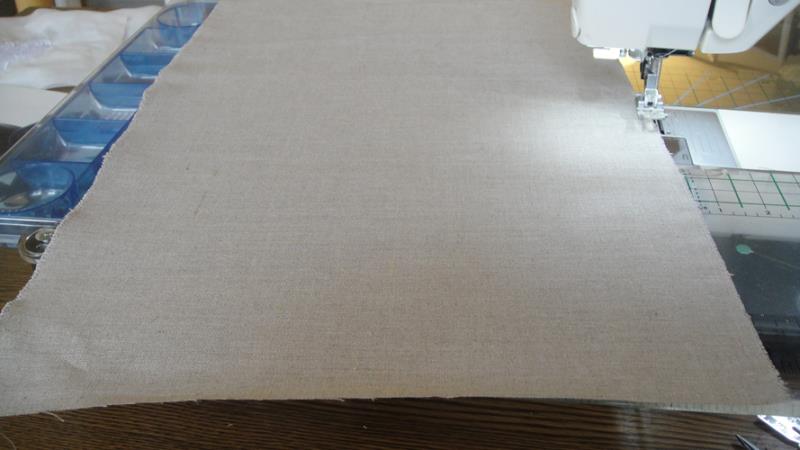
Clean finish the long edges of your fabric with a zigzag stitch.
(Click Image to Enlarge)
Step 5:
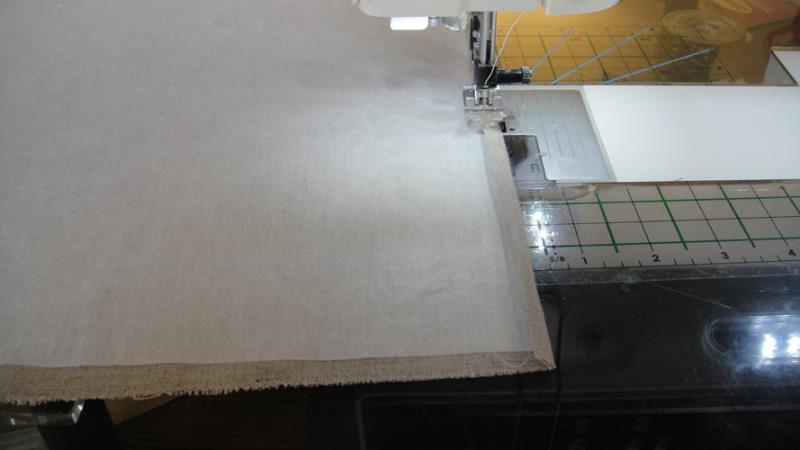
Turn the short edges in ¼” and press, turn in again ¼” and press, edge stitch to hem both short ends of the bible cover.
(Click Image to Enlarge)
Step 6:
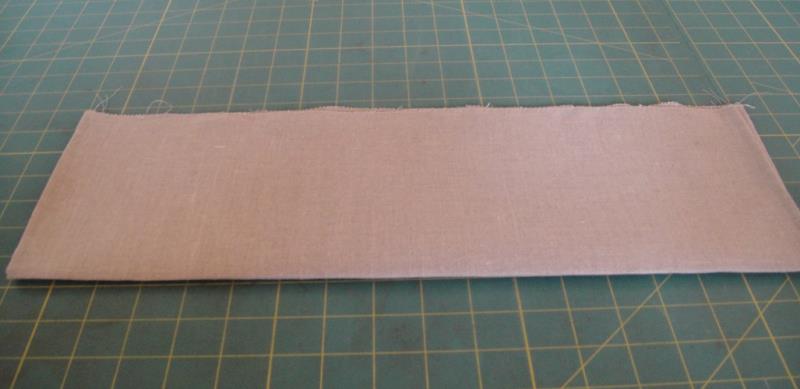
Fold the prepared fabric in half lengthwise and finger press to mark the center of the book cover.
(Click Image to Enlarge)
Step 7:
Place the bible on the book cover, holding the pages straight up and fold the flap fabrics over the Bible sides. Finger crease the flaps. It is essential that you hold the pages up so that the spine will lie flat.
(Click Image to Enlarge)
Step 8:
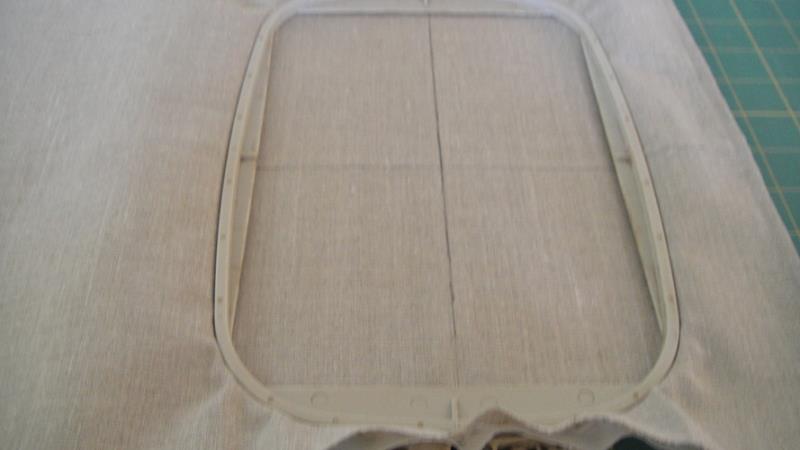
Measure over ½ of the bible front measurement that you took in Step 1, in this case, that was 5 ½” divided by 2 = 2.75” and mark the vertical center for placement of the embroidery. Hoop in your embroidery hoop with no show stabilizer aligning the center horizontal crease and the marked vertical line.
(Click Image to Enlarge)
Step 9:
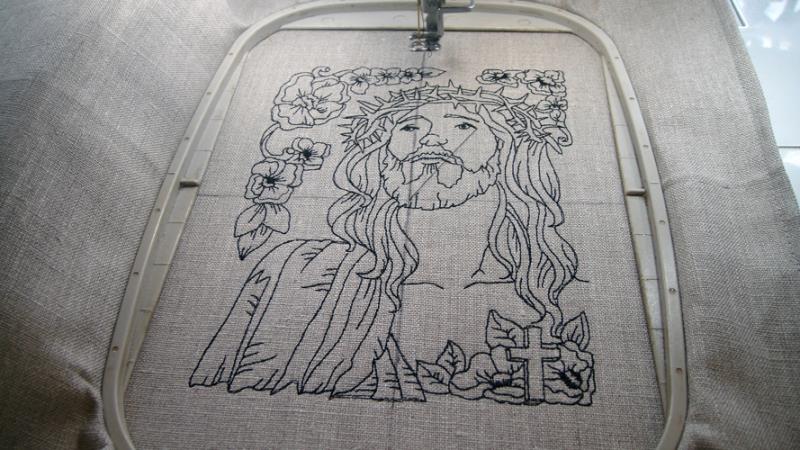
Center the needle over the crosshair and crease stitch the Life of Christ embroidery design of your choice.
(Click Image to Enlarge)
Step 10:
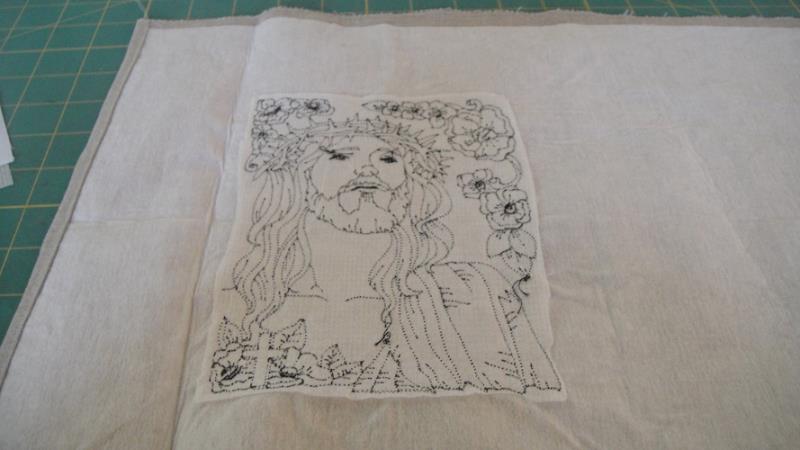
Trim the stabilizer around the back of the embroidery.
(Click Image to Enlarge)
Step 11:
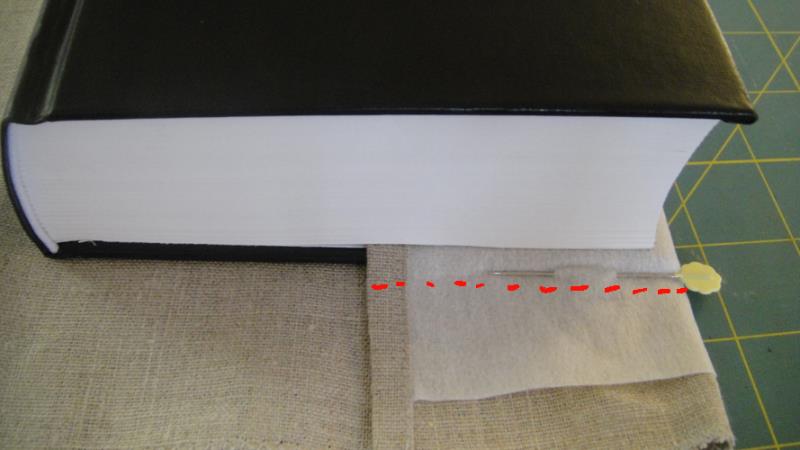
Lay the bible centered on the right side (linen side) of the cover. It is important that you do the 4 corners separately. Hold the pages straight up and fold one flap over the bible. Pushing the bible into the crease of flap snugly.
(Click Image to Enlarge)
Step 12:
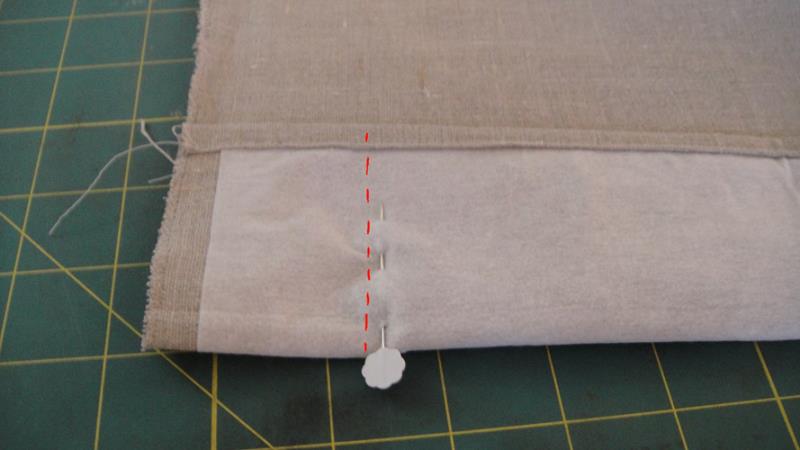
It is impossible to continue holding the pages up and pin the corner at the same time, so close the bible in the direction of the flap that you will be pinning, press the flap fabric down to the tabletop and pin in place right at the edge of the bible. Just do the one corner. Lift out the book – take the fabric to the sewing machine and stitch that corner about 1/8th below the pin, backstitch at both ends of the seam.
(Click Image to Enlarge)
Step 13:
Tuck the bible into the one corner made, repeating steps 11 and 12 stitches at the top of the 1st flap. Then slipping the bible tightly into that flap repeat the procedures for the second flap. For a nice tight pin and stitch each seam separately fitting the Bible into the cover and lifting the pages to ensure the spine lies flat between each seaming.
(Click Image to Enlarge)
Step 14:
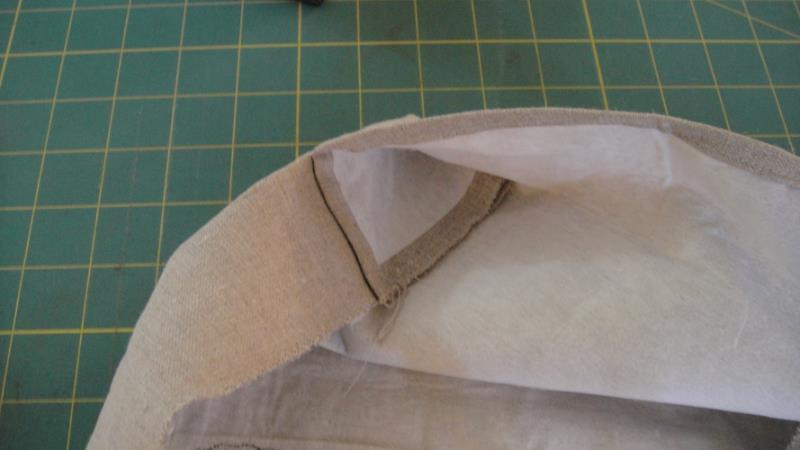
Turn the flaps right side out leaving the corner flap fabric inside – no trimming is required.
(Click Image to Enlarge)
Step 15:
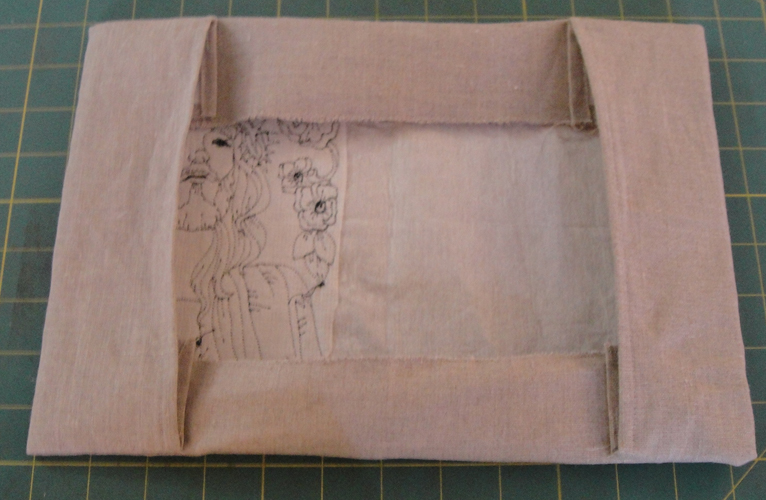
Your bible cover now looks like this. Press the creases for the side flaps.
(Click Image to Enlarge)
Step 16:
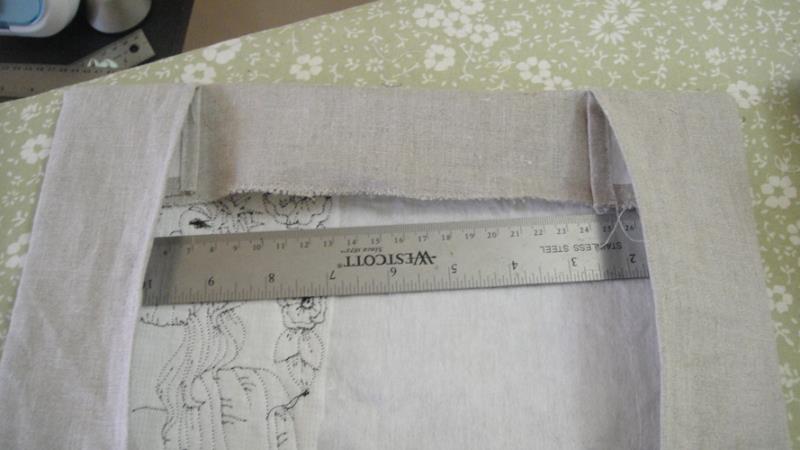
Slip the metal ruler into and under the top and bottom folded in edges to give you a nice straight edge to fold the top and bottom edges against and press.
(Click Image to Enlarge)
Step 17:
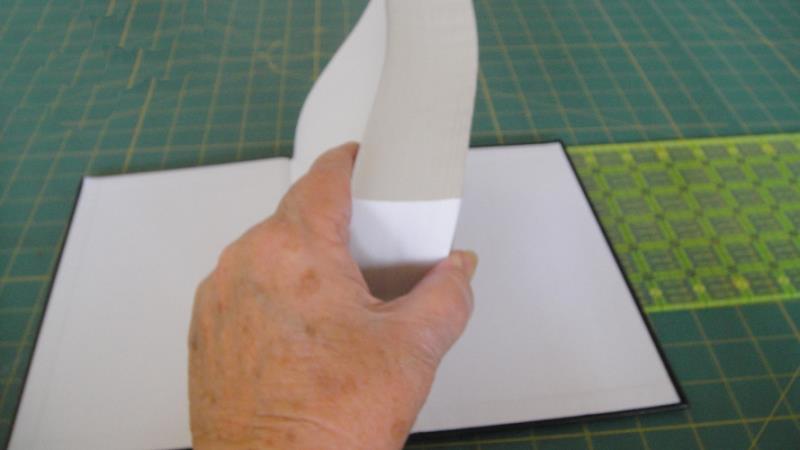
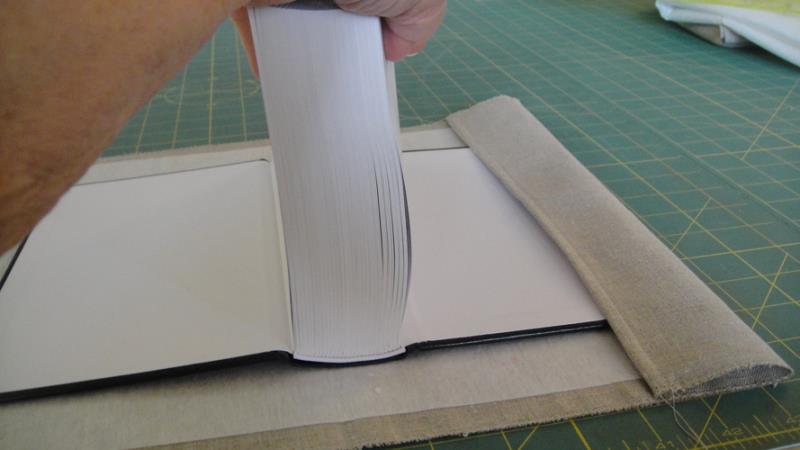
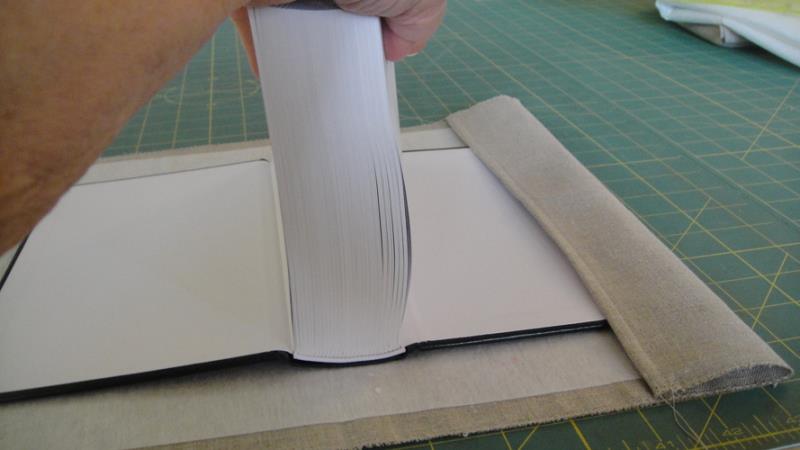
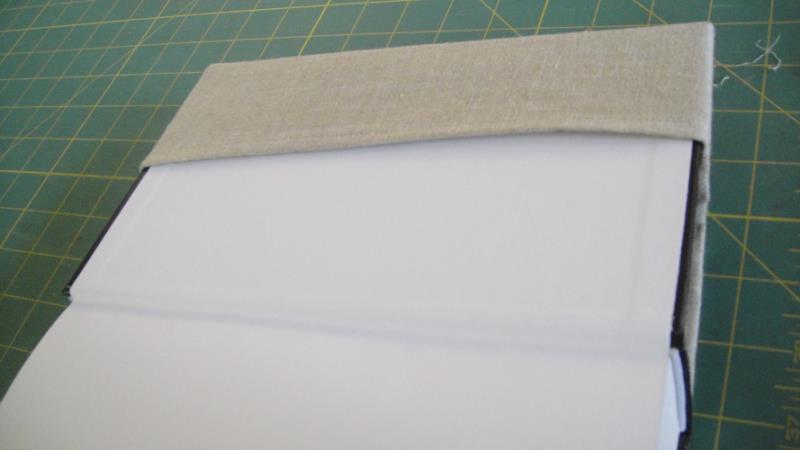
Insert the bible into the cover placing the bible on top of the folded fabric that is inside the flaps. Bend the back of the bible to be able to insert it into the second cover flap.
(Click Image to Enlarge)
Step 18:
Congratulations you have just completed a linen bible cover that fits your bible perfectly!
Award winning Digitizer, Embroidery Educator, Author and a Consultant to the Industry, Pat Williams has 30 years of experience in the embroidery industry. Pat has won multiple awards for her digitizing expertise including the 2007 Impressions Awards Grand Championship, Best of Show as well as the 1st and 2nd Place Awards. Pat’s love of digitizing has afforded her the opportunity to write numerous articles for Impressions magazine in the United States and Images Magazine in Europe. In 2001 Pat was named “Embroidery Educator of the Year.” For many years Pat taught digitizing seminars at the ISS Shows in Long Beach, CA and for Compucon software. She now resides in Tucson, AZ.