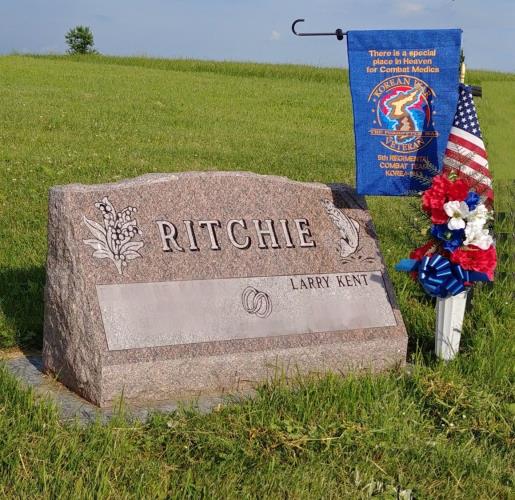
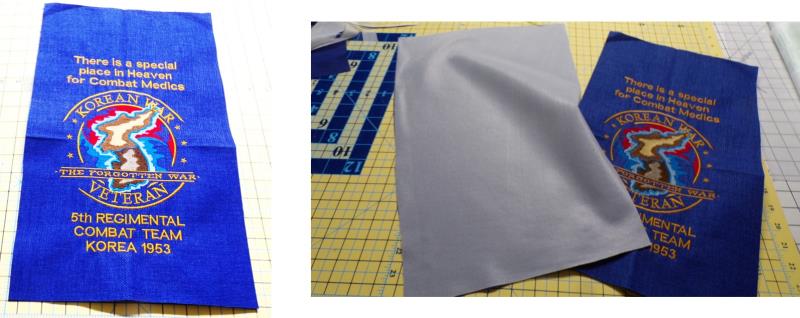
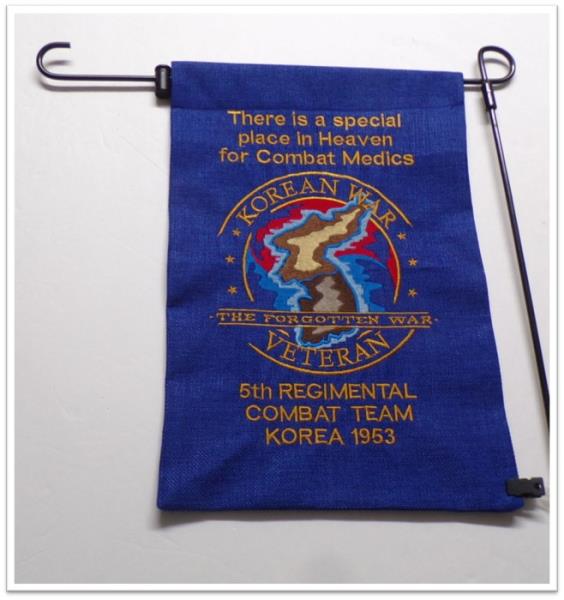
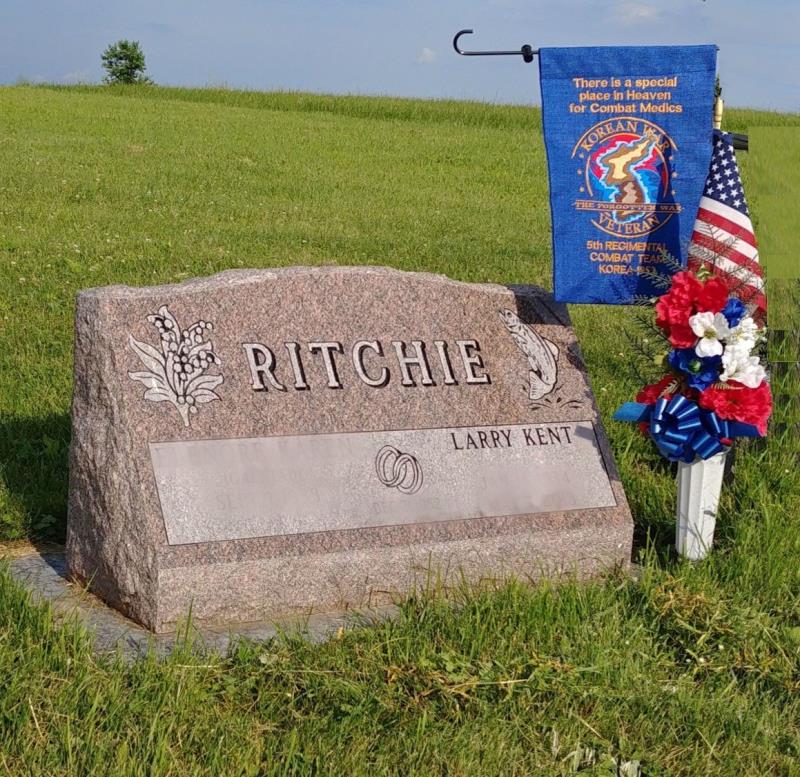
Honor a service member by creating a flag with their service information. Because this project flag will be used outdoors, Sunbrella outdoor fabric was used, along with polyester embroidery thread, because both will withstand the elements for quite some time. A heavy cutaway is used and kept behind the full piece to add stability and strength to the project.
The flag stand you purchase as well as the text you will add differs from the project, so instructions will show how to measure and stitch, but you will need to figure out the final size for your flag to fit the stand, then purchase the appropriate amount of fabric.
Step 1:
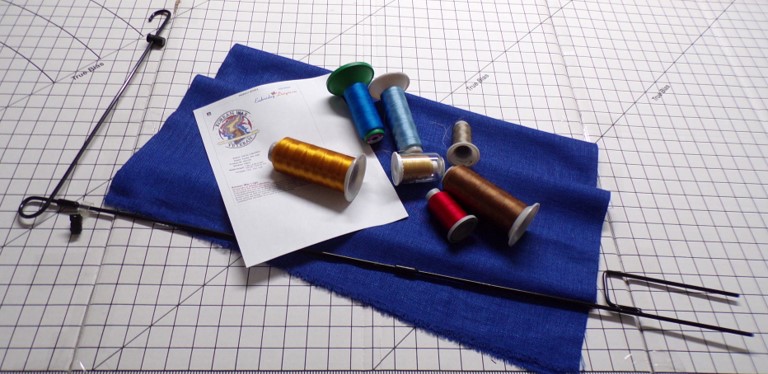
Gather the materials and read through the instructions before beginning. Print out the thread sequence.
(Click Image to Enlarge)
Step 2:
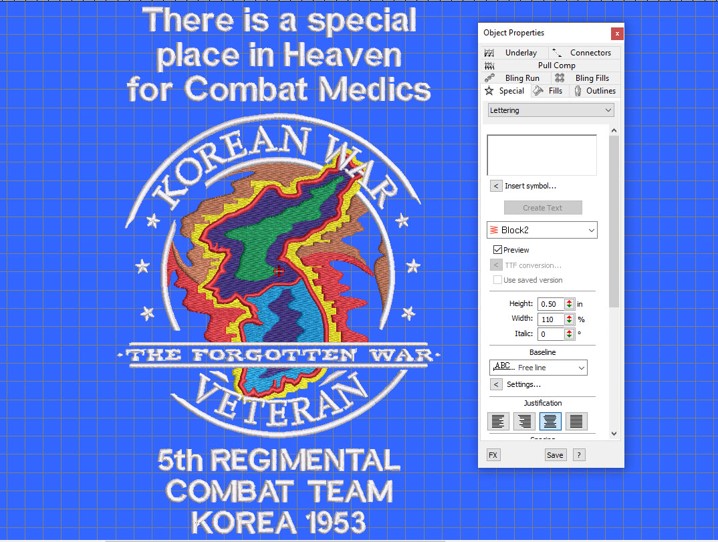
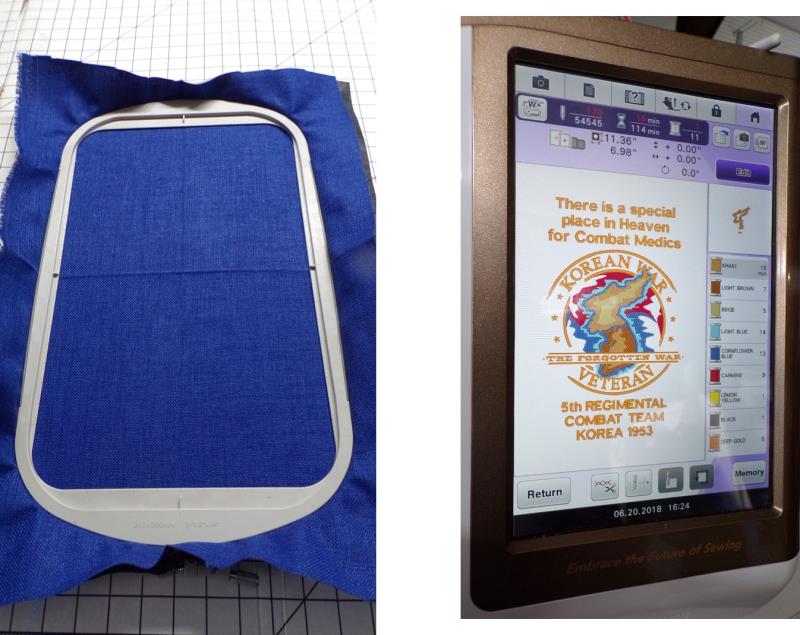
In software, open the design and save as a new design. Use the text feature to add the information above and below the embroidery design as you wish. For the project, ½” block lettering was used. Make a note of the dimensions of the design.
(Click Image to Enlarge)
Step 3:
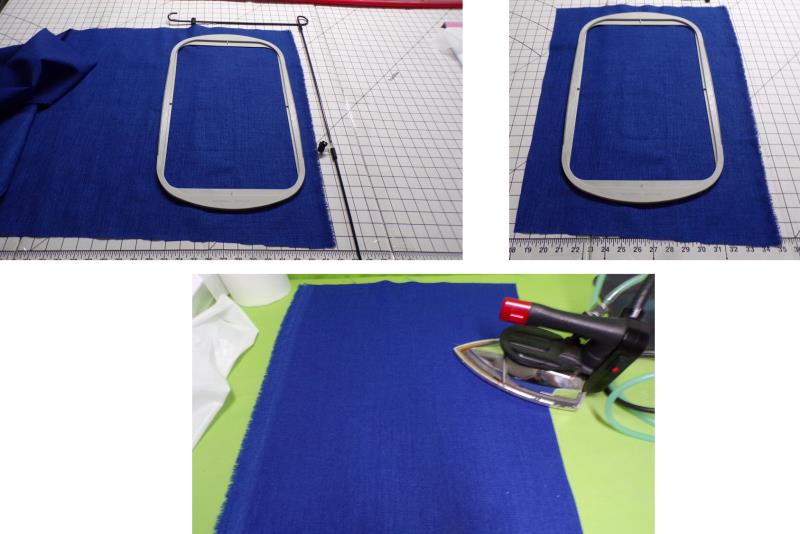
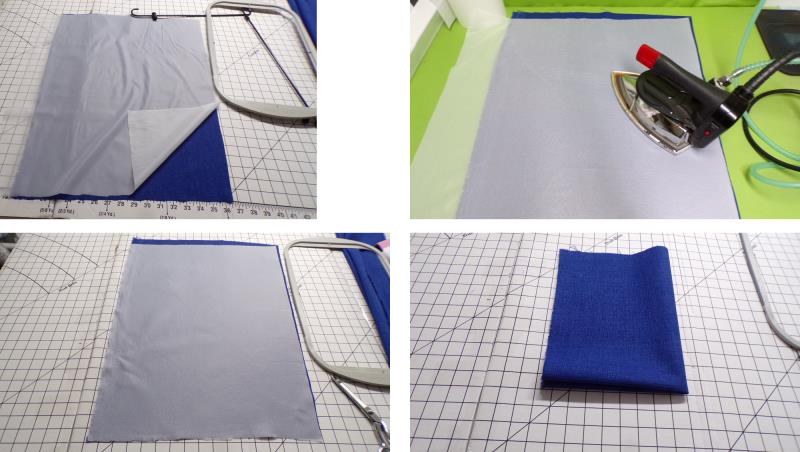
Be sure you have a hoop large enough to stitch the design or else break it up into sections for stitching as needed. The project uses a 9” x 14” hoop. Figure out the dimensions you’ll need by measuring the length and width; cut the fabric larger than needed, it will be cut to size after embroidery. Be sure to leave plenty of length at the top to make a casing at the top to slip over the flag stand. Press the Sunbrella fabric with a low heat iron.
(Click Image to Enlarge)
Step 4:
Cut a piece of Easy Knit stabilizer and follow the manufacturers’ instructions to fuse it to the back side of the Sunbrella fabric. This will help stabilize the fabric against the elements. Quarter fold the fabric and lightly crease to find the center point.
(Click Image to Enlarge)
Step 5:
Cut a piece of heavy cutaway stabilizer the size of the fabric. Hoop the stabilizer and fabric, centering them in the hoop. Load the embroidery design on the machine.
(Click Image to Enlarge)
Step 6:
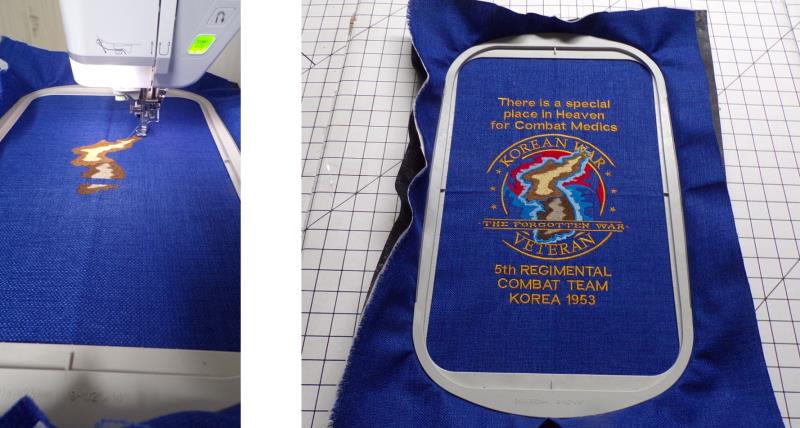
Stitch the design following the color sequence.
(Click Image to Enlarge)
Step 7:
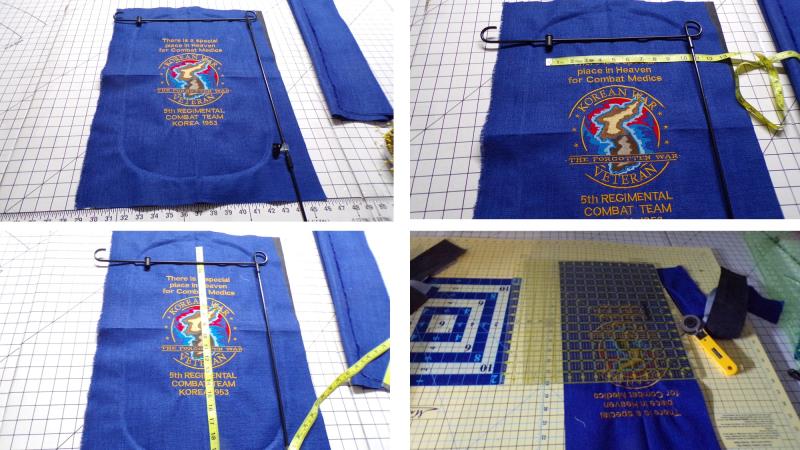
Remove the fabric from the hoop but do not cut away the excess stabilizer—it will also help stabilize the project. As you measured and figured before, measure the width, plus seam allowances and the length including about 1.5” plus seam allowance at the bottom, and 1.5” above the lettering at the top plus the casing (4.5” was used for the casing in the project—1/2” to turn under at the casing and 2” for the front and 2” for the back of the casing). Using a gridded ruler, measure and cut the embroidered fabric the length and width needed.
(Click Image to Enlarge)
Step 8:
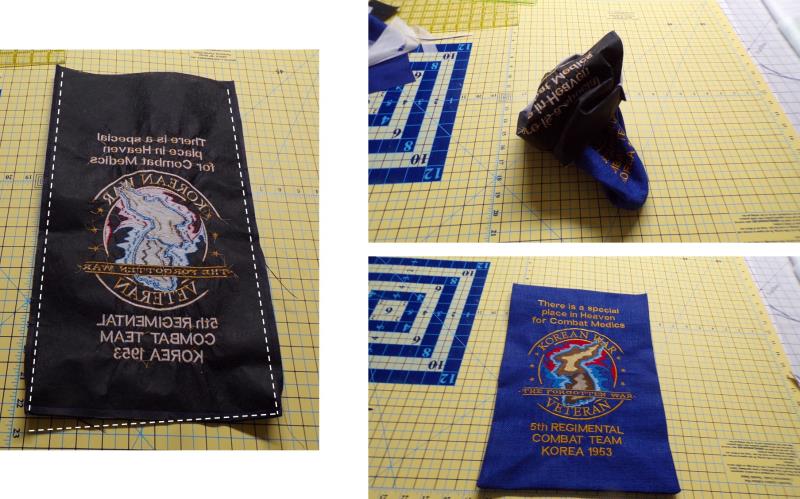
Now cut a second piece of Sunbrella fabric and Easy Knit interfacing the size of the embroidered piece. Fuse the interfacing to the back of the fabric.
(Click Image to Enlarge)
Step 9:
With right sides together Stitch the sides and bottom. Turn the piece right side out through the top forming the corners well; press.
(Click Image to Enlarge)
Step 10:
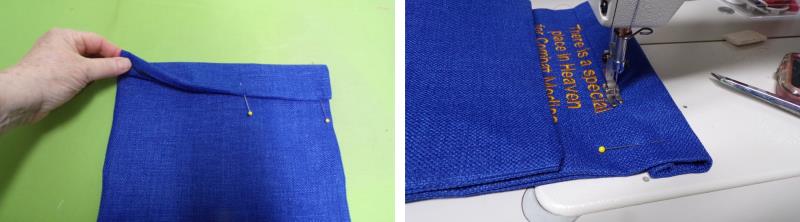
Turn under ½” at the top and then turn down the casing amount (2” for the project) and pin in place. Sew the casing along the bottom edge.
(Click Image to Enlarge)
Step 11:
Follow the instructions for putting the frame together. Slide the flag over the hook and onto the rod using the clamps to hold it in place.
(Click Image to Enlarge)
Step 12:
Place the flag stand into the ground in a garden or cemetery to note the contribution of a service member to their nation.
Ramona Baird has been in the embroidery industry for over 23 years. She and her husband owned a commercial and retail embroidery store in Arizona for many years. She is an experienced digitizer having been mentored by award-winners Pat Williams and Lindee Goodall. Ramona is a contributor to “Creative Machine Embroidery” magazine having 5 covers to her credit. Ramona has worked for Wilcom America and served many years as Education Director for the American Sewing Guild. With a degree in fashion design, she is able to design and execute patterns which Pat Williams says are “out of the box” in creativity and application. Ramona likes to challenge the boundaries of embroidery and bring new and exciting designs, ideas, and projects to EmbroideryDesigns.com. She wants embroiderers of all levels to increase their skills and enjoyment in using their embroidery machine for gift-making and personal pleasure.