{{superHeaderAds.title}}
Live Chat
Embroidery Designs
Welcome, Embroiderer
Login
Sewing supplies case
{{mainImageAlt || (productInfo._source && productInfo._source.name) || ''}}

Sewing supplies case Embroidery Project

By   Kylie Burke   on   June 27, 2018

PROJECT DETAILS

SKILL LEVEL
Intermediate
TIME REQUIRED
01:00
FINISHED SIZE
11.5 x 11.5 inches
Description

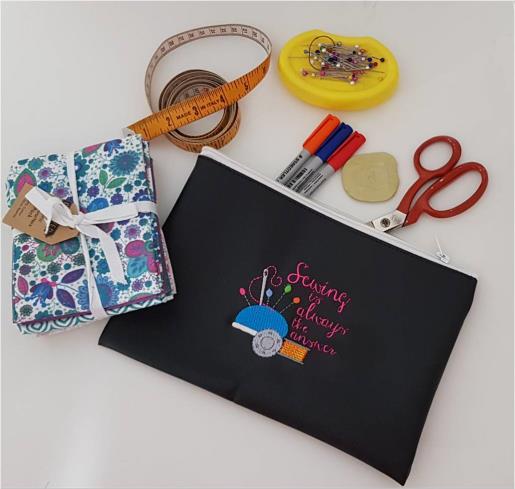
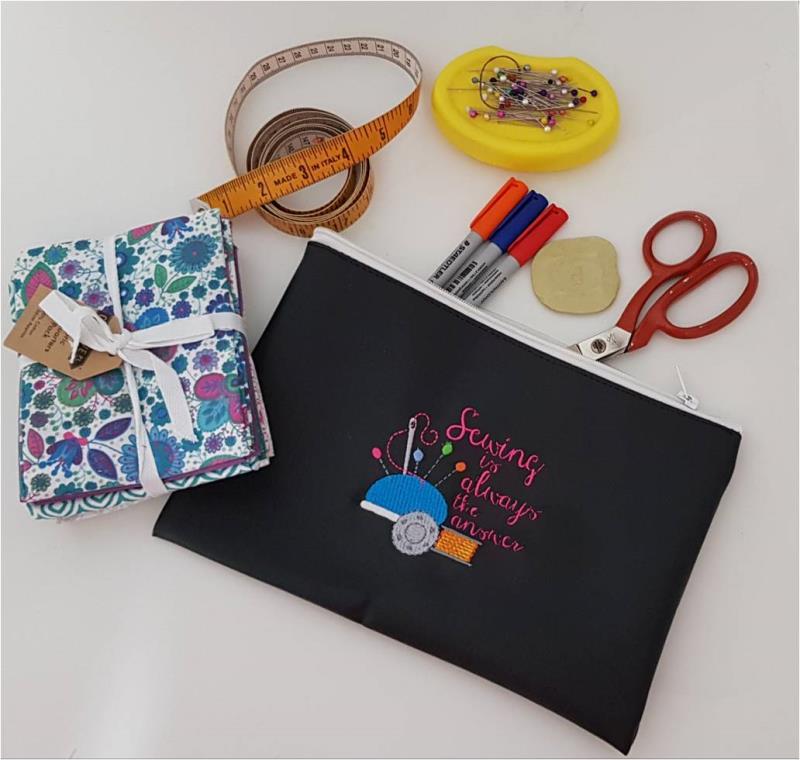
A fun project to make yourself a new sewing supplies case utilizing this colorful embroidery design. Sewing is always the answer!

Project Preview Video

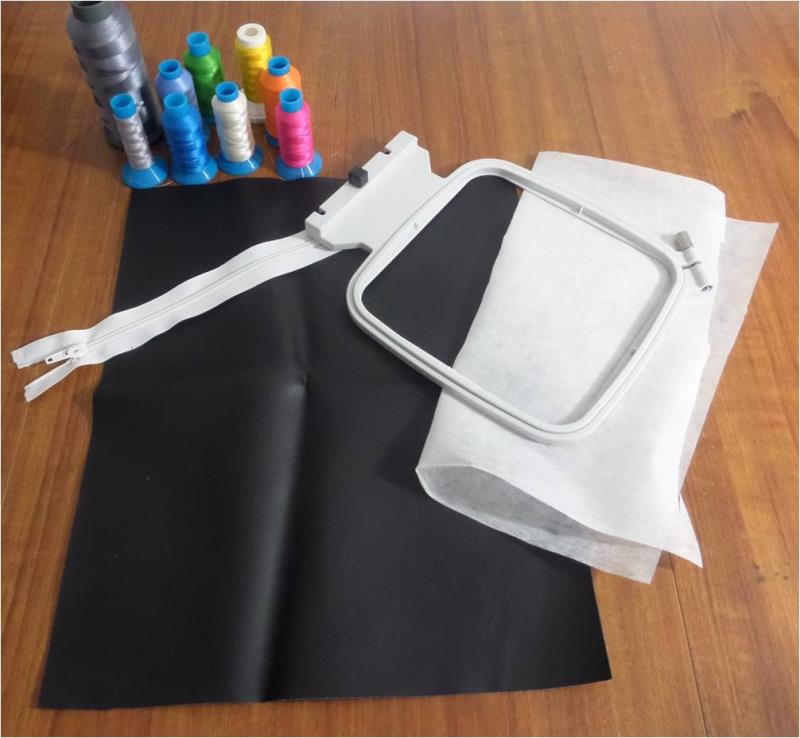
Materials
  • 12” x 25” piece of vinyl
  • 1" x 12” zipper
  • Tearaway stabilizer
  • Thread colors as required
  • 4” hoop

  • Designs used in this project

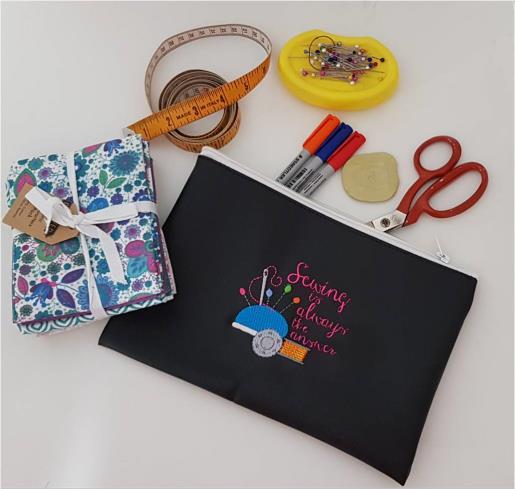
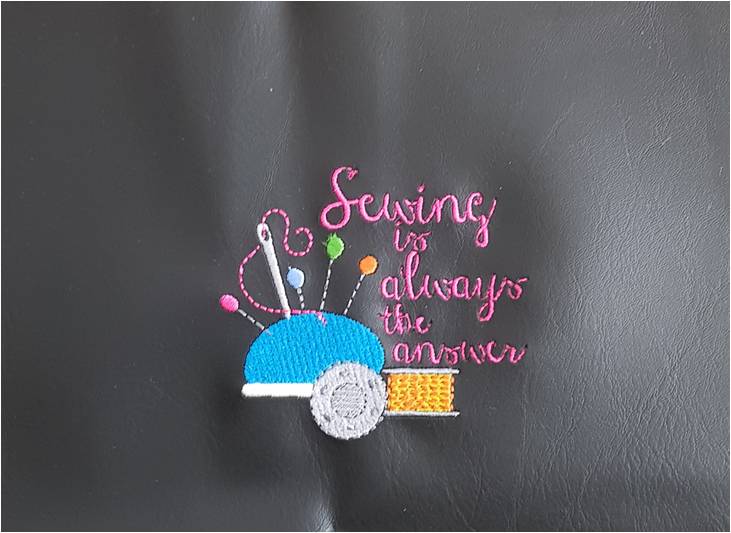
    Final Product: What You Will Create

    Preface:
    I have used a ballpoint needle to embroider on the vinyl as it gives a cleaner finish and doesn’t pierce the vinyl or leave needle holes around the design


    Step 1:
    Gather the materials and read through the instructions before beginning. Have a copy of the color sequence on hand for reference

    (Click Image to Enlarge)


    Step 2:
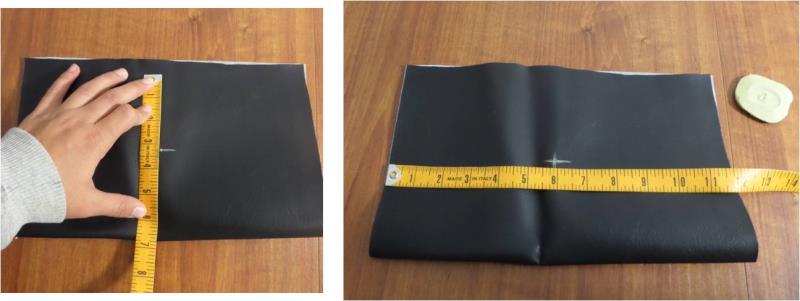
    Fold the piece of vinyl in half lengthwise and mark the center point which indicates the center of the embroidery design

    (Click Image to Enlarge)


    Step 3:
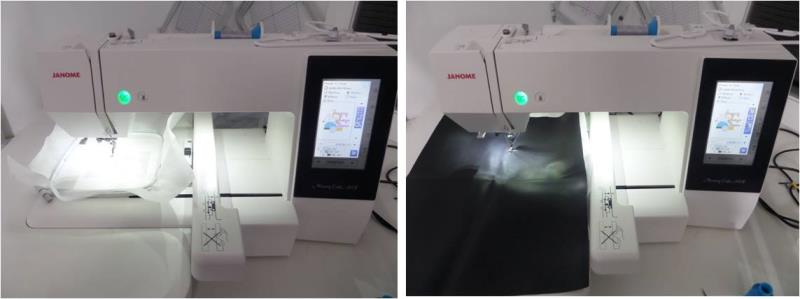
    Hoop the tearaway stabilizer and attach the hoop to your machine. As I have floated my vinyl, I have sprayed the back of my vinyl with spray adhesive to hold it in place. Position the vinyl underneath the needle, ensuring the crosshair you marked for the center is underneath the needle.

    (Click Image to Enlarge)


    Step 4:
    Stitch out the design them remove the hoop from the machine and tearaway the stabilizer.

    (Click Image to Enlarge)


    Step 5:
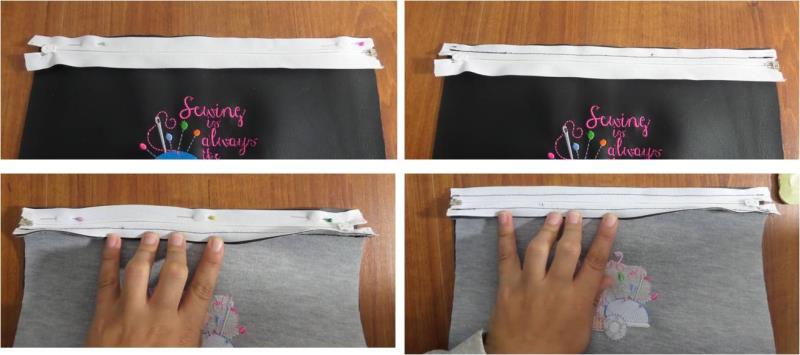
    Now place your zipper, teeth side down on the right side of the vinyl and pin in place. Then stitch. Then fold the vinyl in half lengthwise and pin the zipper to the other side, then stitch down. 

    (Click Image to Enlarge)


    Step 6:
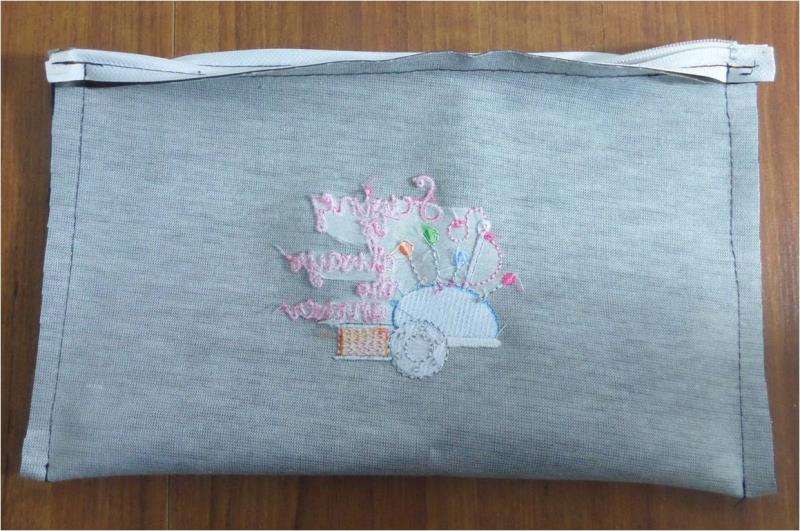
    With right sides still facing together, stitch down the sides of the case to enclose it. NOTE: ensure you unzip the zipper a little to allow you to turn through the case.

    (Click Image to Enlarge)


    Step 7:
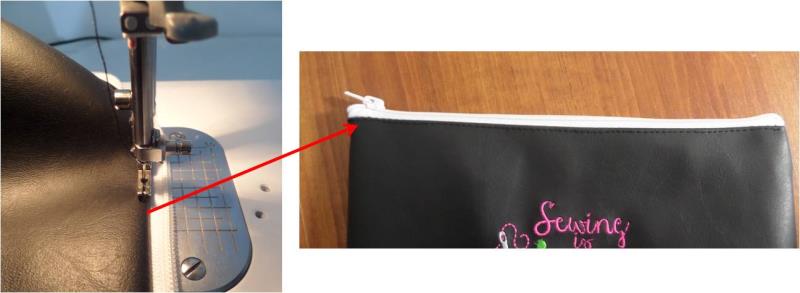
    With the case turned right side out, you now want to top stitch along the vinyl at the top where it meets the zipper. 

    (Click Image to Enlarge)


    Step 8:
    Enjoy your new sewing supplies case!

    (Click Image to Enlarge)

    Meet the Author: Kylie Burke
    Kylie Burke
    Kylie is based in Australia and loves creating and sharing her unique pieces.
    More From This Author
    Link is Broken, Please check the URL
    Exclusive Embroidery Offers!
    Copyright © {{ currentDate | date:'yyyy'}} - EmbroideryDesigns.com
    GET 50% OFF! ×