{{superHeaderAds.title}}
Live Chat
Embroidery Designs
Welcome, Embroiderer
Login
Dandelion Placemats
{{mainImageAlt || (productInfo._source && productInfo._source.name) || ''}}

Dandelion Placemats Embroidery Project

By   Kylie Burke   on   June 27, 2018

PROJECT DETAILS

SKILL LEVEL
Beginner
TIME REQUIRED
00:20
Description

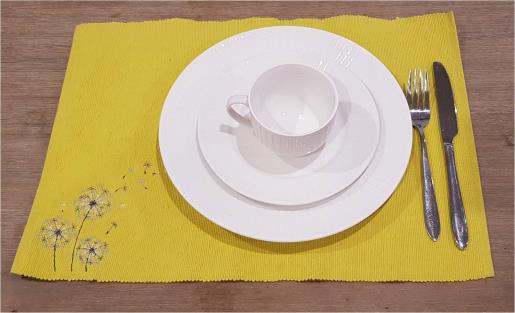
A whimsical dandelion design makes a beautiful addition to simple placemats.

Project Preview Video

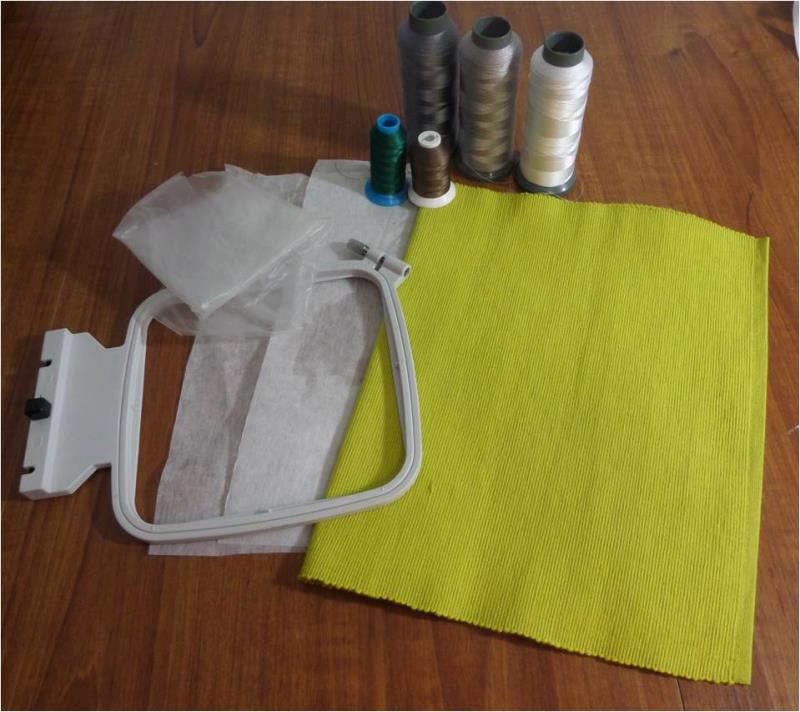
Materials
  • Placemats of your choice
  • Tearaway stabilizer
  • Thread colors as required
  • 5” x 7” hoop

  • Designs used in this project

    Final Product: What You Will Create

    Preface:
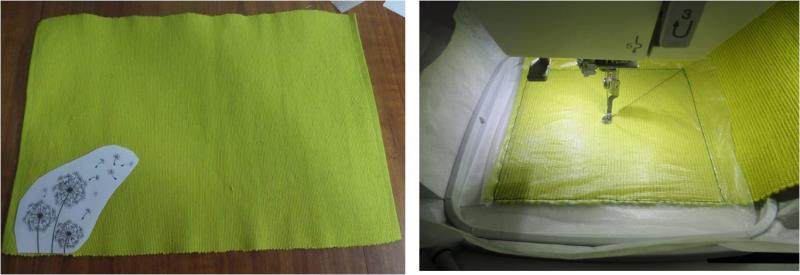
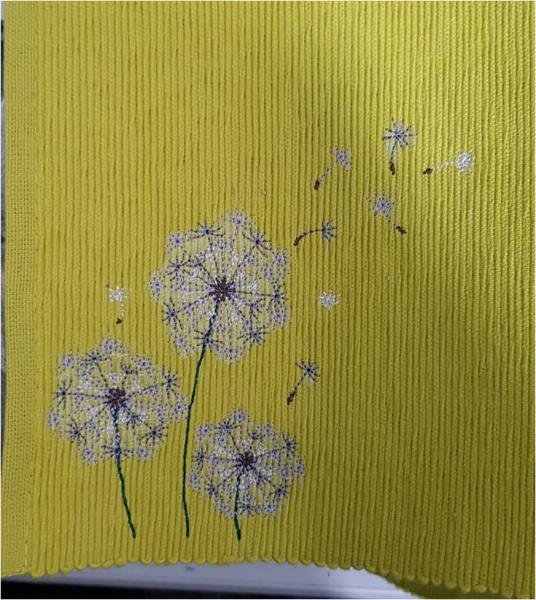
    I have used Solvy as my placemats are a ribbed type material and the Solvy helps the stitches not to sink into the placemat. 


    Step 1:
    Gather the materials and read through the instructions before beginning. Print out a paper template of the design and color sequence. 

    (Click Image to Enlarge)


    Step 2:
    Cut out the design template and position that on the placemats to determine the design placement. Hoop the tearaway stabilizer and attach to your machine. I have decided to float my placement and hold it in place using a tack down stitch, ensuring to tack down the Solvy at the same time. Load the embroidery design and stitch out the 5 color design

    (Click Image to Enlarge)


    Step 3:
    Once complete, remove the hoop from the machine. Remove the tack down stitch and the Solvy, if used. Repeat this design on as many placemats as required.

    (Click Image to Enlarge)


    Step 4:
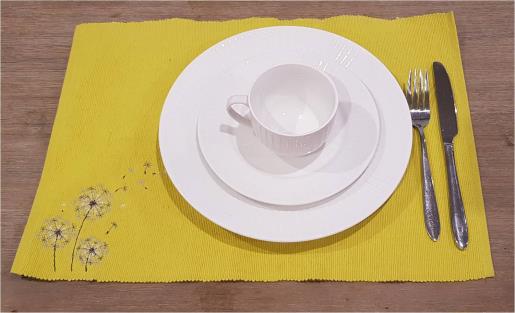
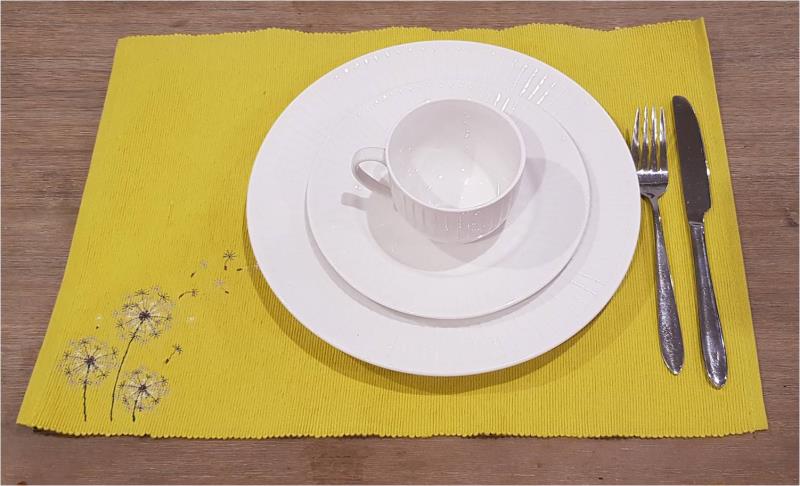
    Your whimsical placemat is now complete.

    (Click Image to Enlarge)

    Meet the Author: Kylie Burke
    Kylie Burke
    Kylie is based in Australia and loves creating and sharing her unique pieces.
    More From This Author
    Link is Broken, Please check the URL
    Exclusive Embroidery Offers!
    Copyright © {{ currentDate | date:'yyyy'}} - EmbroideryDesigns.com
    GET 50% OFF! ×