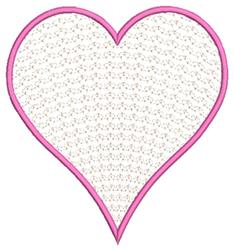
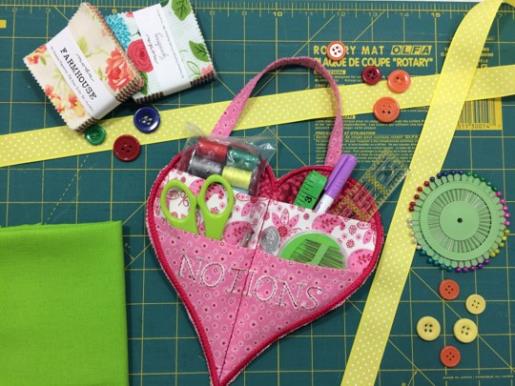
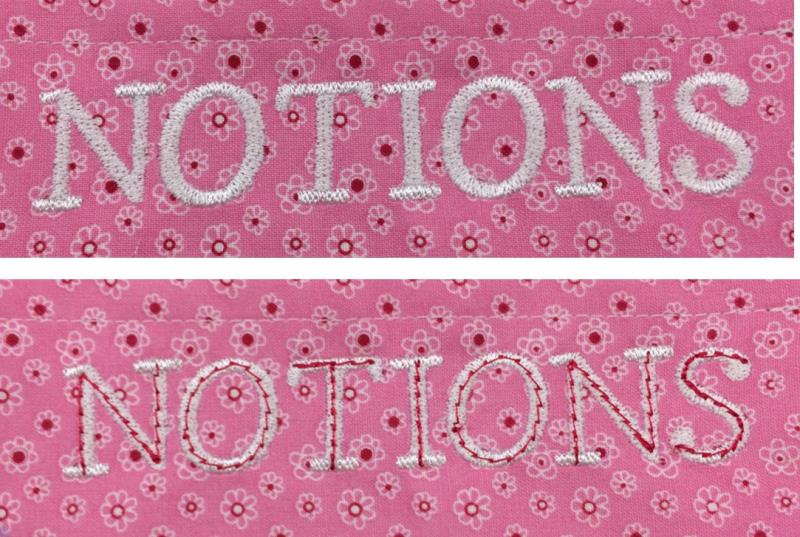
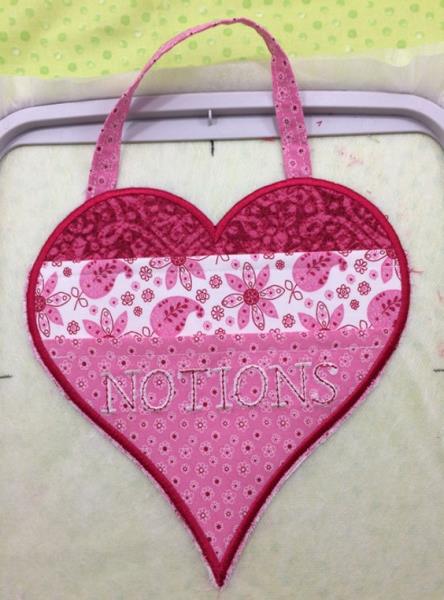
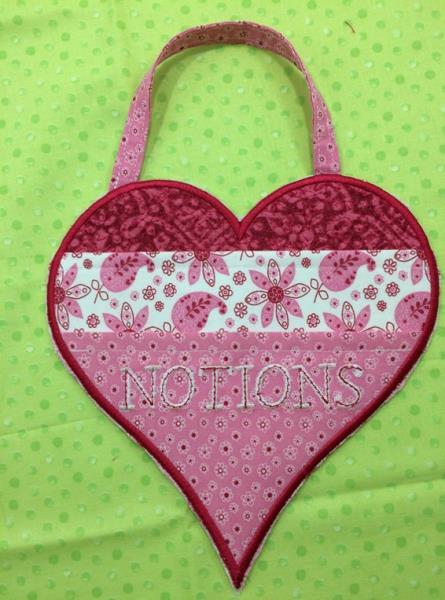
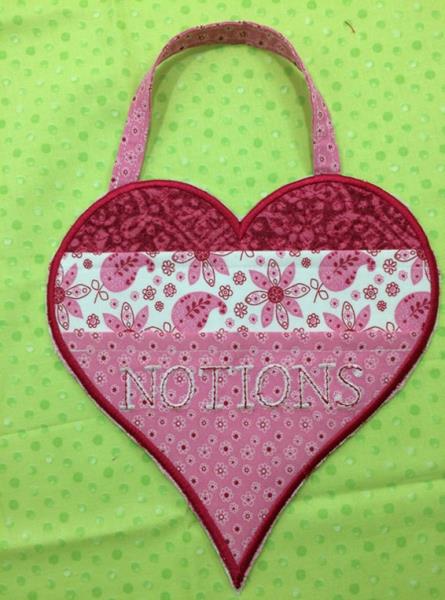
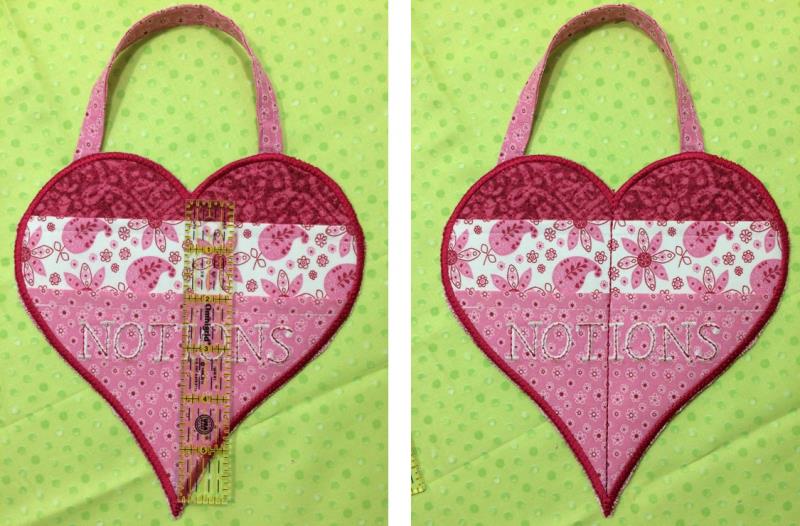
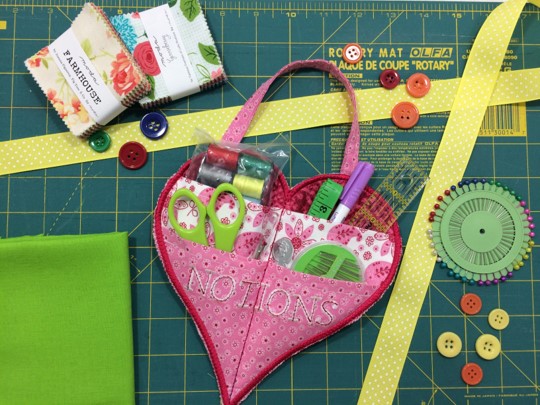
A neat little organizer for sewing notions. A combination project using machine embroidery and a little bit of sewing. ‘Heart’ embroidery design by Machine Embroidery Designs was the focal point for this project. The font is ‘Sew Easy’ by Embroidery Patterns. This project uses two hoop sizes-a 4"x4" and 8" x 8". Embrilliance Essentials software was used to make the text for 'NOTIONS'.
Step 1:
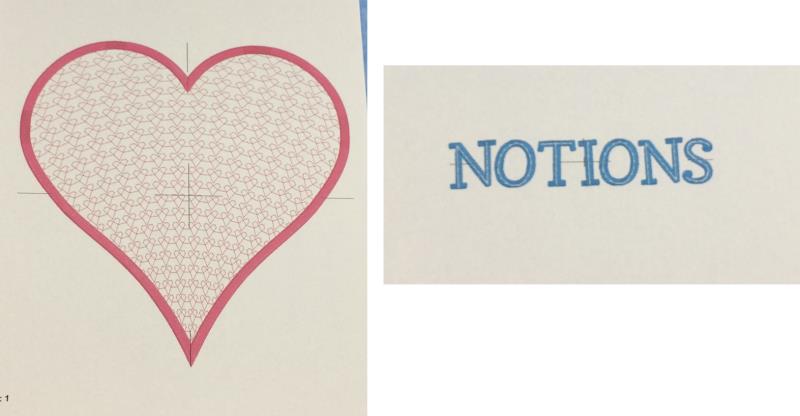
‘Heart’ embroidery design by Machine Embroidery Designs was the focal point for this project. The font is ‘Sew Easy’ by Embroidery Patterns.
(Click Image to Enlarge)
Step 2:
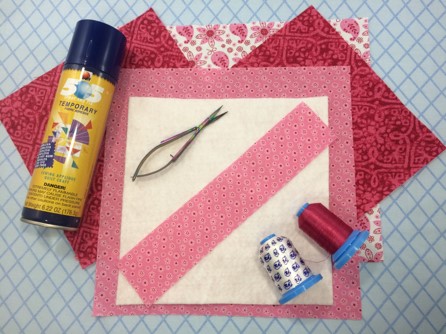
Gather the materials. Read the instructions before beginning the project. Starch and iron fabric. Starching is another way to help stabilize the fabric.
Step 3:
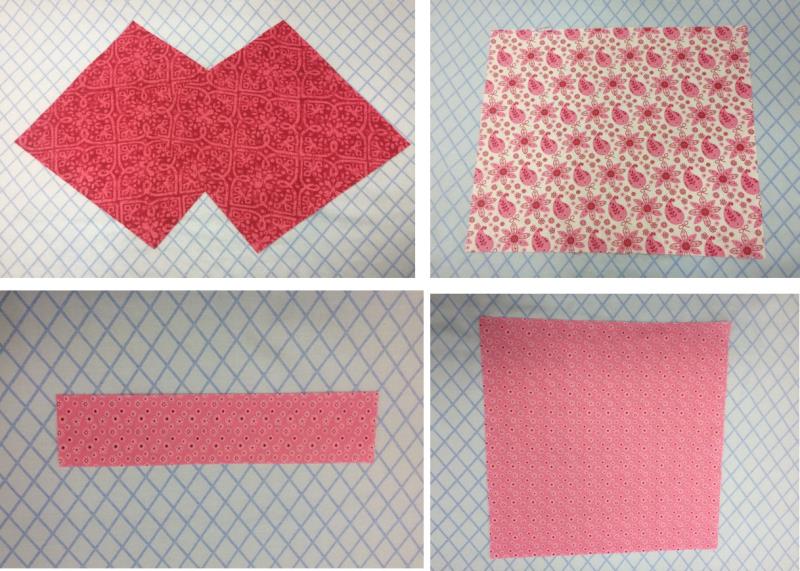
Cut two 8” x 8” pieces from the dark cotton fabric. Cut one 9” x 12” piece from light-colored cotton fabric. Cut one 9” x 10” piece from medium colored cotton fabric. Cut one 2” x 8” piece of fabric for string hanger.
(Click Image to Enlarge)
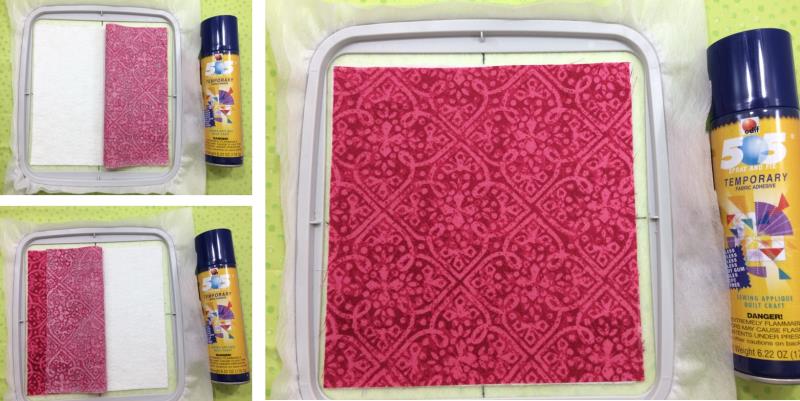
Step 4:
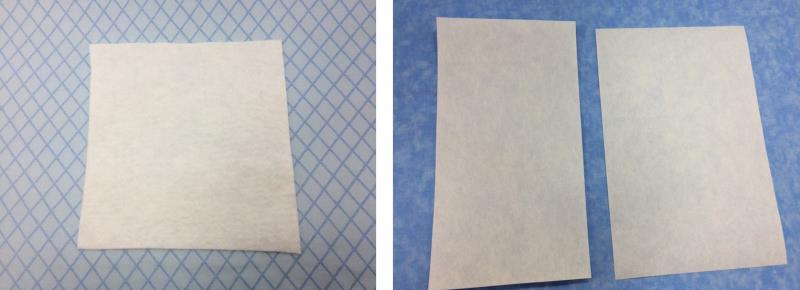
Cut one 8” x 8” low nap quilt batting. Cut one 9” x 6” piece of cut away stabilizer. Cut one 9” x 5” piece of cut away stabilizer.
(Click Image to Enlarge)
Step 5:
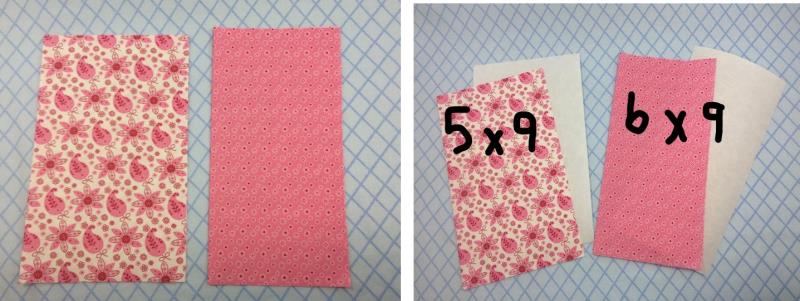
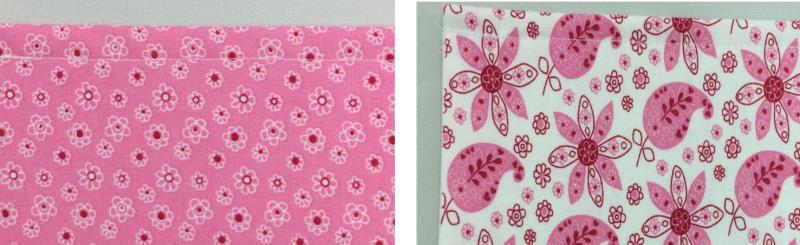
Fold the 9” x 12” piece of fabric in half making into a 6”x 9” piece. Iron on the fold line to make a crease. Fold the 9” x 10” piece of fabric in half making a 5” x 9” piece. Iron on the fold line to make a crease.
Cut-away stabilizers are permanent stabilizers that range from heavy to lightweight. They are perfect when you need a design to be stretch resistant and you need continued stabilization through many washings or use.
Match the 5” x 9” cut-away stabilizer with the 5” x 9” fabric piece. Match the 6” x 9” cut-away stabilizer with the 6” x 9” fabric piece.
(Click Image to Enlarge)
Step 6:
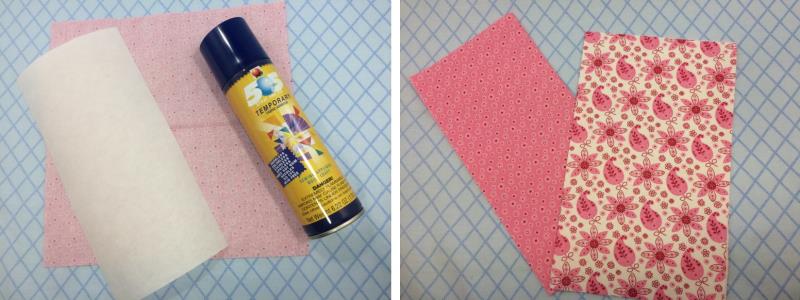
Spray the lower half on the wrong side of the 6” x 9” fabric with temporary adhesive spray. Fold top half of fabric down and smooth surface. Repeat for the 5” x 9” fabric.
(Click Image to Enlarge)
Step 7:
Sew a ¼” seam from the fold line. Reinforce stitching at the beginning and end of the seam.
(Click Image to Enlarge)
Step 8:
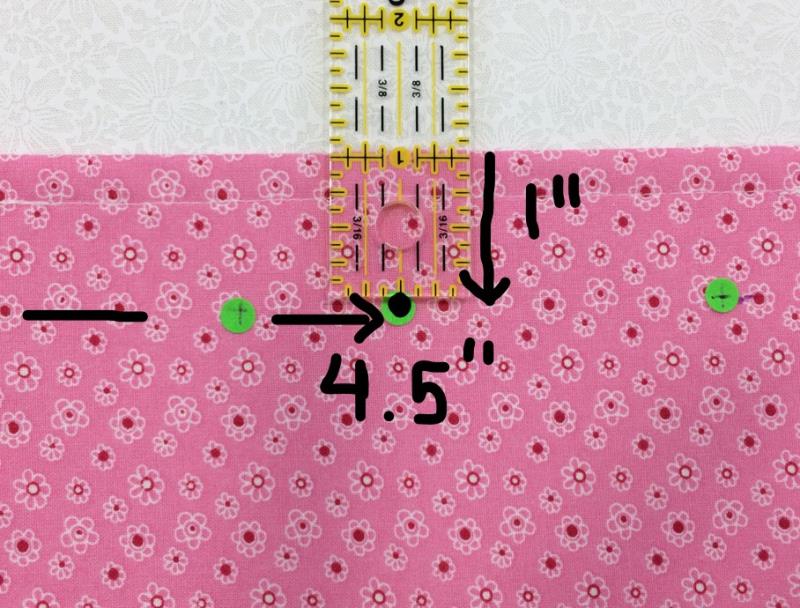
Using the 5” x 9” piece, measure 4.5” from either side to find the center point of the fabric. Mark the fabric. Measure 1” from the top. Mark the fabric.
(Click Image to Enlarge)
Step 9:
Tear-away Stabilizers are a temporary, paper-like stabilizer that comes in many different weights, from very soft to very crisp. Tear-away stabilizers are carefully torn off after embroidery design is completed. A medium tear-away stabilizer will be used because of the weight and fabric stability of the fabric.
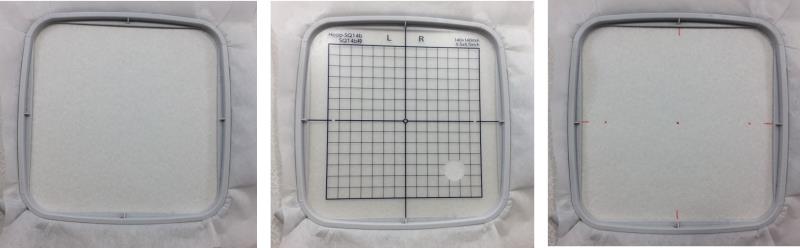
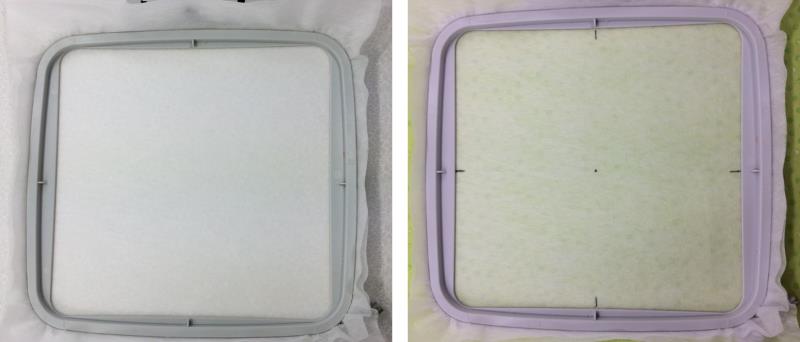
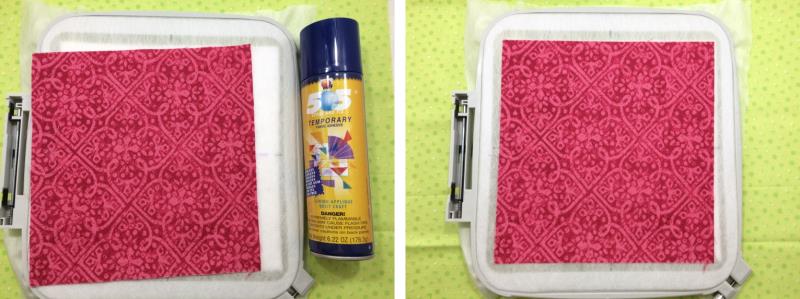
Hoop 1 sheet of tear-away stabilizer. Use the grid template and the paper template as guides to mark the center point and axis on the stabilizer.
(Click Image to Enlarge)
Step 10:
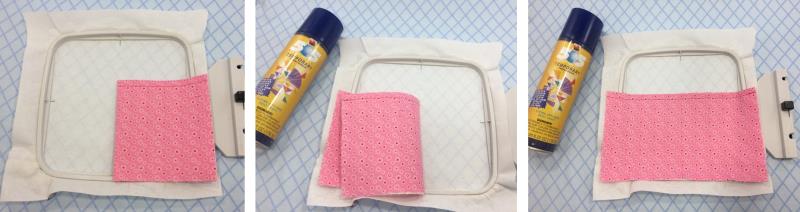
Align the fabric with the center point and axis on the stabilizer.
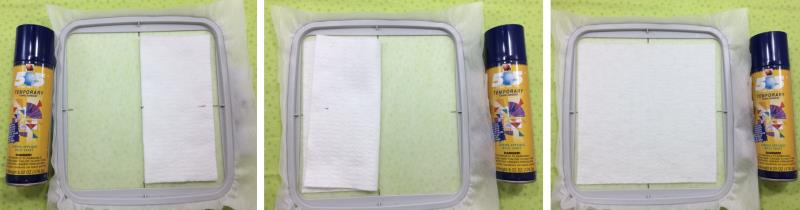
Spray the opposite side the stabilizer with a temporary adhesive spray. Fold the fabric down onto the stabilizer. Press gently and smooth fabric. Repeat for the other side of the fabric.
(Click Image to Enlarge)
Step 11:
Load the embroidery design onto your machine. Stitch the design. Remove the hoop from the machine. Remove the fabric from the hoop. Gently tear-away the stabilizer. Clip long threads if necessary.
(Click Image to Enlarge)
Step 12:
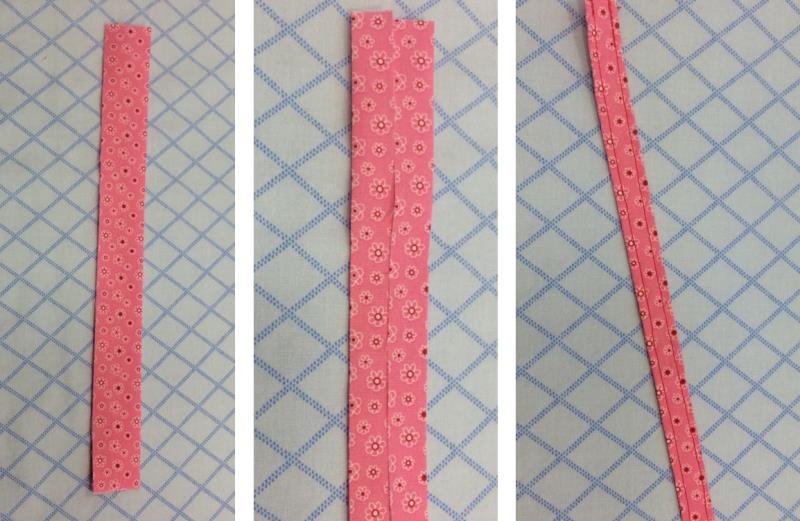
Fold the 2” x 8” fabric in half with WRONG SIDES together. Use an iron to crease the fold line. Open the fabric so the WRONG SIDE is facing you. Fold each side to the fold line and crease with an iron. Fold in half again and press with an iron.
Sew 1/8” seam along each edge. Reinforce stitching at the beginning and end of the seam.
(Click Image to Enlarge)
Step 13:
Water soluble stabilizer is completely dissolved in water after the stitching is complete. This is necessary for use on sheer fabrics with light embroidery, creating designs with cutouts, making patches that need a clean satin stitched edge, and for making free standing lace.
Hoop 2 sheets of Vilene Water Soluble Stabilizer. Use the grid template and the paper template as guides to mark the center point and axis on the stabilizer.
(Click Image to Enlarge)
Step 14:
Fold the low nap batting in half. Align the batting with the center point and axis on the stabilizer. Spray the opposite side the stabilizer with a temporary adhesive spray. Fold batting down onto the stabilizer. Press gently and smooth batting. Repeat for the other side of the batting.
(Click Image to Enlarge)
Step 15:
Fold the 8” x 8” fabric in half. Align the fabric with the axis. Spray the opposite side the batting with a temporary adhesive spray. Fold fabric down onto the batting. Press gently and smooth fabric. Repeat for the other side of the fabric.
(Click Image to Enlarge)
Step 16:
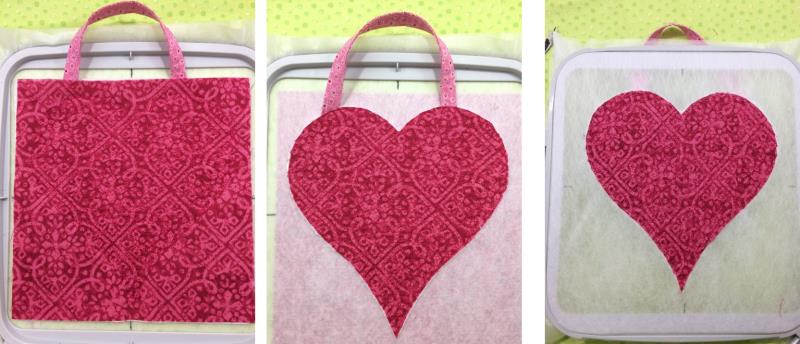
Turn the hoop over so that the back side is facing you. Spray the surface with temporary adhesive. Using the second 8” x 8” piece of fabric, place on the stabilizer using the outline from the fabric on the front as a guide. Gently smooth surface.
(Click Image to Enlarge)
Step 17:
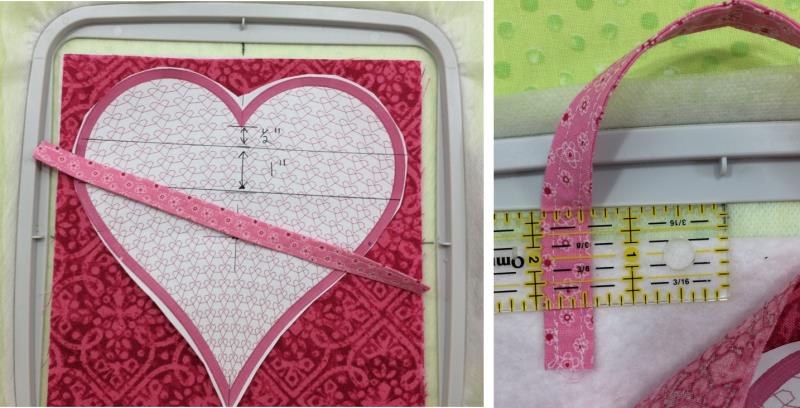
Turn the hoop so that the front side is facing you. Measure 2” from the center axis. Lift the top fabric up and place the fabric hanger on top of the stabilizer. Repeat these steps for the other side.
(Click Image to Enlarge)
Step 18:
Lay top fabric over the hanger and smooth surface. Repeat these steps for the other side of the fabric hanger.
Step 19:
Load the ‘Heart’ embroidery design onto your machine. Stitch the first color on the color chart. The stitching will be a heart-shaped stippling. Remove hoop from the machine. Trim excess fabric from around the stitching on the front side of design. Be careful not to cut the hanger as you trim. Turn the hoop so that the back side is facing you. Carefully trim excess fabric from around the stitching. Attach the hoop to your machine.
(Click Image to Enlarge)
Step 20:
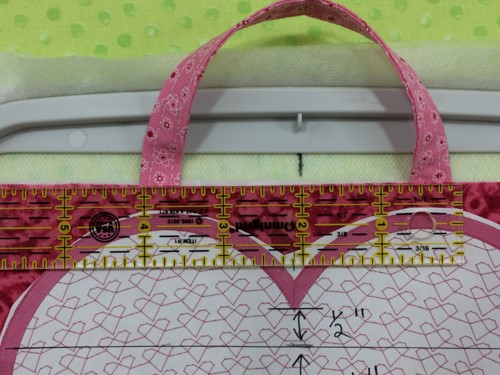
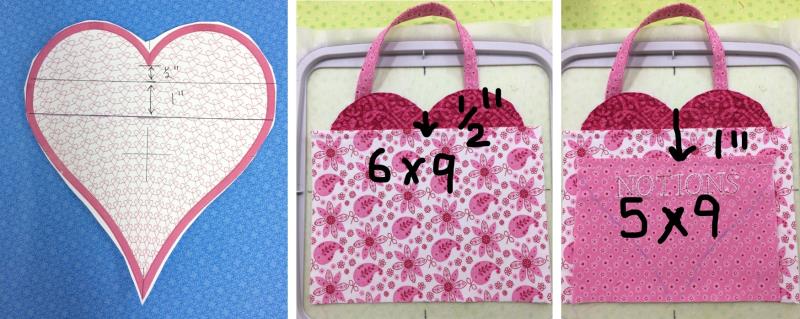
Measure ½” down from the center point of the heart. Spray a light touch of temporary adhesive on the lower part of the heart. Place the 6” x 9” fabric on the hoop. Press gently and smooth surface.
Measure 1” down from the center point of the heart. Spray a light touch of temporary adhesive on the lower part of the heart. Place the 5” x 9” fabric on the hoop. Press gently and smooth surface.
(Click Image to Enlarge)
Step 21:
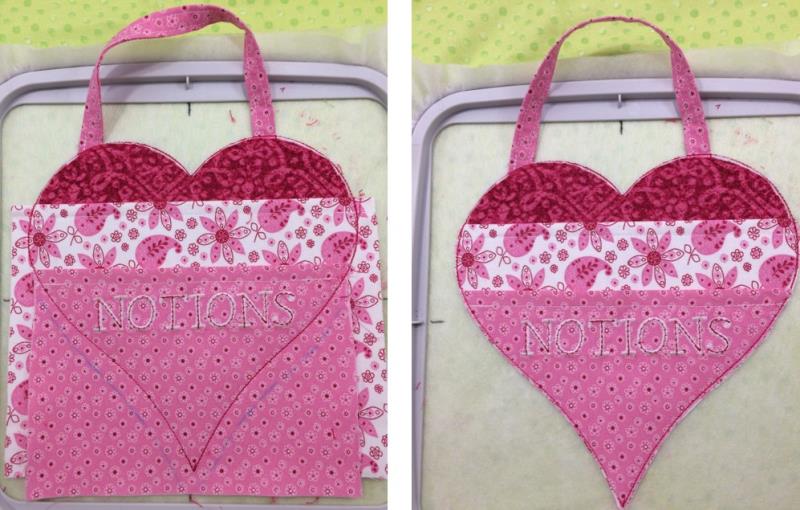
Stitch the outline of the heart. You will need to stop the machine. Remove the hoop from the machine. Trim excess around the heart being careful not to cut the hanger. Return hoop to machine.
(Click Image to Enlarge)
Step 22:
Finish stitching the design.
(Click Image to Enlarge)
Step 23:
Remove project from the hoop. Carefully trim stabilizer around the heart. Use a damp paper towel to remove the remaining water soluble stabilizer.
(Click Image to Enlarge)
Step 24:
Using a small zig zag stitch, sew a seam around the outer edge of the heart. Reinforce the stitching at the beginning and end of the seam.
(Click Image to Enlarge)
Step 25:
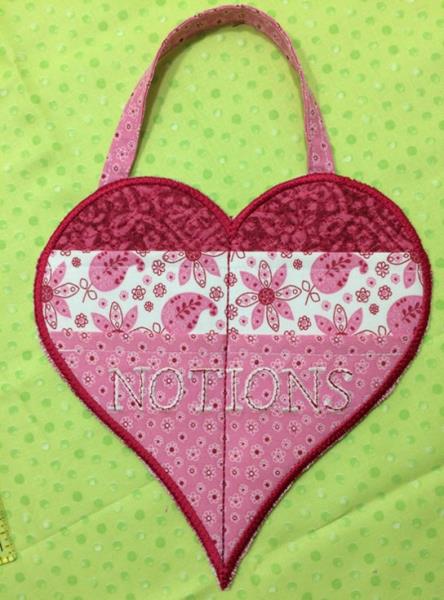
Sew a seam from the tip end of the heart to the center point of the heart. Reinforce the stitching at the beginning and end of the seam.
(Click Image to Enlarge)
Step 26:
Congrats! You have completed a ‘Sewing Caddy’. Great job!
Marisa Littleton is a retired educator with a love for teaching and learning. Interests include machine embroidery, hand embroidery, quilting, cooking, and antiques.