{{superHeaderAds.title}}
Live Chat
Embroidery Designs
Welcome, Embroiderer
Login
Cherry Pie tea towel
{{mainImageAlt || (productInfo._source && productInfo._source.name) || ''}}

Cherry Pie tea towel Embroidery Project

By   Kylie Burke   on   May 25, 2018

PROJECT DETAILS

SKILL LEVEL
Beginner
TIME REQUIRED
00:45
Description

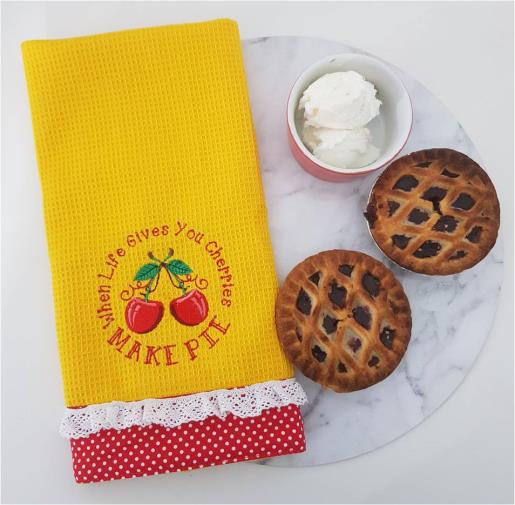
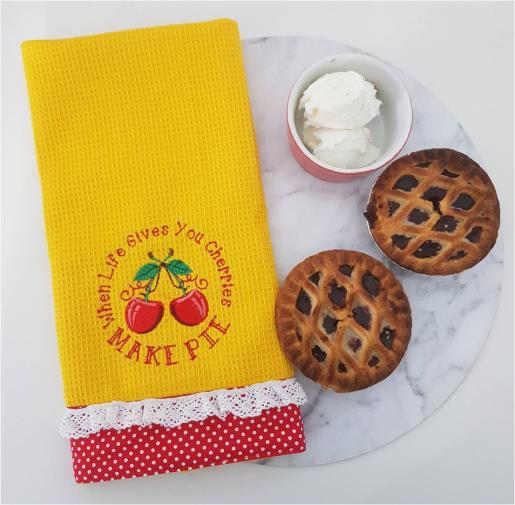
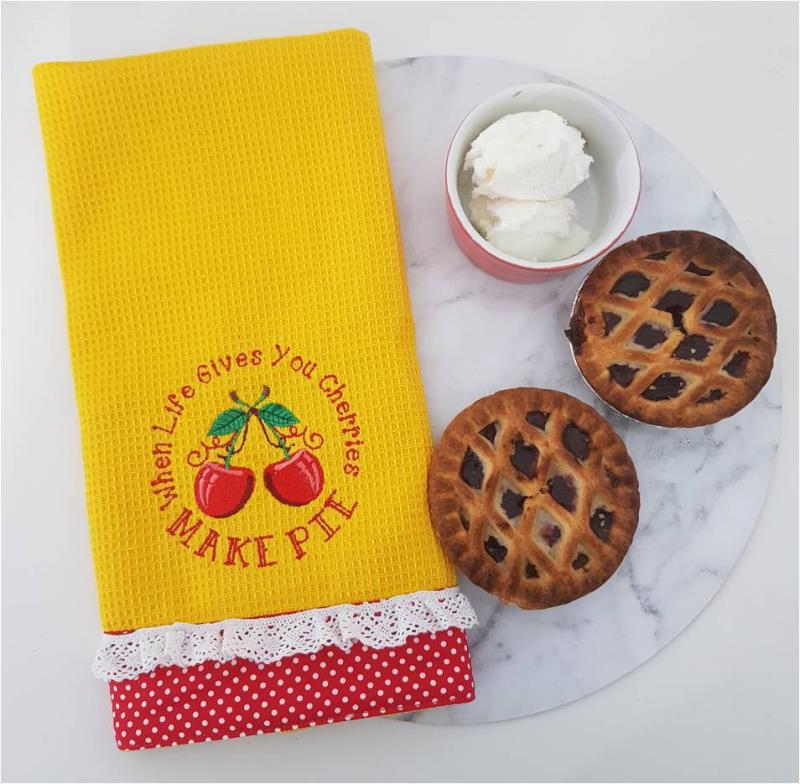
A fun addition to a plain tea towel with this cherry pie design and decorative trims can make baking even more enjoyable.

Project Preview Video

Materials
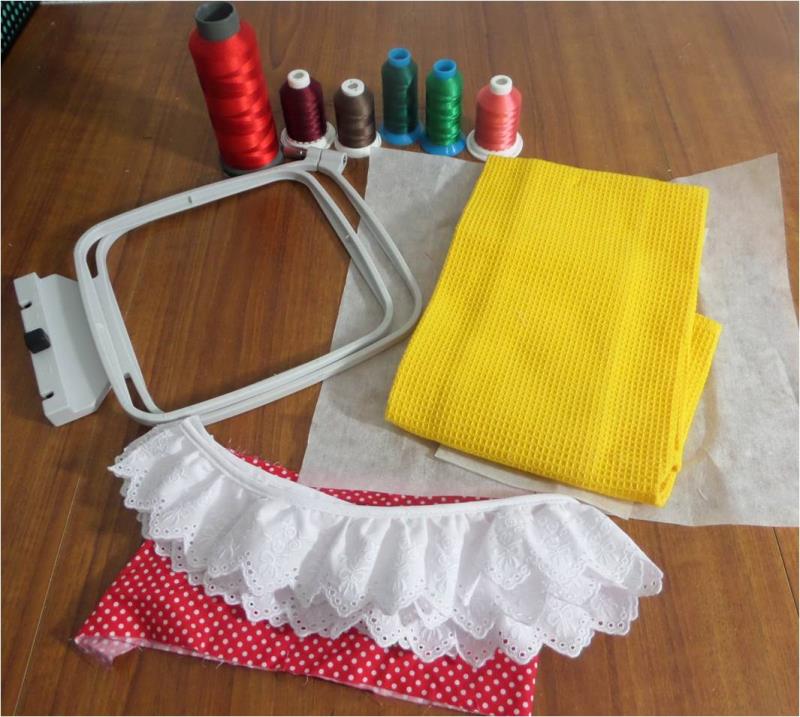
  • 1 tea towel
  • 6 color threads
  • Tearaway stabilizer
  • Cotton fabric for decorative strip
  • Frill trim
  • Pins
  • Sewing machine

  • Designs used in this project

    Final Product: What You Will Create


    Step 1:
    Gather the materials and read through the instructions before beginning. Have a copy of the color sequence on hand to refer to.

    (Click Image to Enlarge)


    Step 2:
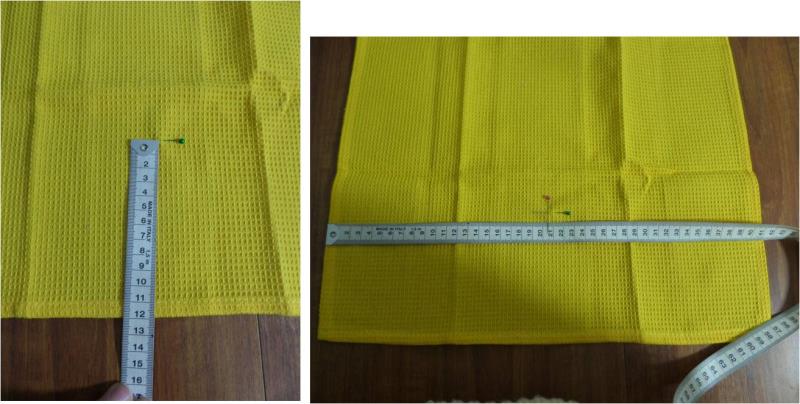
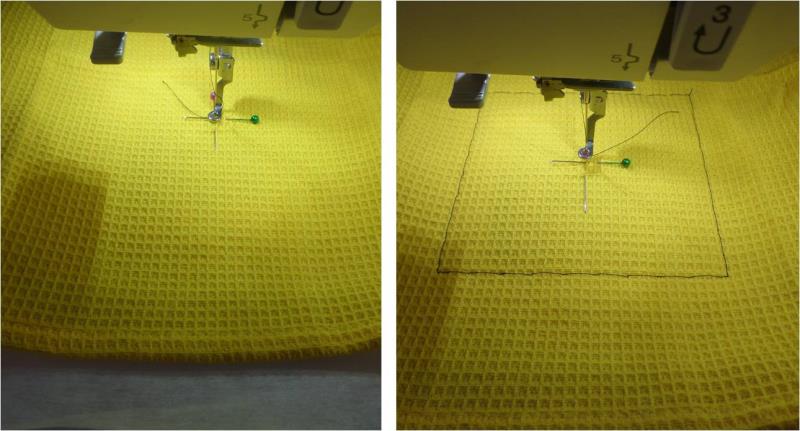
    From the bottom of the tea towel, measure up 120mm and mark to indicate the center of the embroidery design. The design is 100mm x 100mm but you need to allow for the 50mm trim at the bottom. Then measure across the width of your teatowel and mark the center. My teatowel is 41cm wide so I have marked at 20.5cm

    (Click Image to Enlarge)


    Step 3:
    Hoop the tearaway stabilizer, attach the hoop to the machine and load the design. Place the teatowel under the foot ensuring the crosshair you marked is directly under the foot which indicates the center. If you have the option, use a basting stitch to hold the teatowel in place. If you don’t have this option you can pin the towel down, I just prefer not to hoop it to avoid hoop burn.

    (Click Image to Enlarge)


    Step 4:
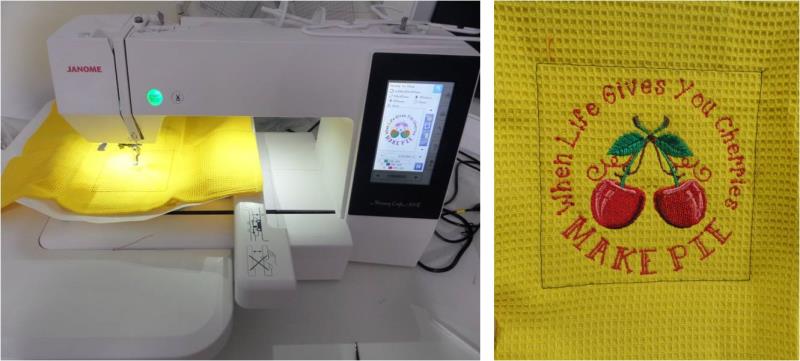
    Stitch out the design. Once complete, remove the hoop, unhoop and tearaway the stabilizer. Press the design with your iron.

    (Click Image to Enlarge)


    Step 5:
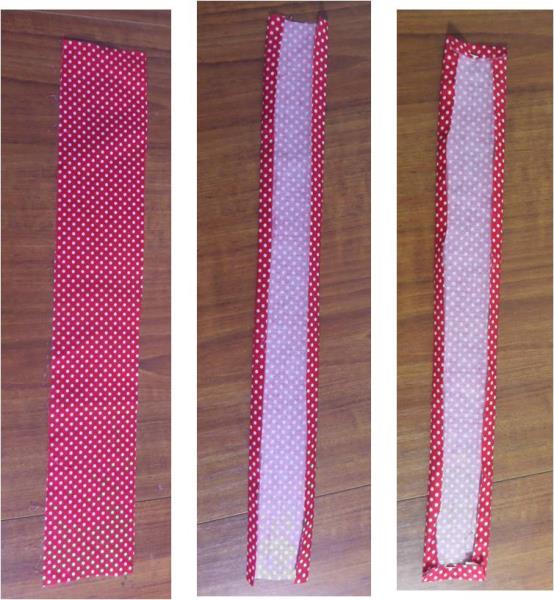
    Cut the strip of cotton fabric down to 70mm wide x the width of your teatowel + 20mm. So for me, my teatowel is 41cm wide so I cut my strip 43cm wide to allow for seam turn under. Using your iron, press under 10mm all the way around the strip

    (Click Image to Enlarge)


    Step 6:
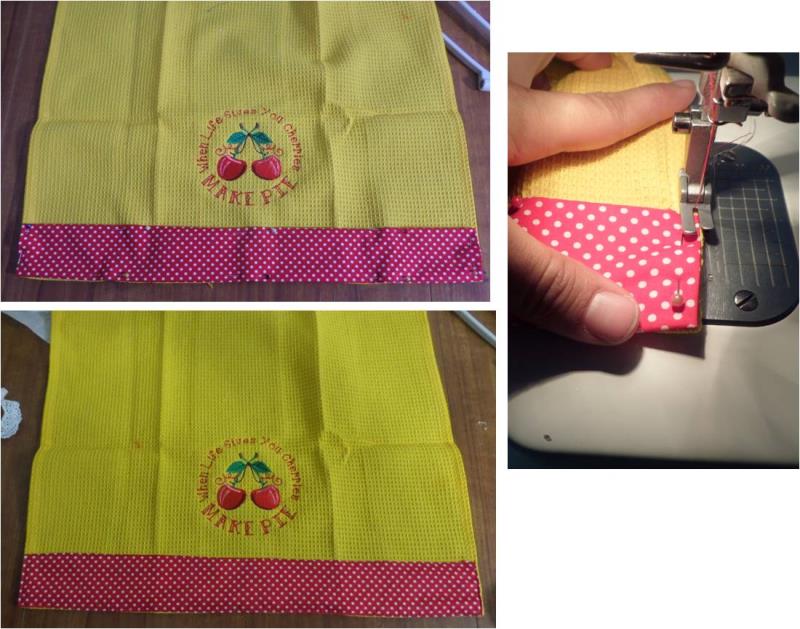
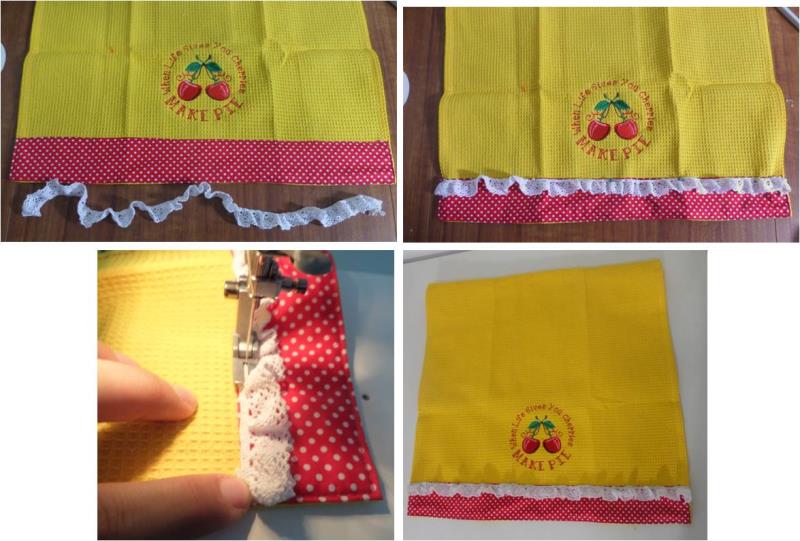
    Lay the cotton strip on top of the teatowel at the bottom and pin it down. Then stitch around all edges, stitching close to the edge. 

    (Click Image to Enlarge)


    Step 7:
    Now cut your frill trim down to the same size as the cotton strip, this also allows for a 10mm turn under at each end. Pin this trim over the cotton strip, aligning it across the top, then stitch it down

    (Click Image to Enlarge)


    Step 8:
    Enjoy your cherry pie!

    (Click Image to Enlarge)

    Meet the Author: Kylie Burke
    Kylie Burke
    Kylie is based in Australia and loves creating and sharing her unique pieces.
    More From This Author
    Link is Broken, Please check the URL
    Exclusive Embroidery Offers!
    Copyright © {{ currentDate | date:'yyyy'}} - EmbroideryDesigns.com
    GET 50% OFF! ×