Live Chat
Embroidery Designs
Welcome, Embroiderer
Login
Embellished Lavender Sachets

Embellished Lavender Sachets Embroidery Project

By   Linda Mills   on   May 24, 2018
  • SKILL LEVELSome Experience
  • TIME REQUIRED01:45
  • FINISHED SIZE4.5 x 4.5 inches
Description

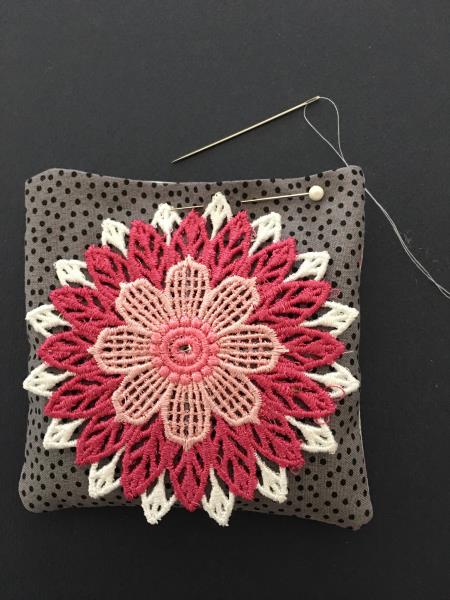
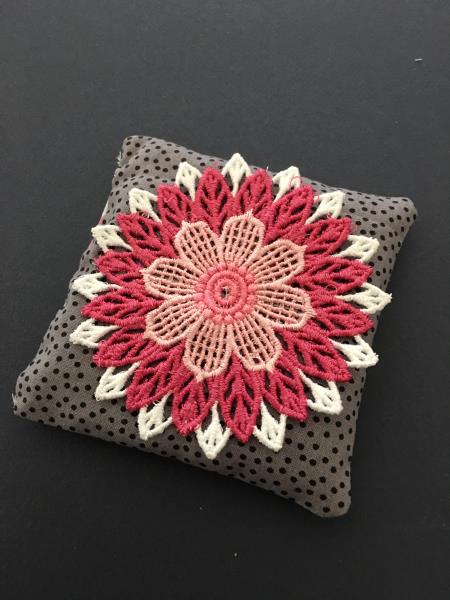
Simple and easy to sew sachets using 5" cut fabric squares and adding a Free Standing Lace (FSL) Doily embroidery design for a stylish and chic look.

Step of

Materials

Project Preview Video

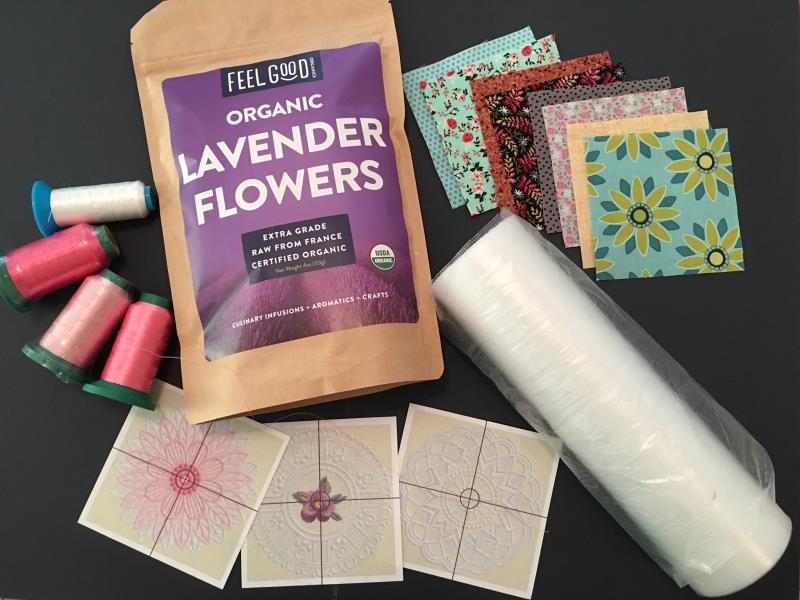
Materials
  • Dried lavender
  • Fabric scraps/Fat quarters cut into 5" sq - Need two squares per sachet.
  • Water soluble stabilizer
  • Embroidery thread
  • Sew thread
  • Template of designs for review

  • Designs used in this project

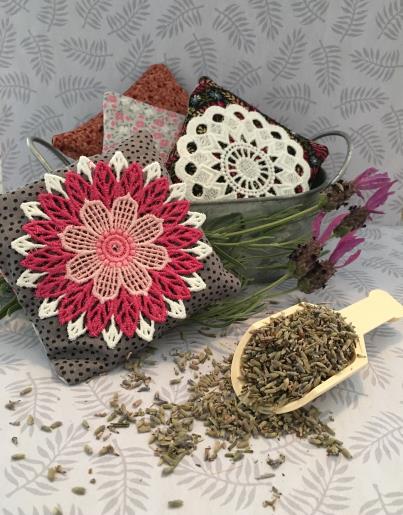
    Final Product: What You Will Create

    Preface:
    Your drawers, closets will smell like a bit of "heaven" with these lovely lavender sachet pillows.  Make as many or as few as you like.  Great for gifts!


    Step 1:
    Gather all supplies and review instructions before beginning. 

    (Click Image to Enlarge)


    Step 2:
    Load design into your machine.


    Step 3:
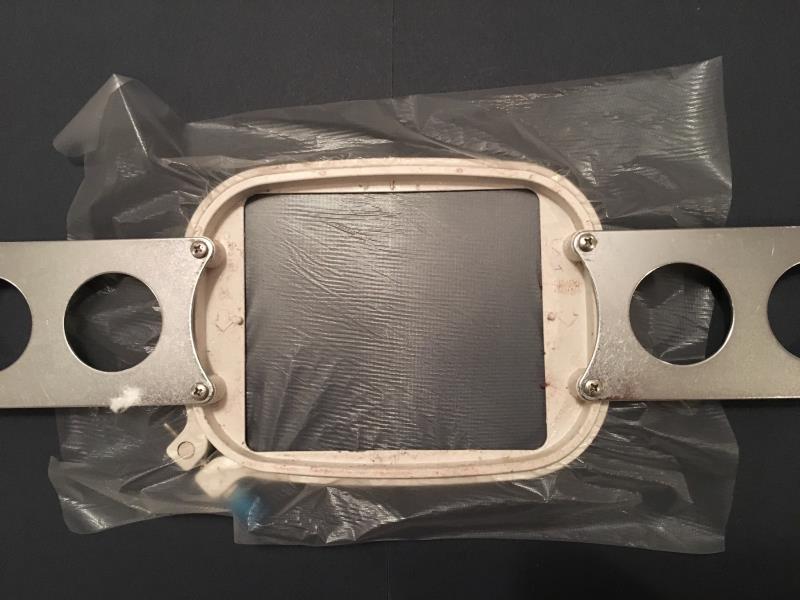
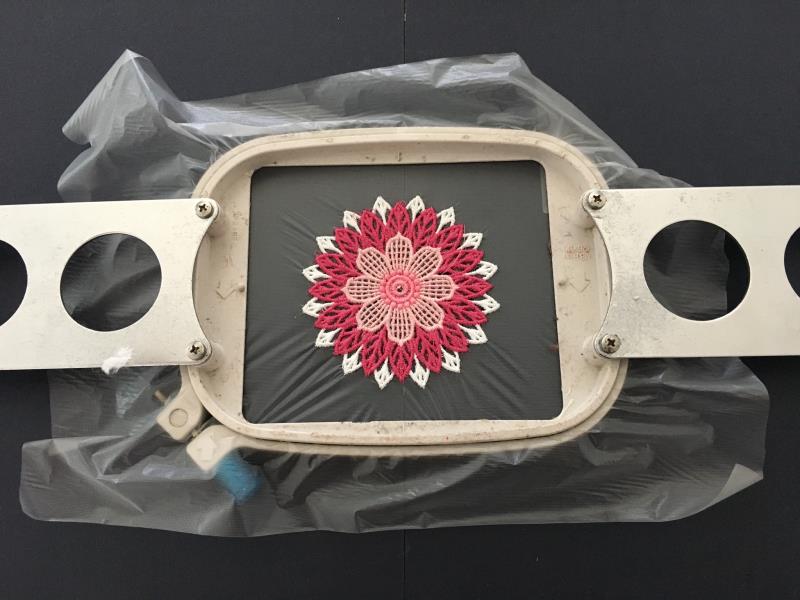
    Hoop water soluble stabilizer.  If you are using a lightweight water soluble stabilizer just double it so that it will not tear when embroidering.  

    (Click Image to Enlarge)


    Step 4:
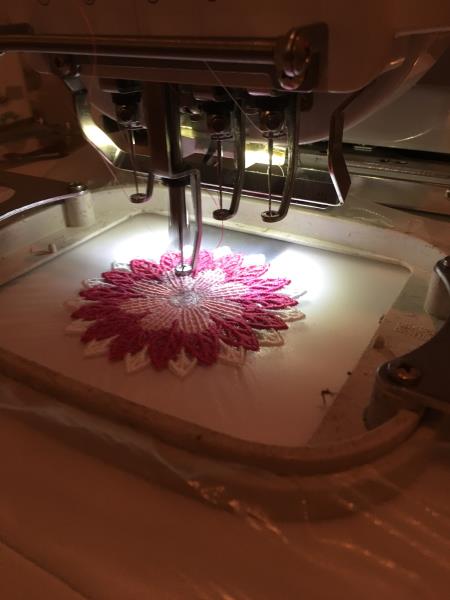
    Attach hoop to machine. Begin embroidering.

    (Click Image to Enlarge)


    Step 5:
     Design complete. Remove hoop from machine.  Remove stabilizer.  You may have small bits of stabilizer still in the embroidered design.  You can remove simply by placing in a bowl of water for a few seconds.  Dry with paper towel and press. 

    (Click Image to Enlarge)


    Step 6:
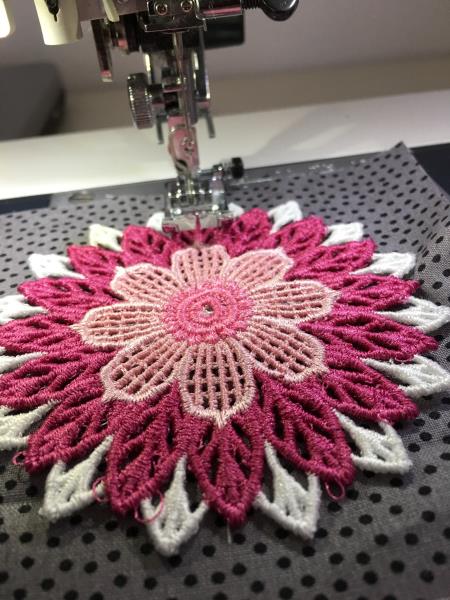
    I used two different fabric squares to construct the sachets. Use your fabric square of choice.  Attach doily to right side of fabric square.  Center and stitch a crosshair from top to bottom and side to side using clear filament thread. 

    (Click Image to Enlarge)


    Step 7:
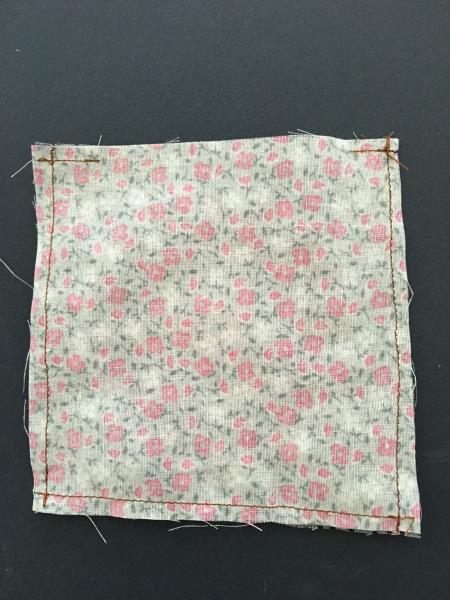
    Take another fabric square and lay on top right sides together. Sew all sides 1/4" seam allowance.  Leave 2" opening to add the dried lavender. 

    (Click Image to Enlarge)


    Step 8:
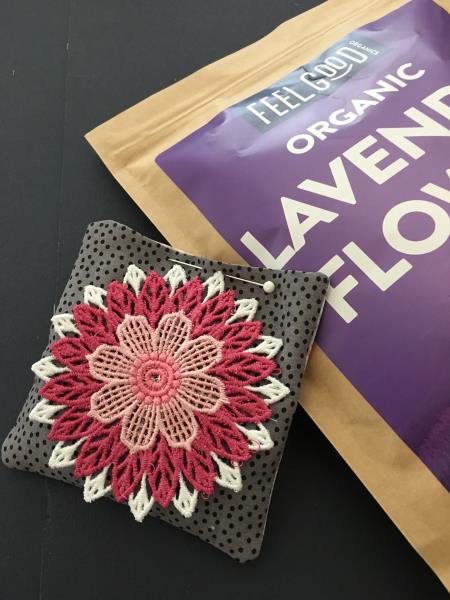
    Turn right side out and press.  Lightly fill the "pillows" with the dried lavender.

    (Click Image to Enlarge)


    Step 9:
    Hand stitch close with a simple slip stitch. 

    (Click Image to Enlarge)


    Step 10:
    You did it! So simple to make!

    (Click Image to Enlarge)

    Meet the Author: Linda Mills
    Linda Mills
    Linda loves to create by sharing her different sewing and machine embroidery techniques so others can utilize their machines to the fullest
    More From This Author
    Link is Broken, Please check the URL
    Exclusive Embroidery Offers!
    Copyright © {{ currentDate | date:'yyyy'}} - EmbroideryDesigns.com
    GET 50% OFF! ×