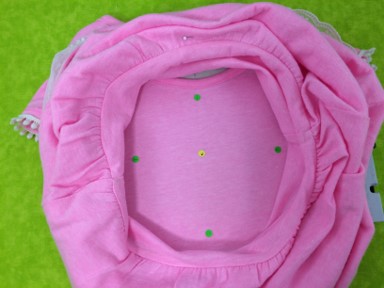
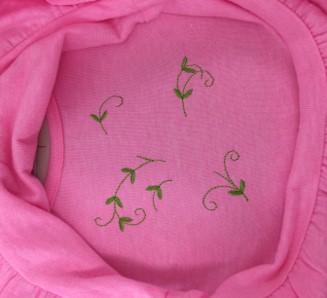
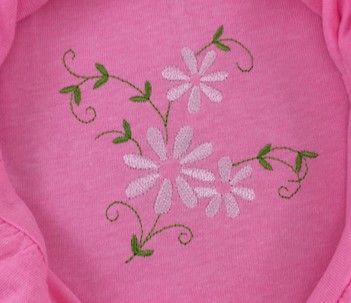
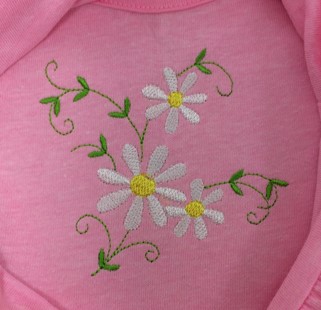
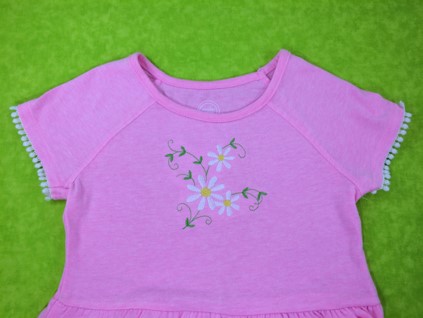
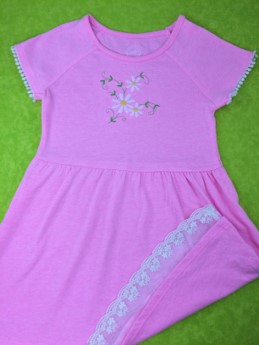
The dress is raglan t-shirt fabric with 60% cotton/40% polyester mix. Embroidery designs with open areas work best on T-shirt knits. A lighter stitch count was needed for this fabric type. This design has 5,614 stitches. Heavier embroidery designs could cause the shirt to sag or pucker. Dimensions are 4 (3/16)” x 3 (11/16)”. A single needle embroidery machine was used to make this project.
Step 1:
(Click Image to Enlarge)
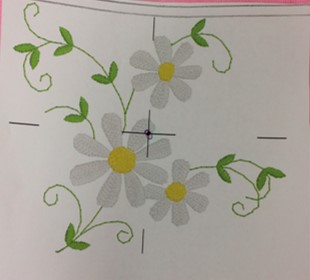
“Daisy Flowers’ by Ann the Gran is featured in this project.
Print out a copy of the Design Template and Color Chart
Step 2:
(Click Image to Enlarge)
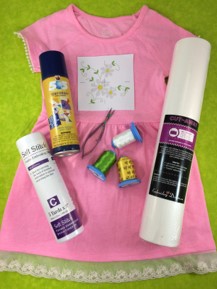
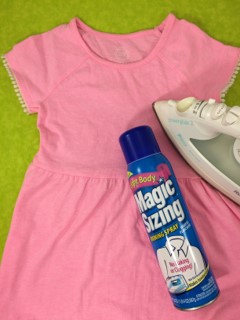
Gather the materials.
Read through the instructions before beginning.
Step 3:
(Click Image to Enlarge)
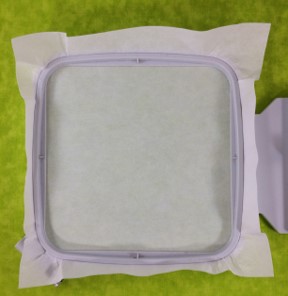
Hoop 1 sheet of 2.0 Cut-Away Stabilizer.
Step 4:
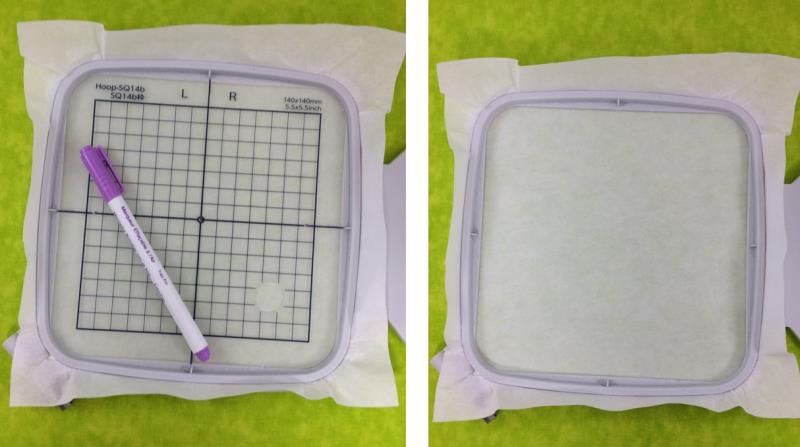
Use the grid template to find the center point and axis on the stabilizer.
(Click Image to Enlarge)
Step 5:
(Click Image to Enlarge)
Iron and lightly starch the dress. Be careful not to stretch or distort the shape of the dress while ironing.
Step 6:
(Click Image to Enlarge)
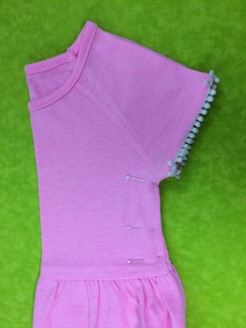
Fold the dress back in half matching side and shoulder seams. The front of the dress will be facing you. Iron a light crease on the centerfold.
Step 7:
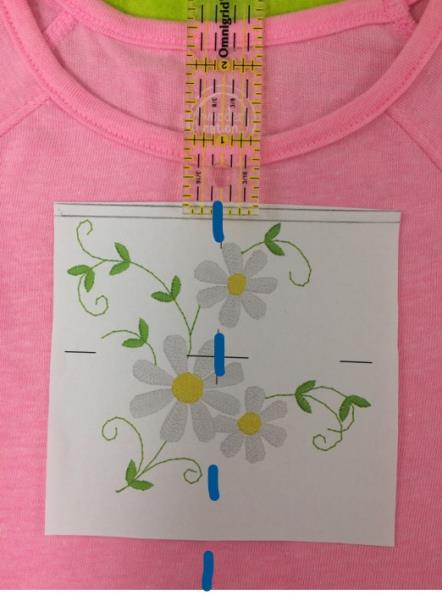
Lay the paper template on the front of the dress. Align the center line on the template with the crease on the dress.
(Click Image to Enlarge)
Step 8:
(Click Image to Enlarge)
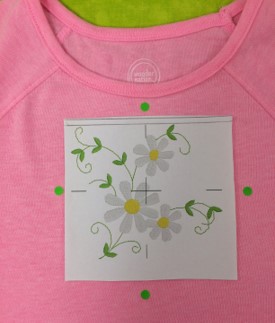
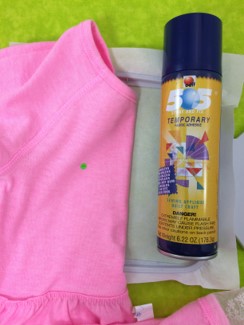
Mark the center point and axis on the dress.
Step 9:
Fold the dress back toward the shoulders on the crease. Align the center points on the dress with the center point on the stabilizer.
(Click Image to Enlarge)
Step 10:
(Click Image to Enlarge)
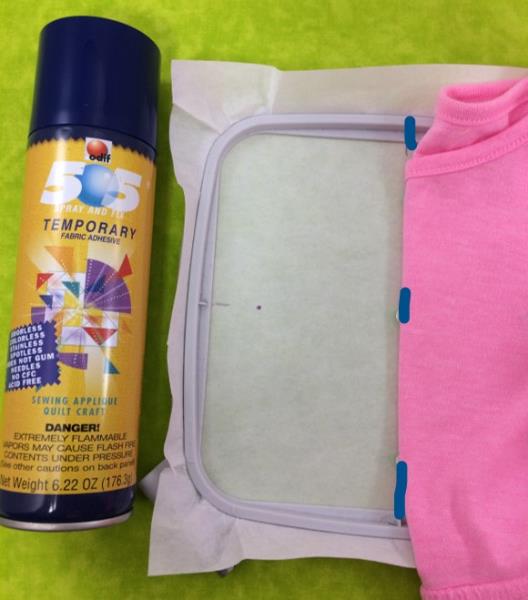
Spray the stabilizer lightly with 505 Temporary Adhesive Spray. Press the dress back onto the stabilizer. Smooth surface of wrinkles or air bubbles.
Step 11:
(Click Image to Enlarge)
Spray the other side of the stabilizer lightly with 505 Temporary Adhesive Spray. Press the dress back onto the stabilizer. Gently smooth surface of wrinkles or air bubbles.
Step 12:
(Click Image to Enlarge)
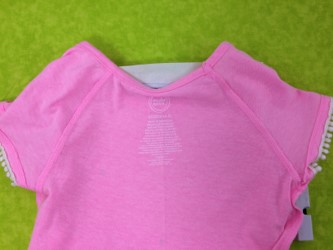
After temporarily attaching the dress to the stabilizer, the back side of the dress will be facing you.
Step 13:
(Click Image to Enlarge)
Gather the dress around the edges of the hoop. Pin to hold the dress out of the sewing area.
Load the embroidery design. You are ready to begin stitching the embroidery design.
Step 14:
(Click Image to Enlarge)
The first color to stitch will be green for the stems and leaves. (Color Stop CS 1:1)
Step 15:
(Click Image to Enlarge)
The next color to stitch will be white for the daisy petals. (CS 1:2)
Step 16:
(Click Image to Enlarge)
The last color to stitch will be yellow for the centers of the daisies. (CS 1:3)
Step 17:
(Click Image to Enlarge)
Remove the hoop from the machine. Take the hoop off the dress.
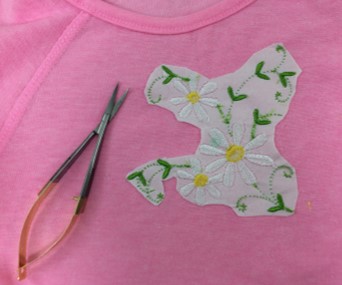
Trim the Cut-Away Stabilizer around the embroidered design. Be very careful as not to cut your fabric.
Step 18:
(Click Image to Enlarge)
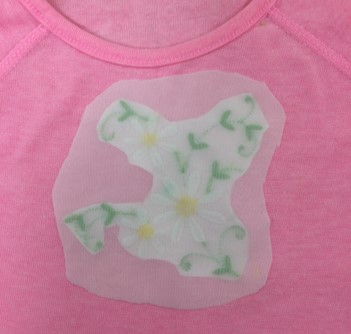
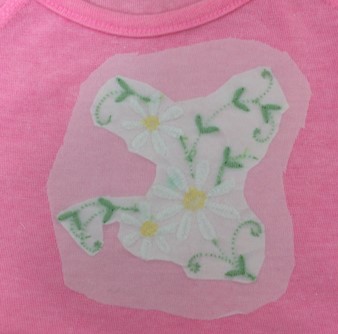
Cut a piece of Soft Stitch large enough to cover the wrong side of the embroidery design.
Place the Soft Stitch on the wrong side of the embroidery design with the fusible side down.
Step 19:
(Click Image to Enlarge)
Using a medium to hot iron, place the iron over the Soft Stitch for about 10-15 seconds.
Marisa Littleton is a retired educator with a love for teaching and learning. Interests include machine embroidery, hand embroidery, quilting, cooking, and antiques.