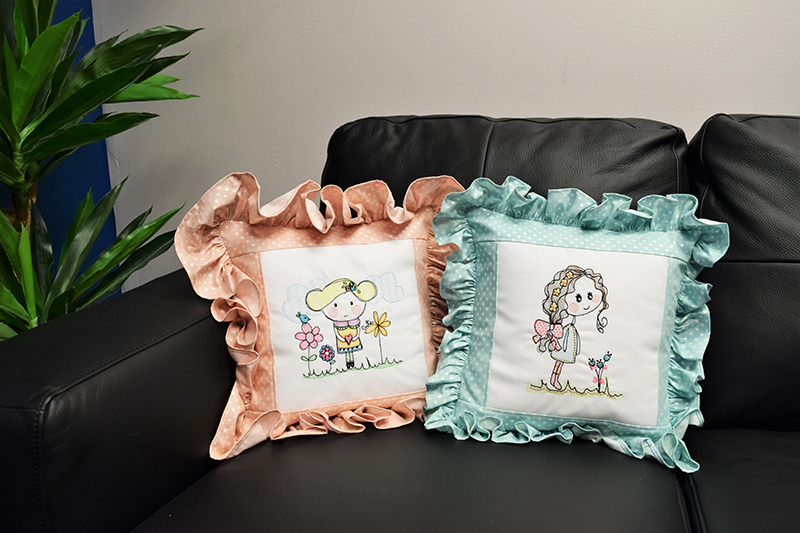
About half of the time required to make these pillows is in making the ruffle. If you wish you may use a pre-gathered ruffle or eyelet lace instead of making the ruffle. The aqua pillow is made with a ruffle cut at 3 ½” and the peach pillow is shown with a ruffle cut at 4” so that you can choose how wide you would like to cut your ruffles.
Step 1:
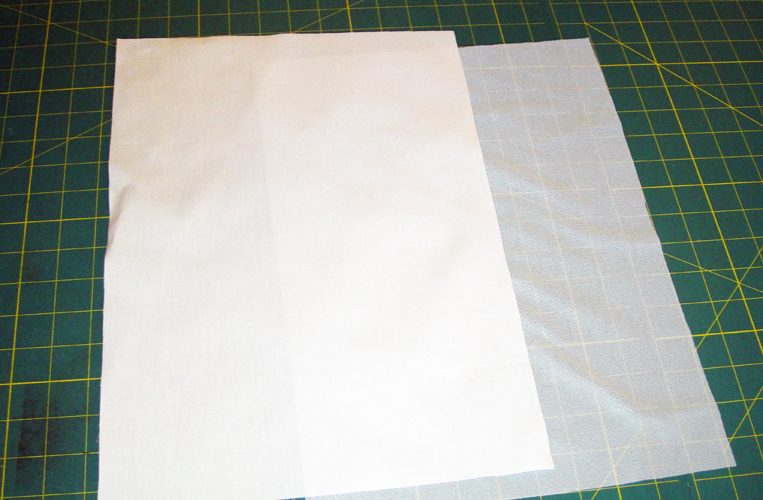
Cut a 15” x 11”, or whatever size of white cotton fabric, knit interfacing and no show stabilizer to fit your hoop. Fuse the knit interfacing to the white fabric following the manufacturer’s instructions.
(Click Image to Enlarge)
Step 2:
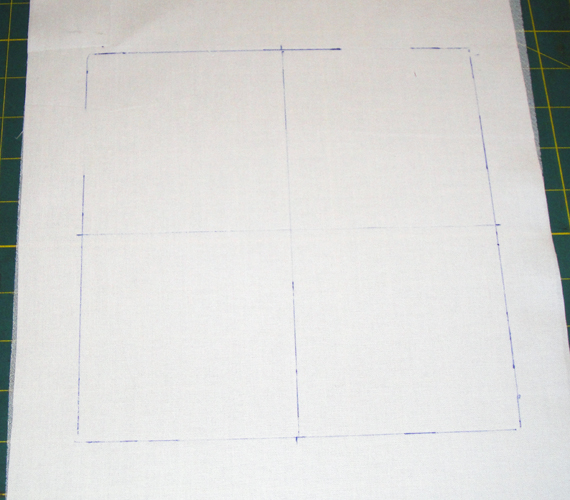
With a Frixion® marking pen draw an 8.5” square in the middle of the fabric and mark cross hairs on the fabric.
(Click Image to Enlarge)
Step 3:
(Click Image to Enlarge)
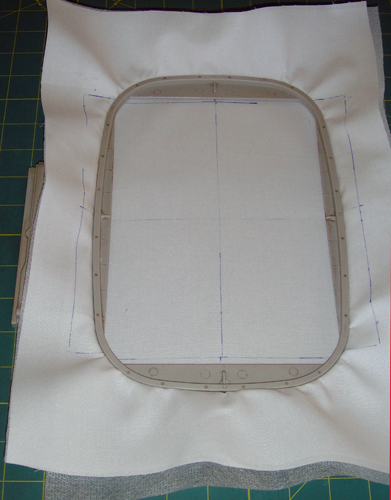
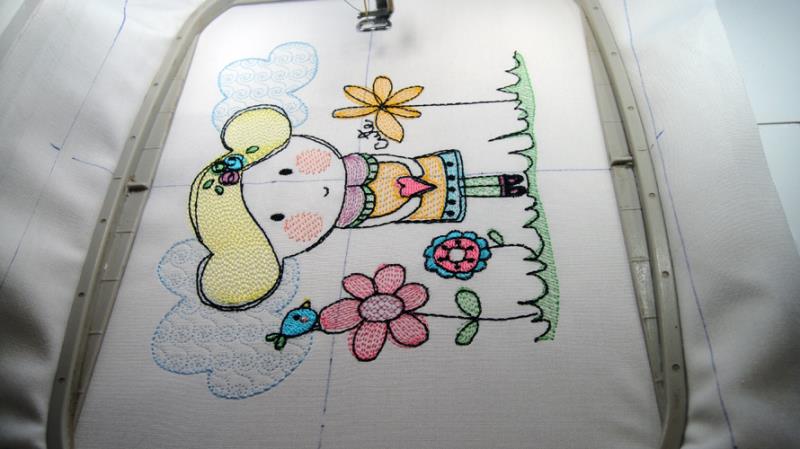
For SKG01 center the crosshairs of the hoop with the markings on the fabric as this design runs vertically in the hoop and you will have room to move the needle over the center of your cross hairs before you start stitching.
Step 4:
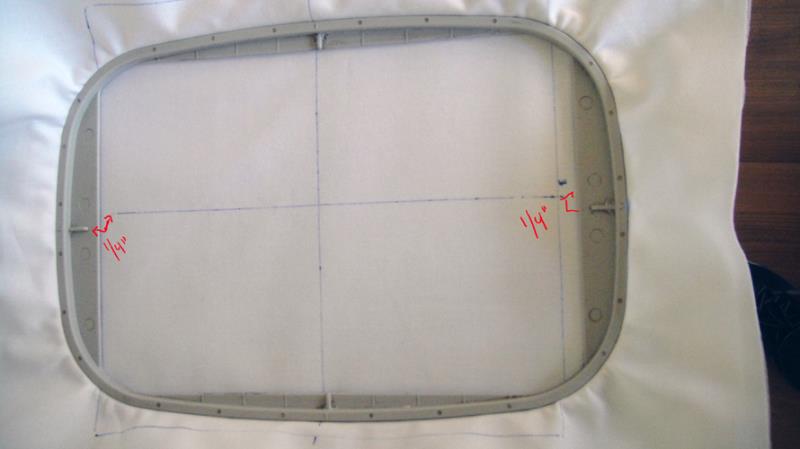
SKG02 runs horizontally in the embroidery hoop and is wider, so you don’t have much chance to move the design in the hoop. As the center of design in the hoop is not exactly in alignment with the center markings of the hoop, offset the drawn vertical crosshairs about a quarter inch so that you can center the design on the fabric.
(Click Image to Enlarge)
Step 5:
Follow the color chart to embroider the design.
(Click Image to Enlarge)
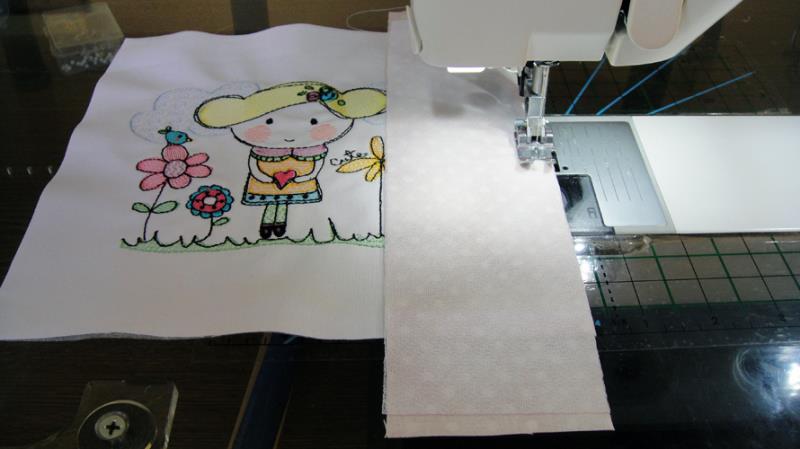
Step 6:
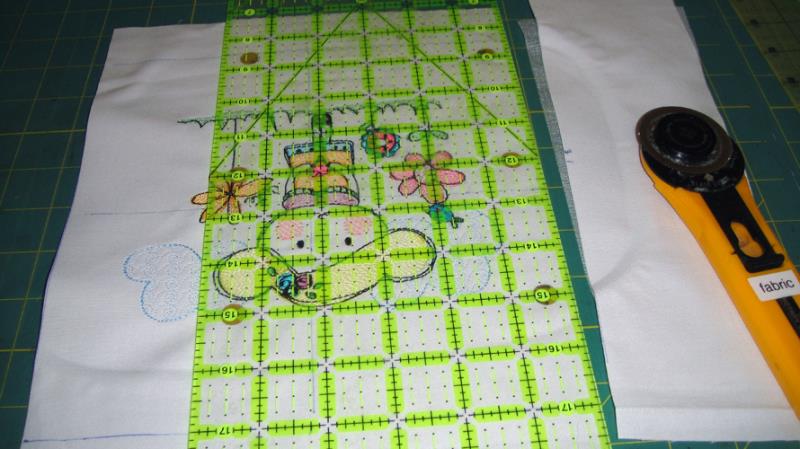
Trim the design down to the 8 ½” square that you drew on the fabric.
(Click Image to Enlarge)
Step 7:
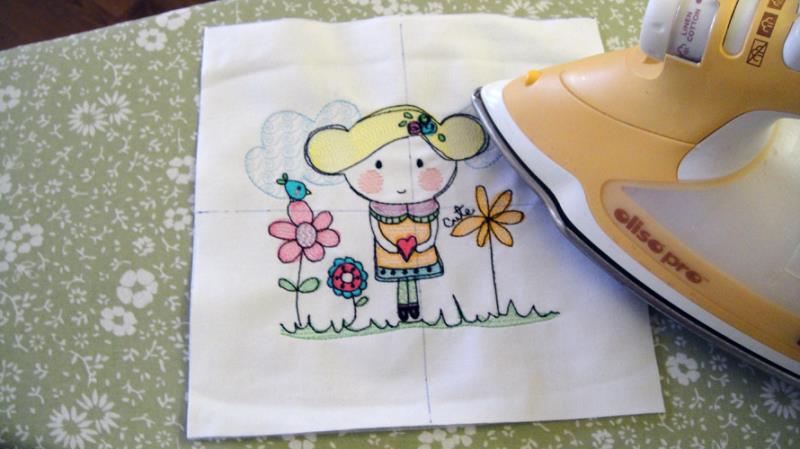
Iron the embroidery to remove the Frixion® pen markings.
(Click Image to Enlarge)
Step 8:
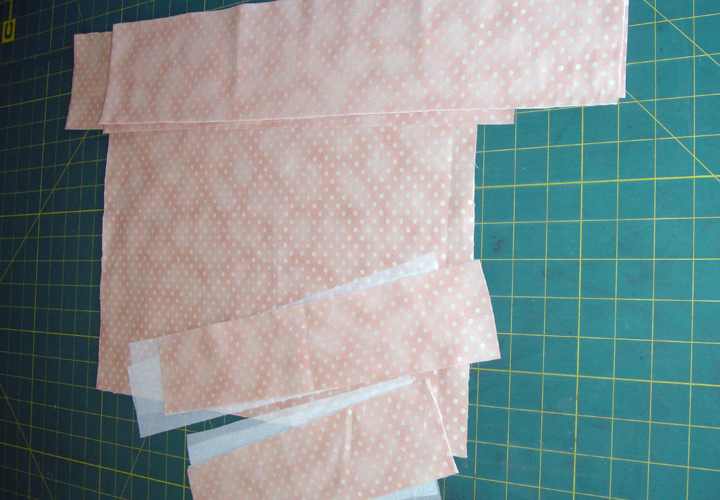
Cut from the print fabric: a. 2 rectangles 13” x 17” for the envelope back of the pillow b. 2 rectangles 2 ¾” x 10” for the short front sides of the pillow c. 2 rectangles 2 ¾” x 14” for the top and bottom sides of the pillow d. 4 strips the width of the fabric 3.5” or 4” wide for the ruffle Cut from knit interfacing 2 2 ¾” x 10” strips and 2 2 ¾” x 14” strips of the knit interfacing fuse the knit interfacing to the corresponding strips of fabric.
(Click Image to Enlarge)
Step 9:
Lay the 2 ¾” x 10” strips face down on the sides, extending the excess fabric over the top and bottom of the panel, and stitch with a ¼” seam allowance.
(Click Image to Enlarge)
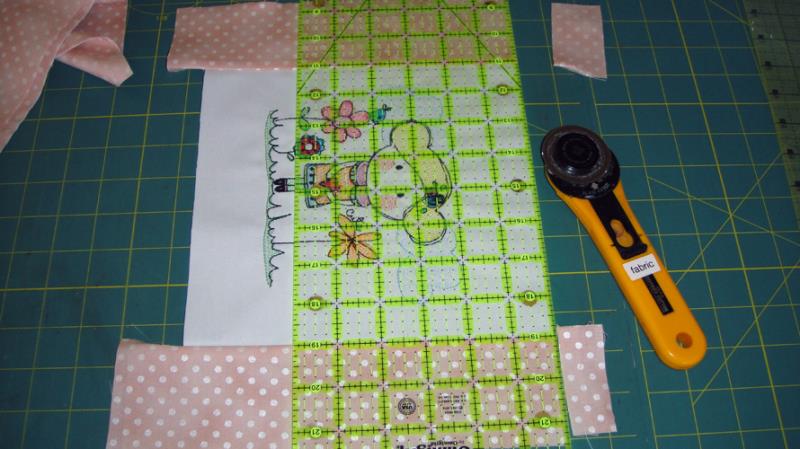
Step 10:
Press the seams toward the print fabric and trim the excess side fabrics even with the center panel.
(Click Image to Enlarge)
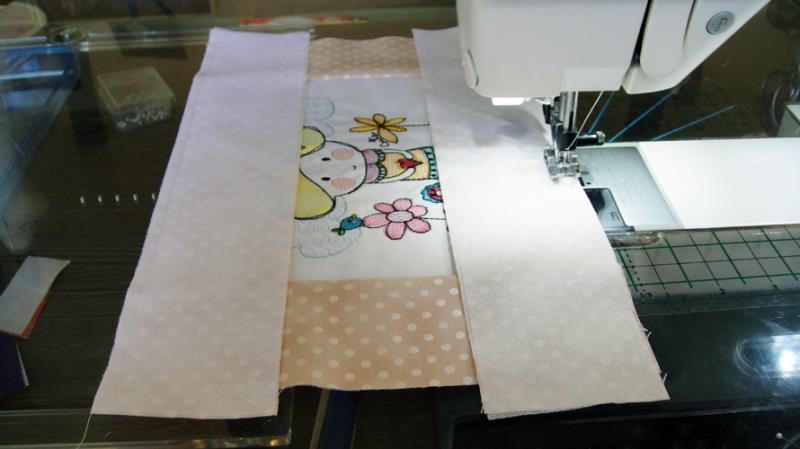
Step 11:
Lay the 2 ¾” x 14” strips of the print fabric over the top and bottom of the pillow front having the strips exceed the pillow front at each end, stitch with a ¼” seam allowance.
(Click Image to Enlarge)
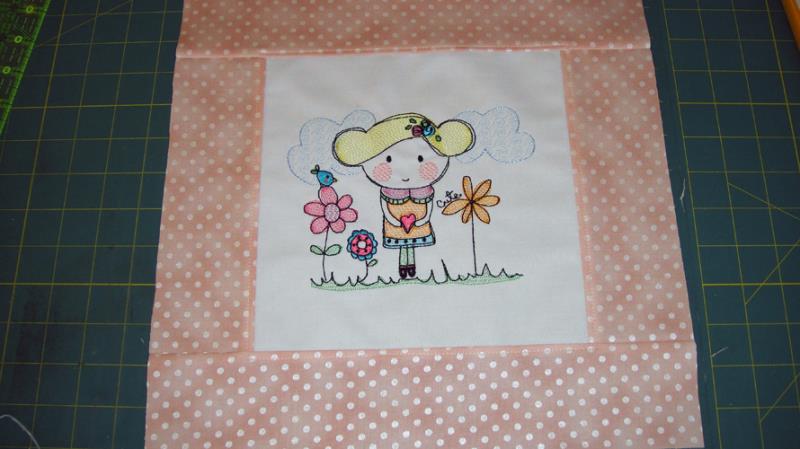
Step 12:
Trim the top and bottom strips even with the side strips. Press the seams towards the top and bottom strips. Top stitch around the center panel if desired.
(Click Image to Enlarge)
Step 13:
Stitch the four ruffle strips together with a ¼” seam allowance and clean finish the seams with a serger or zigzag stitch over the raw edges of the seam allowance. Press the ruffle pressing the seams to one side.
(Click Image to Enlarge)
Step 14:
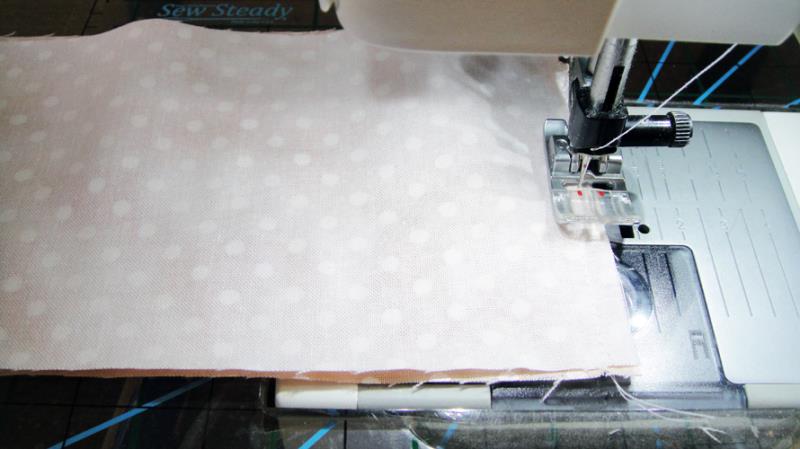
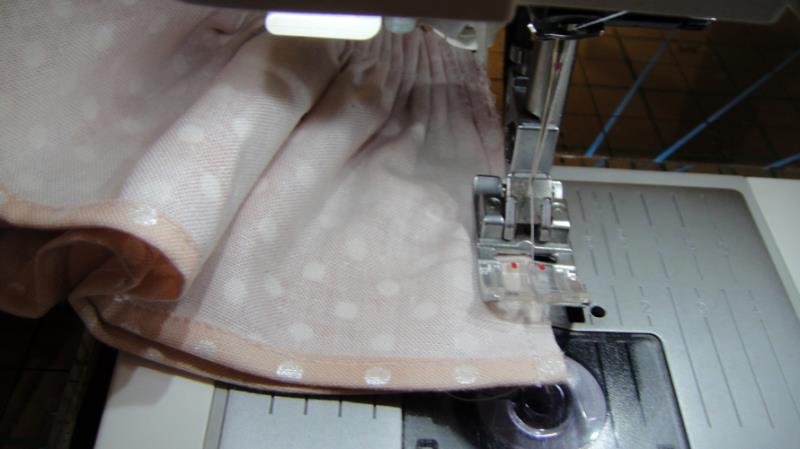
Hem the ruffle by folding in ¼” of fabric and pressing, then fold in ¼” in again and pressing then stitching down the hem.
(Click Image to Enlarge)
Step 15:
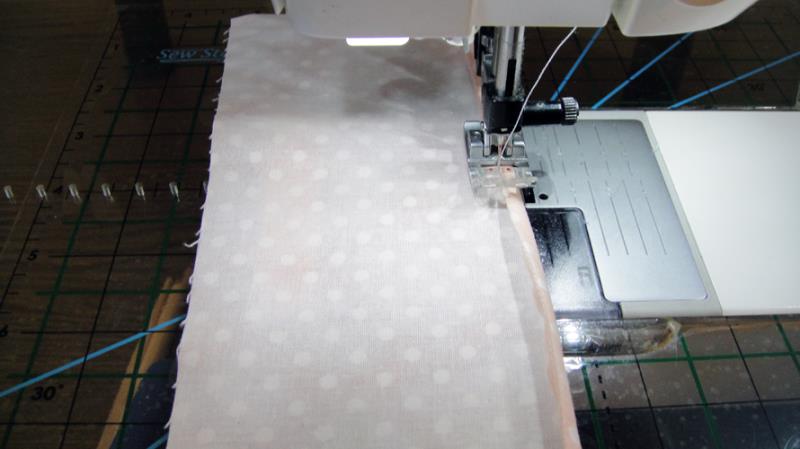
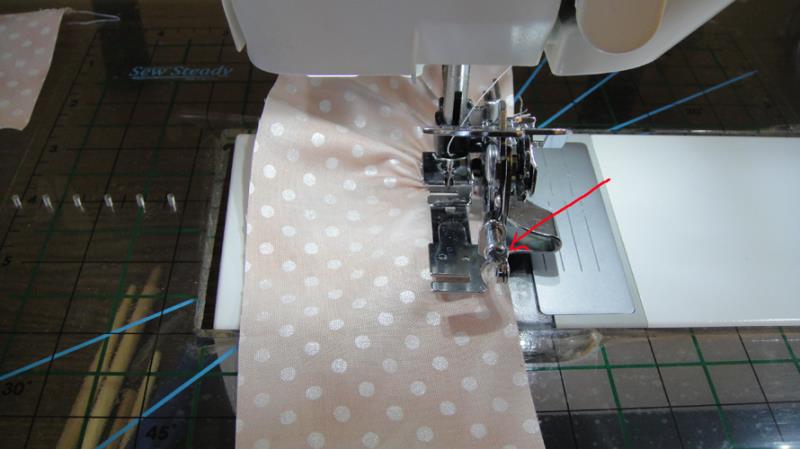
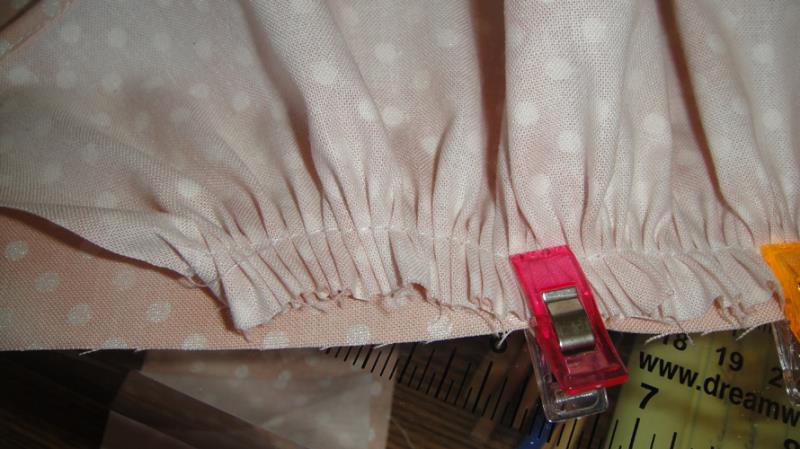
There are many ways to gather the fabric at your sewing machine. a. You can simply stitch 2 rows of stitching with a long stitch length, 4 to 5mm, 1/4” and ½” away from the edge of the ruffle, backstitching at the end of the ruffle only. Then gather the ruffle by holding onto the bobbin thread only, slide the fabric down the threads to gather. b. You can gather on some sergers, see your machine manual for instructions on how to do that. c. Or you can use a ruffle attachment on your sewing machine, which is what was done for these sample pillows. The little screw at the front of the ruffle foot and your stitch length set how deep the ruffles will be. See the instructions that came with your ruffle attachment for further details.
(Click Image to Enlarge)
Step 16:
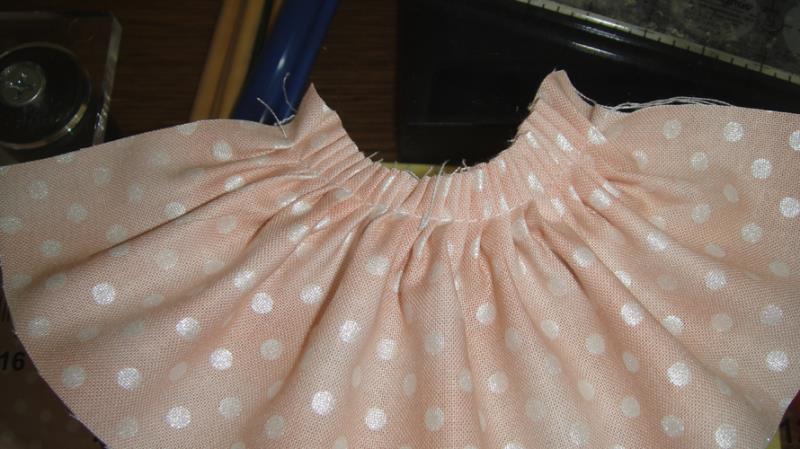
We have cut 160” of ruffle fabric. It is advisable to test the settings on the ruffler, or on your serger to see that you will get the length of ruffle you will need to go around the whole pillow. Test what your results will be by taking a 10” length of the fabric and running it through the serger or ruffler. With a stitch length of 3 mm and the front screw approximately ¾ of the way out, the 10” of fabric resulted in 3” of ruffle. That would give you about 53” of ruffle which will be perfect for these pillows. Stitch your ruffle ½” from the edge of the ruffle strip.
(Click Image to Enlarge)
Step 17:
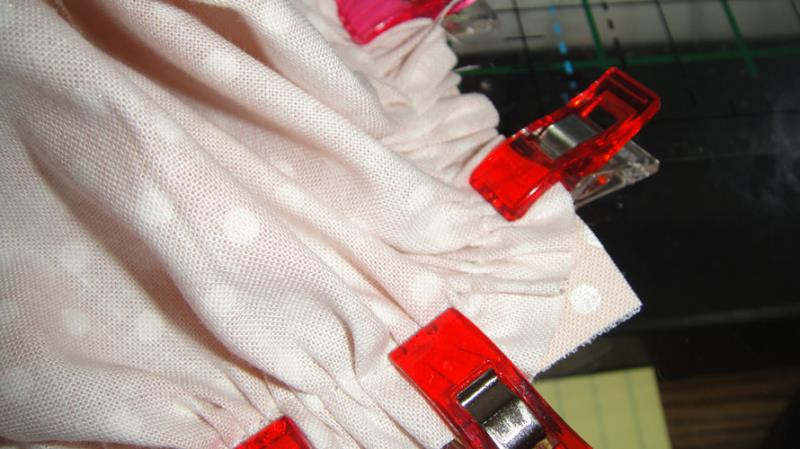
Starting at the center bottom of the pillow top, clip or pin your ruffle to the pillow top right sides together leaving about 3” of ruffle unpinned at this time.
(Click Image to Enlarge)
Step 18:
At the corners simply ease the ruffle around the corners without mitering the corner.
(Click Image to Enlarge)
Step 19:
After clipping the ruffle all the way around the pillow, align the beginning and ending ruffle strips, trim the excess fabric from the ruffle and stitch the beginning and ending fabrics together with a ¼” seam and finish the seam.
(Click Image to Enlarge)
Step 20:
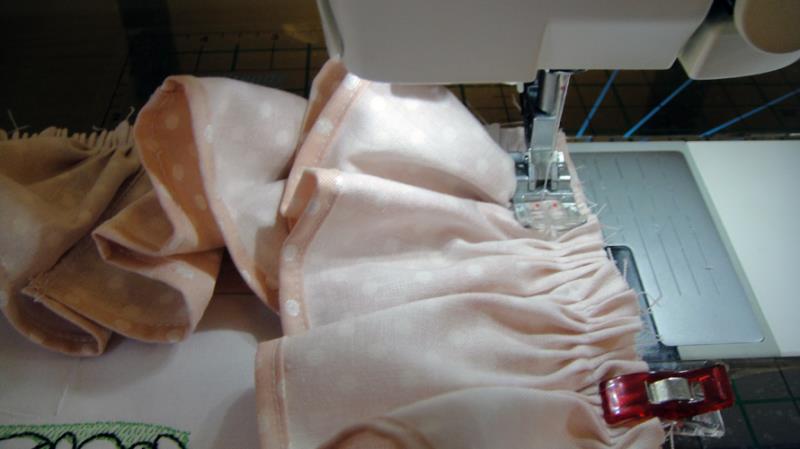
With a stitch length of 3mm stitch the ruffle all around the pillow top with a ½” seam allowance.
(Click Image to Enlarge)
Step 21:
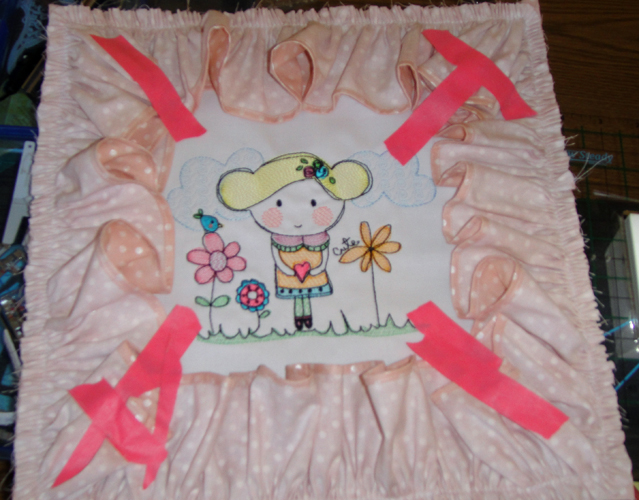
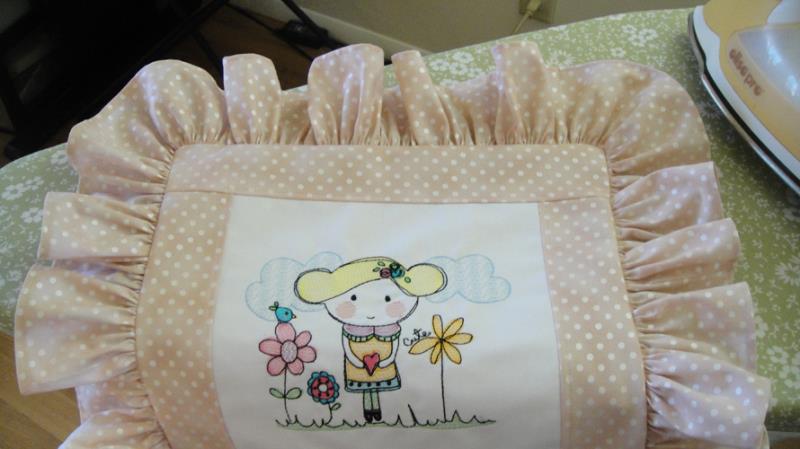
Tape the fullness in the ruffle down to the center of the pillow top to avoid catching the ruffle in the seam when you stitch the back to the front.
(Click Image to Enlarge)
Step 22:
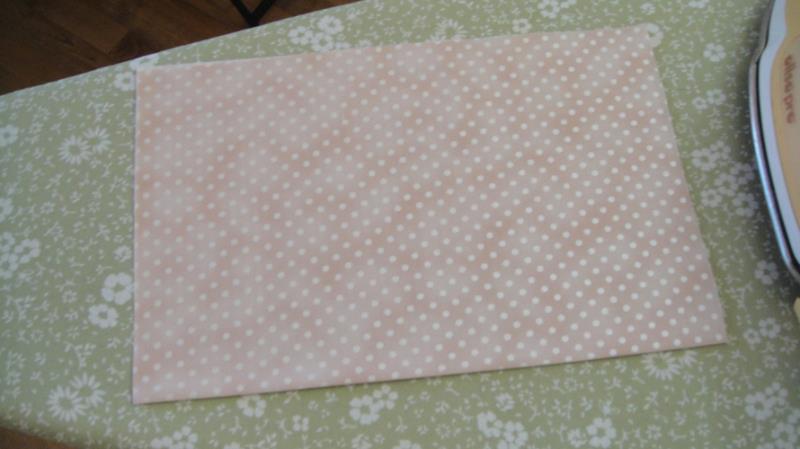
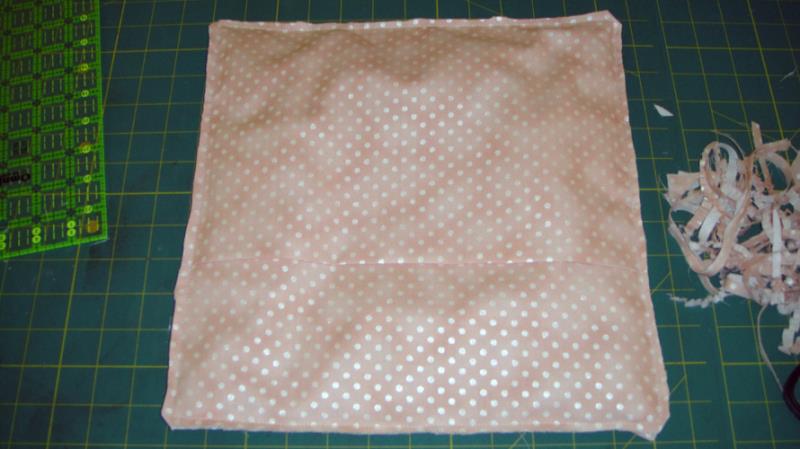
Fold the two 13” x 17” back panels in half, wrong sides together, so that you have two 8.5” x 13” backs.
(Click Image to Enlarge)
Step 23:
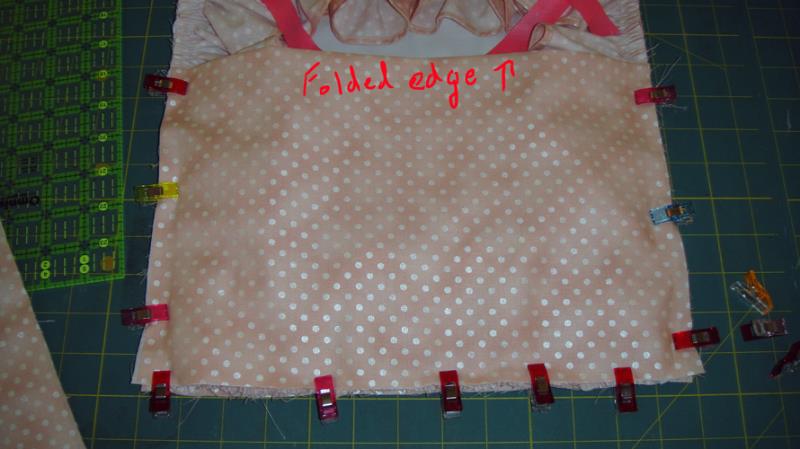
Align the bottom and side raw edges of a back panel with the bottom and sides of the pillow, the folded edge goes across the pillow, clip or pin in place.
(Click Image to Enlarge)
Step 24:
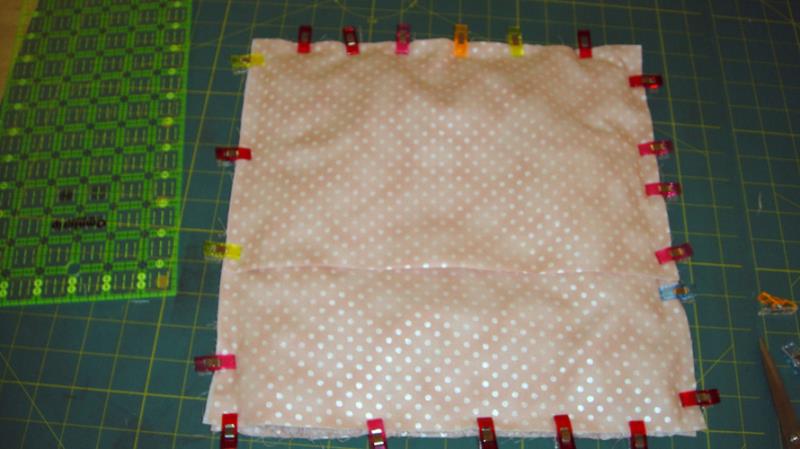
Align the raw edges or the second back panel with the raw edges of the top and sides of the pillow, the folded edge overlaps the first back panel. Stitch all around the pillow with a ½” seam allowance.
(Click Image to Enlarge)
Step 25:
Trim the seam allowance to ¼” and trim across the corners of the pillow case. Finish the seam allowance off with a zigzag stitch if desired.
(Click Image to Enlarge)
Step 26:
Turn the pillow case right side out and press.
(Click Image to Enlarge)
Step 27:
Insert the pillow forms. Congratulations your Too Cute Pillows are complete!
Award winning Digitizer, Embroidery Educator, Author and a Consultant to the Industry, Pat Williams has 30 years of experience in the embroidery industry. Pat has won multiple awards for her digitizing expertise including the 2007 Impressions Awards Grand Championship, Best of Show as well as the 1st and 2nd Place Awards. Pat’s love of digitizing has afforded her the opportunity to write numerous articles for Impressions magazine in the United States and Images Magazine in Europe. In 2001 Pat was named “Embroidery Educator of the Year.” For many years Pat taught digitizing seminars at the ISS Shows in Long Beach, CA and for Compucon software. She now resides in Tucson, AZ.