2026 Flash Sale
Live Chat
Embroidery Designs
Welcome, Embroiderer
Login
Celebrating 50 Years
{{mainImageAlt || (productInfo._source && productInfo._source.name) || ''}}

Celebrating 50 Years Embroidery Project

By   Marisa Littleton   on   April 11, 2018
  • SKILL LEVELSome Experience
  • TIME REQUIRED01:00
Description

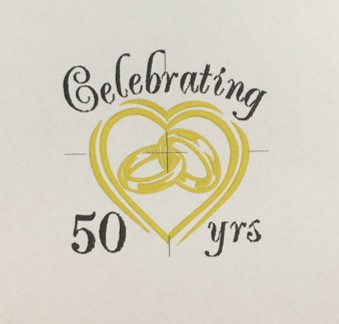
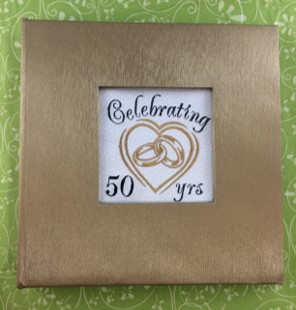
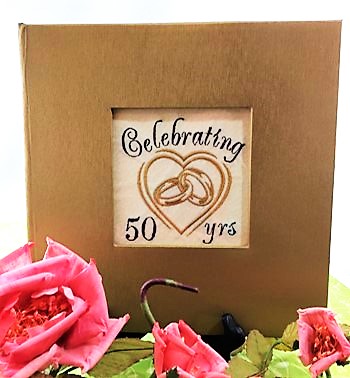
"Celebrating 50 Years" embroidery design transforms an ordinary photo album into a beautiful commemorative album.

Step of

Materials

Project Preview Video

Materials
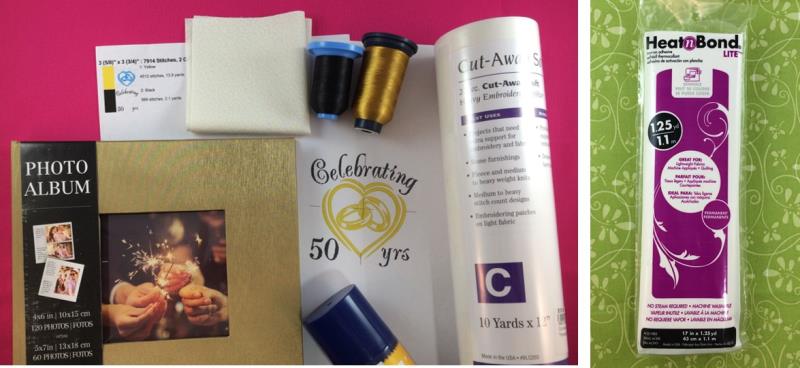
  • 6” x 6” hoop
  • Photo Album
  • Embroidery Thread per color chart
  • Design Template & Color Chart
  • 6” x 6” piece of cotton fabric
  • Cut-away Stabilizer (medium weight)
  • Heat n Bond lite
  • Spray Starch
  • Iron

  • Designs used in this project

    Preface:
    The picture opening on the album used was 4”x 4”.  Renaissance Alphabet Font was used for the text ‘Celebrating 50 yrs’.  Text is optional and may be added using the font feature on your embroidery machine or with an embroidery software program.   Embrilliance ‘Essentials’ software was used to add text to the embroidery design.  


    Step 1:
    (Click Image to Enlarge)
    Customize your embroidery design.  Decide on the caption such as ‘Happy
    Anniversary’, 50th Anniversary, ‘Just Married’, or ‘Celebrating 50 years’.    ‘Celebrating 50 yrs’ was added using Embrilliance ‘Essentials’ software.  Renaissance Alphabet works as a ‘keyboard’ font.   Meaning that you don’t have to add text one letter at a time.  Instead, you simply type in the whole word and hit enter.  The word is added to the design and in perfect alignment.


    Step 2:
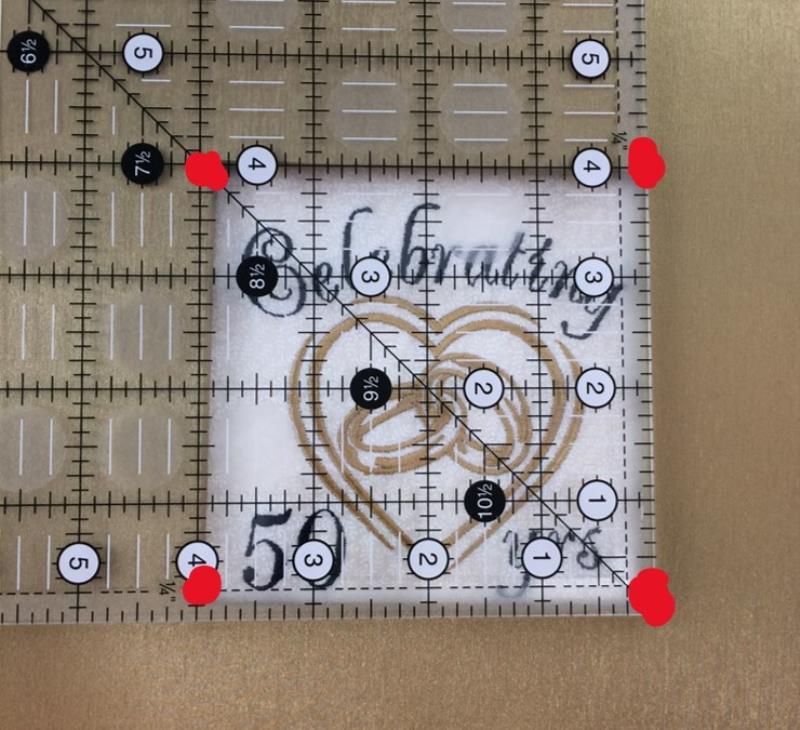
    Measure the size of the picture opening on your photo album.   The size of the design should be proportionate to the photo space on the album cover. The photo album had a 4” x 4” opening for the picture.   The embroidery design was resized slightly so that it would fit within the frame.   The dimensions of
    your embroidery design must be smaller than the opening on your photo
    album.  

    (Click Image to Enlarge)


    Step 3:
    Gather the materials and read through the instructions before beginning.
    Print out a paper template of the design and color sequence.


    (Click Image to Enlarge)


    Step 4:
    (Click Image to Enlarge)
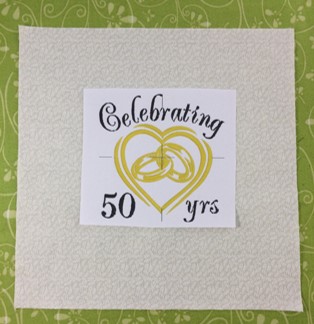
    Prepare your fabric.   The amount of fabric needed depends on the size of your design.    A 6” x 6” piece of fabric was used for the 4” x 4” embroidery design.  More fabric will be needed the larger the dimensions of your design.  
     
    Cut the fabric about 2” larger than the design dimensions.  (If dimensions are 6” x 6”, cut the fabric 8” x 8”.)  This allows for margins of error.


    Step 5:
    (Click Image to Enlarge)
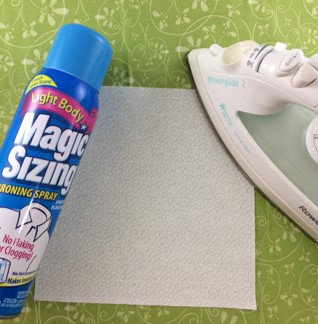
    Iron and starch the fabric.  The starch will act like another layer of stabilizer.  


    Step 6:
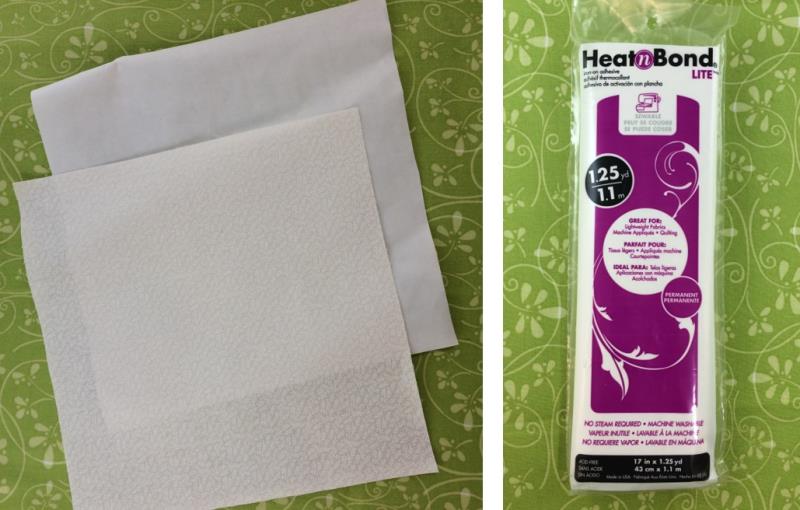
    Adhere the Heat n Bond lite on the back of the fabric by following the package directions.  Place the fabric on top of the cut-away stabilizer.  Press fabric onto the stabilizer.  Smooth wrinkles from the surface.
     
    The Heat n Bond lite bonds the fabric to the stabilizer and will keep the edges from fraying. 

    (Click Image to Enlarge)


    Step 7:
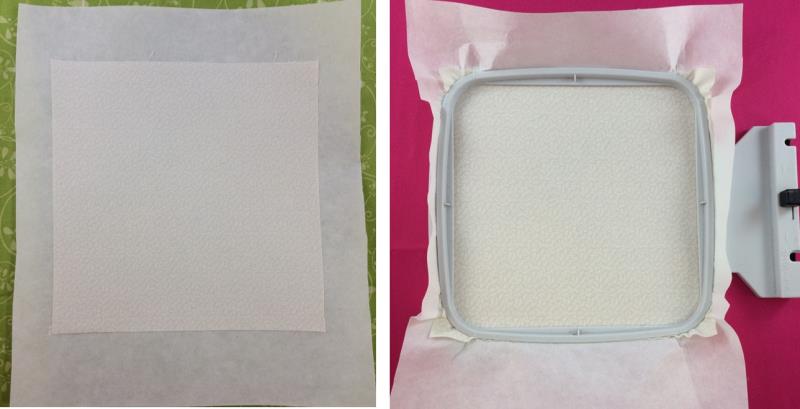
    Hoop the medium weight cut-away stabilizer.  A medium weight cut-away stabilizer will also support the finished product once it is in the photo frame.

    (Click Image to Enlarge)


    Step 8:
    (Click Image to Enlarge)
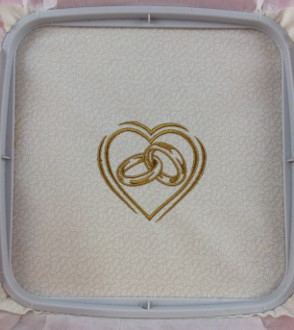
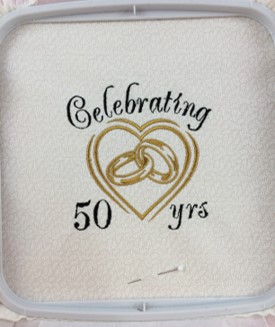
    Follow the color stops (CS) and embroider the design.  
    Embroider CS 1.  The heart and double rings will be stitched.


    Step 9:
    (Click Image to Enlarge)
    Embroider CS 2.  The text 'Celebrating 50 yrs' will be stitched.


    Step 10:
    (Click Image to Enlarge)
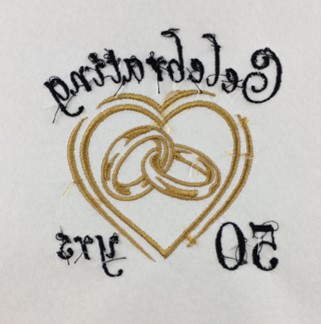
    Remove the design from the hoop.  Trim threads from the back. 


    Step 11:
    (Click Image to Enlarge)
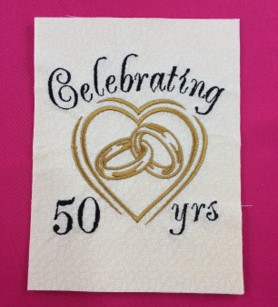
    Trim excess fabric so that the design will fit into the picture opening.


    Step 12:
    (Click Image to Enlarge)
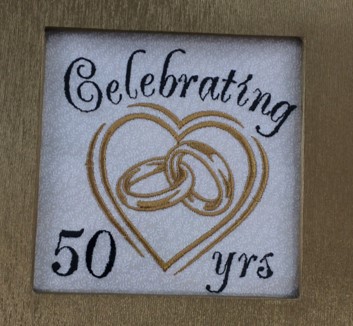
    Place the embroidery design in the opening of the photo album.


    Step 13:
    (Click Image to Enlarge)
    Congrats!  You have completed your project! 


    Step 14:
    (Click Image to Enlarge)
    Great job! 

    Learn by teaching others..
     
    Marisa Littleton 
    Meet the Author: Marisa Littleton
    Marisa Littleton
    Marisa Littleton is a retired educator with a love for teaching and learning. Interests include machine embroidery, hand embroidery, quilting, cooking, and antiques.
    More From This Author
    Link is Broken, Please check the URL
    Exclusive Embroidery Offers!
    Copyright © {{ currentDate | date:'yyyy'}} - EmbroideryDesigns.com
    GET 50% OFF! ×