{{superHeaderAds.title}}
Live Chat
Embroidery Designs
Welcome, Embroiderer
Login
Easy wet beach bag
{{mainImageAlt || (productInfo._source && productInfo._source.name) || ''}}

Easy wet beach bag Embroidery Project

By   Kylie Burke   on   March 30, 2018

PROJECT DETAILS

SKILL LEVEL
Some Experience
TIME REQUIRED
00:40
Description

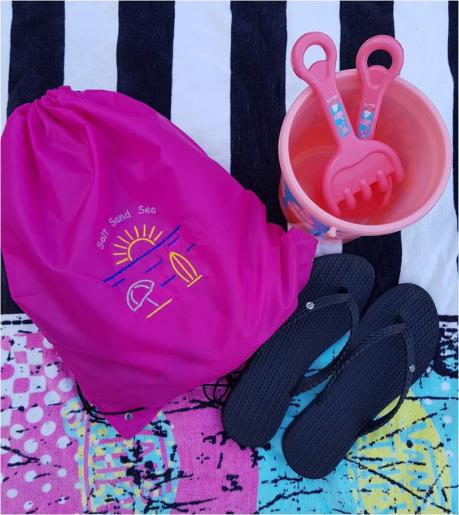
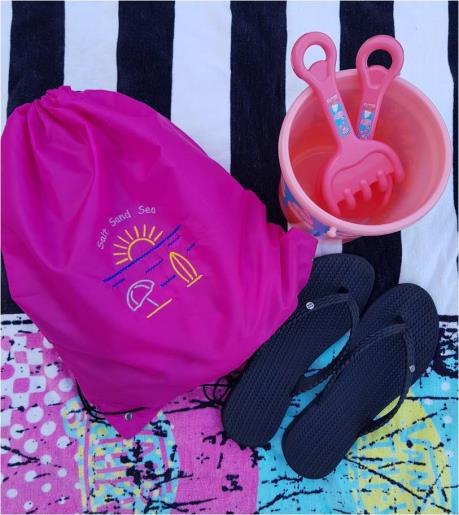
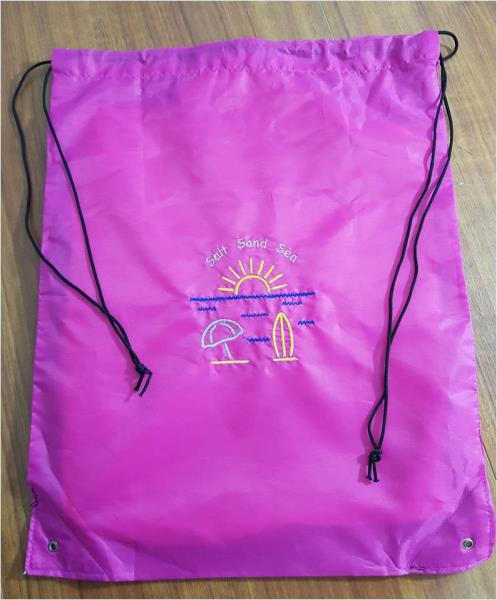
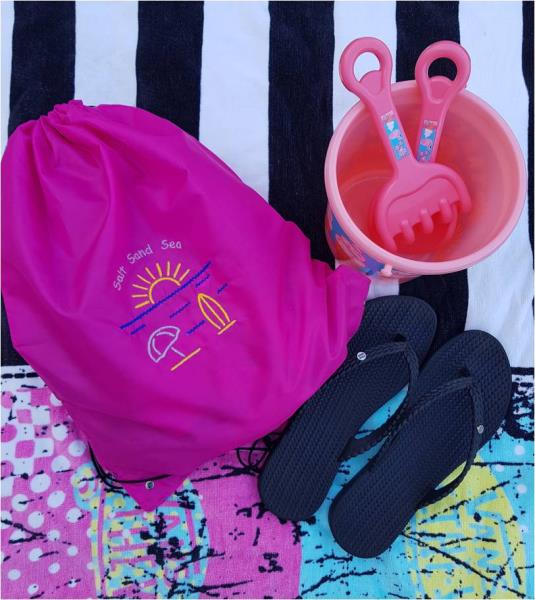
Jazz up a plain nylon drawstring bag with this fun beach theme to make a handy "wet" bag for the beach. Great to use after a swim, just pop your bathers and towel in the bag and away you go

Project Preview Video

Materials
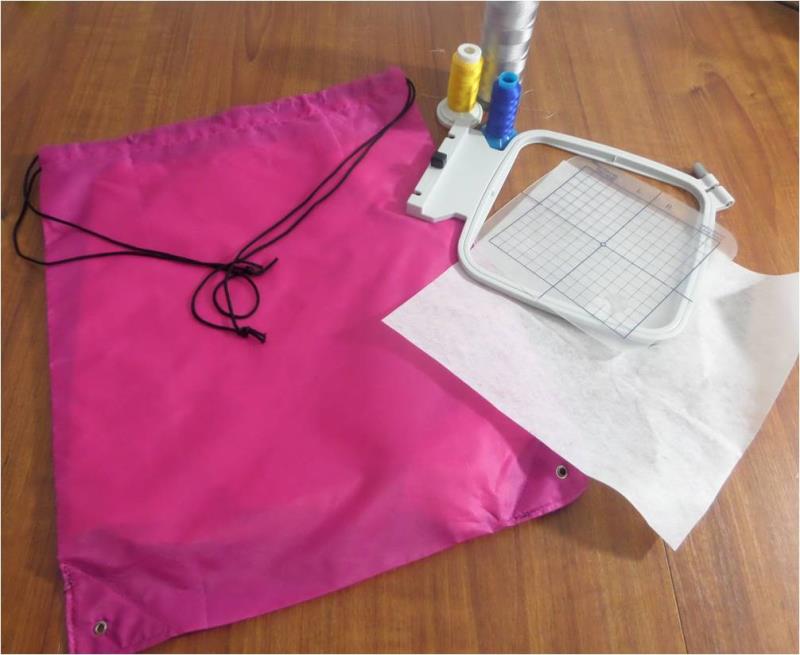
  • 1 nylon drawstring bag
  • Tearaway stabilizer
  • 3 thread colours
  • Sewing machine and matching thread

  • Designs used in this project

    Final Product: What You Will Create

    Preface:
    I was able to find this drawstring bag from a $2 shop, most stores have them in the sports section. It can be made of almost any material, I just feel nylon was the best as it is quick drying


    Step 1:
    Gather the materials and read through the instructions before beginning. Have a copy of the color sequence on hand for reference.

    (Click Image to Enlarge)


    Step 2:
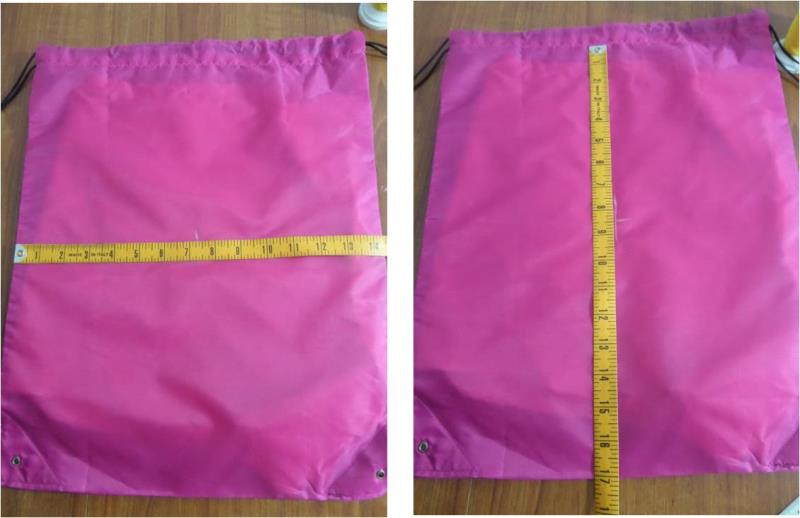
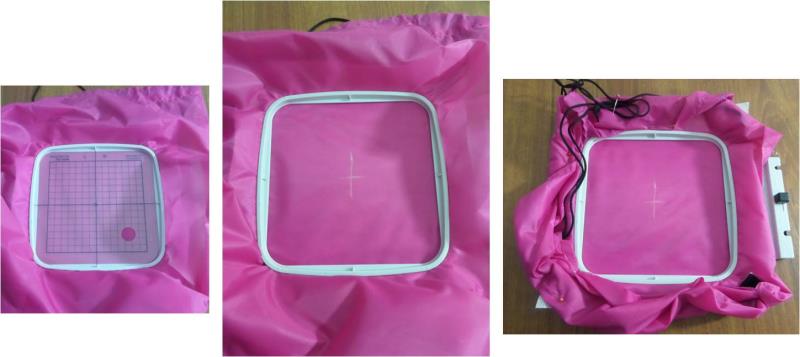
    Mark the centre of the drawstring bag which will represent the center point of the embroidery design. Measure across the width and mark half way then measure down the length and mark half way

    (Click Image to Enlarge)


    Step 3:
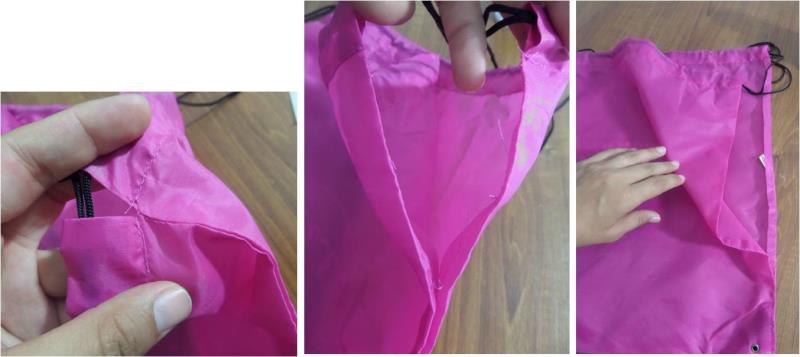
    Depending on the size of the bag you have, you may need to unpick one side seam to make it easier to hoop.

    (Click Image to Enlarge)


    Step 4:
    Lay the stabilizer underneath the fabric then hoop the fabric and stabilizer together, ensuring the crosshair marking is centered in the hoop. Ensure the excess bag is moved out of the way of the stitch area, I have pinned my excess down

    (Click Image to Enlarge)


    Step 5:
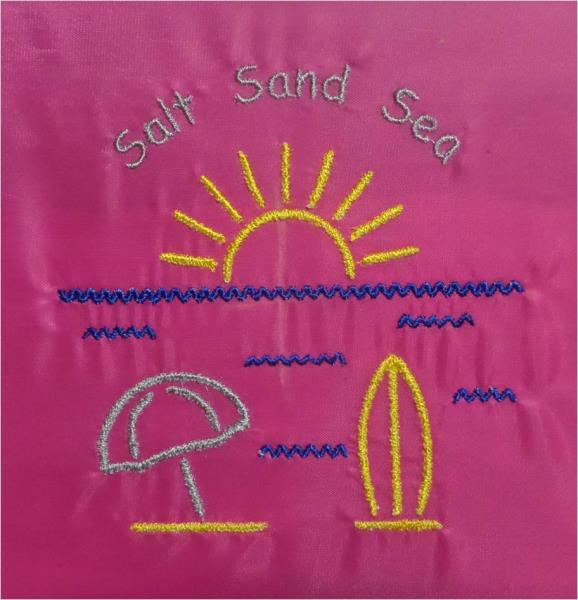
    Load the design onto your machine, I have enlarged the design to 120%. Then attach the hoop to your machine and stitch out the design. 

    (Click Image to Enlarge)


    Step 6:
    Remove the hoop, unhoop the design and tearaway the stabilizer

    (Click Image to Enlarge)


    Step 7:
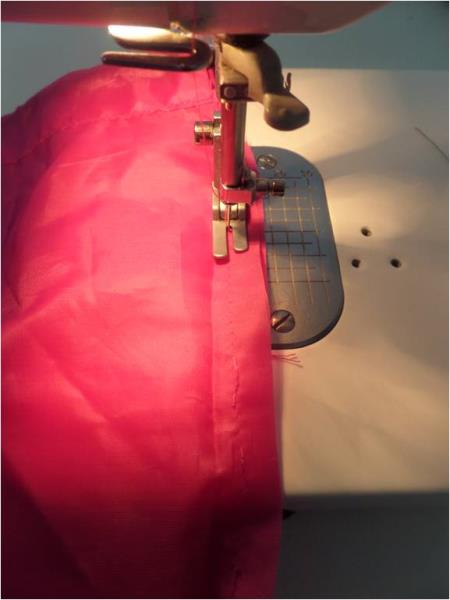
    If you unpicked the side seam, turn the bag inside out and pin the seam together then on your sewing machine using matching thread color stitch the side seam together again

    (Click Image to Enlarge)


    Step 8:
    You are now beach ready! 

    (Click Image to Enlarge)

    Meet the Author: Kylie Burke
    Kylie Burke
    Kylie is based in Australia and loves creating and sharing her unique pieces.
    More From This Author
    Link is Broken, Please check the URL
    Exclusive Embroidery Offers!
    Copyright © {{ currentDate | date:'yyyy'}} - EmbroideryDesigns.com
    GET 50% OFF! ×