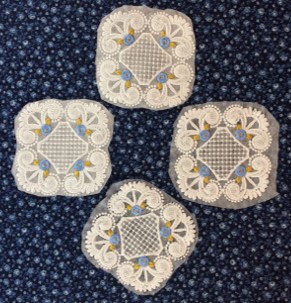
Free-standing lace embroidery designs are stitched on a fibrous water-soluble stabilizer with no fabric base. A high stitch count holds the lace together. The film plastic-like WSS works better as a topping for deep nap fabrics like towels and is NOT recommended for this project.
Project completion time will vary based on the number of FSL coasters made. Drying time is NOT included in the project completion time. A 4" x 4" embroidery hoop was used on a single needle embroidery machine.
Step 1:
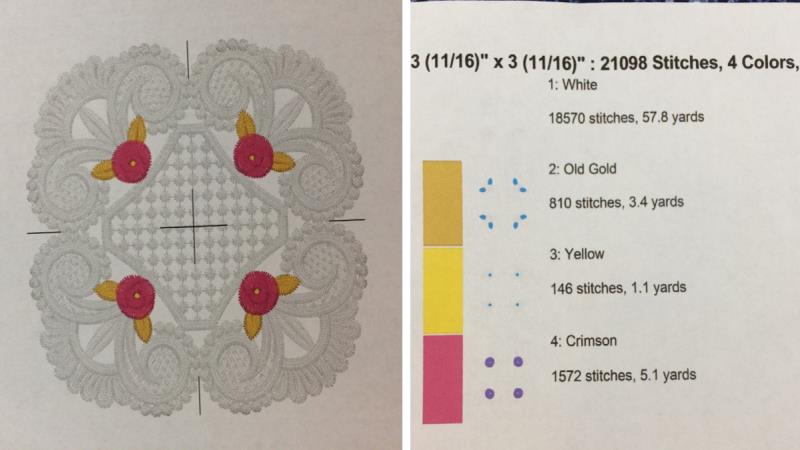
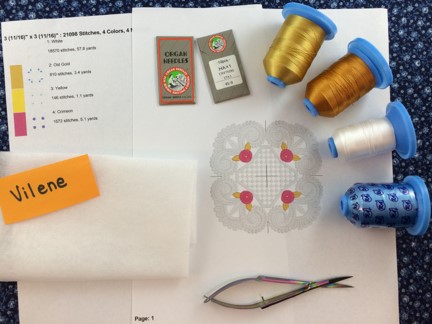
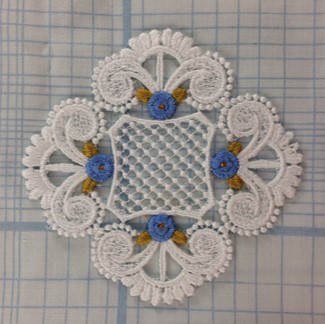
The machine embroidery design featured in this project is the ‘FSL Bullion Doily’. Dimensions are 3.7” x 3.7” with a total stitch count of 21,221.
Print out a copy of the Design Template and Color Chart.
(Click Image to Enlarge)
Step 2:
Gather the materials.
Read through the instructions before beginning.
Step 3:
(Click Image to Enlarge)
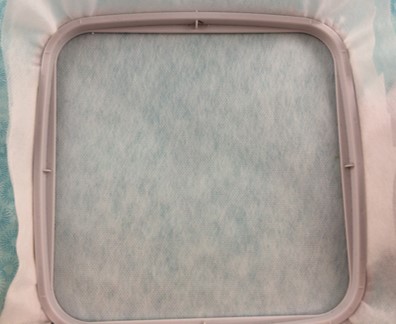
Hoop 2 pieces of fibrous wash-away stabilizer. Make sure the stabilizer is taut and drum-like in the hoop.
Step 4:
(Click Image to Enlarge)
Load the embroidery design on your machine.
Use polyester 40 wt. thread with a matching 60 wt. bobbin. Make sure to begin with a full bobbin due to the high stitch count of FSL designs. You don’t want to run out before the design is finished stitching. Use the same color thread for the bobbin if the lace will be viewed from both sides.
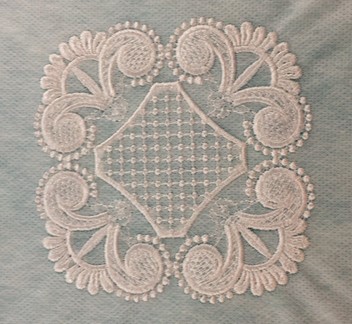
Embroider Step 1 of the design.
Step 5:
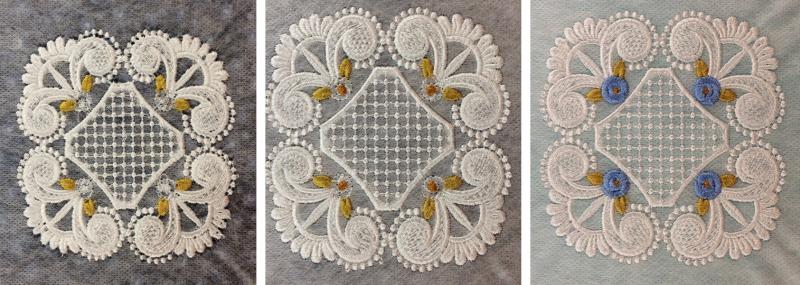
Add details to the embroidery design. Step 2 is the leaves on the flowers. Step 3 is the centers of the flowers. Step 4 is the flowers.
(Click Image to Enlarge)
Step 6:
(Click Image to Enlarge)
Remove the FSL from the hoop.
Trim the excess stabilizer to about ¼” from the edge of the FSL.
Trim any long threads from the back.
Step 7:
(Click Image to Enlarge)
Remove the water-soluble stabilizer by following the directions on the package. WSS is usually removed by running hot water on the design.
Hold the doily under the running water just until the WSS is no longer visible around the edges or in holes in the design. Leaving some of the WSS will make the doily stiff and hold its shape better.
Lay the doily on a clean cloth to dry. Dry the coasters completely before using. I let my FSL coasters dry overnight.
Step 8:
(Click Image to Enlarge)
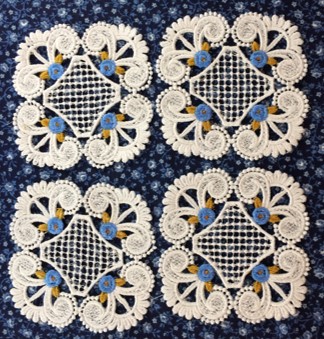
Congrats! You have stitched a FSL embroidery design!
Repeat these steps to make multiple coasters. Whether you are having a quiet evening at home or planning a big event, these coasters will add charm to your tabletop.
Step 9:
(Click Image to Enlarge)
WTG! Congrats! Great job!
Step 10:
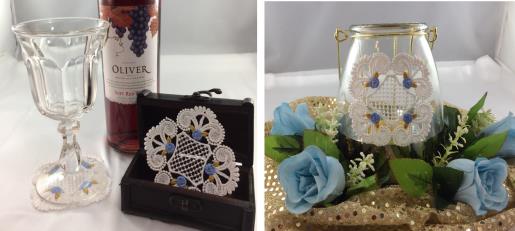
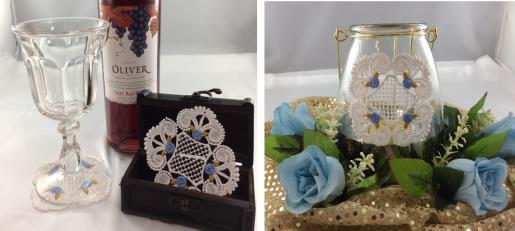
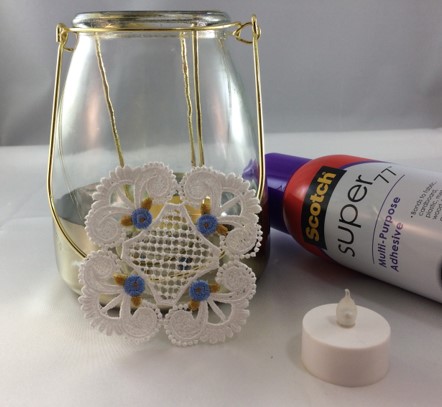
Attach one of the FSL Coasters to a tealight holder further enhance your tabletop.
Clean and dry the tealight holder.
Decide where the FSL will be placed on the tealight holder. Spray multi-purpose adhesive to the back side of the FSL coaster. Attach the tealight holder to the designated spot on the tealight holder.
Press the FSL firmly onto the surface. Make sure that the FSL is solidly in place on the tealight holder.
Step 11:
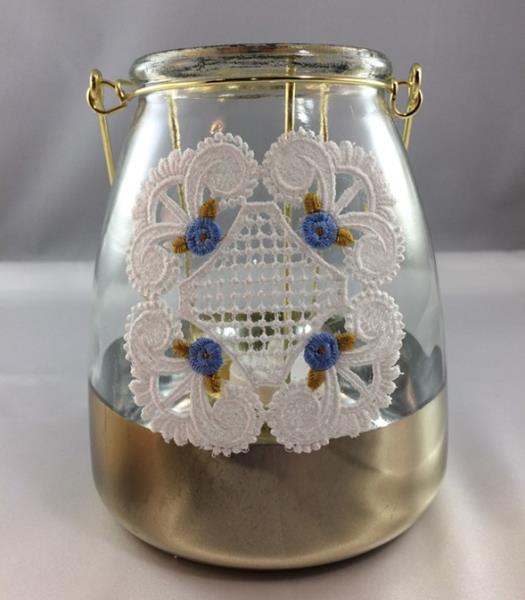
Add the tealight to the holder.
You did it! Simple. Quick. Very, very nice! Just as it is.
(Click Image to Enlarge)
Step 12:
(Click Image to Enlarge)
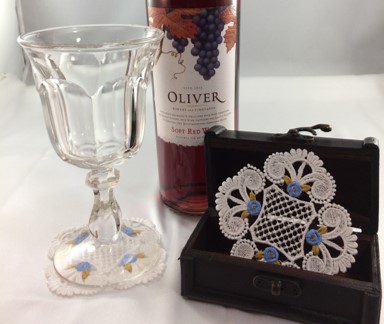
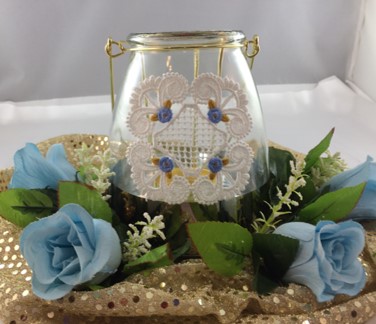
Add sparkly gold fabric with some complimentary silk flowers to make a darling, inexpensive centerpiece. Simple. Tasteful. With a bit of Oooo! How nice!
Step 13:
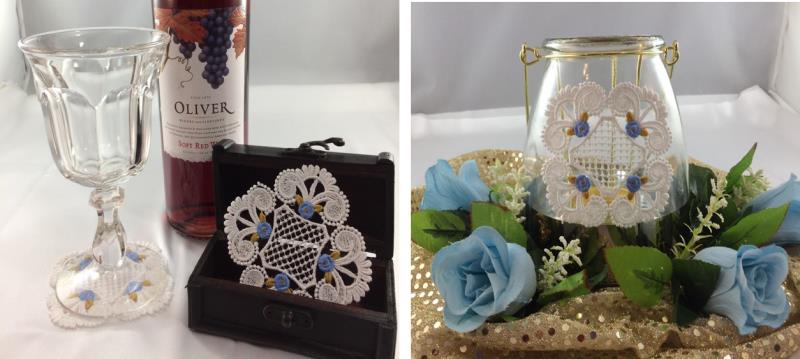
Combine together for the look of a professional decorator!
Marisa Littleton is a retired educator with a love for teaching and learning. Interests include machine embroidery, hand embroidery, quilting, cooking, and antiques.