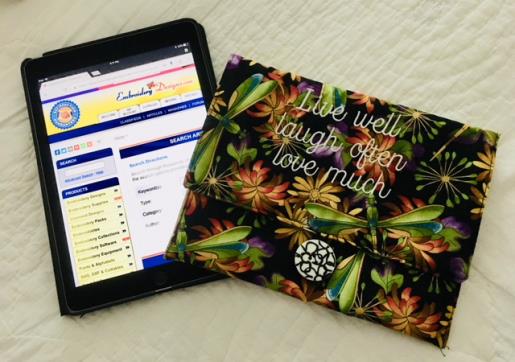
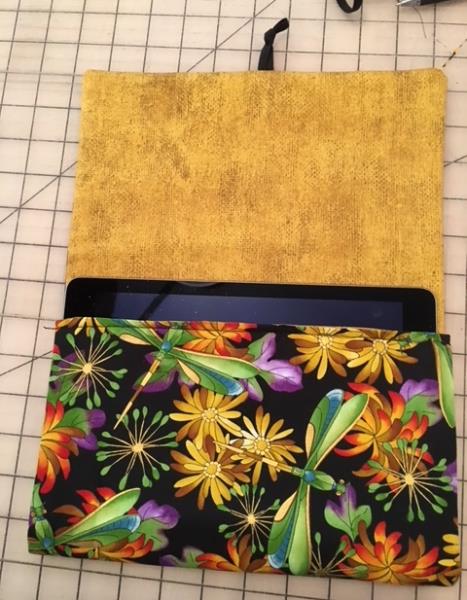
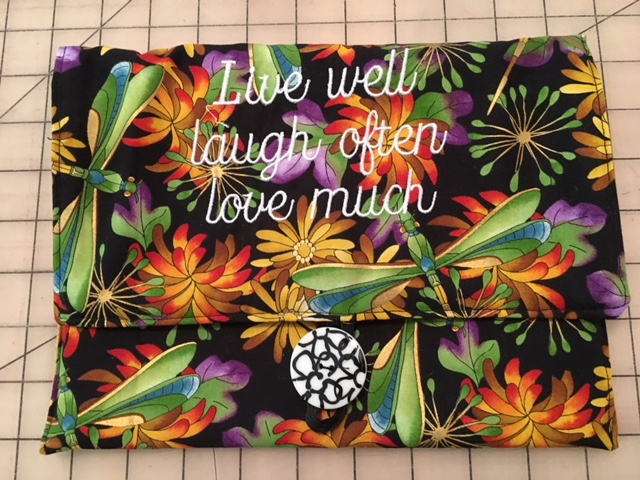
A very simple and easy to construct padded tablet cover with an embroidered inspirational message design. This cover will give your tablet a bit of added protection from scratches, bumps, etc. Use your favorite fabric design and colors to make it your own or as a gift for someone special. Change it up with other inspirational quotes that you will find on the Embroidery Design website. This tutorial will fit a 7"x 10" tablet size.
Step 1:
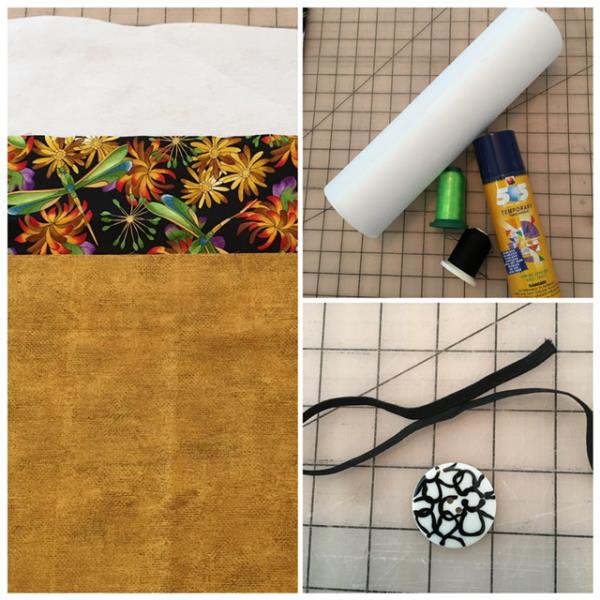
Gather all materials and review instructions before beginning.
(Click Image to Enlarge)
Step 2:
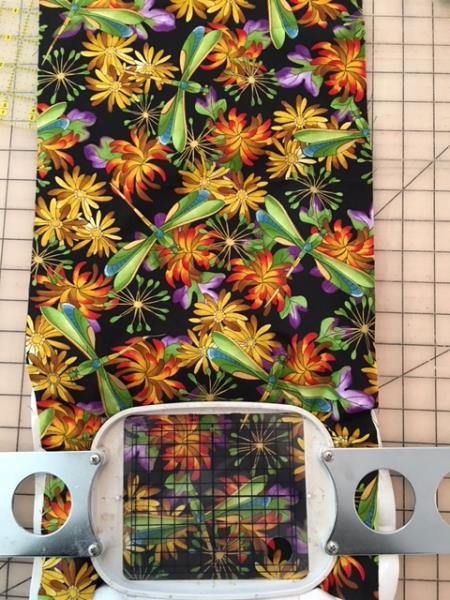
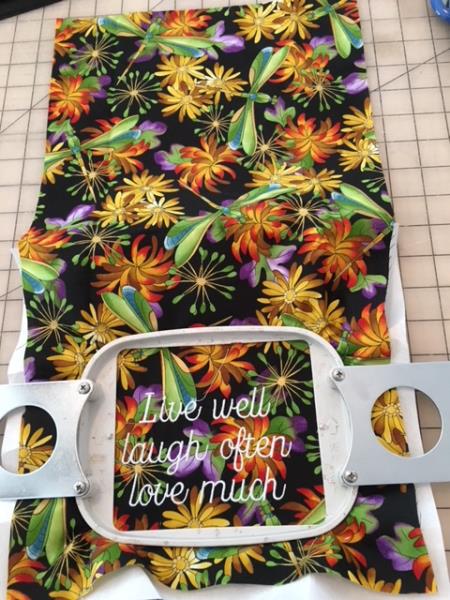
Hoop your top fabric (primary) and stabilizer using your favorite hooping method. Find center and position placement of design 4" up from bottom edge and 5 1/2" in from each side.
(Click Image to Enlarge)
Step 3:
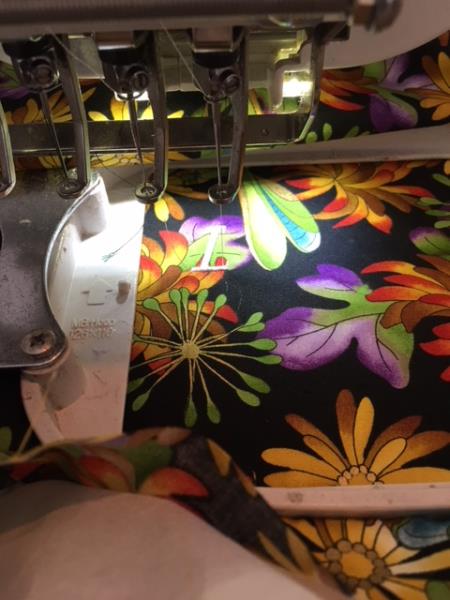
Load design into your machine. Attach hoop. Enjoy the embroidery process!
(Click Image to Enlarge)
Step 4:
Once design is complete. Remove hoop from machine. Cut your jump stitches and any loose thread ends front and back. Remove tear away stabilizer.
(Click Image to Enlarge)
Step 5:
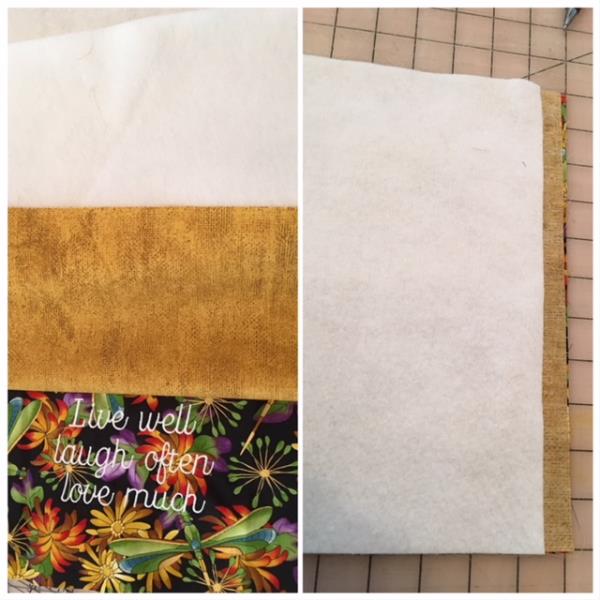
Using your embroidered top fabric, lining , and cotton batting.. you will lay in this order. First your embroidered top fabric wrong side down, your lining piece on top ( right sides together). Lay your batting on top of lining even with the edge closest to the embroidery ( This will be considered the flap) Remember your batting is cut 1/2" shorter than the other two pieces.
(Click Image to Enlarge)
Step 6:
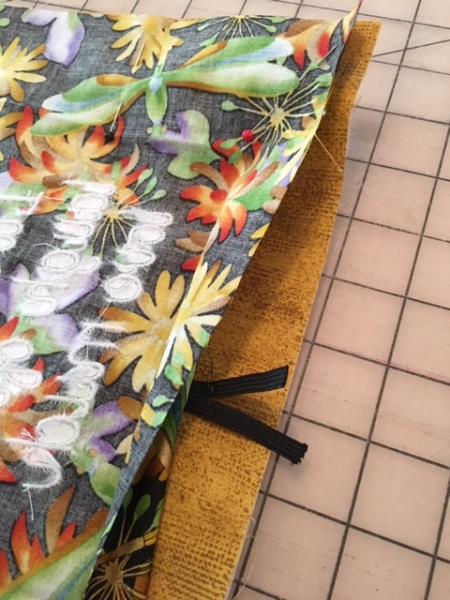
If you haven't already, cut your elastic 7" length. Fold elastic in half. Find center at the embroidered end of cover (flap). Position the elastic between the two layers of your primary fabric and lining. Pin in place.
(Click Image to Enlarge)
Step 7:
Sew all three sides leaving bottom open for turning using 1/2" seam allowance. When you get to where the elastic is, back stitch a couple of times to secure, then continue sewing the sides.
(Click Image to Enlarge)
Step 8:
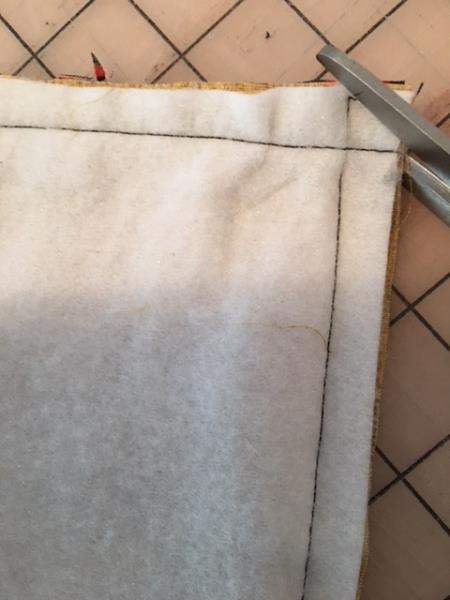
Trim corners, turn right side out. Batting will be inside sandwiched between your primary fabric and your lining.
(Click Image to Enlarge)
Step 9:
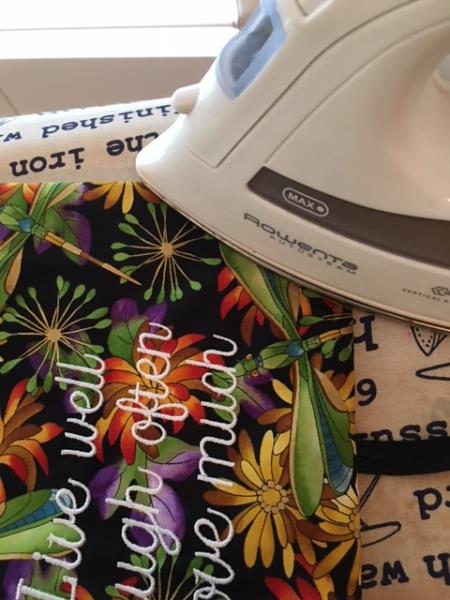
Press along seams to smooth out.
(Click Image to Enlarge)
Step 10:
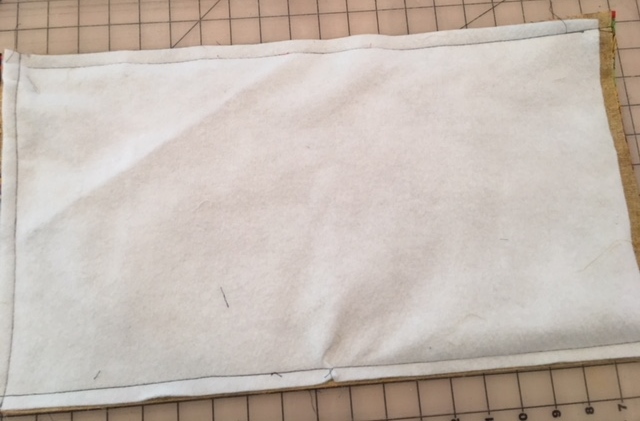
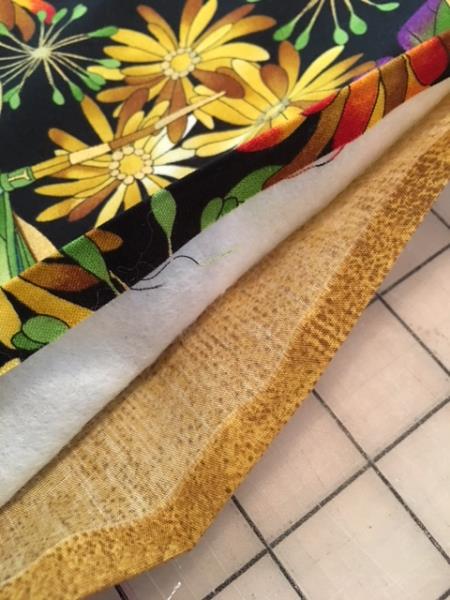
This next step will show you why we cut the batting 1/2 " shorter as it will make it easier to to close the opening. At the open end fold in overlapping raw edges. One will be folded over the batting. Press the edges as evenly as possible. Pin in place.
(Click Image to Enlarge)
Step 11:
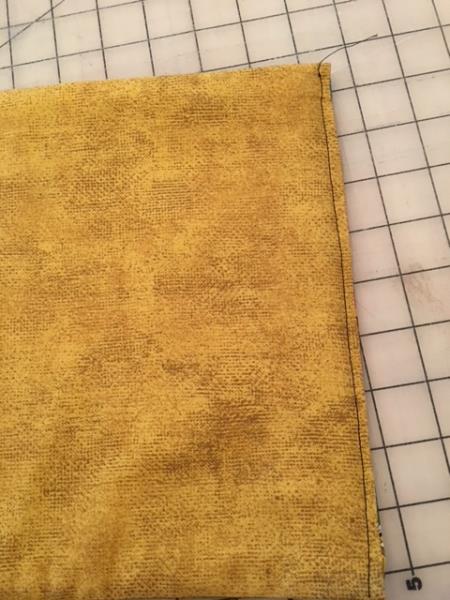
Stitch the open edge closed 1/4" from edge.
(Click Image to Enlarge)
Step 12:
Lay your cover out flat. Primary(embroidered) side down. Using your tablet, size up your pocket. Use your judgement on how much depth in the pocket you would like and how much you would like your flap to overlap showing the embroidery. See picture shown. Pin in place.
(Click Image to Enlarge)
Step 13:
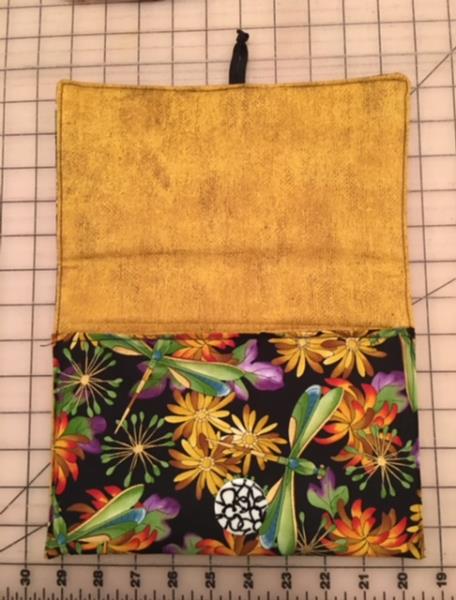
Start sewing one side.Using a 1/4" allowance. Start at the edge of pocket top down and the other side. Turn the cover around and top stitch the flap from top edge of pocket and around to the other side. I used this method so that it would make it easier to stitch through the layers of fabric.
(Click Image to Enlarge)
Step 14:
Hand stitch button by closing the flap and using the elastic for placement. And you're done!