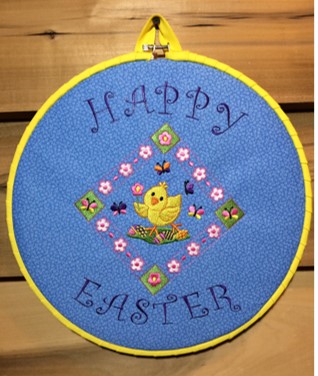
Chicks, flowers, and Easter eggs combine to create a colorful embroidery design. Add a ‘Happy Easter’ caption and a wood embroidery hoop to create an Easter Wall Hanging.
Chicks, flowers, and Easter eggs combine to create a colorful embroidery design. Add a ‘Happy Easter’ caption and a wood embroidery hoop to create an Easter Wall Hanging. The design is for a potholder but works great for a wall hanging as well. The beauty of this design is the detailed areas. Along with the gorgeous detail comes many color changes and a lengthy stitch time. The stitch count is 39,027. A single needle machine was used with an 8”x 11” hoop. The design was resized slightly to fit the hoop using Embrilliance Essentials software program.
Step 1:
The machine embroidery design featured in this project is the ‘Chick with Flower Potholder’ from Starbird. The design is for a potholder but is great for other projects also. Embrilliance Essentials embroidery software was used to slightly resize the design to fit an 8” x 11" hoop.
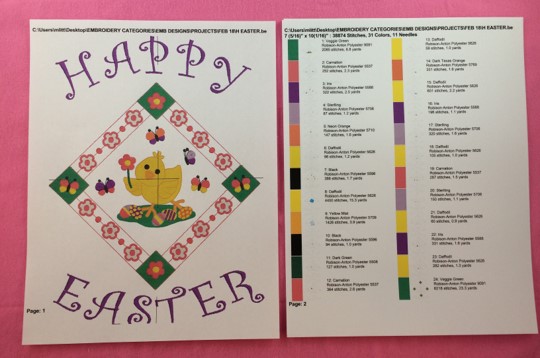
Print out a copy of the Design Template and Color Chart.
(Click Image to Enlarge)
Step 2:
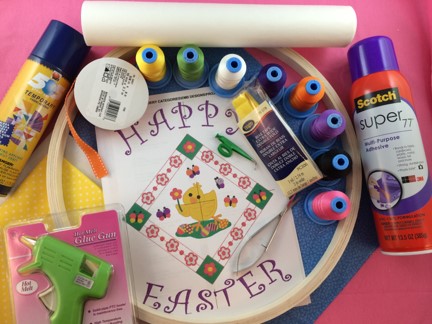
Gather the materials.
Read through the instructions before beginning.
Step 3:
(Click Image to Enlarge)
The design has solid areas filled with stitches to make the picture. The stitch count is 39,027 and requires more stabilization. Two layers of 2.5 cutaway stabilizer were used along with a fusible interfacing applied to the cotton fabric.
Iron the fusible interfacing on the back of the cotton fabric according to the directions on the package.
Adhere the two pieces of cut-away stabilizer together with temporary adhesive spray. Surface must be smooth and free of bubbles or wrinkles.
Adhere the cotton fabric to the cut-away stabilizer using temporary adhesive spray. Surface must be smooth and free of bubbles or wrinkles.
Mark the center point and axis on the fabric using pins or an erasable fabric pen.
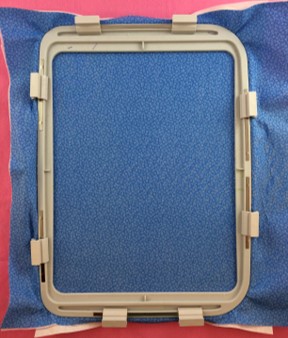
Hoop the fabric with stabilizer.
Step 4:
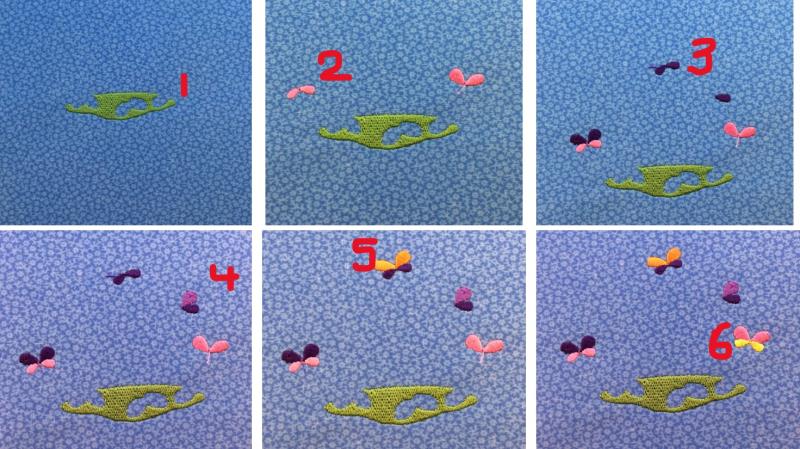
Some colors on the original design chart were changed in the example because they were not complimentary to the color of the cotton fabric. Follow the color chart and thread guide on embroidery machine for color changes. Colors were changed on the chart using Embrilliance Essentials software for the example. Pictures are provided for each color change and designated area for better visualization.
C1: Green (grass) C2: Pink (butterfly wing) C3: Dark purple (butterfly wing) C4: Violet (butterfly wing) C6: Yellow (butterfly wing)
(Click Image to Enlarge)
Step 5:
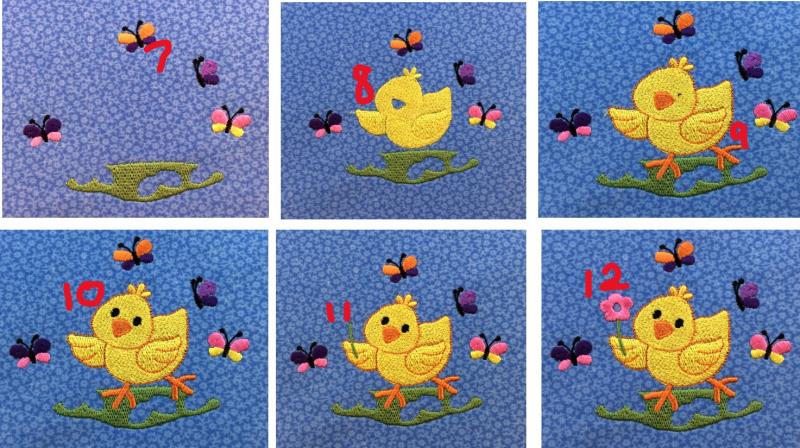
Pictures are provided for each color change and designated area for better visualization. Continue adding details to the design:
C7: Added black to the butterflies. C8: Yellow for the chick. C9: Orange added to the chick. C10: Black eyes on chick. C11: Green stem on flower in chick’s hand. C12: Pink flower.
(Click Image to Enlarge)
Step 6:
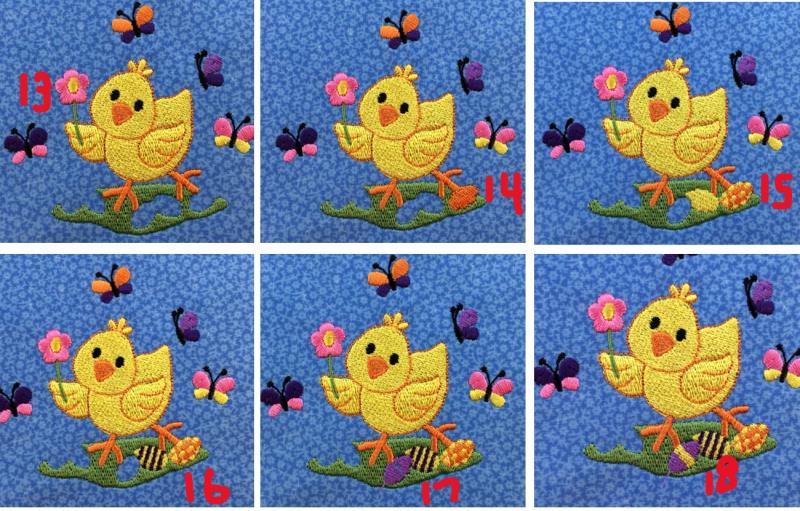
Pictures are provided for each color change and designated area for better visualization. Continue adding detail to the design:
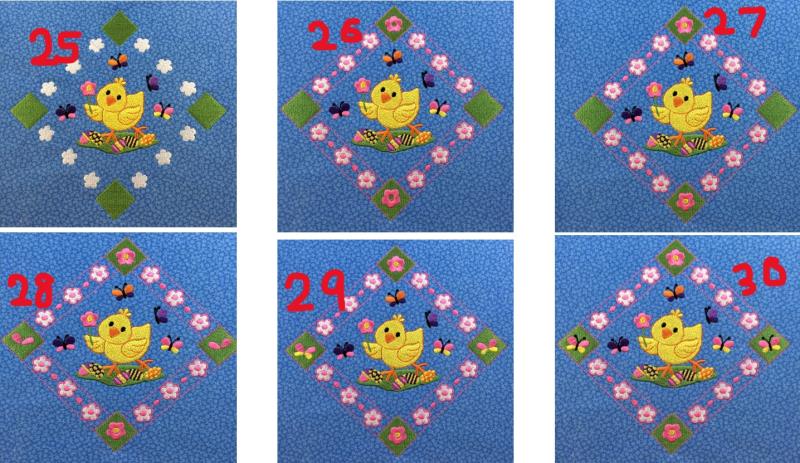
C13: Yellow flower center. C14: Orange base color for egg. C15: Yellow dots on egg. Base color for adjoining egg. C16: Purple stripes on egg. C17: Violet base color for egg. C18: Yellow stripe on egg.
(Click Image to Enlarge)
Step 7:
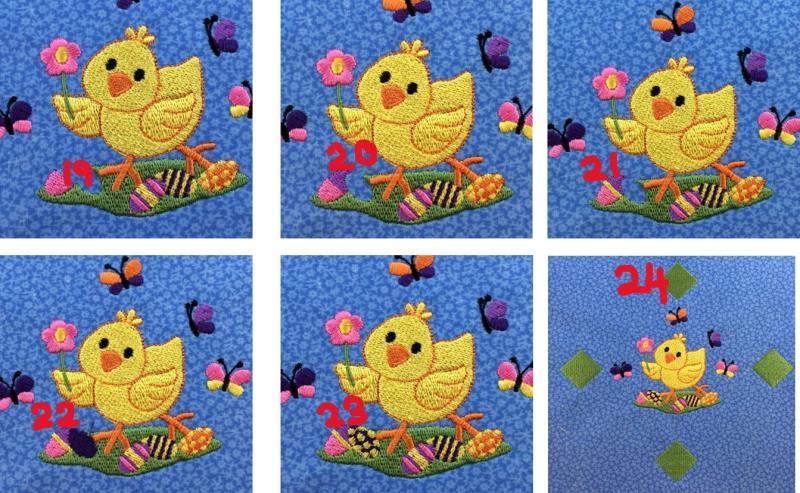
Pictures are provided for each color change and designated area for better visualization. Continue adding details to the design:
C19: Pink stripes on 2nd egg. Pink tip on last egg. C20: Violet on egg. C21: Yellow stripe on egg. C22: Dark purple for egg base color. C23: Yellow dots on egg. C24: Green outer square corners.
(Click Image to Enlarge)
Step 8:
Pictures are provided for each color change and designated area for better visualization. Continue adding details to the design:
C25: White flowers. C26: Pink. Outline flowers. C27: Yellow center of flowers. C28: Pink butterfly wings in corners. C29: Yellow on butterfly wings in corners. C30: Black on butterflies in corners.
(Click Image to Enlarge)
Step 9:
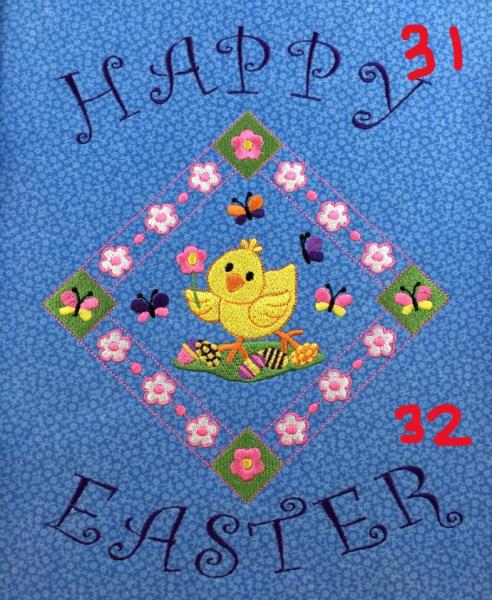
C31: ‘Happy’ caption C32: ‘Easter’ caption
Congratulations! Stitching is complete. Clip long threads on back.
(Click Image to Enlarge)
Step 10:
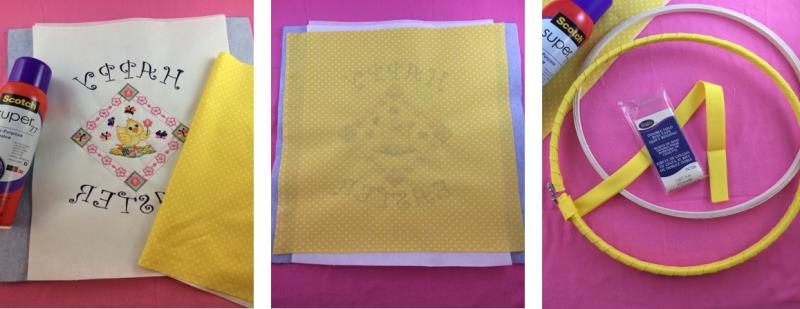
A 12” wooden embroidery hoop is used to frame the embroidery design. Fabric adhesive spray will adhere the backing fabric to the back side of embroidery design. Double fold bias tape was used to wrap the outer embroidery hoop. Other options for the outer hoop include ribbon, fabric strips, paint or the natural wood.
Spray fabric adhesive spray on the BACK side of the embroidery design.
Press the 15” x 15” backing fabric onto the base fabric. Right side of backing fabric will be facing you. Press and smooth fabric.
Wrap the outer frame of the embroidery hoop with bias tape.
(Click Image to Enlarge)
Step 11:
(Click Image to Enlarge)
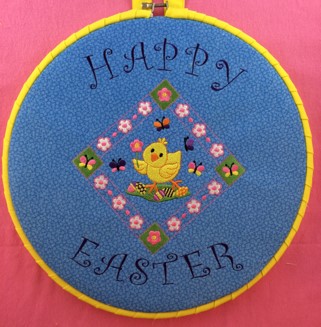
Hoop the embroidery design making sure the design is centered within the hoop frame.
Step 12:
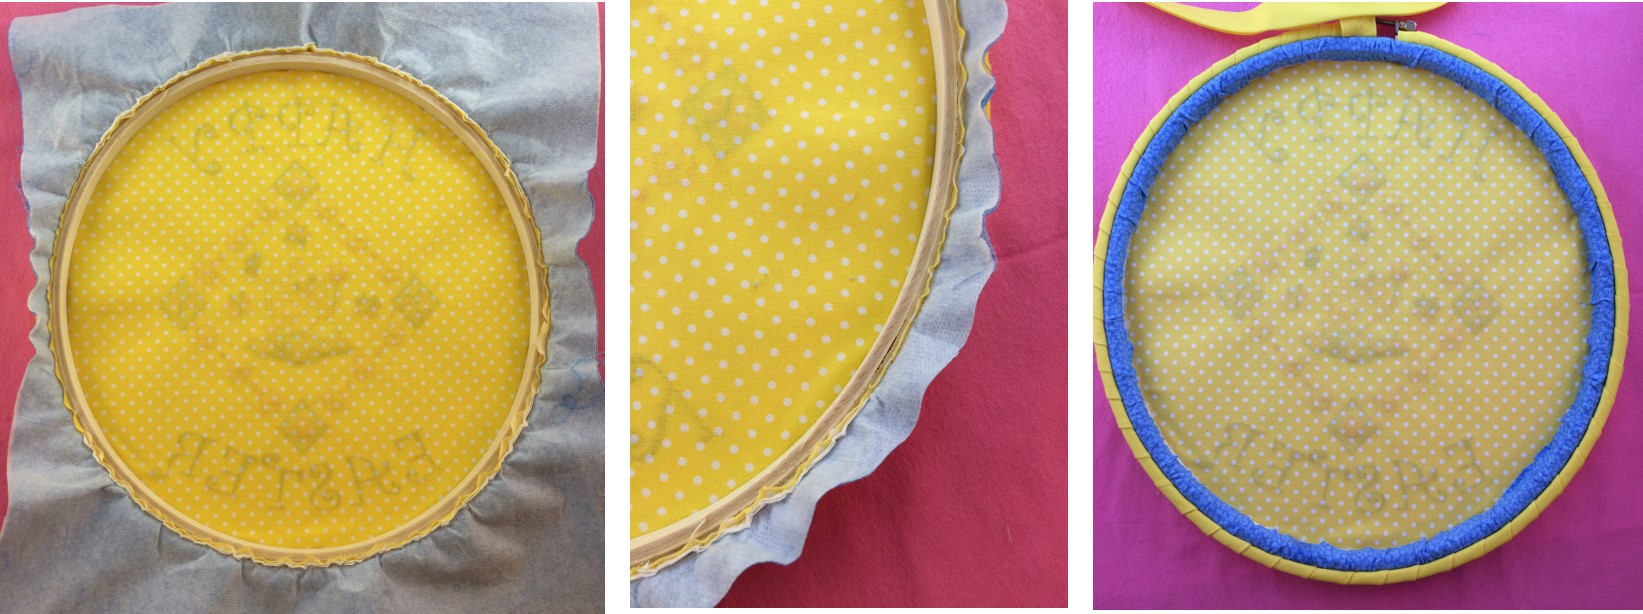
Trim the backing fabric (yellow in example) level with the embroidery hoop frame.
Trim the base fabric (blue in example) leaving about a 1” lip.
Using a hot glue gun, glue the blue fabric onto the hoop.
(Click Image to Enlarge)
Step 13:
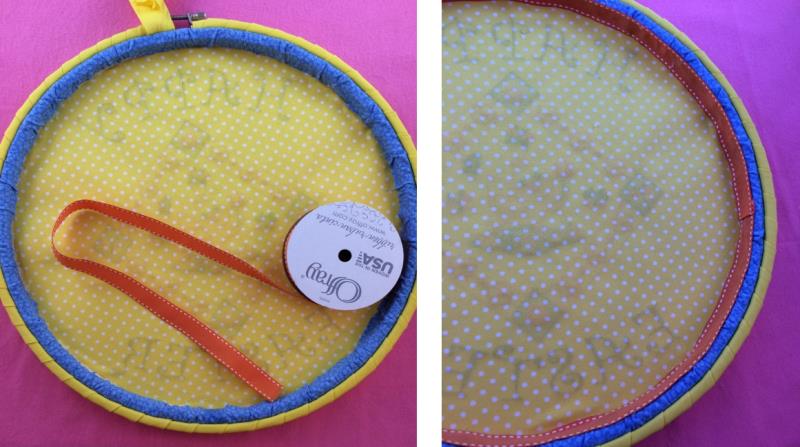
Using a hot glue gun, glue a ½” ribbon around the inside frame of the hoop.
(Click Image to Enlarge)
Step 14:
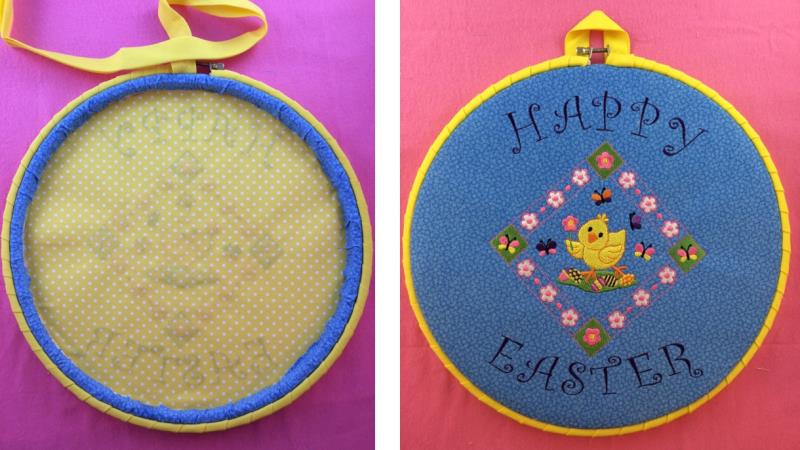
Make a hoop for a hanger with the remainder of the yellow bias tape. Cut off the extra length. Hot glue the end to the frame.
Marisa Littleton is a retired educator with a love for teaching and learning. Interests include machine embroidery, hand embroidery, quilting, cooking, and antiques.