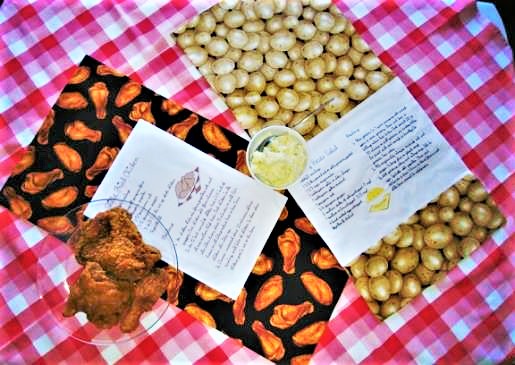
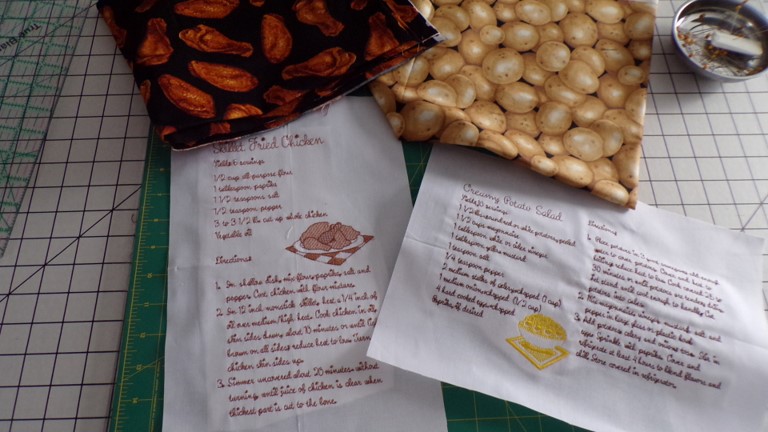
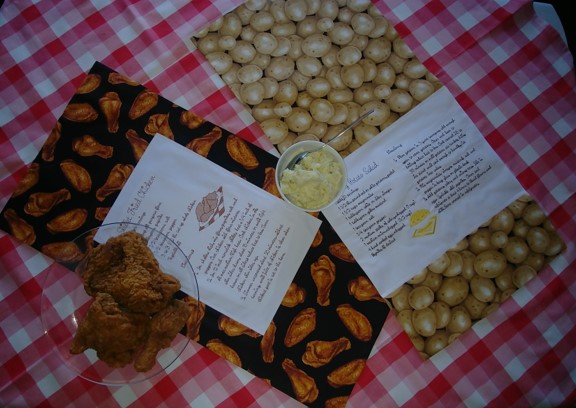
Here is a fun way to use food-themed fabrics—create towels with recipes. Coordinate the fabric with the recipe, and use the recipe to fix the food for a picnic.
The towels can be made any size. If altering the size, be sure to adjust the amount of fabric needed. The designs are stitched and then the stitched section bordered with the themed fabric on the front and on the back of each towel. For this project, the Potato Salad design was edited in software so the recipe goes horizontally and a color change made. If you choose to stitch the design as is, adjust the fabric dimensions to border the embroidered section and towel back.
Step 1:
(Click Image to Enlarge)
Gather the materials and read through the instructions before beginning. Print out a paper template of each of the designs and color sequence. ¼” seams are used throughout the project. ¼” seam allowances are used throughout the project. Dimensions for cutting the fabrics are given within the instructions.
Step 2:
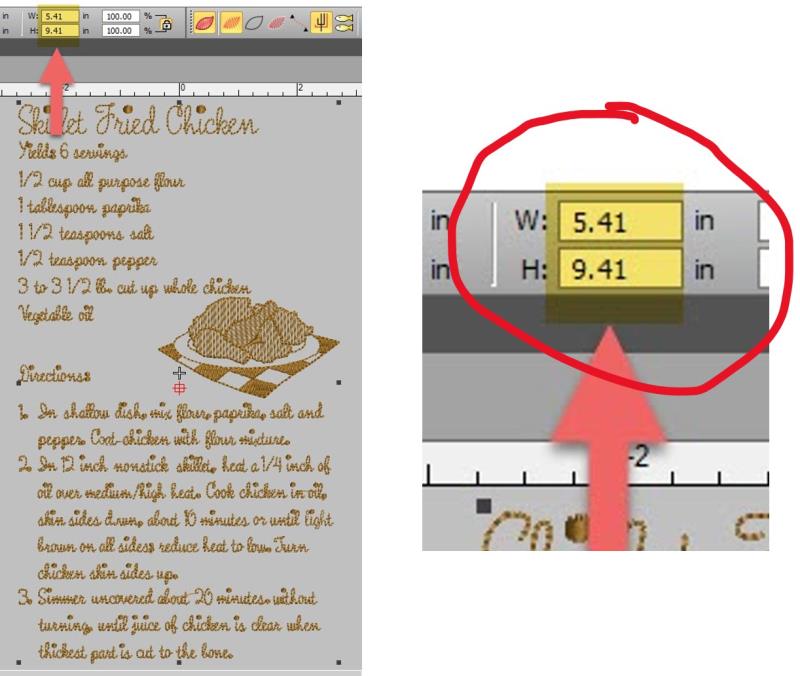
Be sure to note the size of the chicken design—it requires a larger hoop
(Click Image to Enlarge)
Step 3:
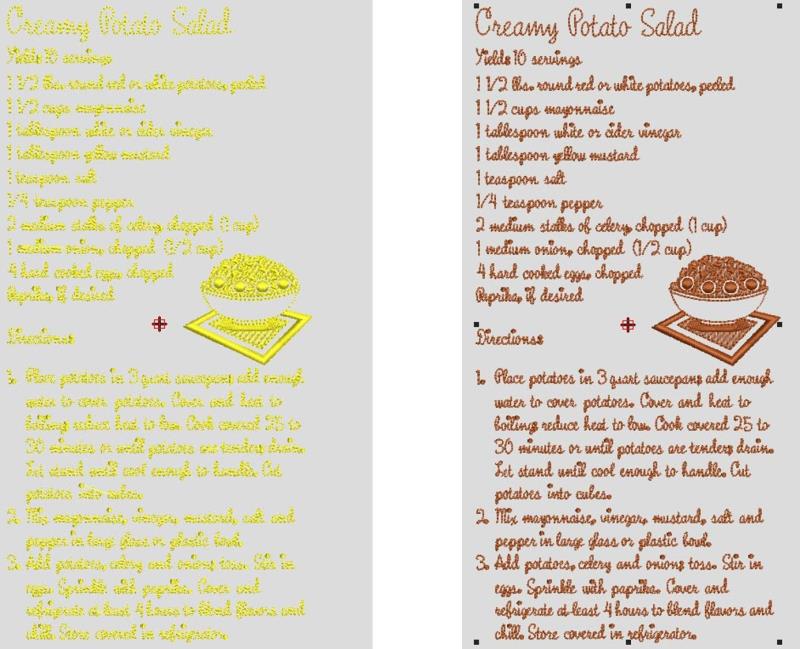
For the Potato Salad design, I decided to make the recipe read horizontally instead of vertically.
(Click Image to Enlarge)
Step 4:
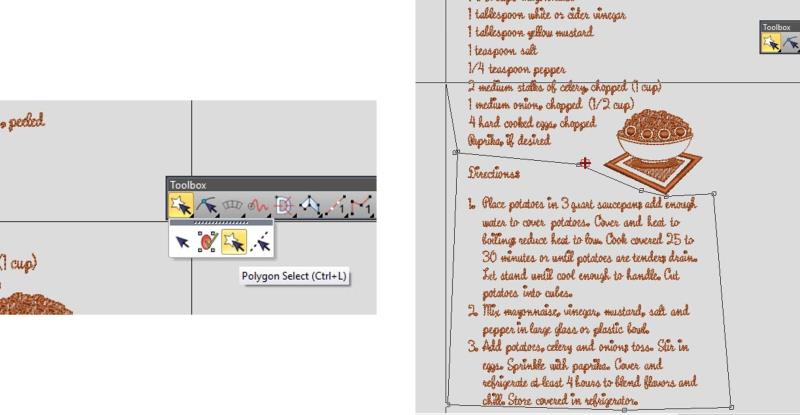
To do this, first save the file and label it as a new design leaving the original intact. Next, change the color to a brown that will coordinate with the fabric being used. Use the Polygon Select tool to select the “Directions” portion of the design.
(Click Image to Enlarge)
Step 5:
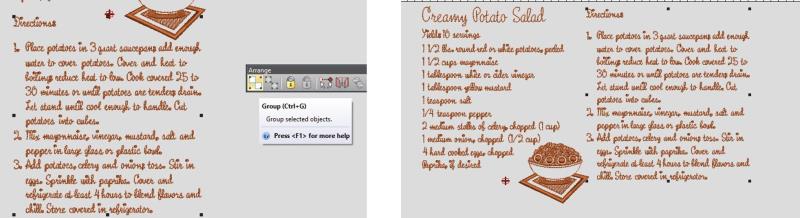
Group that section and move it over to the right side as shown.
(Click Image to Enlarge)
Step 6:
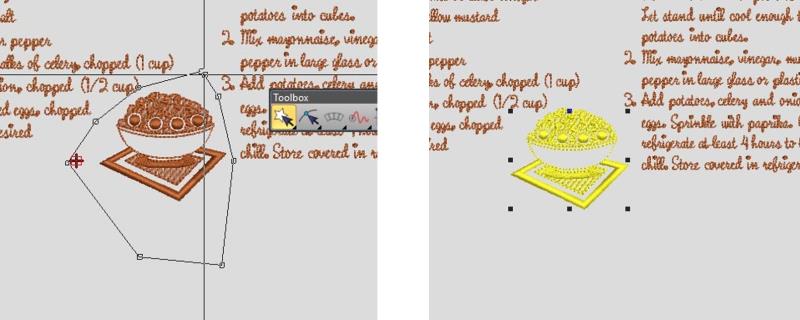
I also decided I wanted the potato salad part of the design to remain yellow, but wanted the text to be a brown color to match the fabric. Again, use the polygon select tool to select the potato salad portion of the design and group it; choose a yellow color for this section of the design.
(Click Image to Enlarge)
Step 7:
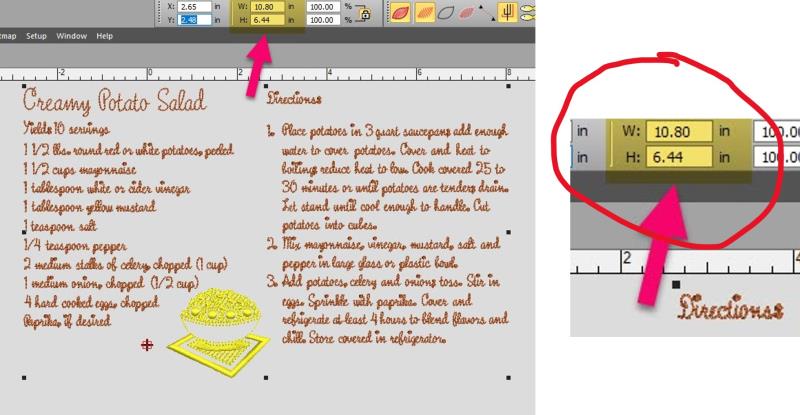
Select the whole design and make sure it will fit within the dimensions of the hoop you have for your machine. Save the design and export it for stitching.
(Click Image to Enlarge)
Step 8:
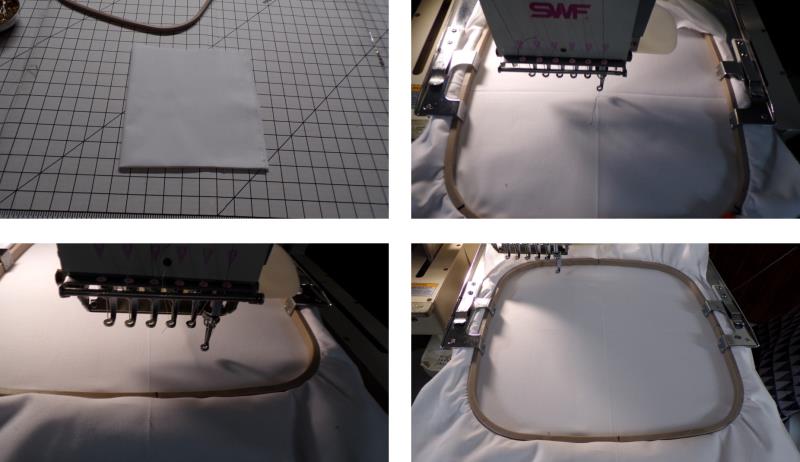
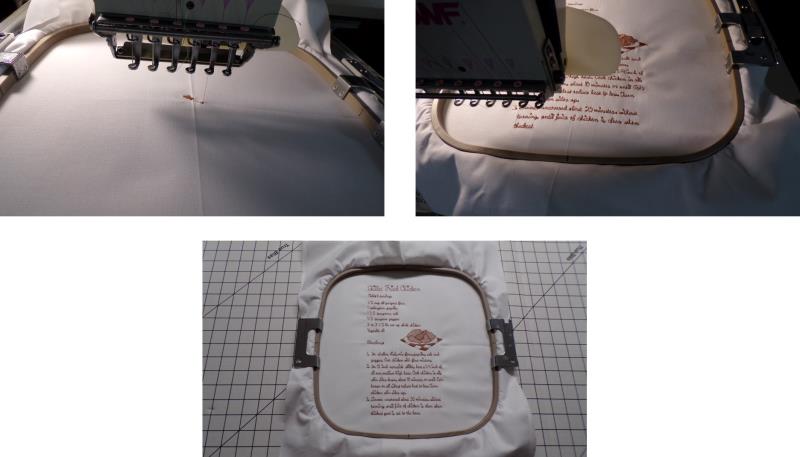
Cut a piece of white cotton fabric to fit the hoop. Quarter fold it to find the center and hoop the fabric with stabilizer. Be sure to do a “trace” to make sure the design will fit within the hoop dimensions.
(Click Image to Enlarge)
Step 9:
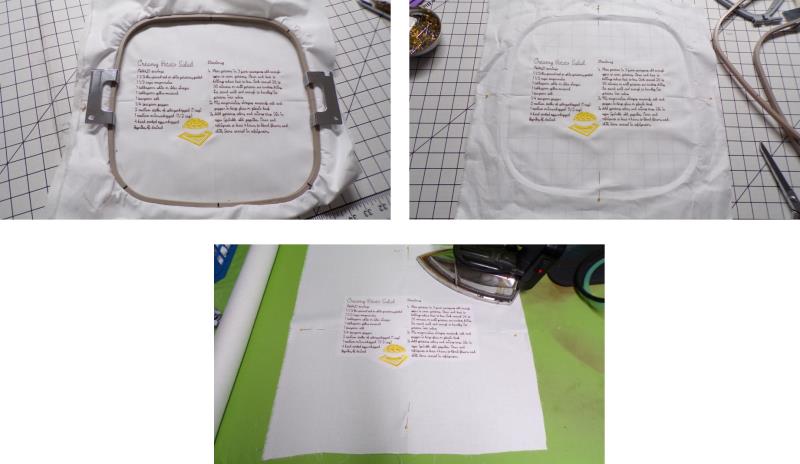
Stitch the design. After the design has finished stitching, remove the fabric from the hoop and press the fabric.
(Click Image to Enlarge)
Step 10:
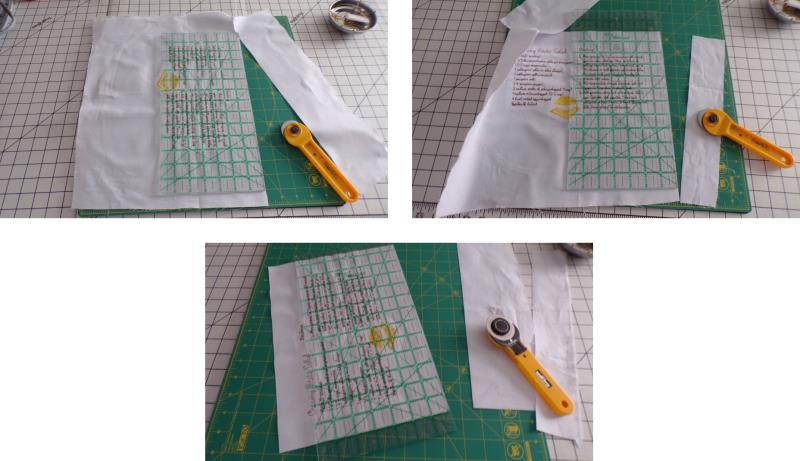
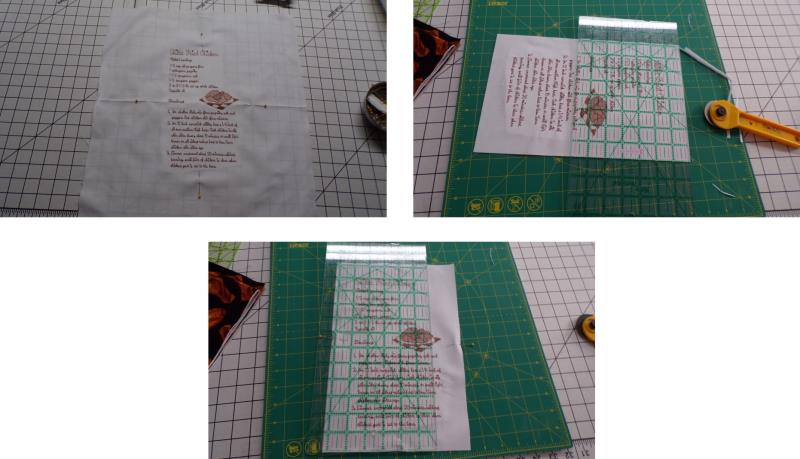
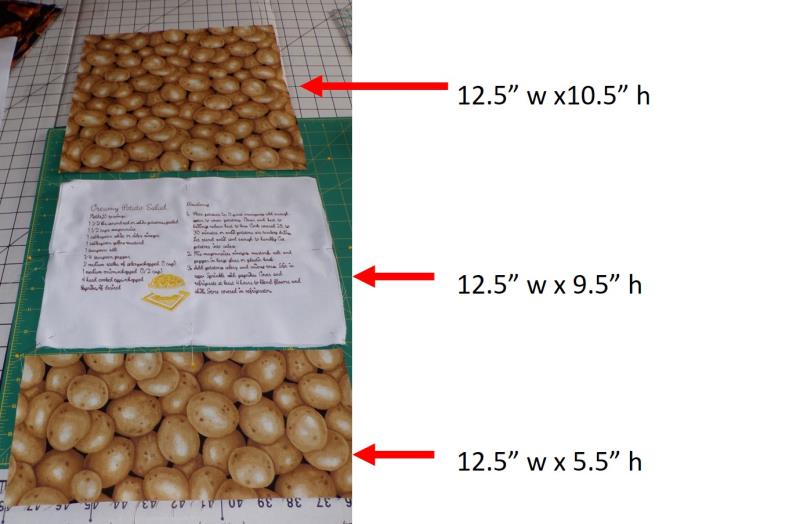
Using a gridded ruler, square up the fabric to 12.5” w x 9.5” h, centering the design within these dimensions.
(Click Image to Enlarge)
Step 11:
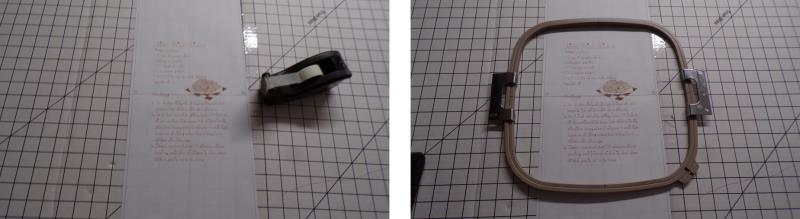
Now stitch the fried chicken recipe design. Use the paper template if you printed one to make sure the design will fit within the hoop dimensions.
(Click Image to Enlarge)
Step 12:
Hoop a piece of white cotton fabric with stabilizer like before. Load the design on the machine. Do a trace, again to be sure the design will fit within the hoop, and then stitch the design.
(Click Image to Enlarge)
Step 13:
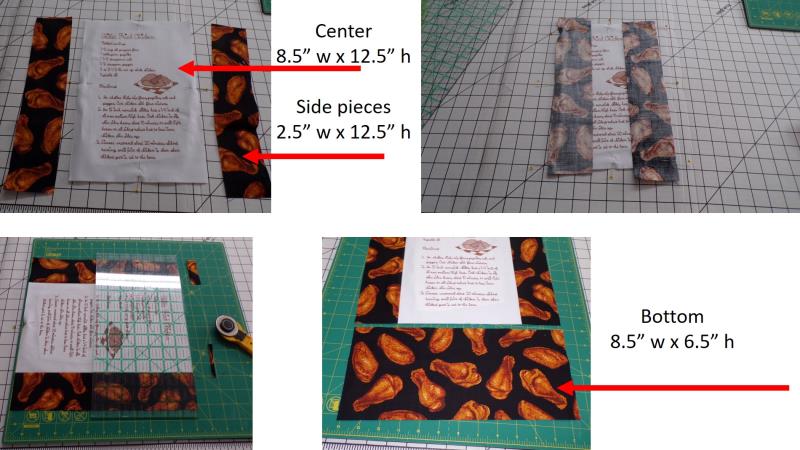
After the design finishes stitching, remove the fabric from the hoop and press it well. Trim the fabric to measure 8.5” w x 12.5” h, centering the design within those dimensions.
(Click Image to Enlarge)
Step 14:
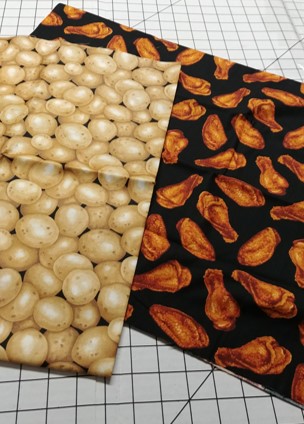
Now it will be time to cut the themed fabrics.
(Click Image to Enlarge)
Step 15:
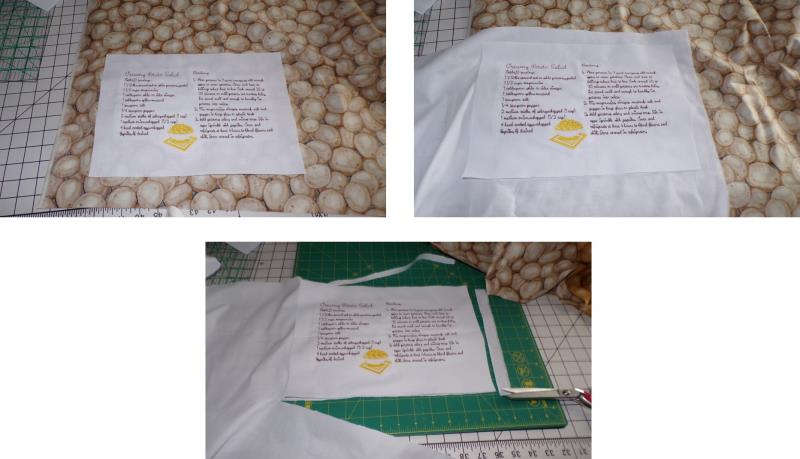
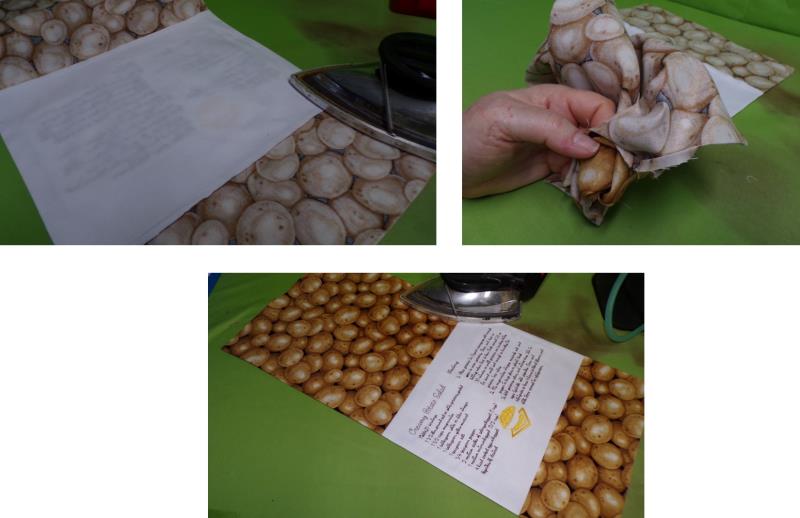
Start with the potato fabric. Now here is where the optional white fabric comes in. Depending on the white fabric you use and the coloring in the food themed fabric, you may have to add an additional piece of white fabric behind the recipe stitching piece to act as a block for the printed fabric design bleeding through the white fabric. If you do need to cut a piece, just lay the recipe fabric over a piece of white fabric and cut the second piece of fabric to the same size.
(Click Image to Enlarge)
Step 16:
Cut a piece of fabric to stitch to the top of the embroidery and one to the bottom in the dimensions shown.
(Click Image to Enlarge)
Step 17:
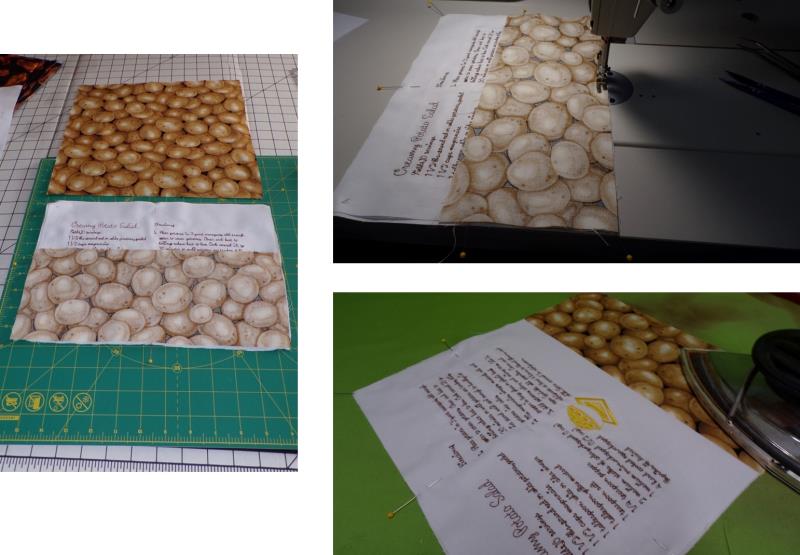
With right sides together, pin the top of the lower section to the bottom of the embroidered section. Sew the two pieces together and press the seam toward the printed fabric.
(Click Image to Enlarge)
Step 18:
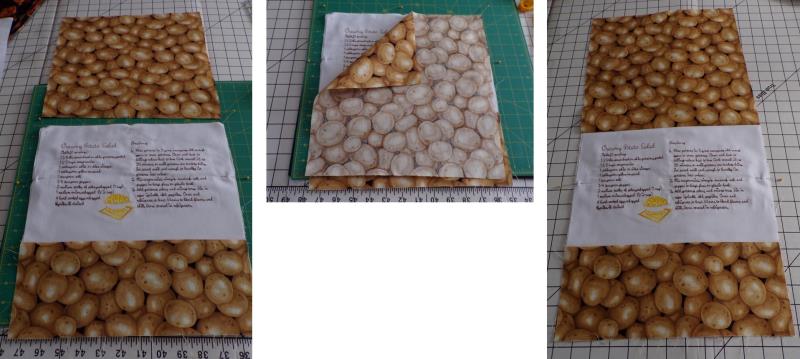
Repeat for the top piece. Place the pieces right sides together, sew the seam, and press it toward the printed fabric.
(Click Image to Enlarge)
Step 19:
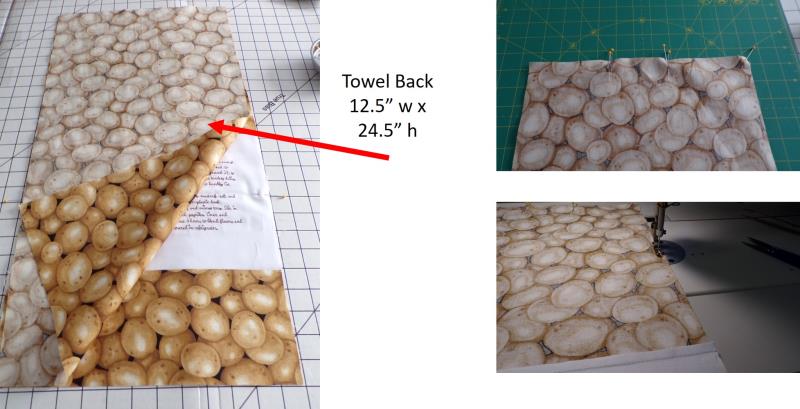
Cut a piece of themed fabric for the towel back the dimensions shown. With right sides together, pin the back to the towel front and stitching around all four sides leaving an opening at the top for turning.
(Click Image to Enlarge)
Step 20:
Press the seams and turn the towel right side out through the opening forming the corners well. Press the towel well.
(Click Image to Enlarge)
Step 21:
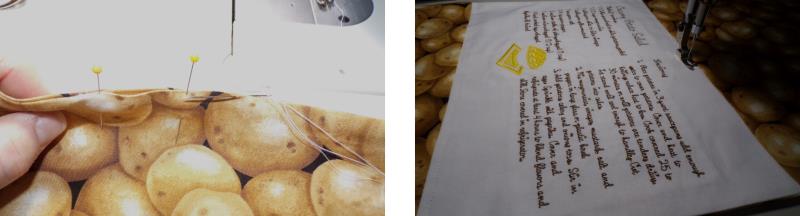
Pin the opening closed and hand stitch it closed. Top stitch all layers together by stitching around the embroidered section ¼” inside the seams.
(Click Image to Enlarge)
Step 22:
Repeat the same steps of cutting the fabric for the Fried Chicken embroidery. Because this is a narrower piece, add borders at the side of the embroidery, cutting the fabric in the dimensions shown; sew on the borders first and then cut and stitch on the bottom themed fabric section.
(Click Image to Enlarge)
Step 23:
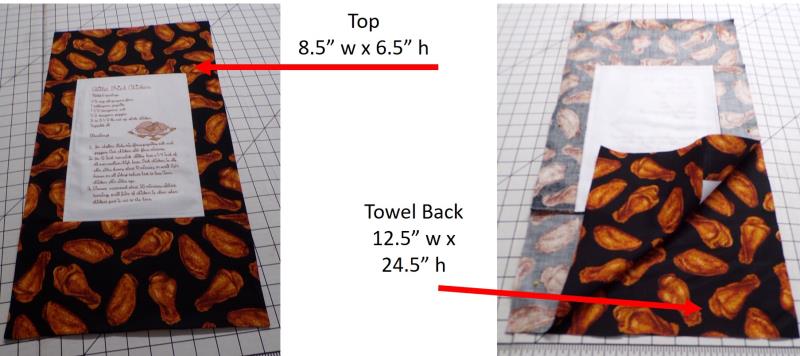
Cut and sew on the top themed fabric section. Cut the towel back and sew, press, turn and close the opening like was done for the potato salad towel.
(Click Image to Enlarge)
Step 24:
Congratulations! Use the recipes to prepare some picnic fix ‘ins and enjoy a spring day with some delicious food.
Ramona Baird has been in the embroidery industry for over 23 years. She and her husband owned a commercial and retail embroidery store in Arizona for many years. She is an experienced digitizer having been mentored by award-winners Pat Williams and Lindee Goodall. Ramona is a contributor to “Creative Machine Embroidery” magazine having 5 covers to her credit. Ramona has worked for Wilcom America and served many years as Education Director for the American Sewing Guild. With a degree in fashion design, she is able to design and execute patterns which Pat Williams says are “out of the box” in creativity and application. Ramona likes to challenge the boundaries of embroidery and bring new and exciting designs, ideas, and projects to EmbroideryDesigns.com. She wants embroiderers of all levels to increase their skills and enjoyment in using their embroidery machine for gift-making and personal pleasure.