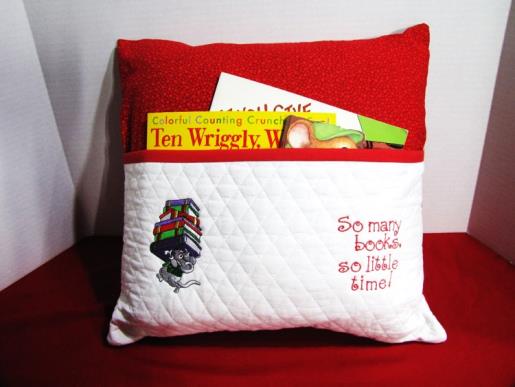
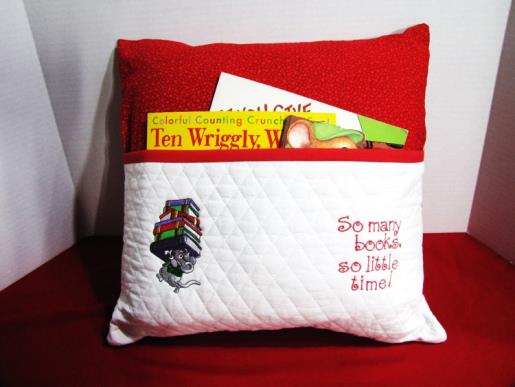
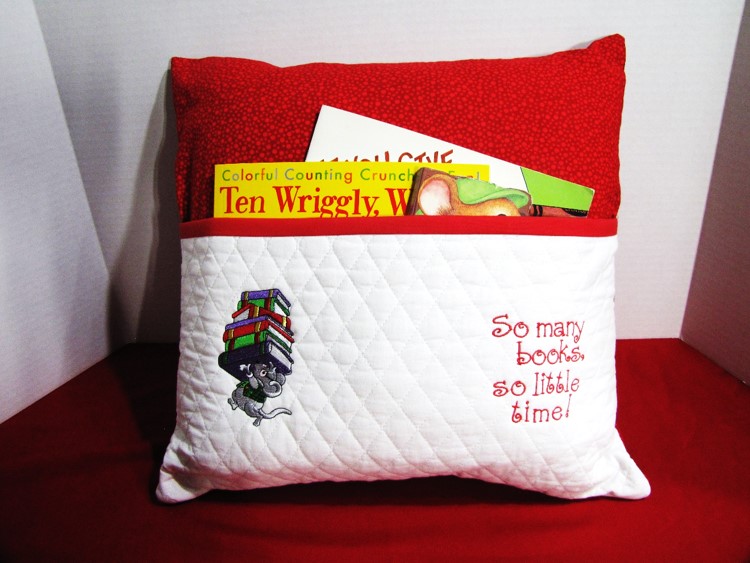
This fun reading/book pillow can be made to enjoy for children and adults alike. Keep track of your book by keeping it in this fun pillow near your bed or in your favorite chair. They make wonderful gifts for all ages!
Note: I used the 1" Jack & Jill font for this project.
Step 1:
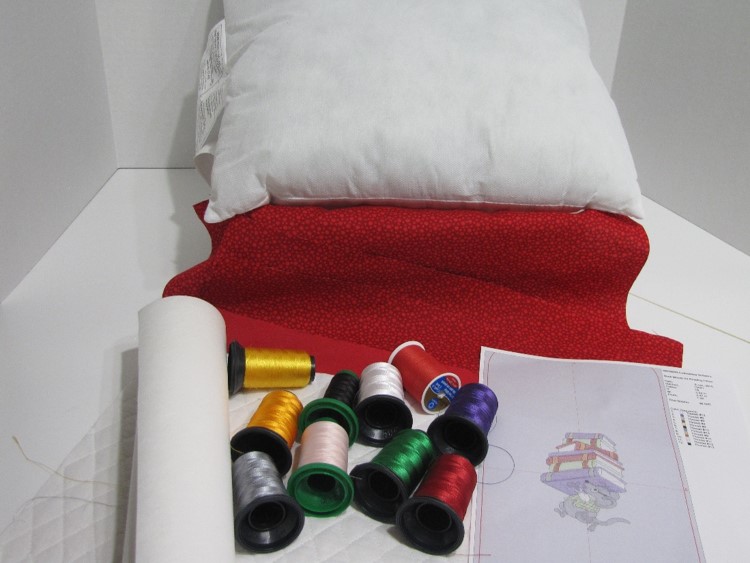
Gather the materials and read through the instructions before beginning. Print out a paper template of the design and color sequence.
(Click Image to Enlarge)
Step 2:
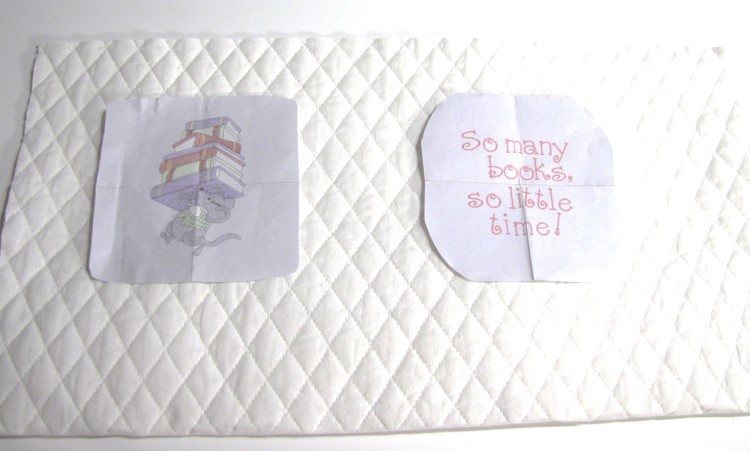
Determine placement of designs on pillow pocket piece. It may require more than one hooping, depending on your hoop size. This project was done with two separate hoopings, using a 5”x7” hoop.
(Click Image to Enlarge)
Step 3:
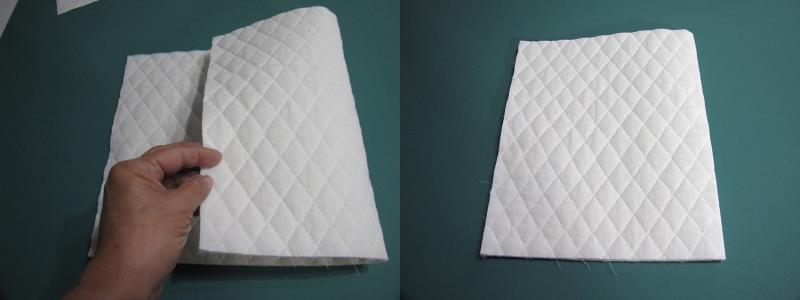
Fold the pocket fabric in half, wrong sides together and matching short ends. Place the first side to be embroidered face up.
(Click Image to Enlarge)
Step 4:
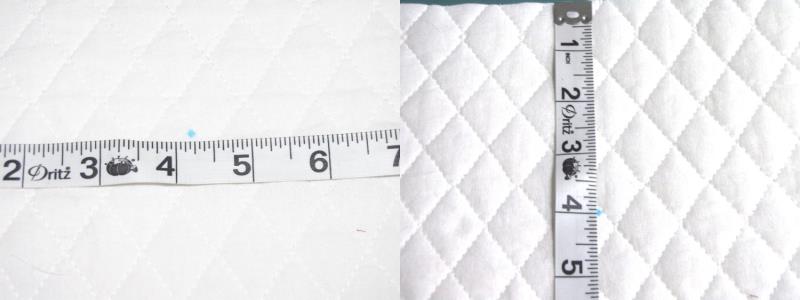
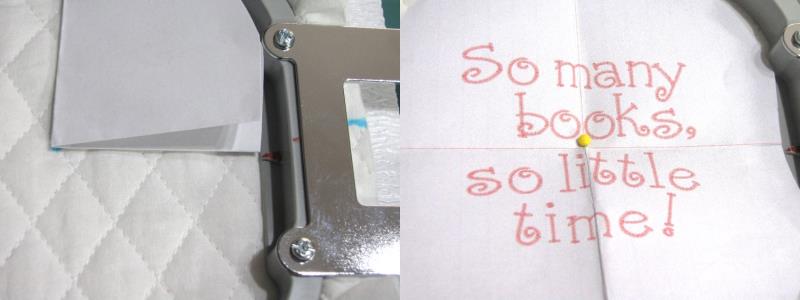
The folded fabric will be 8.5” wide x 5” tall. You will want to place your center marks at the 4.25” mark (center from left to right) and at the 4” mark (center up and down) as shown in the photos. The design needs to be placed 1” above the horizontal center so it won’t be too low on the finished pocket. Remember, you will have a ½” trim border at the top of the pocket.
(Click Image to Enlarge)
Step 5:
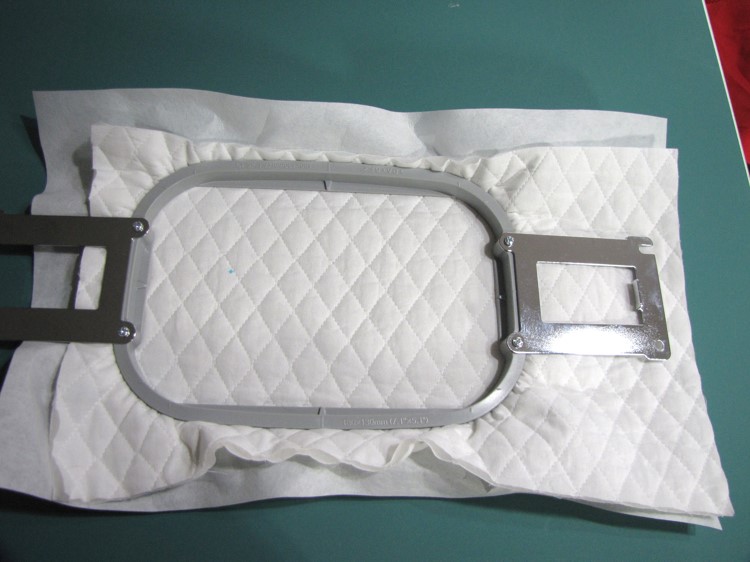
Hoop the first side to be embroidered, centering the design in the hoop for appropriate placement.
(Click Image to Enlarge)
Step 6:
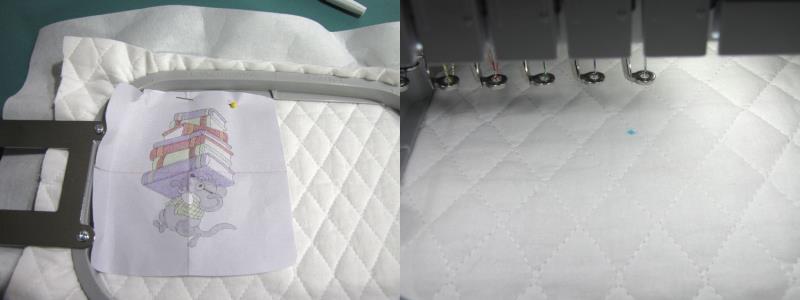
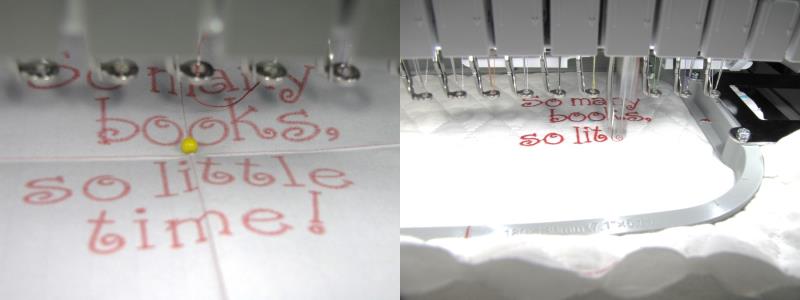
Place the hooped fabric on the embroidery machine and confirm the center alignment on the paper template with the needle placement.
(Click Image to Enlarge)
Step 7:
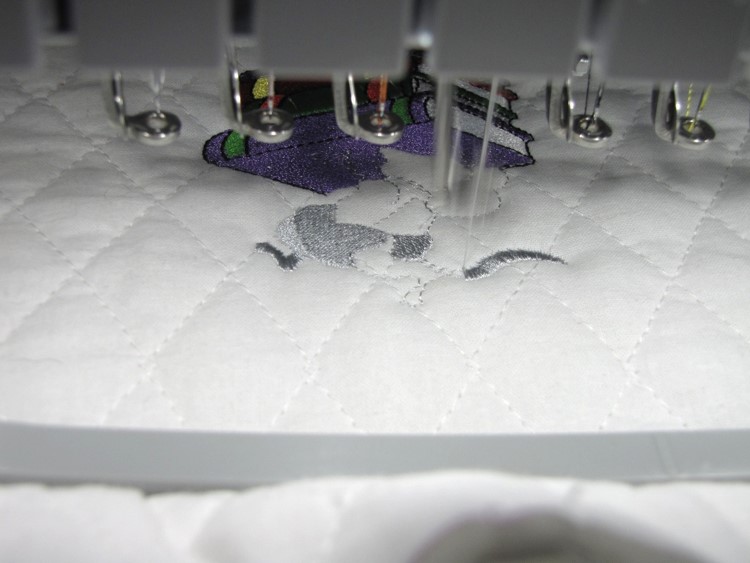
Remove the paper template and stitch the design following the color sequence.
(Click Image to Enlarge)
Step 8:
When finished, remove the hoop from the machine, remove the fabric from the hoop and re-hoop the fabric for the second design, following steps 3 – 6 above
(Click Image to Enlarge)
Step 9:
Remove the paper template and stitch the second design following the color sequence.
(Click Image to Enlarge)
Step 10:
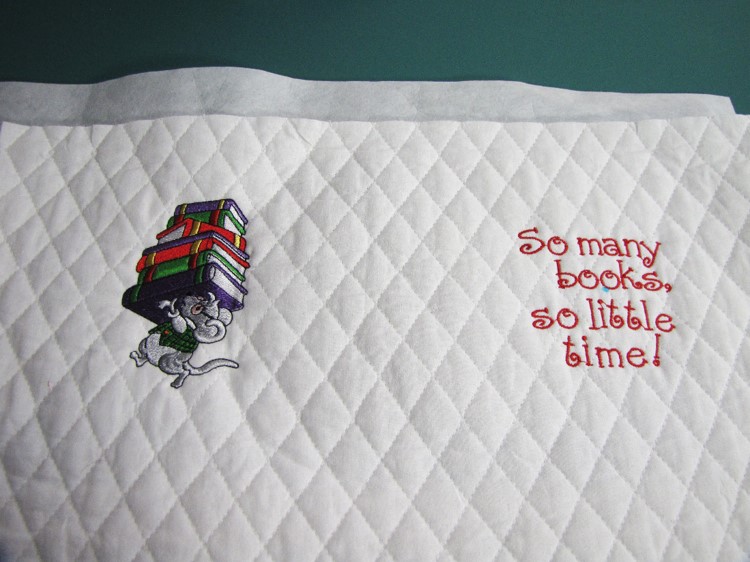
Remove the pocket fabric from the hoop. Your pillow pocket will now have both designs stitched out.
(Click Image to Enlarge)
Step 11:
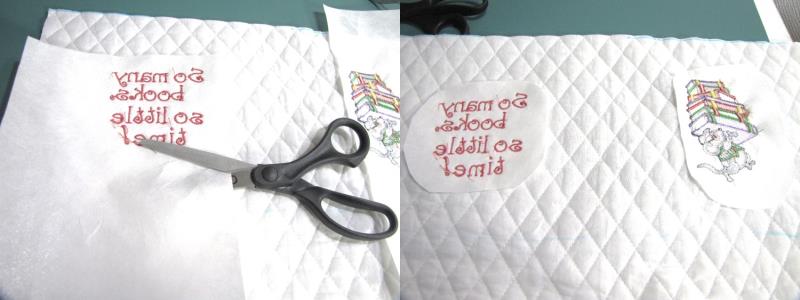
Trim the cutaway stabilizer from around each of the designs. HINT: If you are not using pre-quilted fabric, skip step 11, leaving the stabilizer on the fabric to add body to the pillow pocket.
(Click Image to Enlarge)
Step 12:
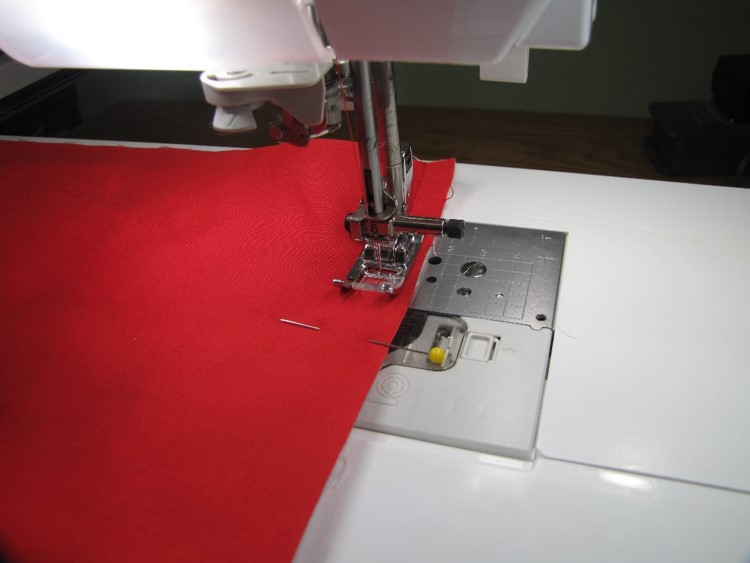
To assemble the pocket, line the top of the pocket and the top of the lining (long edges), right sides together and pin. (The lining will be 1” longer than the pocket front at this stage.)
(Click Image to Enlarge)
Step 13:
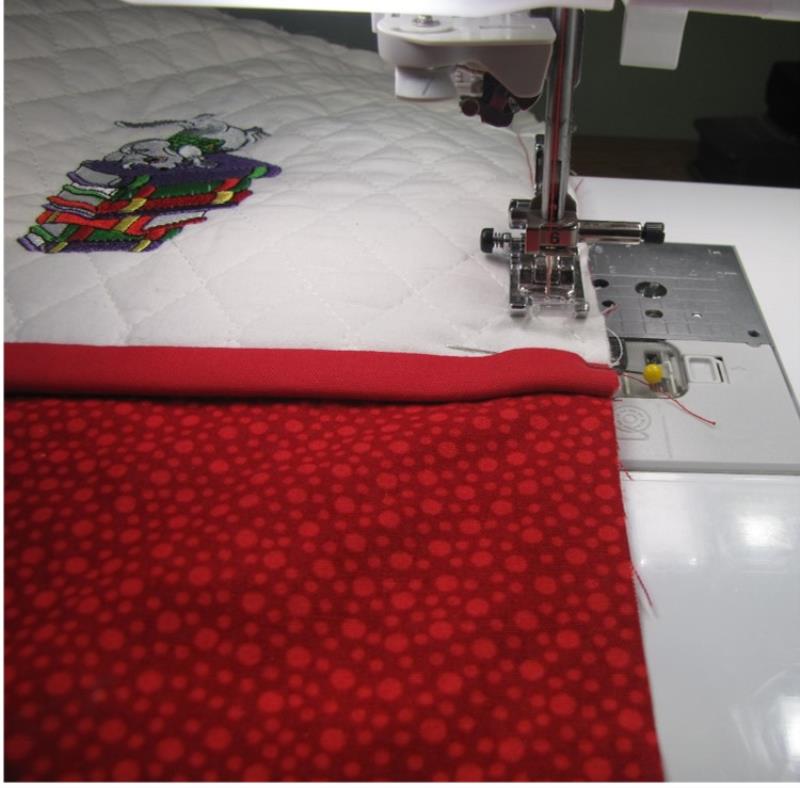
Stitch the pocket top and lining together using a straight stitch with a ½” seam allowance.
(Click Image to Enlarge)
Step 14:
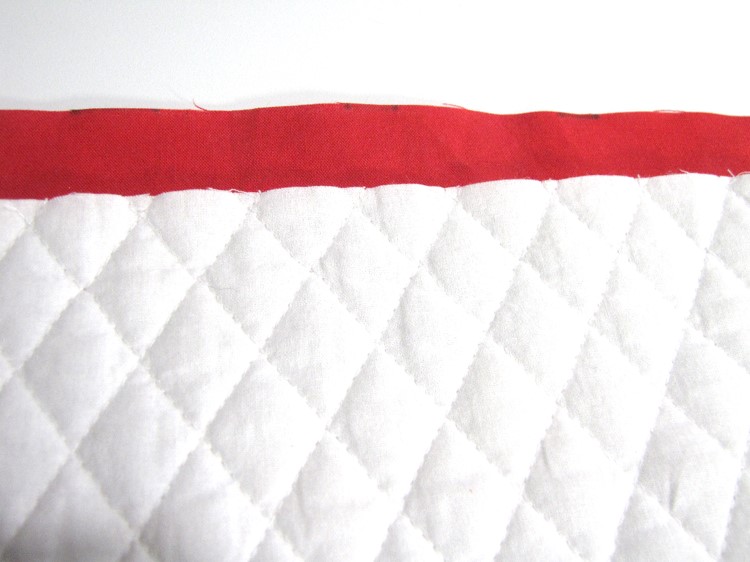
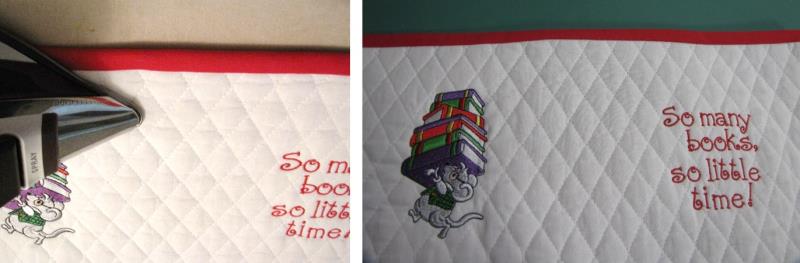
Flip lining over the seamed edge. The wrong sides of the fabric will now be together. Line up the bottom of the pocket and the lining. This will create your ½” trim at the top of the pocket.
(Click Image to Enlarge)
Step 15:
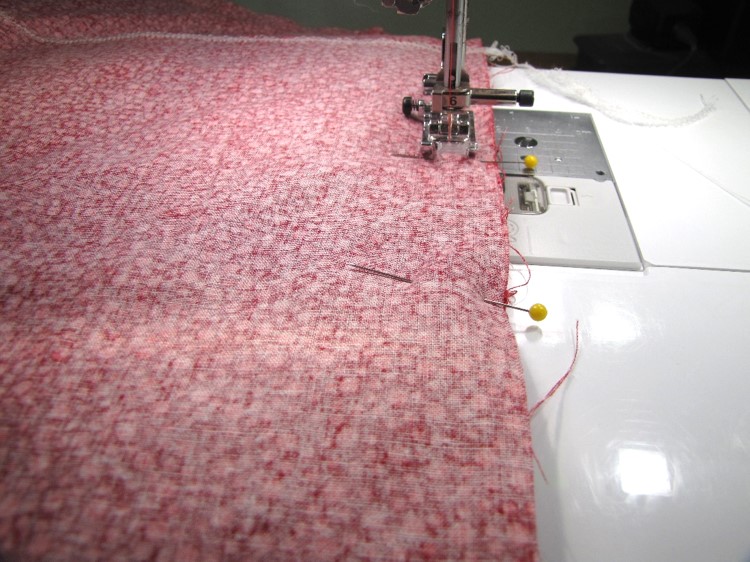
Press the lining and the pocket, wrong sides together. Using a basting stitch, sew around the 3 open edges of the pocket and lining.
(Click Image to Enlarge)
Step 16:
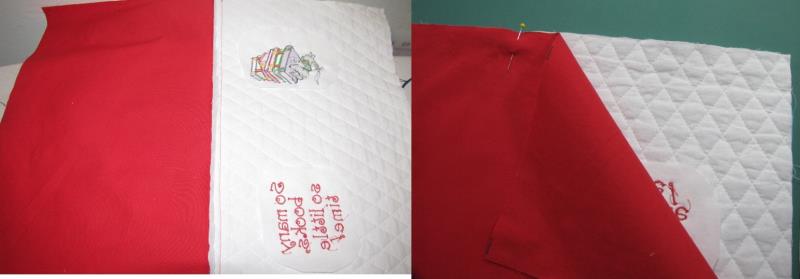
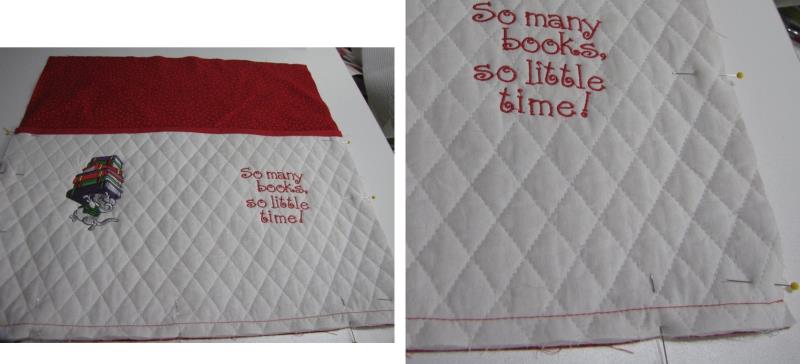
Pin the lined pocket to the TOP of the pillow cover, leaving the top edge (with the trim) open.
(Click Image to Enlarge)
Step 17:
Using a basting stitch, sew the sides and bottom of the pillow top and pocket together.
(Click Image to Enlarge)
Step 18:
The two 13”x17” pieces will form the pillow back, creating an opening for the pillow form.
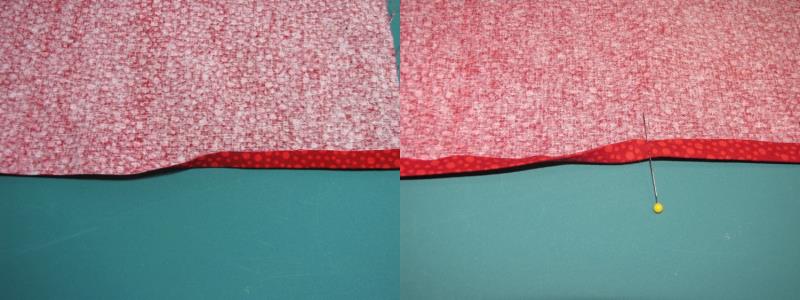
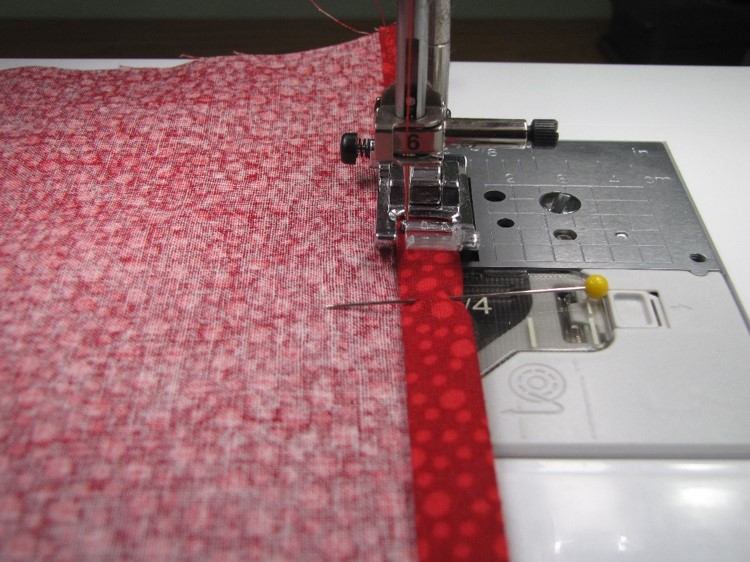
Fold a ¼” fold along the long (17” edge) of one of the pillow back pieces, then fold it again, an additional ¼” and pin.
(Click Image to Enlarge)
Step 19:
Stitch along the edge with a straight stitch. This will be the outside portion of the pillow back.
(Click Image to Enlarge)
Step 20:
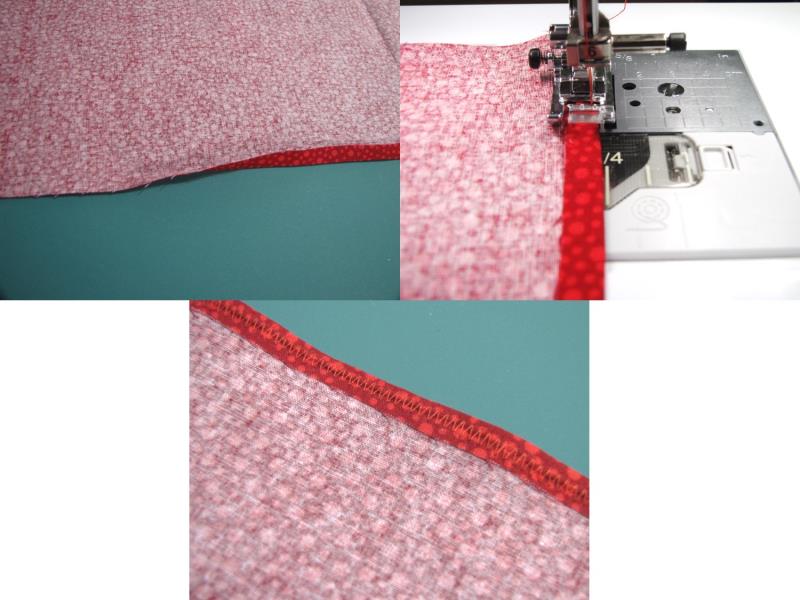
Fold a ¼” fold along the long (17” edge) of the remaining pillow back piece. Press and stitch with a narrow zig-zag stitch. If you have a serger you may serge this edge instead.
(Click Image to Enlarge)
Step 21:
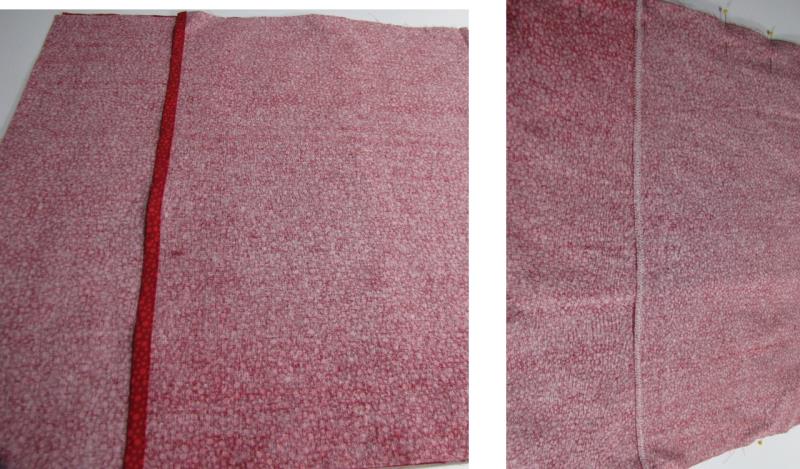
Overlap the two pillow BACK pieces with the finished edges running vertical, placing the hemmed 13”x17” piece on the bottom and the zig-zagged (or serged) 13”x17” piece on top. This will form the opening in the back of the pillow so the pillow form can be inserted.
(Click Image to Enlarge)
Step 22:
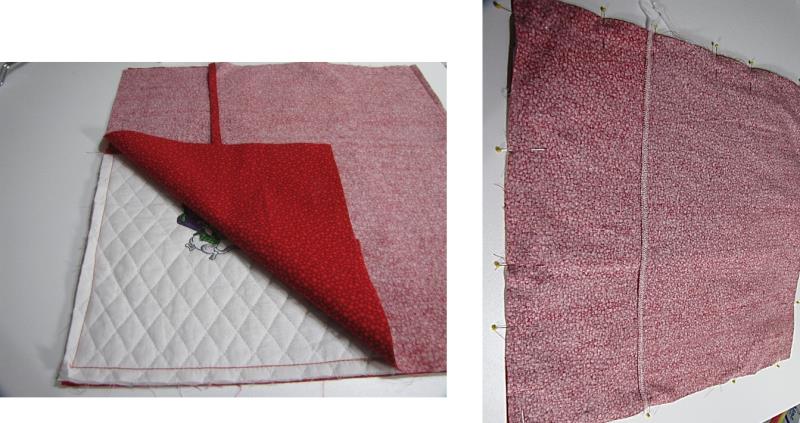
Place the overlapped back pieces on top of the pillow top (the piece with the pocket) right sides together, lining up all four outer edges and pinning all around.
(Click Image to Enlarge)
Step 23:
Sew all four sides of the pillow cover using a ½” seam allowance. When sewn, this will form the cover for your pillow. REMINDER: You have created an opening on the back of the pillow cover to insert your pillow form.
(Click Image to Enlarge)
Step 24:
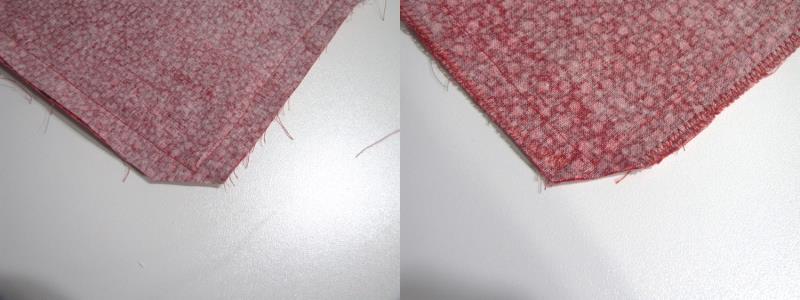
Clip the corners so you will have sharper corners when the pillow cover is turned. You may zigzag around the raw edges of the pillow to help reinforce the seams.
(Click Image to Enlarge)
Step 25:
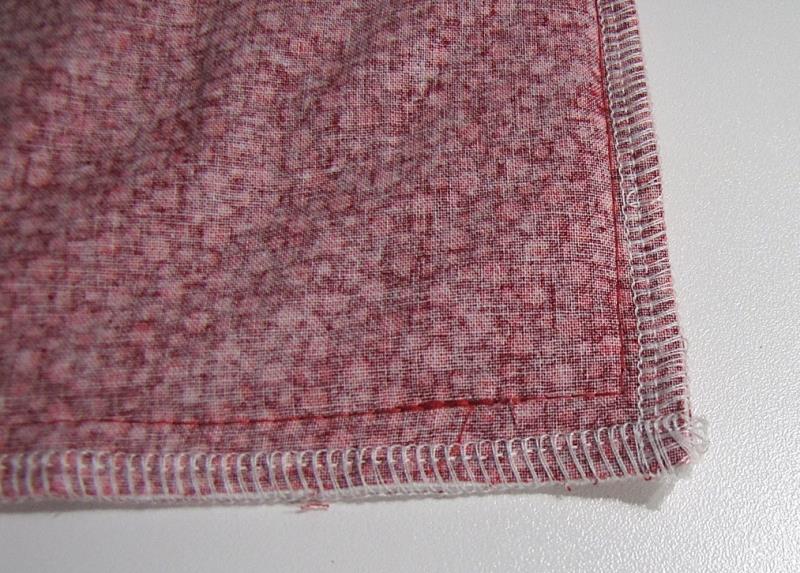
If you have a serger, you may serge the raw edges and this will reinforce the seams.
(Click Image to Enlarge)
Step 26:
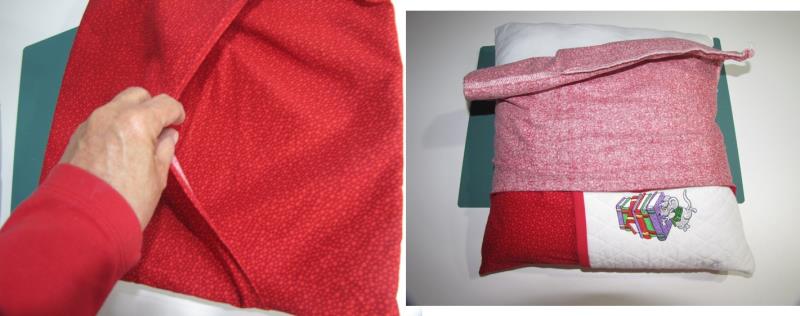
Turn the pillow cover right side out. Press the cover on both sides before inserting the pillow form.
HINT: You can get nice, sharp corners by using a sewing point turner. In this project, I used a rounded end of a chop stick.
Place the pillow form inside the cover using the opening in the back of the pillow cover. You will need to adjust the pillow inside the cover to fill it out nicely.
(Click Image to Enlarge)
Step 27:
You are done! Great job! Place some favorite books in the pocket and enjoy, or watch the joy on someone’s face when they receive this beautiful, fun project as a gift.
Martha has been sewing since childhood. She is a maker of garments, quilter and machine embroiderer. Martha loves all things fabric and fabric-related.