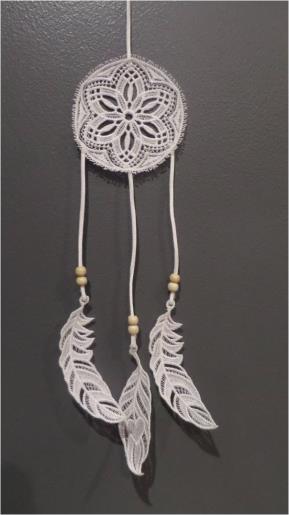
A fun way to use FSL doily and feather designs. This beautifully delicate Dreamcatcher would be the perfect addition to a baby’s nursery or as an added décor piece in your home.
The history of the Dreamcatcher is that they were woven by the grandfathers and grandmothers for newborn children and hung above the cradle to give the infants peaceful, beautiful dreams.
NOTE: I refer to the feathers as “heart” and “yellow”. “Heart” feather is the shorter one with the heart in the centre and ”yellow” feather is the one which is shown in yellow color in the design picture
With FSL as you see both sides of the design, it is best to wind your bobbin with the same thread you are using to stitch the design so that it is the same on both sides.
I have used a hot glue gun but fabric glue would also work, it will just take a little longer to dry.
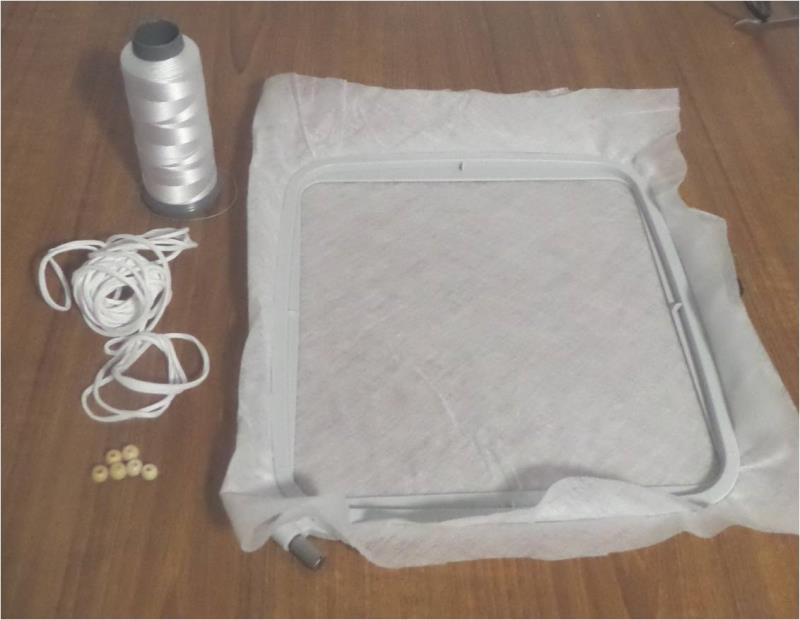
Step 1:
Gather the materials and read through the instructions before beginning.
(Click Image to Enlarge)
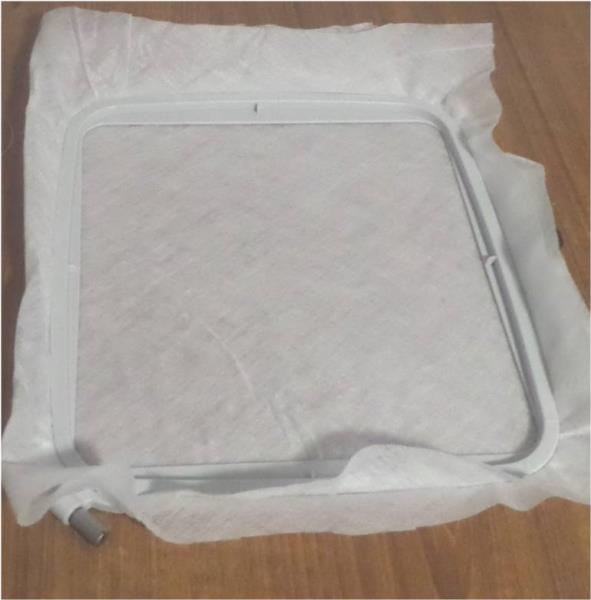
Step 2:
Hoop 2 layers of the water soluble stabilizer
(Click Image to Enlarge)
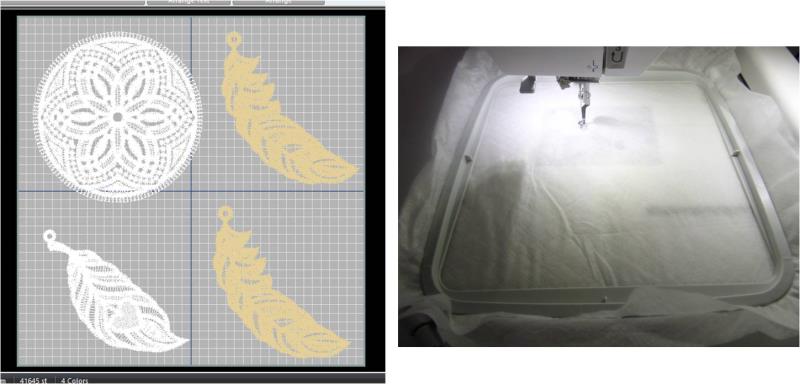
Step 3:
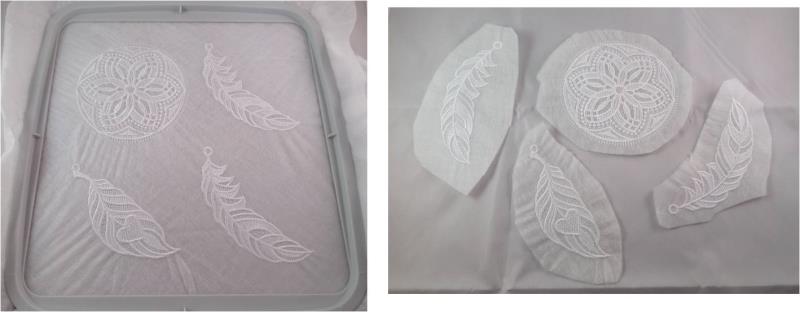
If you have embroidery software, you might want to group the designs into one file and stitch them in all the one hooping. To do this, open the doily design first, then choose a big enough hoop to fit all 4 designs (the doily, the “heart” feather and 2 of the “yellow” feathers. Load all the designs and arrange them so they are well spaced. Save the file, upload to your machine then attach the hoop to the machine and stitch out the design. It is magical watching FSL stitch out so enjoy watching it come together.
(Click Image to Enlarge)
Step 4:
Once the designs are complete, remove the hoop and unhoop your design. Cut freely around each design, leaving some stabilizer around each piece.
(Click Image to Enlarge)
Step 5:
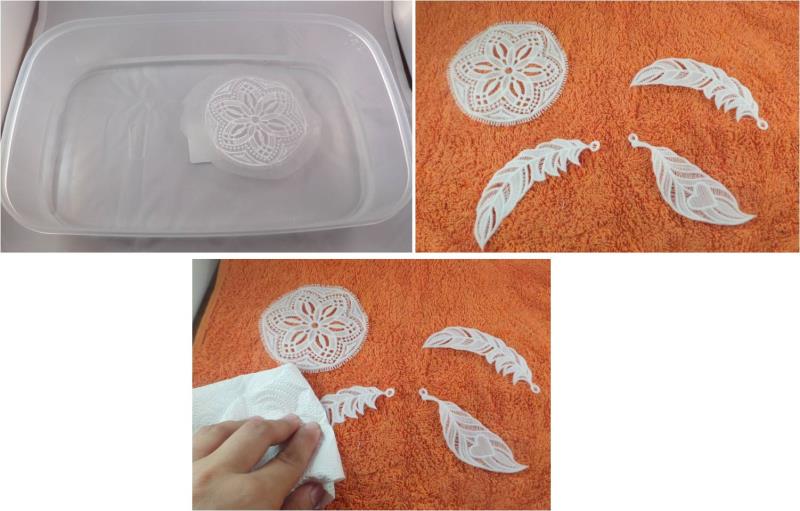
Soak each design in water, ensuring the water temperature is as per the stabilizer manufactures instructions. Soak until the stabilizer has disappeared from around the design then remove it from the water and lay flat on a towel. Use a piece of paper towel to pat the top of the design to remove excess water and leave to air dry – overnight if possible. With your iron on a low temp and using a pressing cloth, you can press the pieces if needed
(Click Image to Enlarge)
Step 6:
(Click Image to Enlarge)
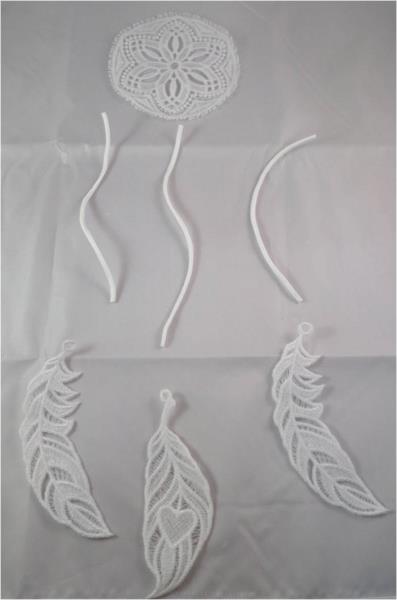
Cut the suede thonging into 2 lengths at 5” and 1 length at 6”. The shorter lengths are for the “yellow” feathers and the longer piece is for the “heart” feather
Step 7:
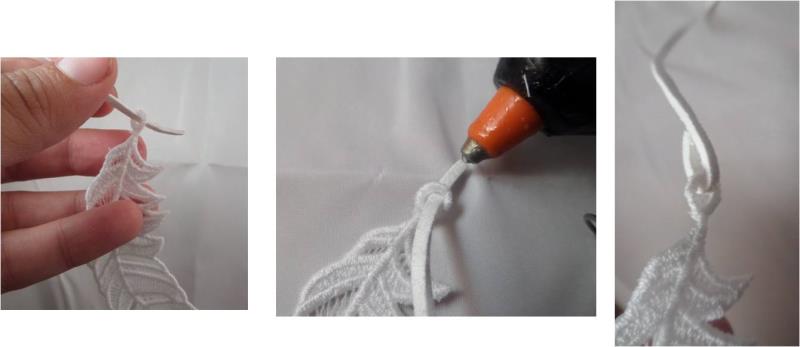
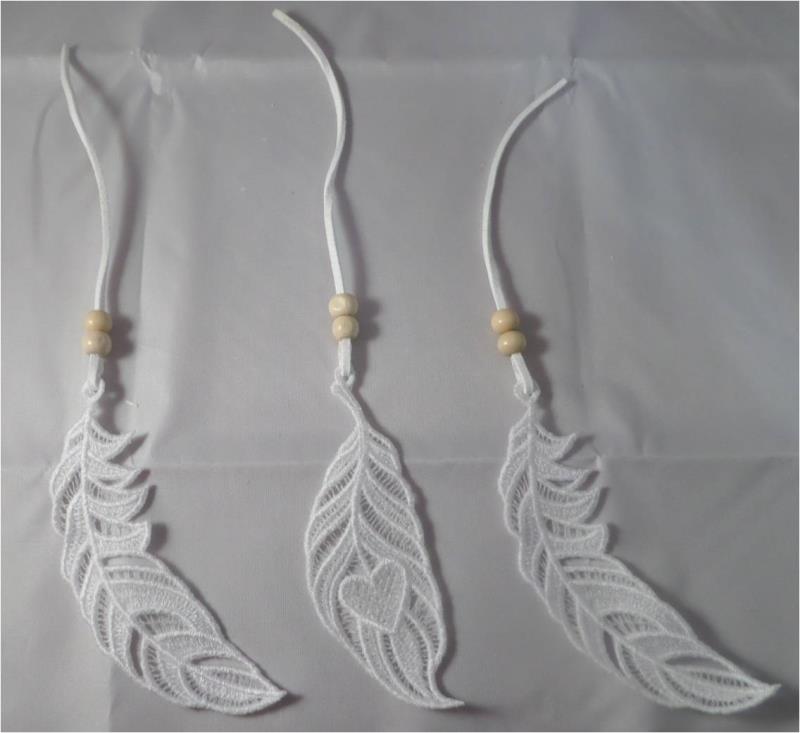
Thread the thonging through the hole at the top of the feather and using a hot glue gun apply a small amount of glue to the thonging and fold back it back onto itself and allow to dry. Repeat for the other 2 feathers
(Click Image to Enlarge)
Step 8:
Thread 2 wooden beads onto each piece of thonging.
(Click Image to Enlarge)
Step 9:
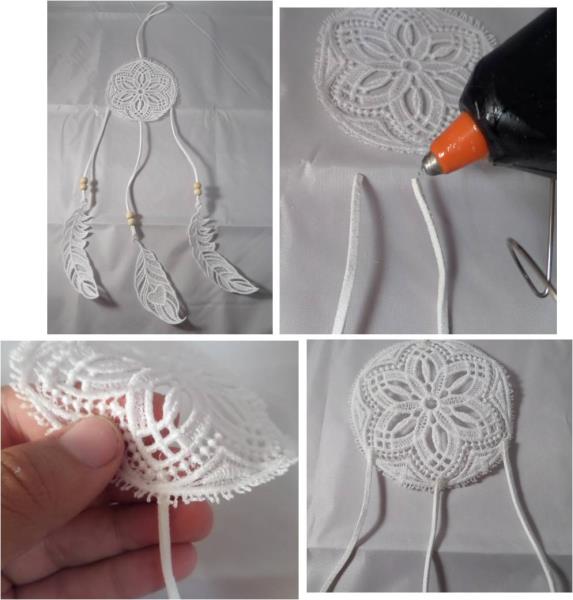
Position each piece of thonging where you want it to attach to the dreamcatcher, ensuring the “heart” feather is in the middle and the “yellow” feathers on either side, then apply a small amount of glue to the end of each piece and glue to the back of the dreamcatcher and allow to dry
(Click Image to Enlarge)
Step 10:
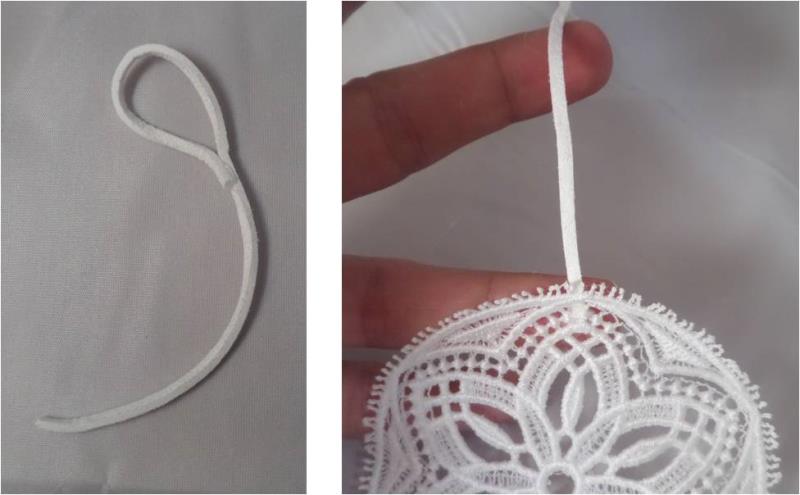
Cut a piece of thonging 5” long. Apply a small amount of glue to one end then form a loop and stick together. Then with the other end, apply a small amount of glue and stick the thonging to the back of the dreamcatcher, ensuring it is centered and inline with the middle feather.
(Click Image to Enlarge)
Step 11:
(Click Image to Enlarge)
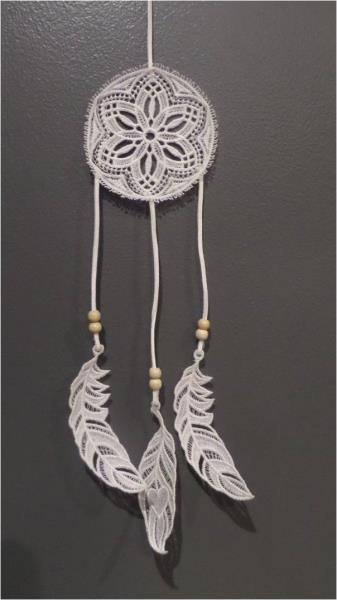
Your dreamcatcher is ready to hang! Enjoy this beautiful creation