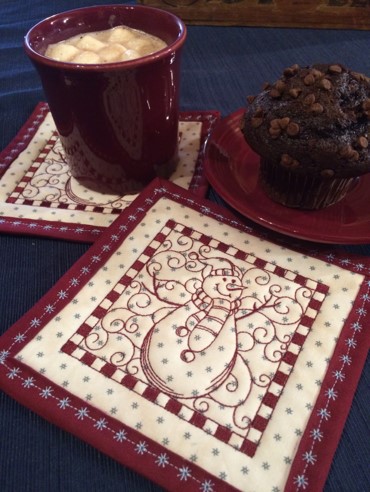
What better for cold winter days than a snowman and a hot drink? Combine age old traditions of redwork and quilting to give these coasters a nod to our kinfolk in past generations.
Take a tiny step back in our history to the days of redwork and quilting. The Snowman Coasters give a modern day introduction to these traditional concepts.
'Redwork' is an embroidery design style using basic line drawings in thread originating in the late 1800's. A red colorfast thread developed by Turkish cotton processors made this style affordable and popular until the 1920's. Fast forward a century, and staying true to the style, line drawings are still appealing but appear in many colors (blue work, green work, etc.) as long as the design uses just one color.
'Quilting' is the process of sewing two or more layers together to make a thicker padded item. Typically three layers are used: the top fabric, batting, and backing fabric.
Step 1:
(Click Image to Enlarge)
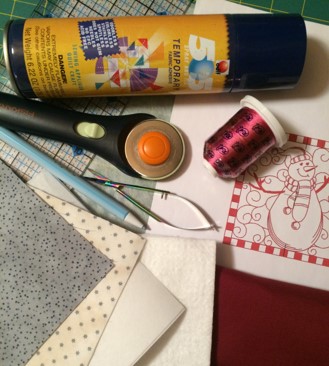
Gather the materials and read through the instructions before beginning. Print out a paper template of the design and color sequence chart.
The embroidery design size used for this project is 3.8 x 3.8 inches. Stitch count is 6,541 with a stitching time of 10 minutes. It takes about 30 minutes to complete one coaster. The embroidery design has three sizes available; so 4x4 or 5x7 hoops work for this project. The design is available individually or as a part of the Christmas Redwork Quilts embroidery pack.
Step 2:
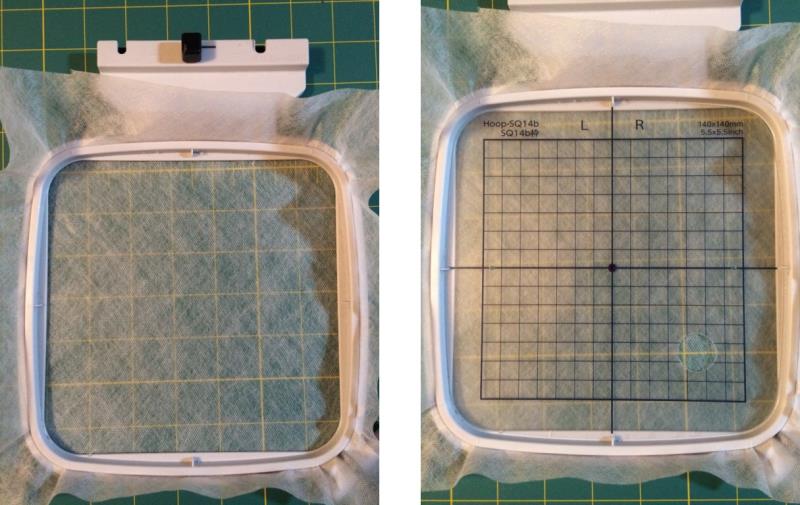
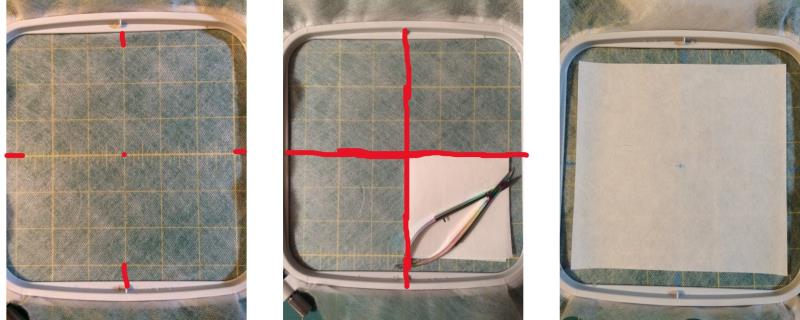
Hoop the Wash Away Stabilizer. Mark the center point on the stabilizer using your preferred method. Mark the midpoint for each side of the hoop. A grid template is used in the illustration.
(Click Image to Enlarge)
Step 3:
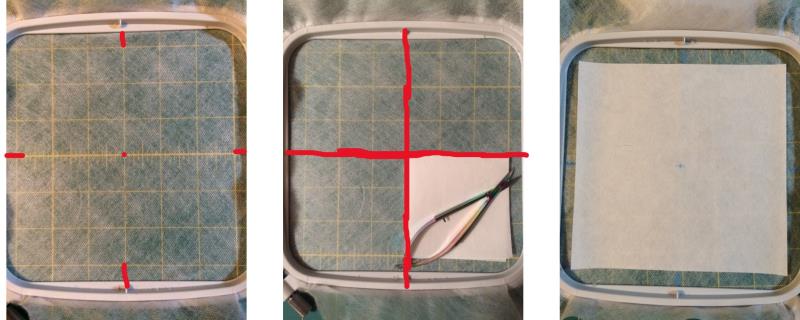
Center the Cut-Away Stabilizer onto the Wash Away Stabilizer. One way to center the stabilizer is to place the hooped Wash Away Stabilizer onto a rotary mat.
Using the grid on the rotary mat, draw a line connecting the midpoints from top to bottom and left to right on the stabilizer. The Wash-Away Stabilizer is now divided into four sections.
(Click Image to Enlarge)
Step 4:
Fold the Cut-Away Stabilizer in half and then half again. Spray the Wash Away Stabilizer with a temporary adhesive. Unfold the Cut-Away Stabilizer and press gently to secure to stabilizer in hoop.
(Click Image to Enlarge)
Step 5:
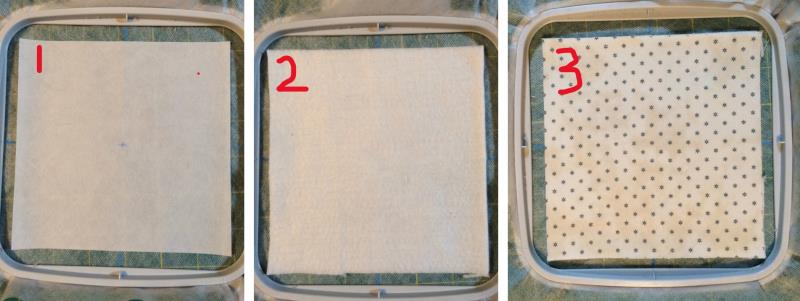
Spray the Cut-Away Stabilizer with a temporary adhesive. (Picture 1)
Place one 6”x6” piece of quilted batting on top of the Cut-Away Stabilizer.
(Picture 2)
Spray the surface of the quilted batting with temporary adhesive. Place one 6”x6” light color fabric on top of the quilted batting. Press gently and smooth surface. (Picture 3)
(Click Image to Enlarge)
Step 6:
Turn the
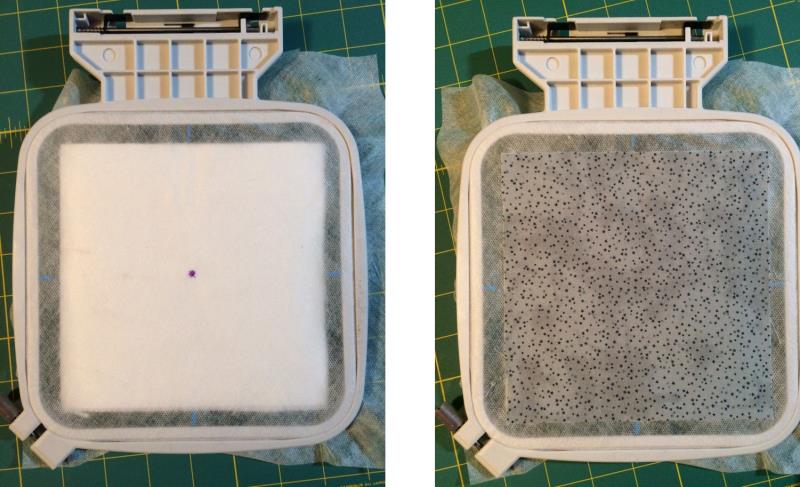
hoop over with the front facing down.Spray area with a temporary adhesive.Place one 6”x6” medium color fabric on the surface.Press gently and smooth surface.Turn over right side
up.
(Click Image to Enlarge)
Step 7:
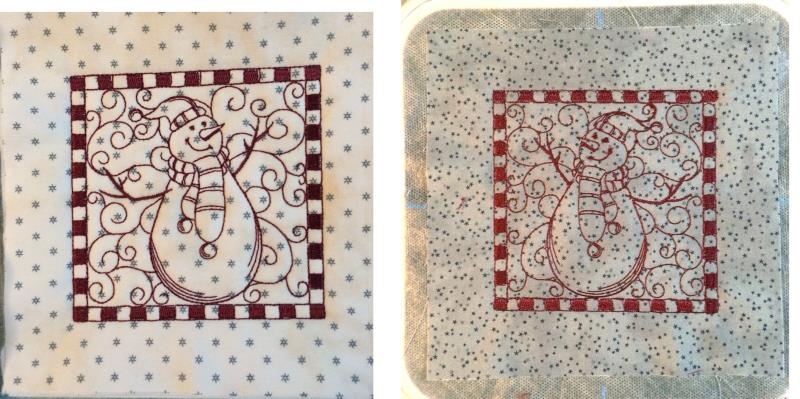
Embroider the design using one color of embroidery thread and a bobbin with matching thread. Remove
from hoop.
(Click Image to Enlarge)
Step 8:
(Click Image to Enlarge)
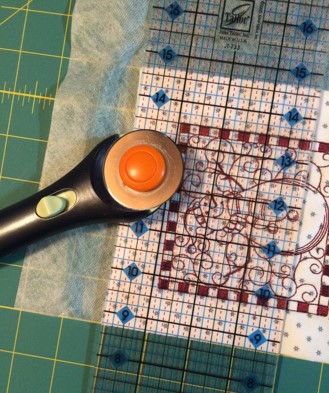
Trim the excess Wash Away Stabilizer to the size of the fabric using scissors or a rotary cutter.
Step 9:
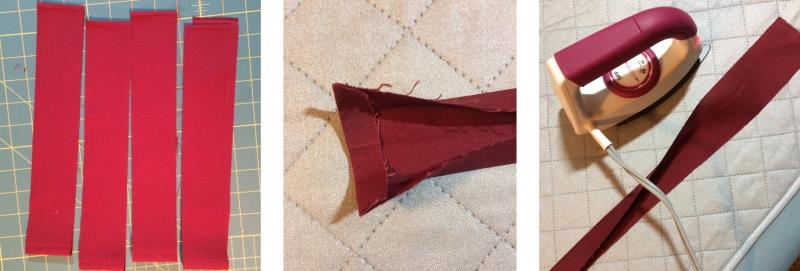
Fold one of the 2” strips of fabric in half and press.Fold one end of the strip down ¼” and
press.
(Click Image to Enlarge)
Step 10:
Fold each
side of the strip toward the middle and press leaving a ½” width for binding.
(Click Image to Enlarge)
Step 11:
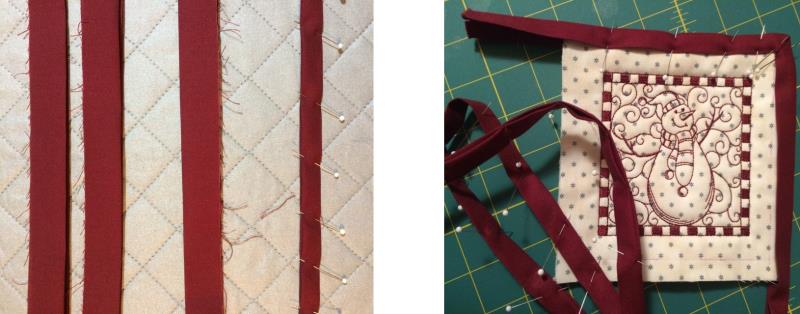
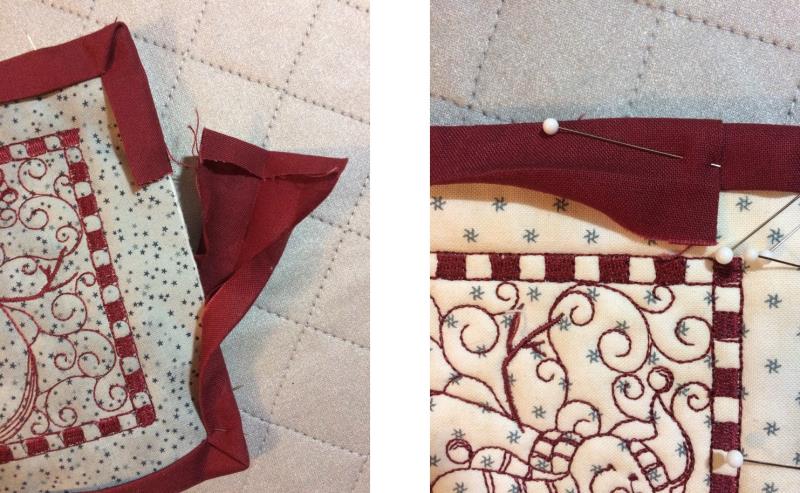
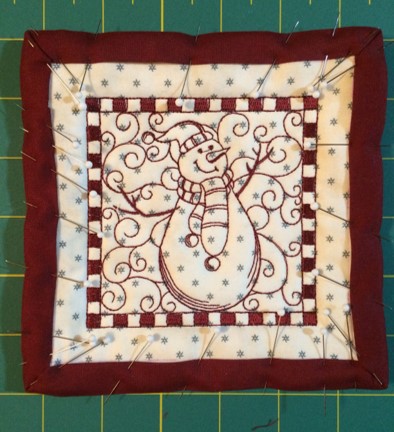
Pin binding to the outer edge of the coaster.
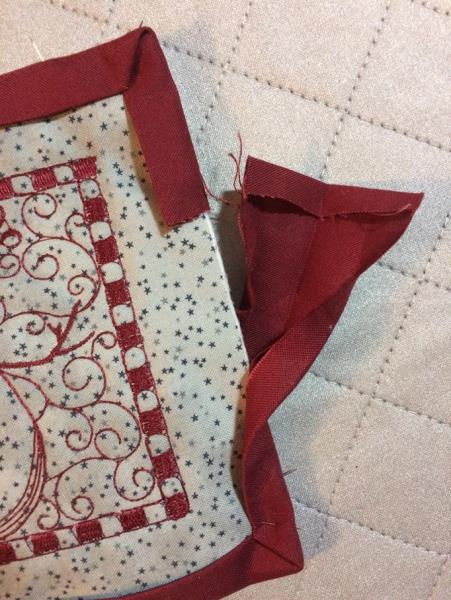
Just about one inch from each corner, hold the binding at the corner with your thumb and bring it around the corner to the next side. You'll start to see the shape of a triangle if you look at it from the side. Pin in place. Repeat this step for the back side of the corner. Continue pinning the binding.
(Click Image to Enlarge)
Step 12:
To connect the end of the binding, fold the 1/4" pressed end over the other end. Pin in place.
(Click Image to Enlarge)
Step 13:
(Click Image to Enlarge)
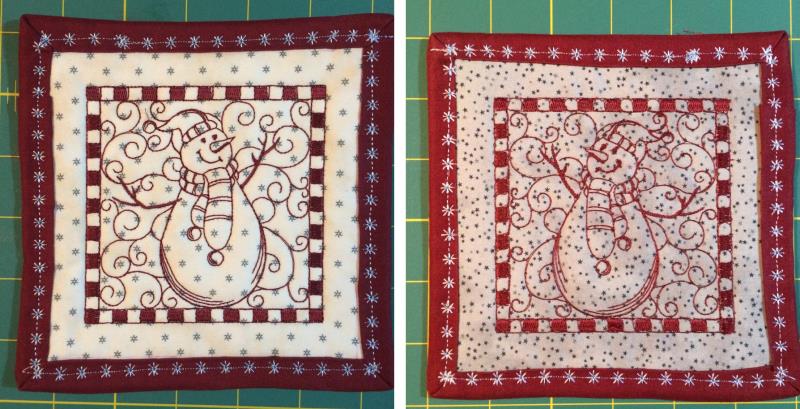
Using a sewing machine, topstitch 1/4" around the outer edge of the coaster. A decorative stitch was used in the illustration.
Step 14:
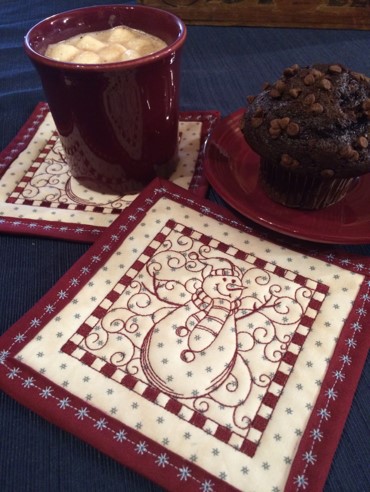
You have completed a Snowman Coaster! Have some more fun! Make as many as you want or need. Works great for a coaster, mug rugs, or oven pad.
Marisa Littleton is a retired educator with a love for teaching and learning. Interests include machine embroidery, hand embroidery, quilting, cooking, and antiques.