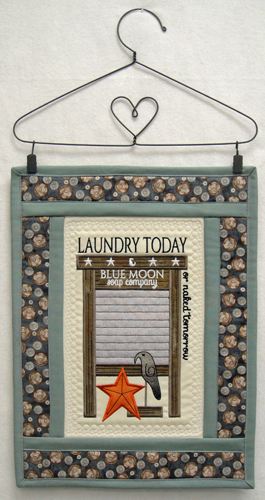
You will smile every time you enter your laundry room after you place this delightful wall hanging in it. The center block is appliqued, embroidered and quilted in a 12” x 7” or larger hoop, the borders and binding are added at your sewing machine.
The key to successful embroidery in these large hoops is maintaining the tautness of the stabilizer during the number of times the hoop must be removed to trim appliques. Be sure that your stabilizer is taut when you first place it in your hoop, have a flat surface close to your machine to lie the hoop on when it is necessary to remove the hoop. A large TV tray works well right next to your machine.
Step 1:
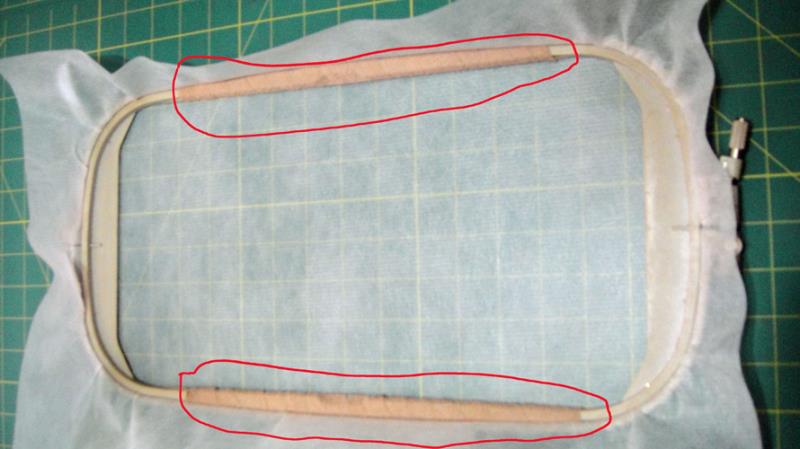
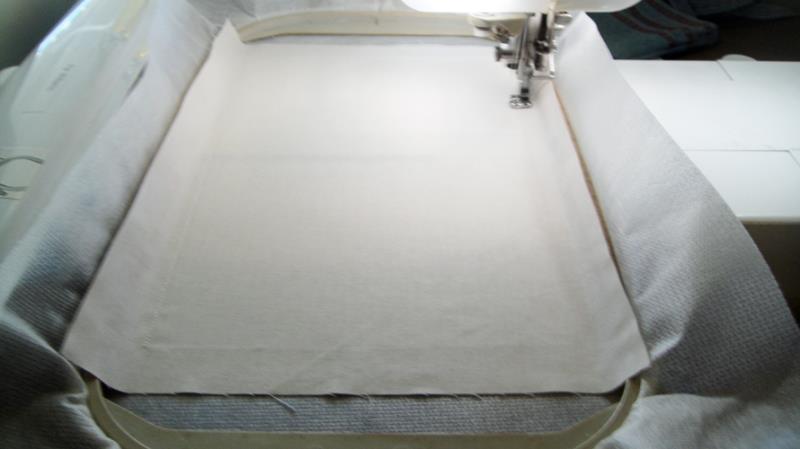
The 12” x 7” embroidery hoops generally have screws at both ends of the hoop, but often gape somewhat down the long sides. To prevent the stabilizer from shifting on the sides wrap the inner hoop with self-sticking bandage available at your drug store.
(Click Image to Enlarge)
Step 2:
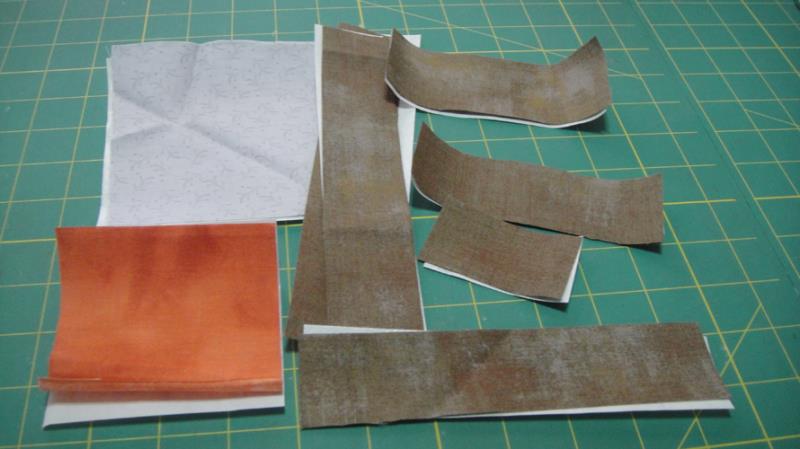
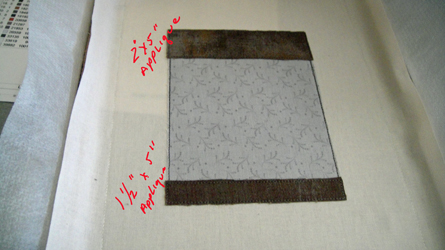
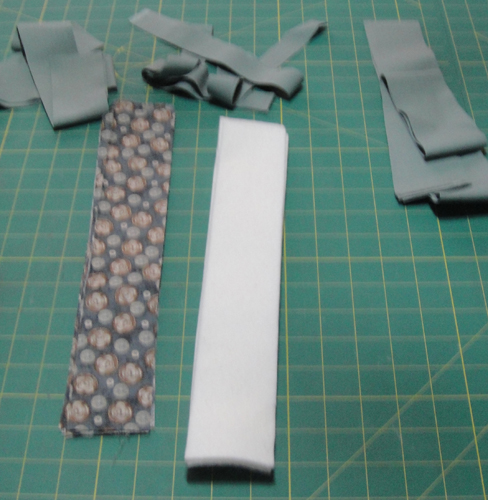
Cut:
a. Grunge Taupe Fabric and Heat N Bond Lite®
i. 5” x 2”
ii. 5” x 1 ½”
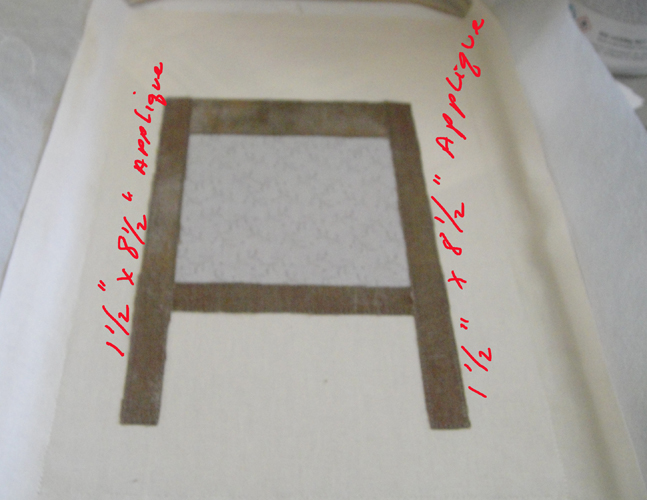
iii. 1 ½” x 8 ½” cut 2
iv. 6 ½” x 1 ½”
v. 2 ½” x 1 ½”
b. Lt Grey fabric and Heat N Bond Lite®
i. 5” x 5”
c. Rust fabric and Heat N Bond Lite®
i. 3 ½” x 3 ½”
d. Battilizer®, Lt Khaki and Grey/taupe print (not pictured)
i. 15” x 9”
Press all of the applique pieces several times with Magic Sizing or spray starch and fuse the Heat N Bond Lite® to the wrong side of each of the appliques following the manufacturer’s instructions.
(Click Image to Enlarge)
Step 3:
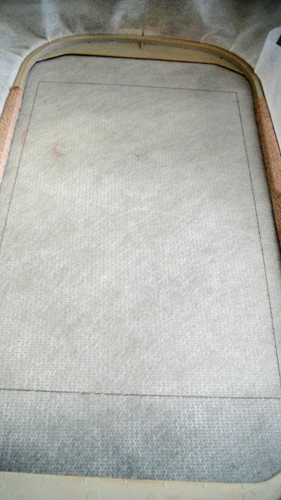
(Click Image to Enlarge)
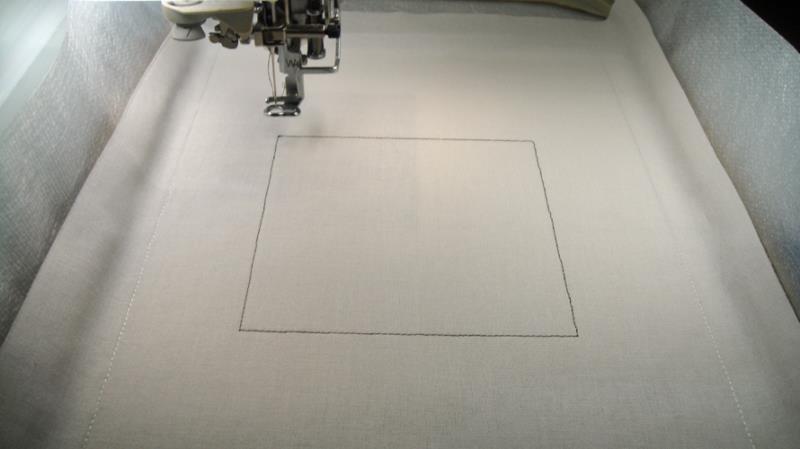
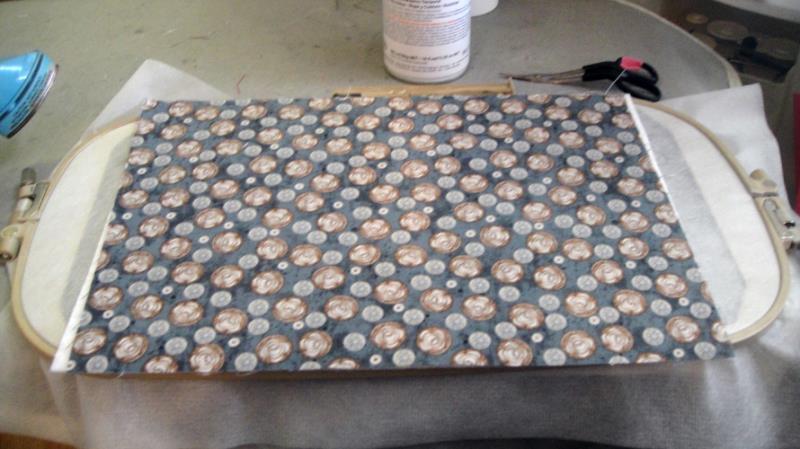
Tautly hoop the no show stabilizer and run color stop (CS) 1 in any color as a placement line.
Step 4:
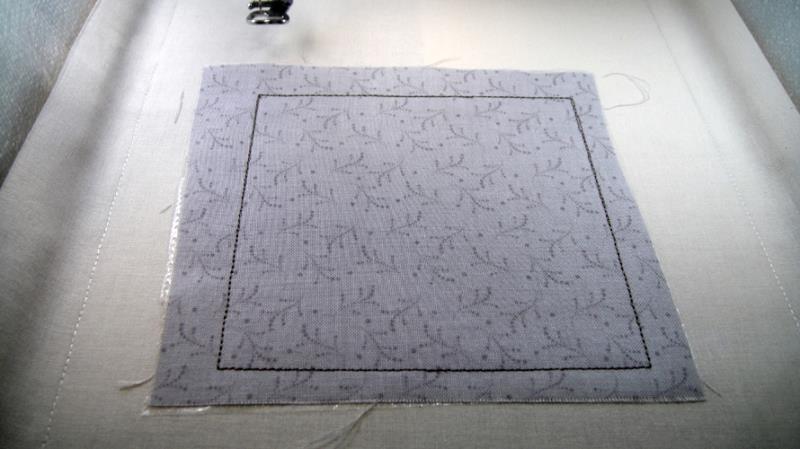
Spray adhesive on the back of the Lt Khaki rectangle and position over the placement lines so that the fabric exceeds the placement lines by ½” in all directions. Run CS 2 in water soluble thread to tack down the fabric.
(Click Image to Enlarge)
Step 5:
All the board applique pieces may be run in Mink (1228) which are CS 3 though CS 14 which are the placement lines and tack downs for the washboard. Run CS 3 as a placement line for the center of the washboard.
(Click Image to Enlarge)
Step 6:
Peel the paper from the back of the Heat N Bond Lite® on the grey fabric. Spray the back with adhesive and position over the placement lines so that at least ½” of the fabric exceeds the placement line. Run the next CS which will tack down the fabric.
(Click Image to Enlarge)
Step 7:
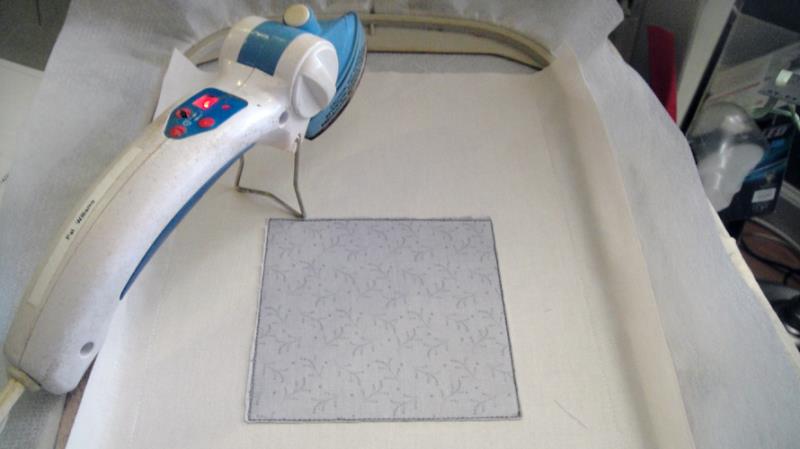
Remove the hoop from the machine, do not unhoop, place the hoop on a flat surface; trim the applique right up next to the tack down stitches; iron the applique with an applique iron.
(Click Image to Enlarge)
Step 8:
Using the techniques outlined in Steps 6 and 7 above use CS 5 & 6 to applique the fabric to the top of the washboard and CS 7 & 8 to applique the bottom of the washboard then remove the hoop and trim and press those appliques.
Step 9:
Use CS 9 – 12 to stitch the placement and tack downs for the side legs then remove the hoop, trim and press the side legs.
(Click Image to Enlarge)
Step 10:
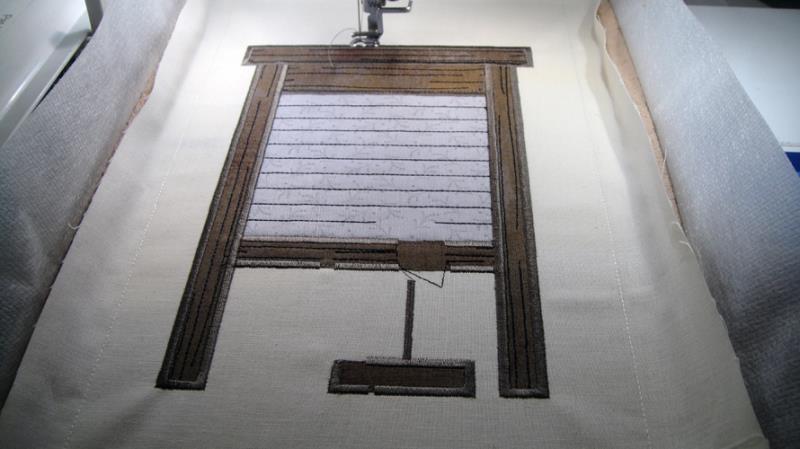
Use CS 12-16 to stitch the placement and tack downs for the top of the washboard and the crow’s stand underneath the wash board then remove the hoop, trim and press those two appliques.
(Click Image to Enlarge)
Step 11:
Run CS 17 in Emerald Black and CS 18 in Mink to embroidery detail and borders on the washboard.
(Click Image to Enlarge)
Step 12:
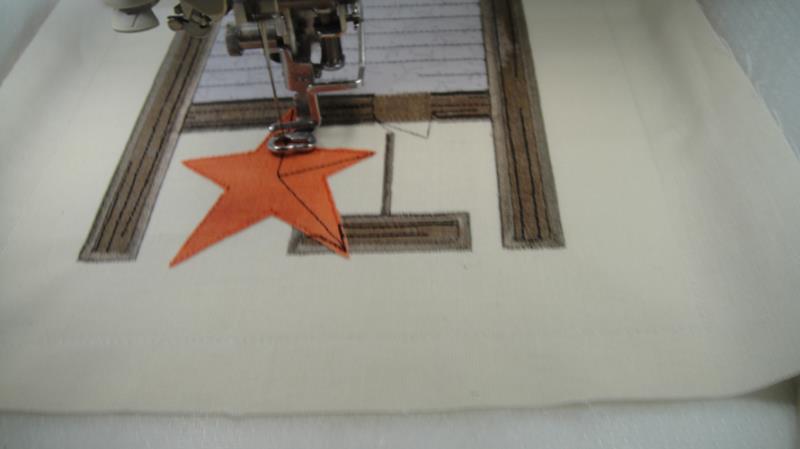
Run CS 19 and 20 in Terra Cotta (1221) to applique the star to the block, trim and press the applique. Run CS 21 in Emerald Black (1000) to apply detail to the star and then run CS 22 in Terra cotta (1221) to border the star.
(Click Image to Enlarge)
Step 13:
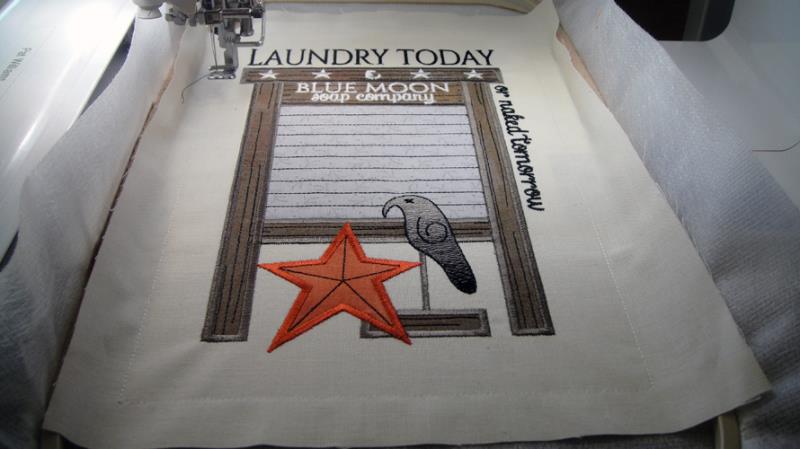
Run CS 23 in Rhino (1062); CS 24 in Stone (1240); CS 25 in Super White (1001) and CS 26 in Emerald Black (1000) to complete the crow and lettering.
(Click Image to Enlarge)
Step 14:
Remove the hoop from the machine, do not unhoop, place it face down on a flat surface; spray adhesive on the 15” x 9” Battilizer® and place it over the back of the hoop aligning it with the front of the block; spray adhesive on the back of the back fabric and position it over the Battilizer®.
(Click Image to Enlarge)
Step 15:
(Click Image to Enlarge)
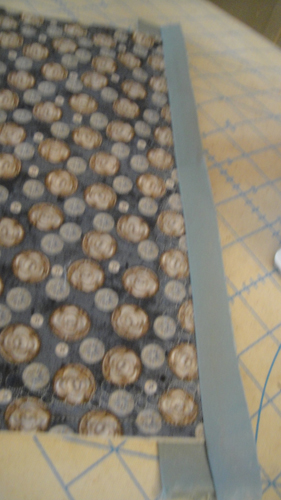
Return the hoop to the machine. Run CS 27 in water soluble thread to tack the batting and back fabric to the block. Run CS 28 in Super White (1001) to quilt the block.
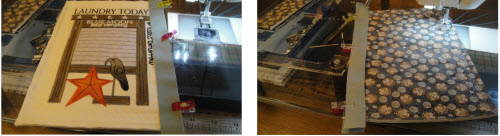
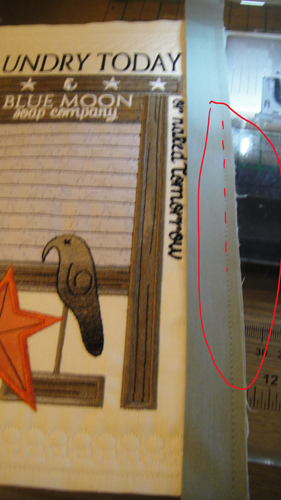
Step 16:
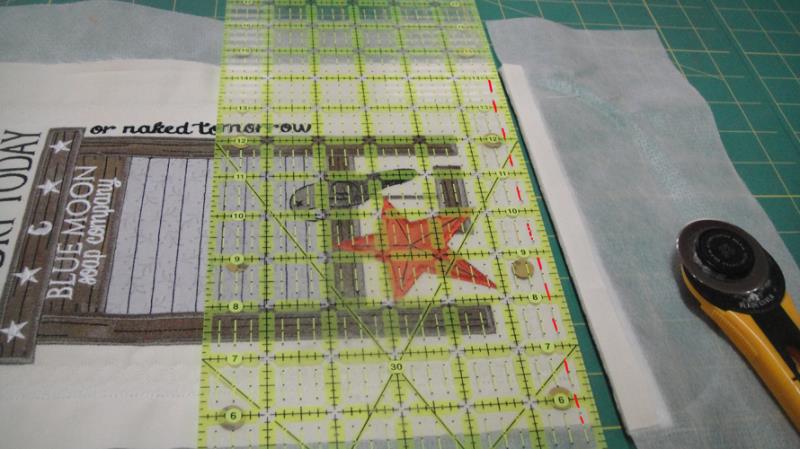
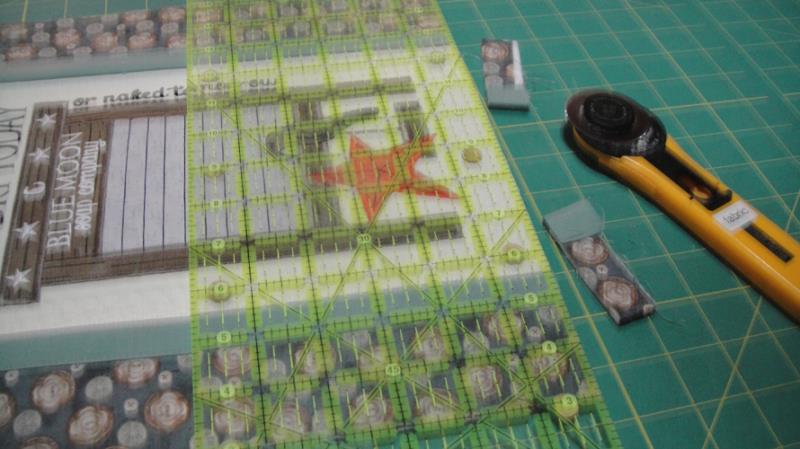
Remove the project from the hoop, Lay the 1/4” mark of a see through ruler along the water soluble tack down stitches and trim the block on all sides.
(Click Image to Enlarge)
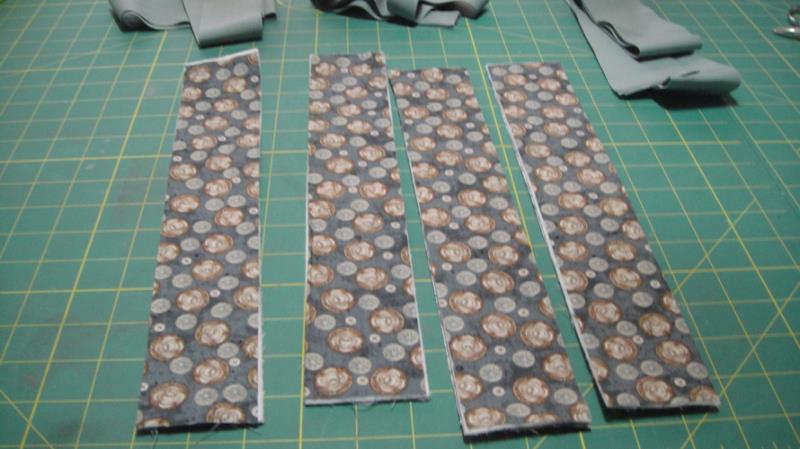
Step 17:
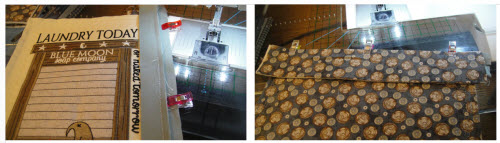
Cut:
a. 8 strips of the border print fabric 13” x 2 ¼”
b. 4 strips of Battilizer® 13 X 2 ¼”
c. 2 1” strips of Shale the width of the fabric
d. 2 2” strips of Shale the width of the fabric
e. 2 2 ¼” strips of Shale for the binding
Press the Shale sashing strips with Magic Sizing, fold the 2” strips in half lengthwise and press.
Step 18:
Make quilt sandwiches from the border fabrics and Battilizer® by spraying one side of a Battilizer® with spray adhesive and placing a corresponding strip of border fabric over it right side up. Spray the other side of the Battilizer® with adhesive and placing a corresponding strip of border fabric face up on the Battilizer®.
(Click Image to Enlarge)
Step 19:
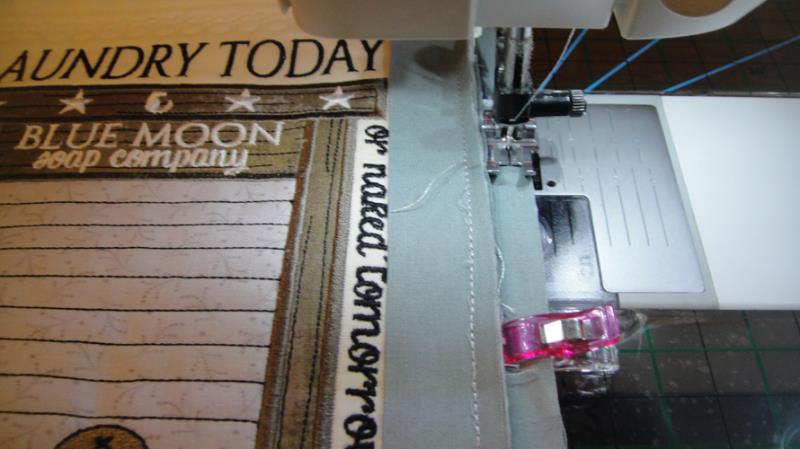
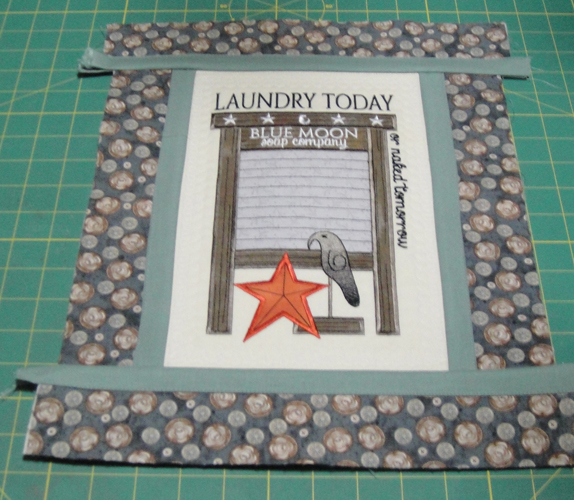
With craft clips align the raw edge of the folded 2” sashing strip to the front of the center block having the top and bottom edges exceed the side of the block by ½” on each end. At the same time, clip the 1” sashing strip to the back of the block right sides together.
Step 20:
(Click Image to Enlarge)
With a ¼” presser foot stitch an accurate ¼” seam through all layers. Stitching through all the thicknesses is easier with a 3mm stitch length. Use a thread in the top of the machine that matches your sashing strip and white thread or thread to correspond with the color of thread you used for your quilting stitches in the bobbin.
Step 21:
(Click Image to Enlarge)
Press the 1” sashing strip on the back away from the block.
Step 22:
Clip a border strip to the underside of the 1” sashing strip having the border strip exceed the top and bottom of the block.
Step 23:
Stitch the 1” sashing strip to the border with an accurate ¼” seam.
(Click Image to Enlarge)
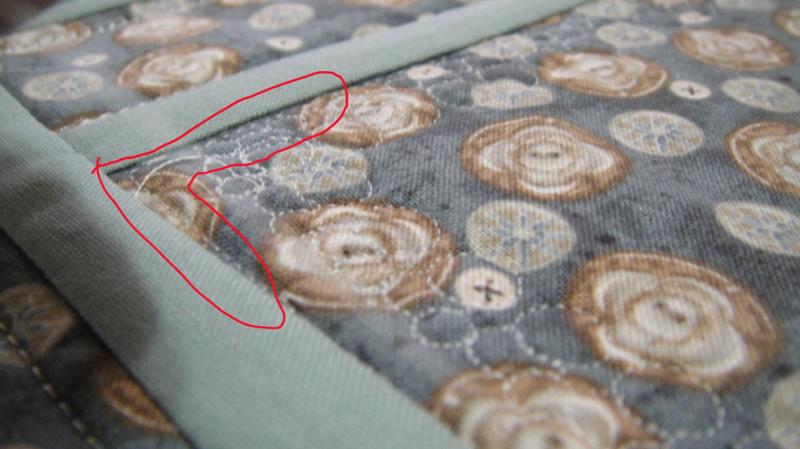
Step 24:
When you open out the added border the seam allowances should just butt up to each other without gaps or overlaps.
(Click Image to Enlarge)
Step 25:
Press these seam flat to each other, then press the folded 2” sashing strips over the seam. Edge stitch the sashing folded 2” sashing strip over the seam allowances.
(Click Image to Enlarge)
Step 26:
Join the 2nd side border to the block using the same technique in Steps 19 through 25.
(Click Image to Enlarge)
Step 27:
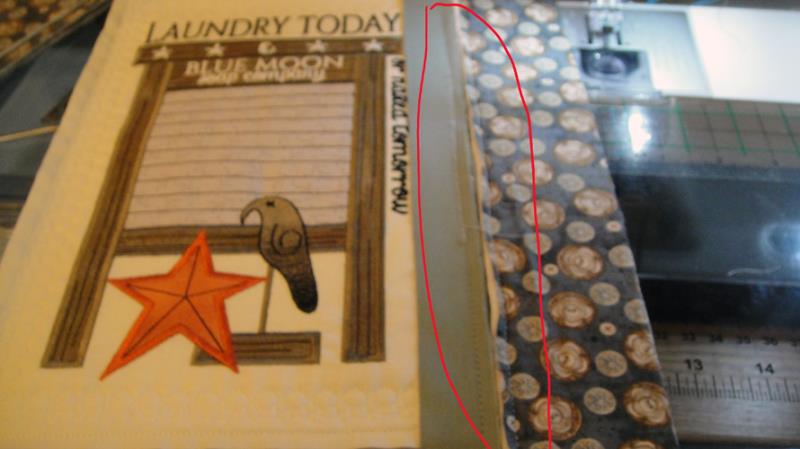
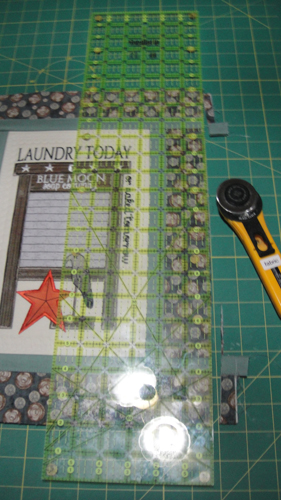
Trim off the excess sashing and borders from the top and bottom of the blocks.
(Click Image to Enlarge)
Step 28:
Add the top and bottom sashing strips and borders using the same techniques as in Steps 19 through 25.
(Click Image to Enlarge)
Step 29:
(Click Image to Enlarge)
Trim the top and bottom borders squaring up the wall hanging.
Step 30:
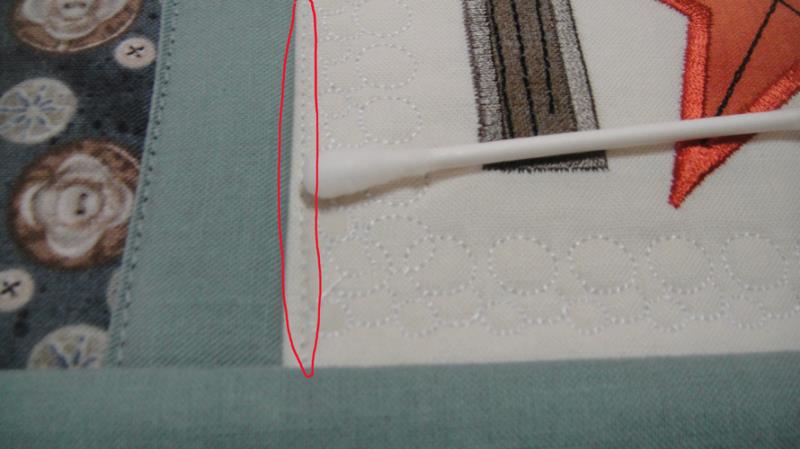
If any of the water soluble tack down stitches are visible through on the top of the wall hanging simply wet a cotton swab with hot water and rub along the water soluble thread, they will soon disappear.
(Click Image to Enlarge)
Step 31:
Removing water soluble thread from the top will leave loose bobbin stitches on the back of the wall hanging. They can be lifted and removed as necessary.
(Click Image to Enlarge)
Step 32:
(Click Image to Enlarge)
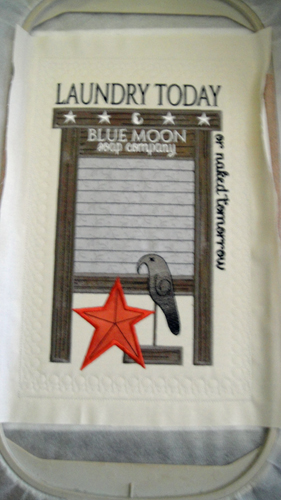
Bind the quilt as desired and add an Ackfeld metal hanger and clips to complete your Laundry Today Wall Hanging!
Award winning Digitizer, Embroidery Educator, Author and a Consultant to the Industry, Pat Williams has 30 years of experience in the embroidery industry. Pat has won multiple awards for her digitizing expertise including the 2007 Impressions Awards Grand Championship, Best of Show as well as the 1st and 2nd Place Awards. Pat’s love of digitizing has afforded her the opportunity to write numerous articles for Impressions magazine in the United States and Images Magazine in Europe. In 2001 Pat was named “Embroidery Educator of the Year.” For many years Pat taught digitizing seminars at the ISS Shows in Long Beach, CA and for Compucon software. She now resides in Tucson, AZ.