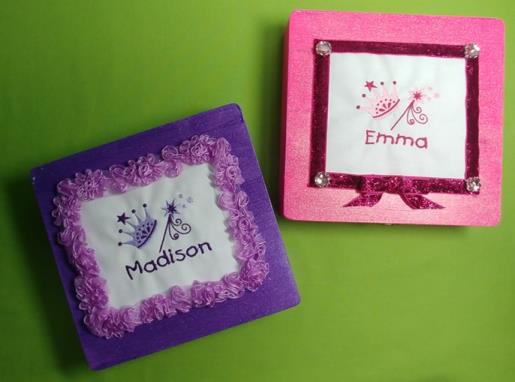
Creating this little Princess Treasure Box is so much fun. Why, you could even get the little princess involved in the crafting process by letting her help paint and decorate the box. When creating one box, it doesn’t take much more time to create a second at the same time. Just double the amount of supplies on the materials list. Allow time for paint to dry according to manufacturers’ instructions.
Step 1:
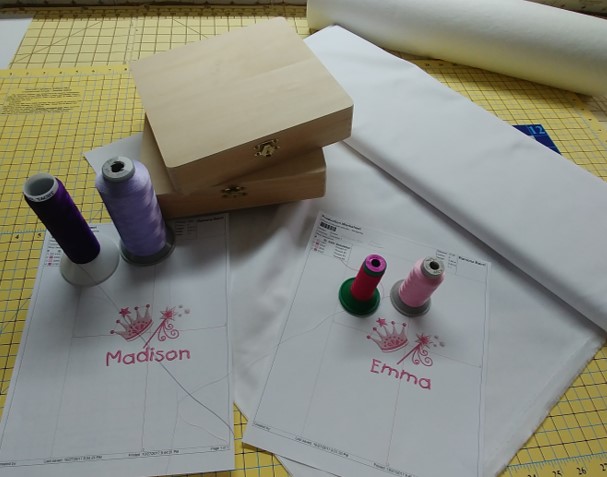
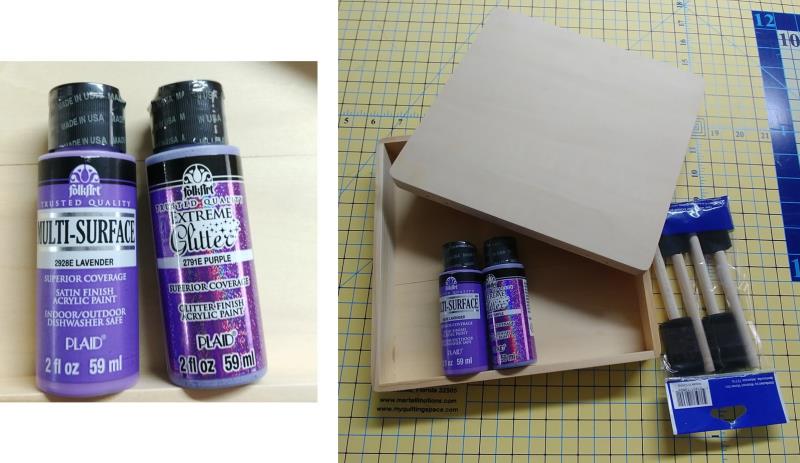
Gather the materials and read through the instructions before beginning. Print out a paper template of the design and color sequence. Also, read the instructions on the paint bottles and follow them.
(Click Image to Enlarge)
Step 2:
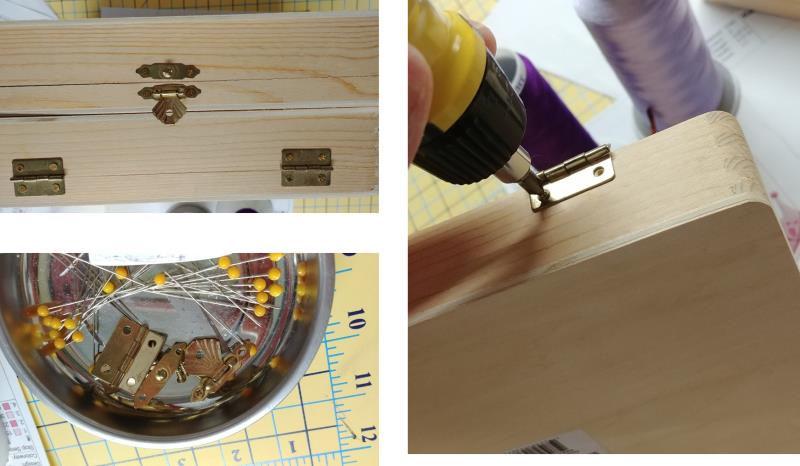
Begin by paining the box. Project boxes were both done at the same time. Remove the hardware from the cigar boxes; the screws are small and the wood is soft so be careful not to strip the screw holes. Place the hardware and screws in a safe place, like a magnetic bowl, until they are needed again to reassemble the box.
(Click Image to Enlarge)
Step 3:
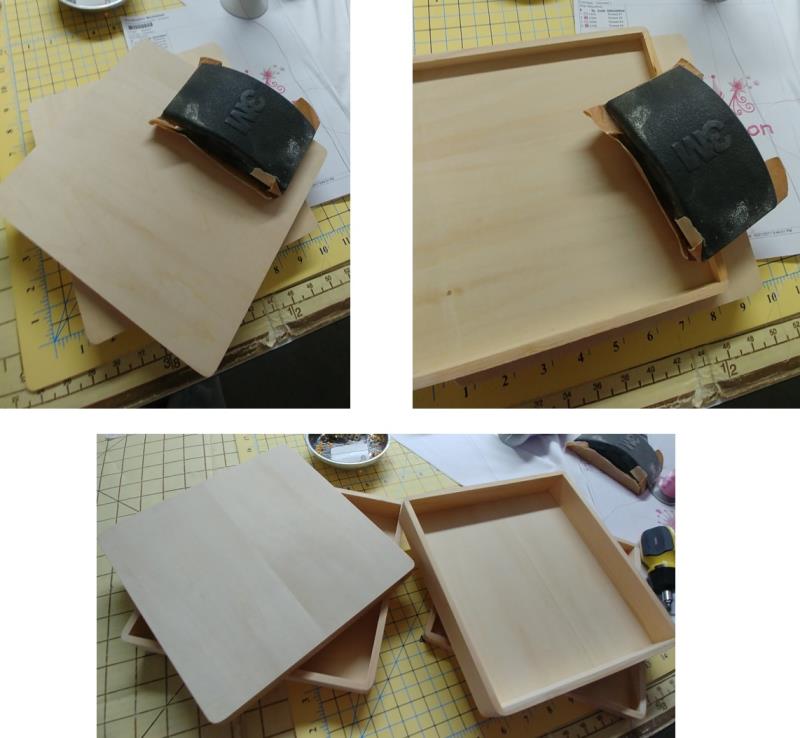
Using fine grit sand paper, go around the edges and top of the box to make sure all areas are smooth.
(Click Image to Enlarge)
Step 4:
These are the paints that were used for the project boxes. Extreme Glitter was used in the final top coat, and a matching color as a base coat. Sponge brushes were used to apply the paint to the boxes.
(Click Image to Enlarge)
Step 5:
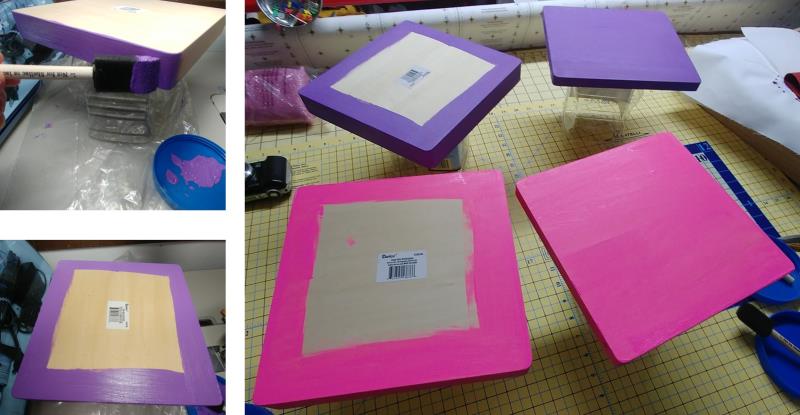
Apply two base coats of paint to the top, top sides, bottom sides and only about an inch or so of the bottom of the box, allowing the paint to dry between coats.
(Click Image to Enlarge)
Step 6:
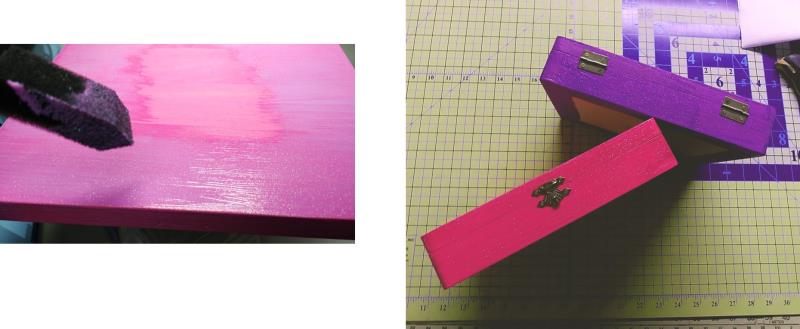
After the second coat of base paint is dry, apply two coats of the glitter paint allowing it to dry between coats. Allow the paint to dry overnight and then reassemble the boxes with the hardware.
(Click Image to Enlarge)
Step 7:
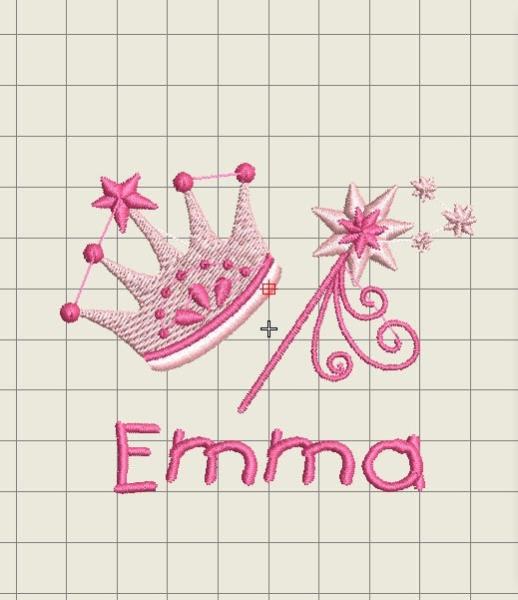
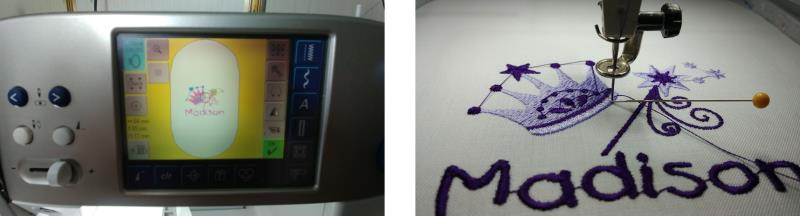
In software (optional) or at the machine, load the design “Princess Crown” design and add the name to personalize the project. For the project the kid print font was used at ½” height and centered below the design.
(Click Image to Enlarge)
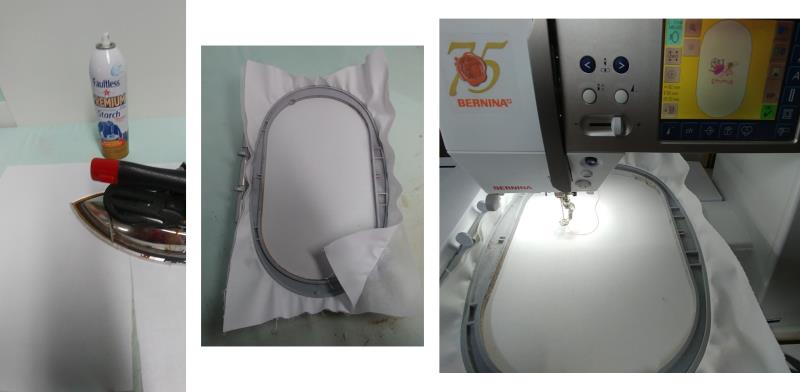
Step 8:
Press the cotton fabric well and hoop it with one layer of poly mesh stabilizer. Load the design on the machine.
(Click Image to Enlarge)
Step 9:
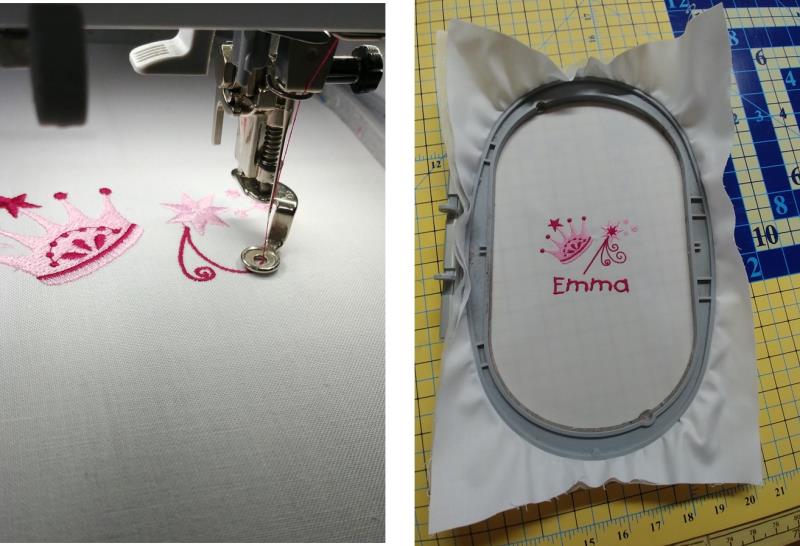
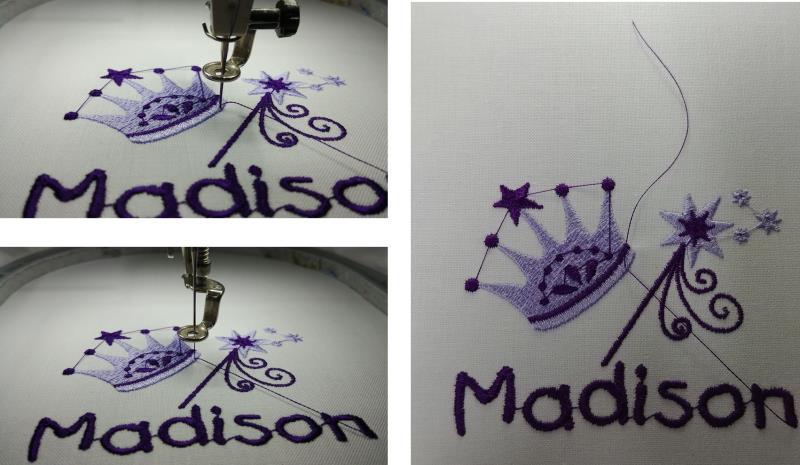
Stitch the design following the color sequence.
(Click Image to Enlarge)
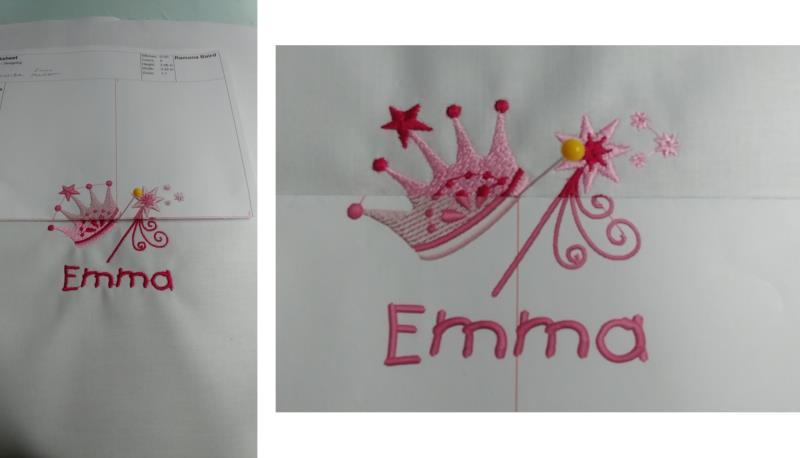
Step 10:
To find the center of the design again there are several methods that can be used. One is to fold the paper template in half along the horizontal crosshair and align it over the stitched design, and then stick a pin at the intersection (center point).
(Click Image to Enlarge)
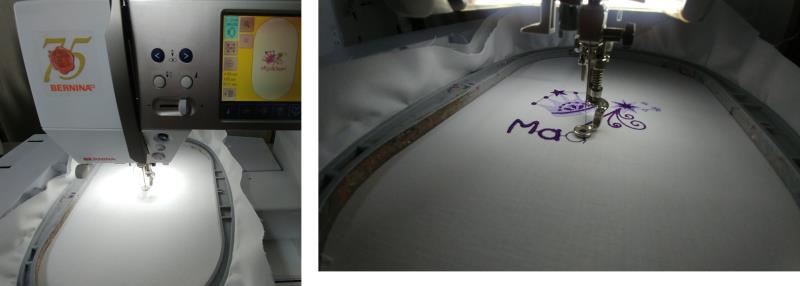
Step 11:
If doing more than one box, hoop the next fabric and stabilizer set and stitch the next design.
(Click Image to Enlarge)
Step 12:
Another way to find the center of the design again after the design has finished stitching, is to set the machine to the beginning of the design and center alignment. Lower the needle into the fabric and place a pin at the same point.
(Click Image to Enlarge)
Step 13:
Another method instead of using a pin is to lower the needle and raise it again and cut the thread long so it will remain in the fabric at the center position until it is no longer needed after squaring and cutting the fabric to the needed size.
(Click Image to Enlarge)
Step 14:
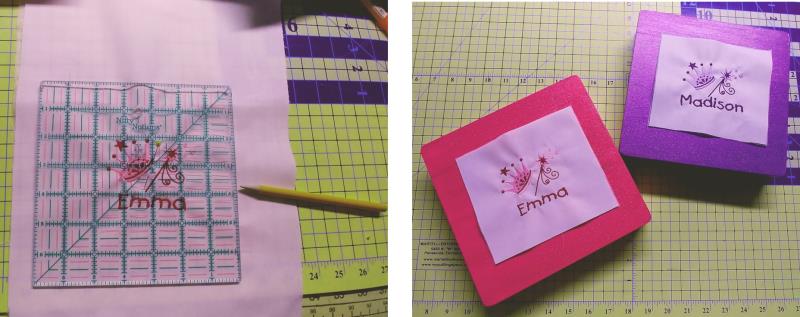
Measure the top of the box and decide how big to cut the embroidered fabric (no dimension can be given because the lengths of names vary; you need to decide how large to cut the fabric.) Using either the centered pin or thread, square up and cut the fabric to size.
(Click Image to Enlarge)
Step 15:
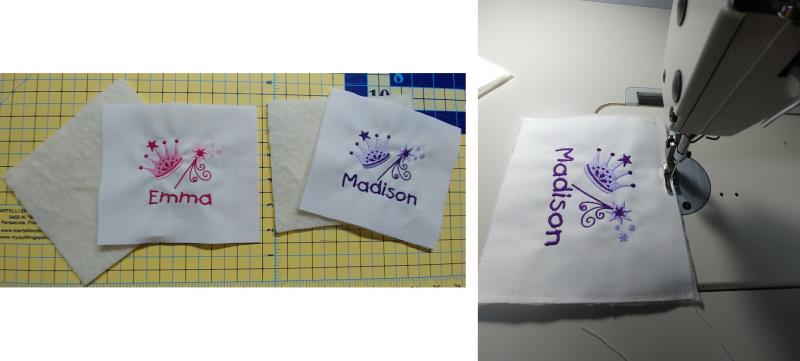
Cut a piece of batting the same size as the fabric square and baste the two pieces together.
(Click Image to Enlarge)
Step 16:
Place the bottom of the box on top of the felt and draw around the bottom of the box. Cut out the felt to about ¼” inside the drawn line. Hot glue the felt in place.
(Click Image to Enlarge)
Step 17:
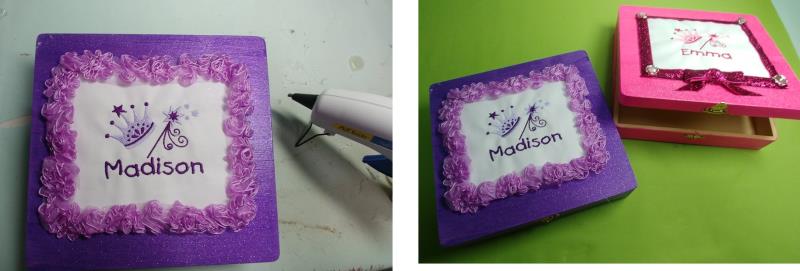
Hot glue the fabric/batting into place and then hot glue on the trim and any buttons or other decorations.
(Click Image to Enlarge)
Step 18:
Congratulations on creating a beautiful “Princess Treasure Box” that is sure to delight any little princess in your life.
Ramona Baird has been in the embroidery industry for over 23 years. She and her husband owned a commercial and retail embroidery store in Arizona for many years. She is an experienced digitizer having been mentored by award-winners Pat Williams and Lindee Goodall. Ramona is a contributor to “Creative Machine Embroidery” magazine having 5 covers to her credit. Ramona has worked for Wilcom America and served many years as Education Director for the American Sewing Guild. With a degree in fashion design, she is able to design and execute patterns which Pat Williams says are “out of the box” in creativity and application. Ramona likes to challenge the boundaries of embroidery and bring new and exciting designs, ideas, and projects to EmbroideryDesigns.com. She wants embroiderers of all levels to increase their skills and enjoyment in using their embroidery machine for gift-making and personal pleasure.