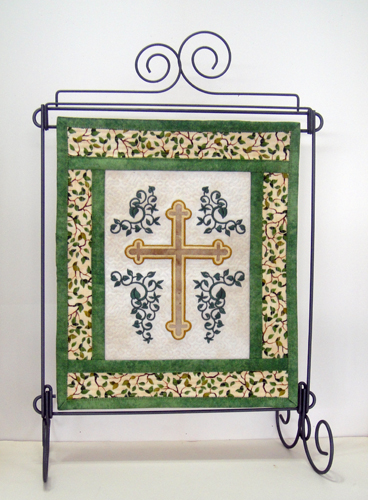
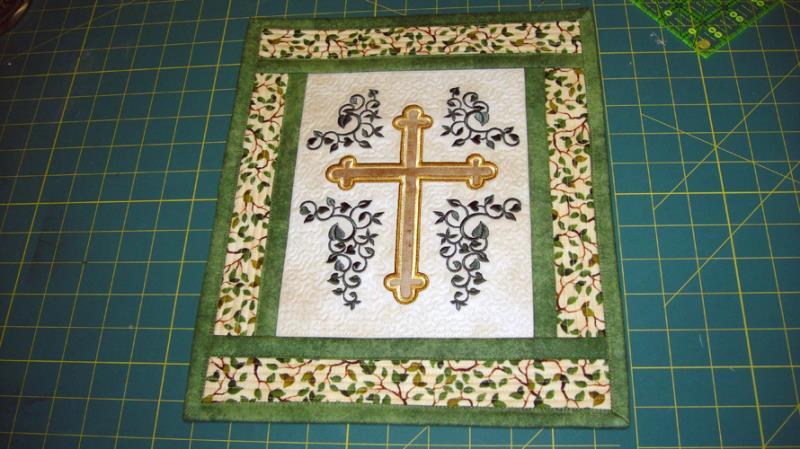
The cross applique can be applied using a pre-cut applique, the sample was cut with a Scan N Cut 2®, electronic SVG and FCM files are downloadable for that purpose, or you may use the stitch and trim method.
Step 1:
(Click Image to Enlarge)
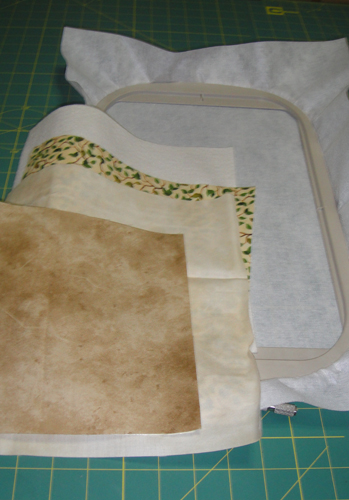
Hoop the cut away stabilizer in a 12” x 7” embroidery hoop. Cut 11” x 10” rectangles of fabric from the front and back fabrics as well as the Battilizer®; Cut 1 8” x 7” rectangle of the mottled tan fabric and Heat N Bond Lite.
Step 2:
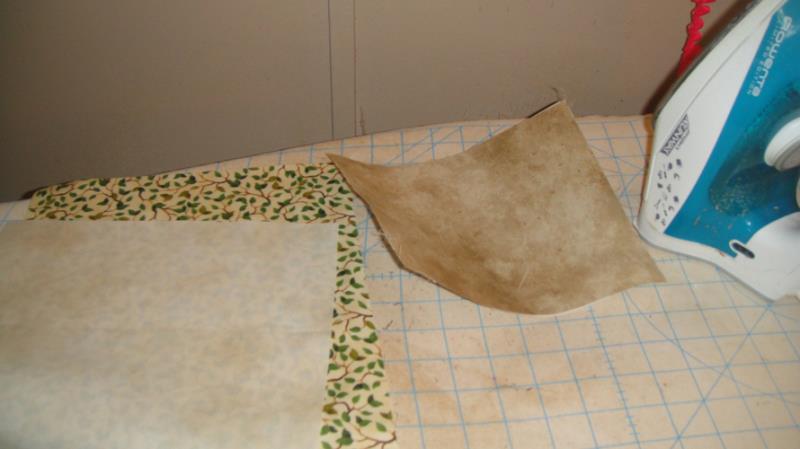
Give the front and back panels a press with Magic Sizing®; spray and press the cross applique fabric 4 times with Magic Sizing® and apply the Heat N Bond Lite® to the back side of the fabric.
(Click Image to Enlarge)
Step 3:
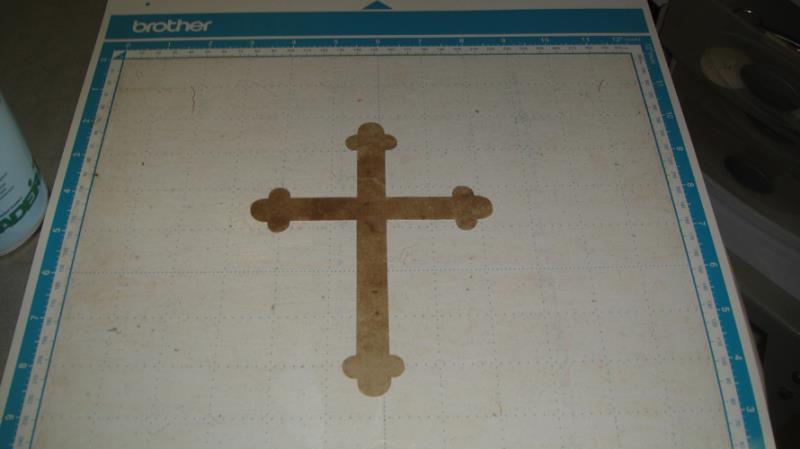
While there are many ways to cut appliques with the Scan N Cut 2® I set my pressure at 4, speed and blade depth at 4. I remove the paper from the Heat N Bond Lite® and place on the mat right side up. Cut the applique. If you do not have a Scan N Cut you can use the stitch and trim method for this project. Starch and apply the Heat N Bond Lite to your fabric piece.
(Click Image to Enlarge)
Step 4:
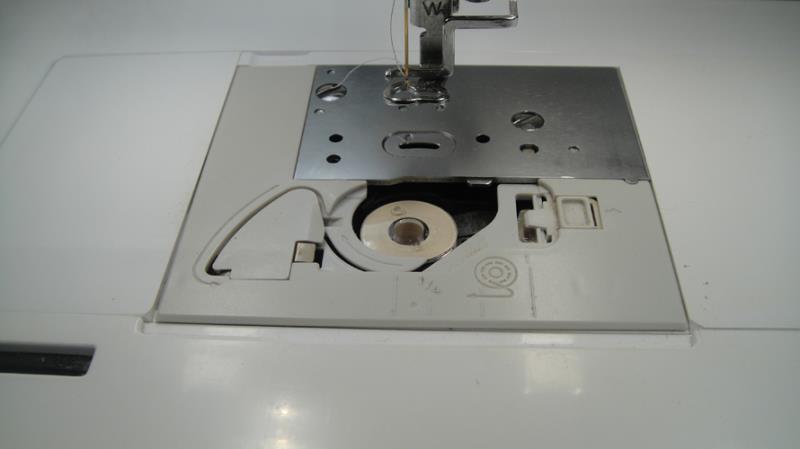
Put a bobbin into your machine with thread the color you want the quilting to be on the back of the project.
(Click Image to Enlarge)
Step 5:
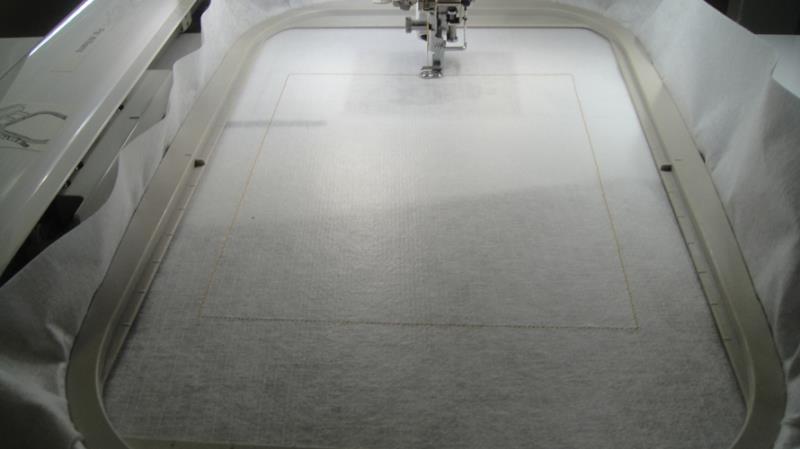
Hoop the cut away stabilizer; run color stop (CS) 1 in a neutral color as a placement line for your fabrics.
(Click Image to Enlarge)
Step 6:
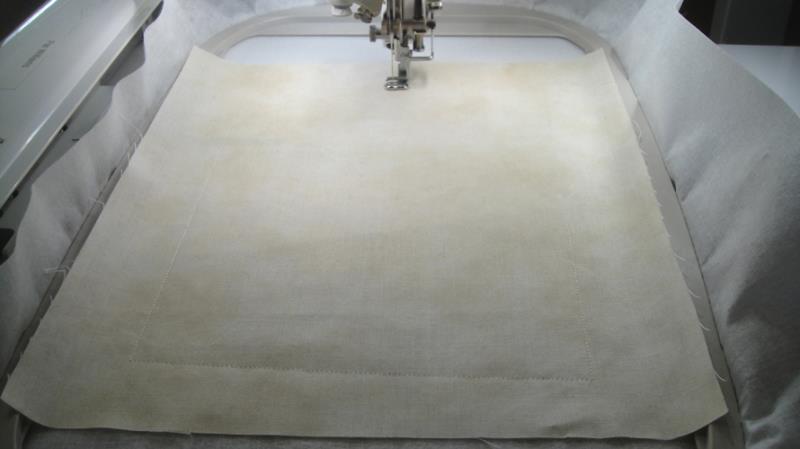
Spray adhesive on the block center fabric and position over the placement lines so that the fabric exceeds the placement line by at least ½” on all sides; run CS 2 in water soluble thread to tack down the fabric.
(Click Image to Enlarge)
Step 7:
(Click Image to Enlarge)
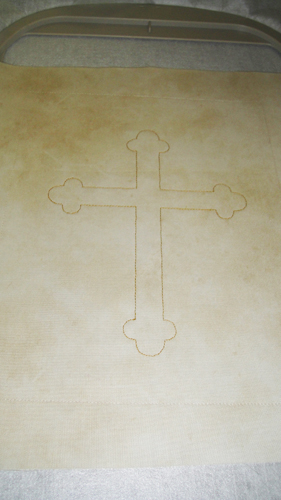
Run CS 3 in Honey Mustard (1192) as a placement line for the cross.
Step 8:
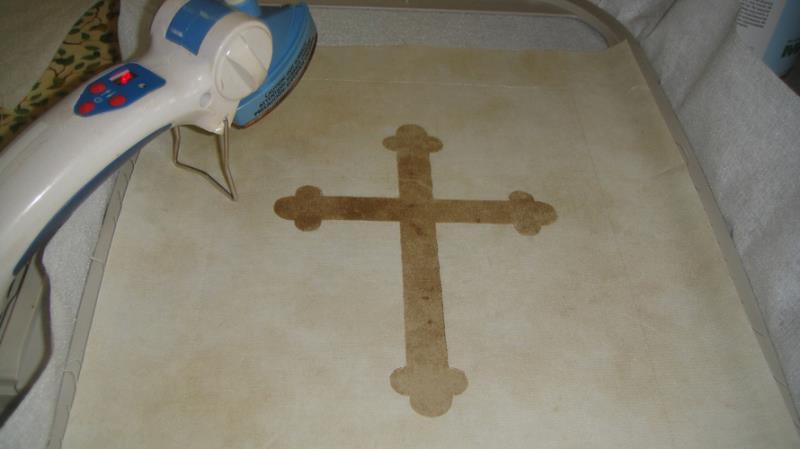
If you have precut the applique remove the hoop from the machine, do not unhoop, place on a flat surface and iron the applique into position with an applique iron. If using the stitch and trim method remove the back paper from the applique fabric, spray with adhesive and place over the outline.
(Click Image to Enlarge)
Step 9:
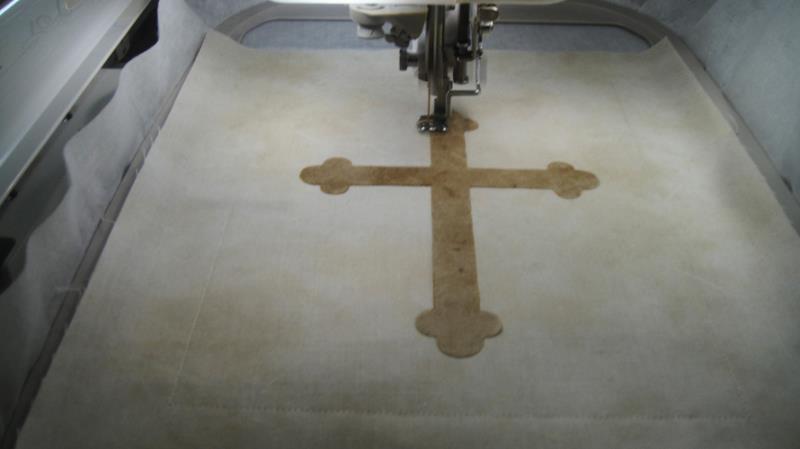
Run CS 4, which is a tack down for the cross fabric if using the stitch and trim method; trim the applique right next to the tack down line, then press the applique. If you have used the precut applique method the stitches will just run around the edges of your applique, but they will show you that your applique is in the right place.
(Click Image to Enlarge)
Step 10:
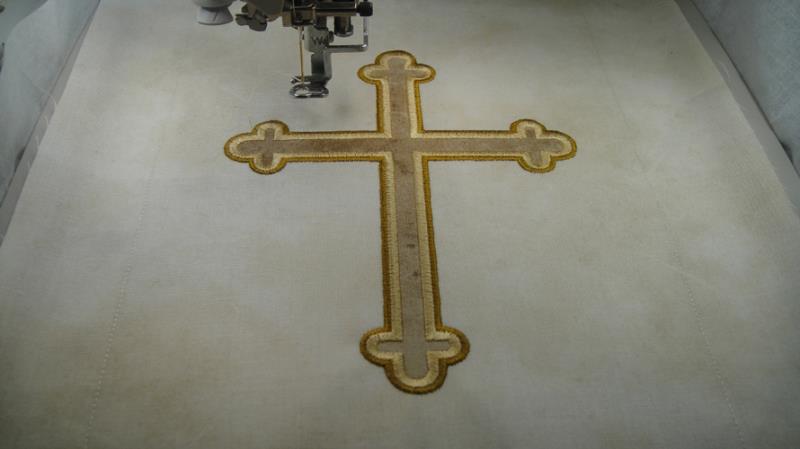
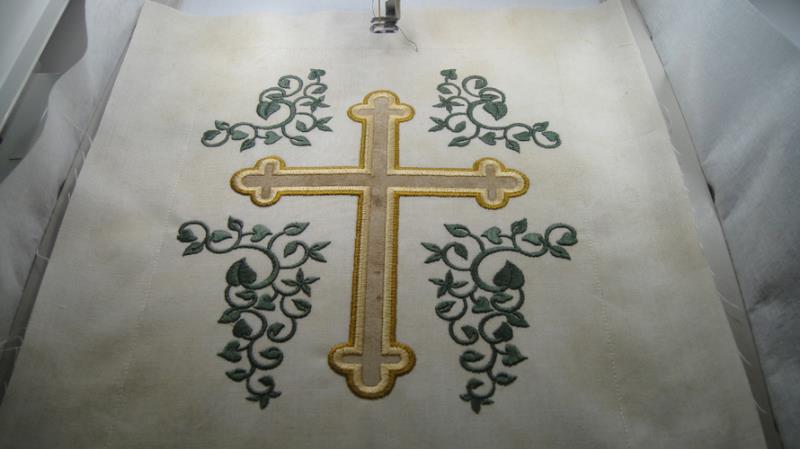
Run CS 5, still using the Honey Mustard (1192), and CS 6 in Sawdust (1270) for the two borders on the cross.
(Click Image to Enlarge)
Step 11:
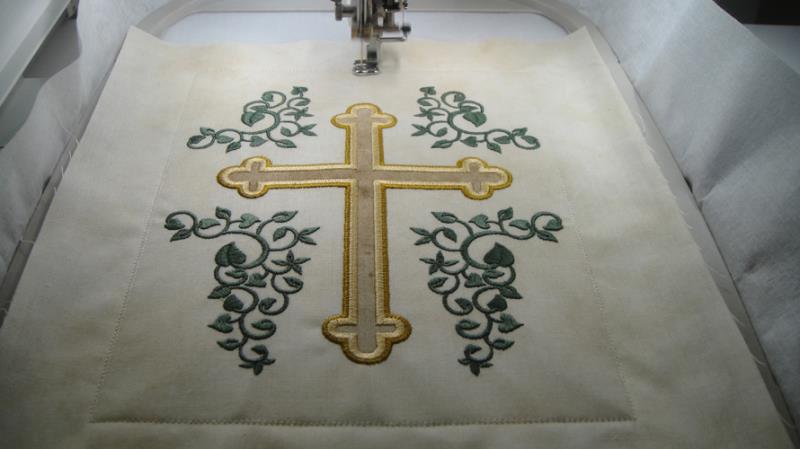
Run CS 7 in Dark Sage (1396) to embroider the leaves.
(Click Image to Enlarge)
Step 12:
Remove the hoop from the machine, do not unhoop; turn the hoop over; spray adhesive on the Battilizer® and position over the placement lines on the back of the hoop; spray adhesive on the block back fabric and place over the Battilizer® right side up.
Step 13:
Return the hoop to the machine and run CS 8 in water soluble thread to tack the back fabrics to the block.
(Click Image to Enlarge)
Step 14:
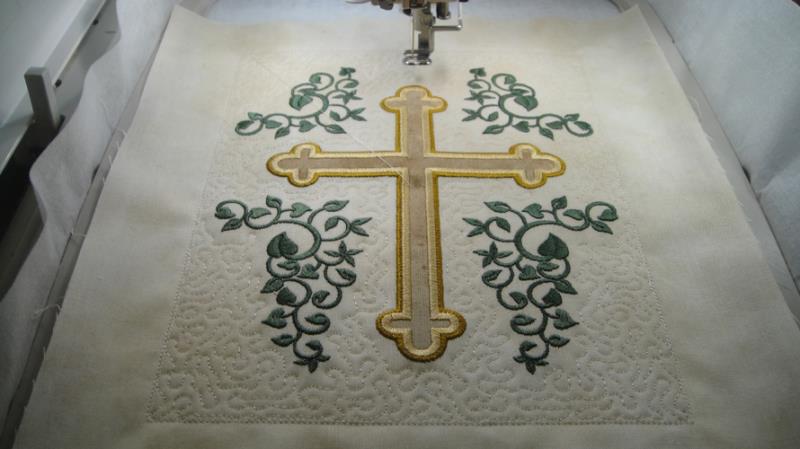
Run CS 9 in Coconut Cream (1072) or color desired to quilt the block.
(Click Image to Enlarge)
Step 15:
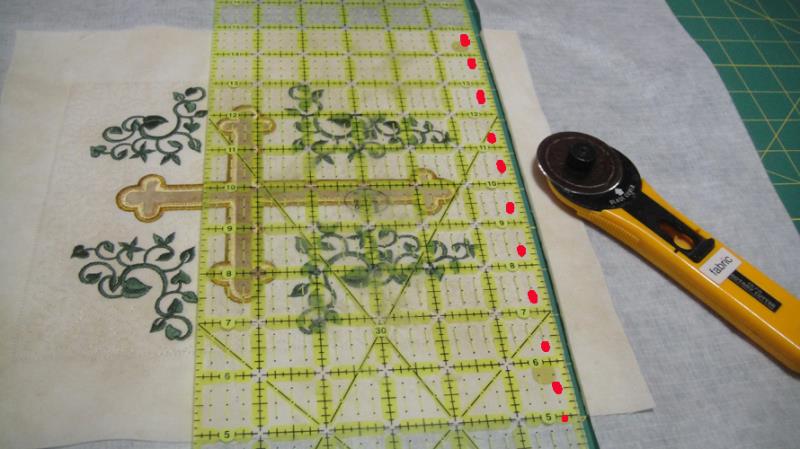
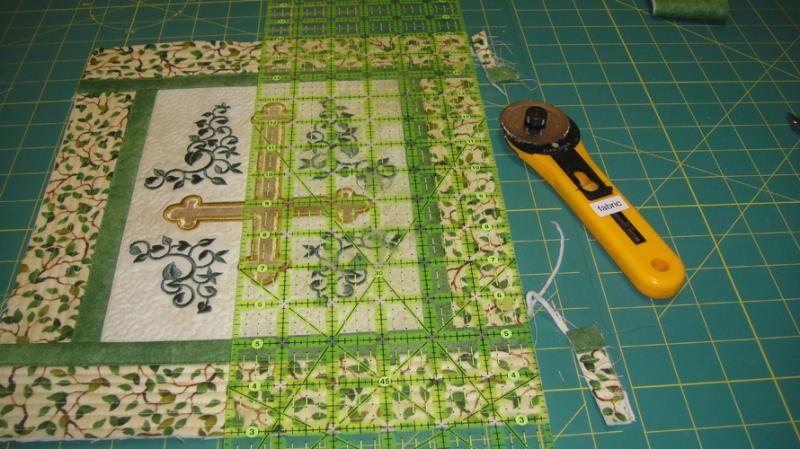
Lay the ¼” mark of a quilting ruler along the water soluble thread stitches and trim all edges to ¼” seam allowance.
(Click Image to Enlarge)
Step 16:
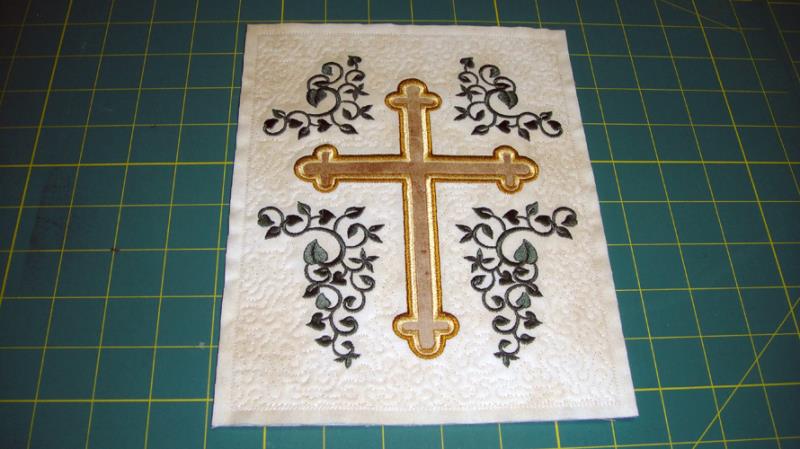
The completed center block will now look like this.
(Click Image to Enlarge)
Step 17:
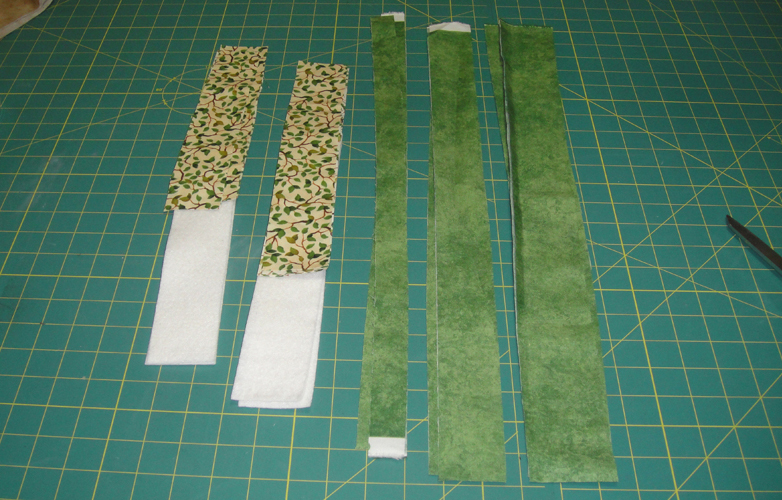
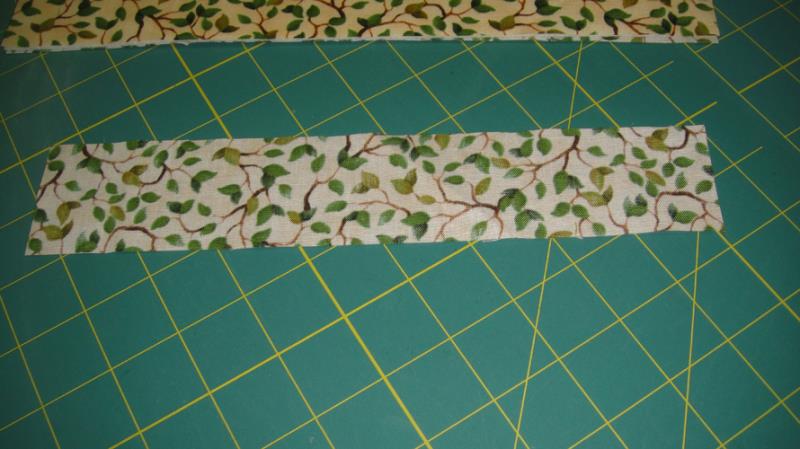
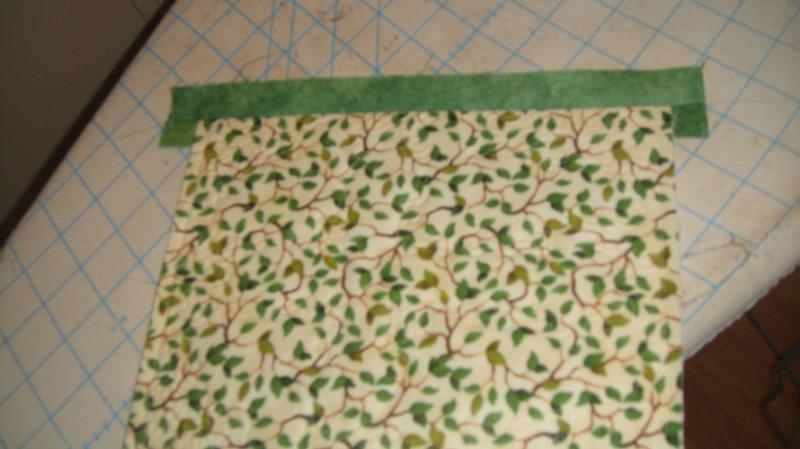
To complete the mini quilt cut from the border print 4 2” x 10” and 4 2” x 12” rectangles; from the Battilizer® cut 2 2” x 10” and 2 2” x 12” rectangles. From the sashing fabric cut 2 1” strips, 2 1 ¾” strips for sashing and 2 2 ¼” strips for binding all cut the full width of the fabric.
(Click Image to Enlarge)
Step 18:
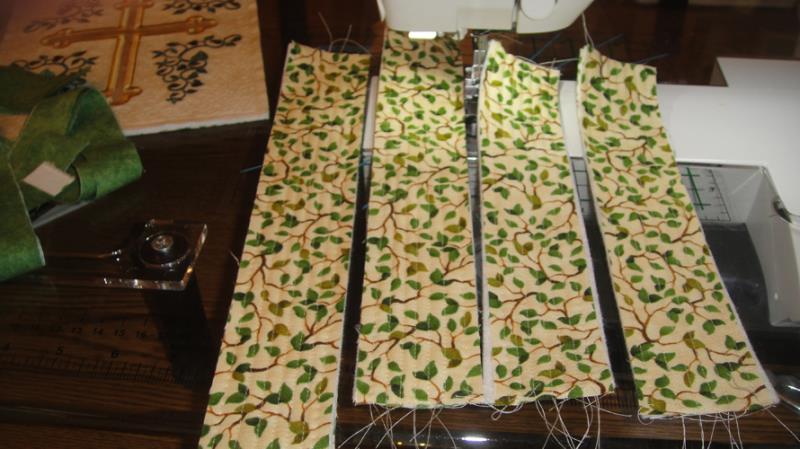
Make quilt sandwiches from the corresponding border pieces by placing one rectangle of the fabric face down, place a corresponding Battilizer® rectangle on top; and place a corresponding fabric right side up on top. Repeat so that you have two 2” x 10” and 2 2” x 12” border pieces. Baste around each border piece with a long stitch at your sewing machine with a scant ¼” seam allowance.
(Click Image to Enlarge)
Step 19:
This step is optional but if desired you can run channel quilting spaced at ¼” down your border pieces or use a wide quilting stitch from your machine to quilt the borders.
(Click Image to Enlarge)
Step 20:
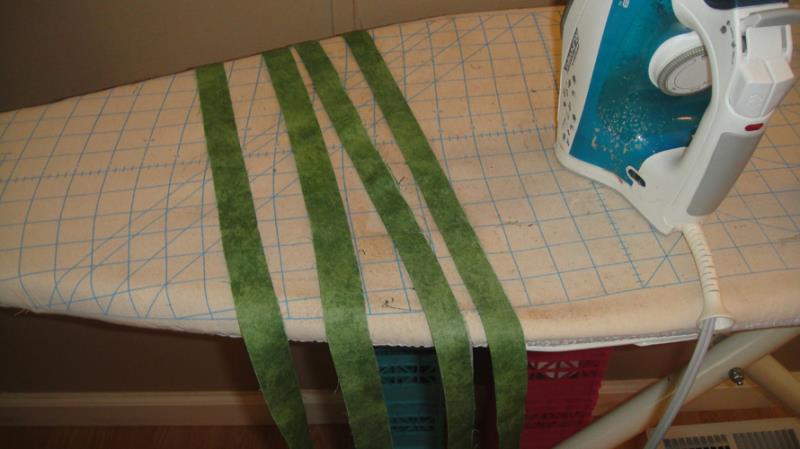
Press your 1” sashing strips with Magic Sizing®; fold the 1 ¾” sashing strips in half lengthwise and press with Magic Sizing®.
(Click Image to Enlarge)
Step 21:
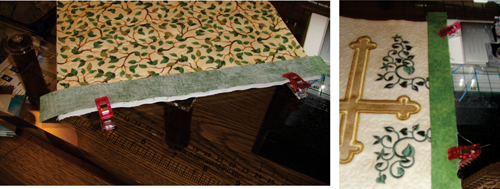
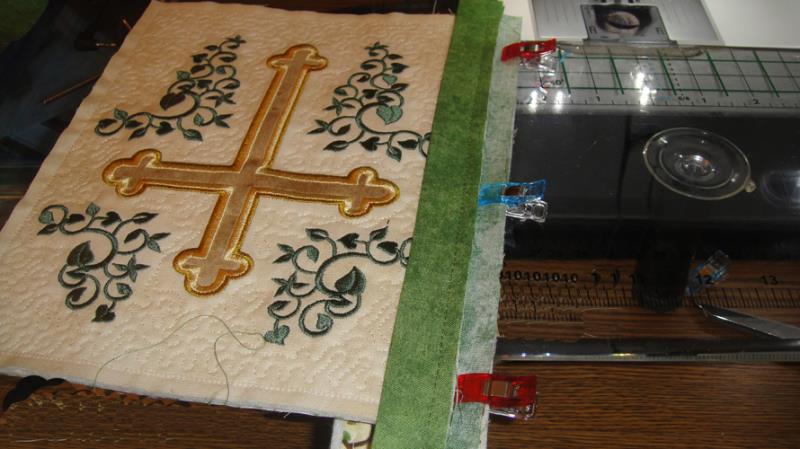
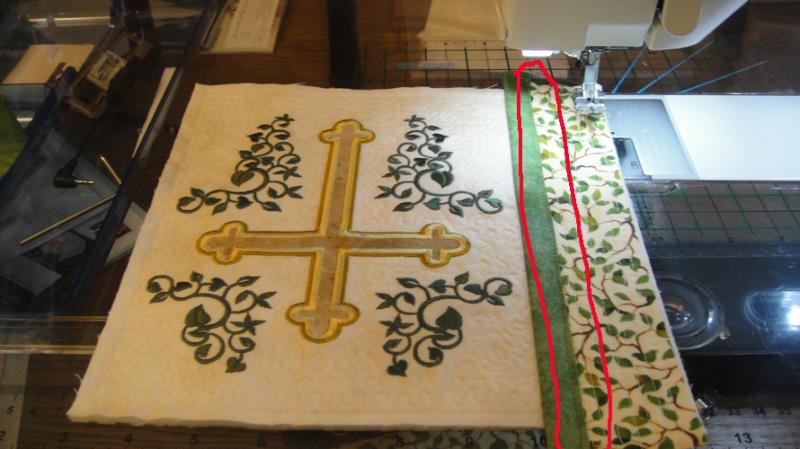
Cut a 1” strip of sashing 11” long and clip right side down on the back of the side of the block; simultaneously cut an 11” strip of the folded 1 ¾” strip and clip to the front of the block with the raw edges aligned with the side of the block. Both strips will extend beyond the ends of the block. Carefully align the raw edges of the sashing on the back or the block, the block and the folded sashing on top of the block.
Step 22:
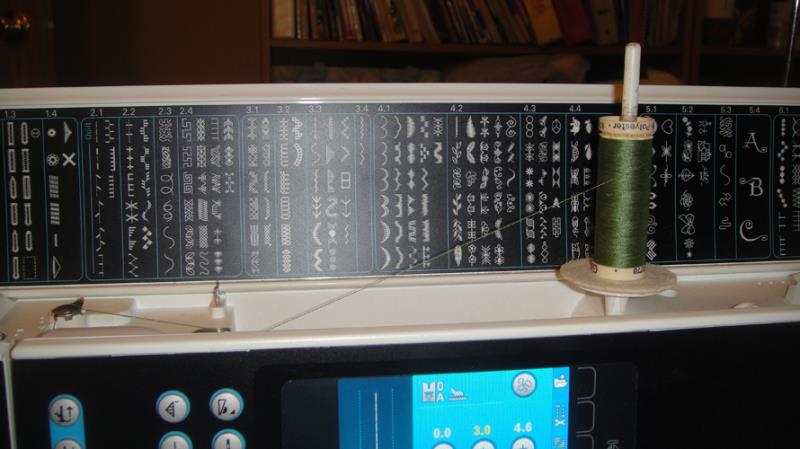
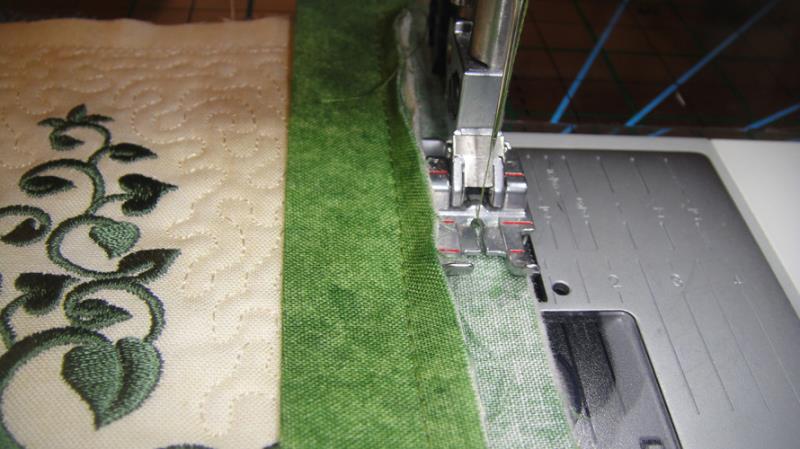
Thread your sewing machine with thread that matches the sashing on top and a bobbin that matches your quilting, change your stitch length to 3mm for ease in sewing through all of these layers.
(Click Image to Enlarge)
Step 23:
(Click Image to Enlarge)
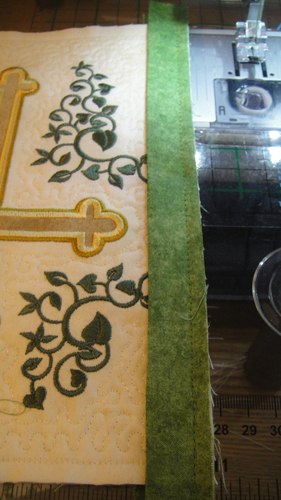
Stitch together with an accurate ¼” seam allowance.
Step 24:
Press the back strip only out away from the block.
(Click Image to Enlarge)
Step 25:
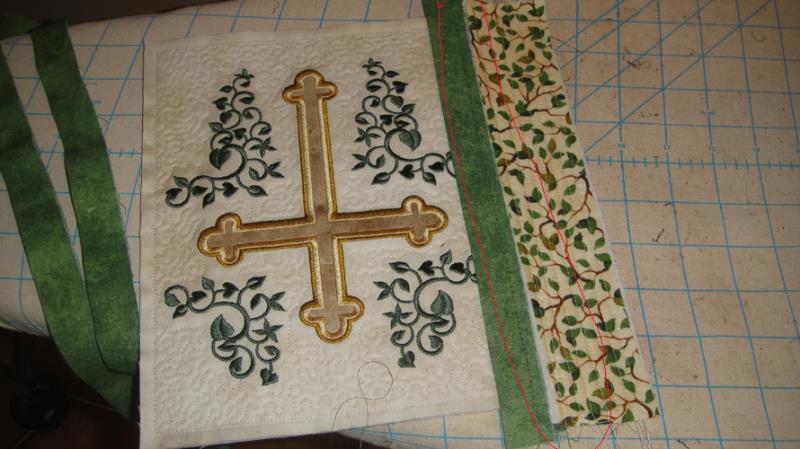
Clip a 2” x 10” border sandwich to the extended 1” sashing strip, right side of the sashing strip to the wrong side of the border strip.
(Click Image to Enlarge)
Step 26:
With an accurate ¼” seam allowance stitch the back sashing to the border piece.
(Click Image to Enlarge)
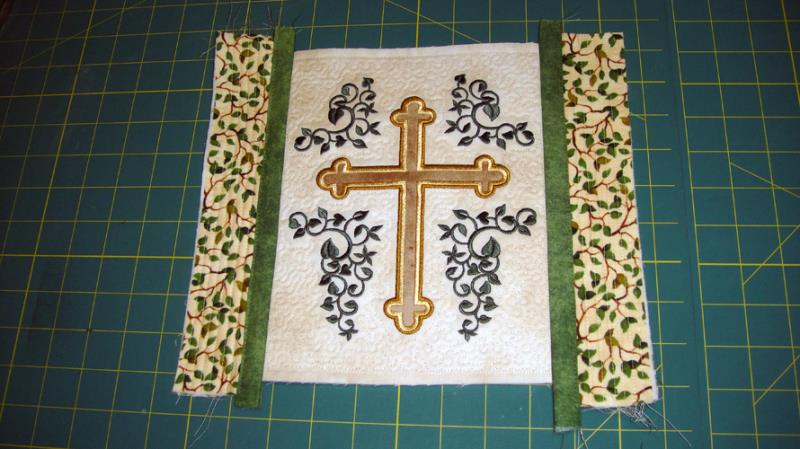
Step 27:
Open out the border strip; the seam allowances should just butt together without overlaps or gaps. Press the seam allowances flat then press the folded top sashing over the top of the seam allowances.
(Click Image to Enlarge)
Step 28:
Edge stitch the top sashing into place.
(Click Image to Enlarge)
Step 29:
Repeat Steps 21 through 28 to attach the second side border to the center block.
(Click Image to Enlarge)
Step 30:
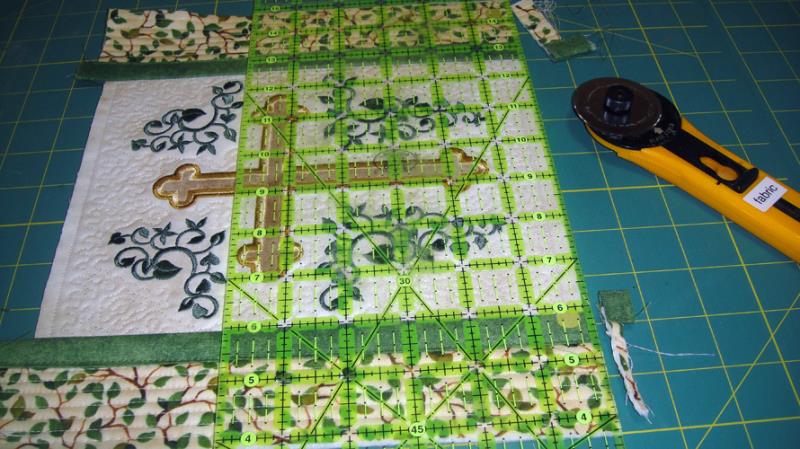
Trim off the excess sashing and borders at the top and bottom of the block.
(Click Image to Enlarge)
Step 31:
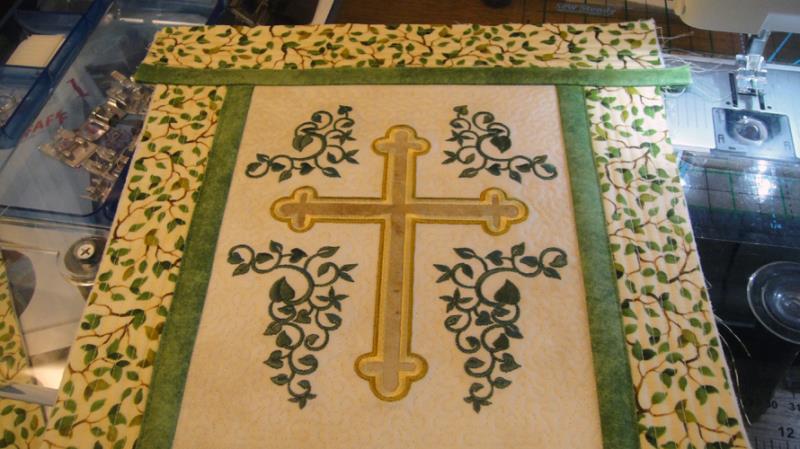
Using sashing strips about 12” long repeat Steps 21 through 28 to attach the top and bottom borders to the mini quilt.
(Click Image to Enlarge)
Step 32:
Trim the excess top borders and sashing from the mini quilt.
(Click Image to Enlarge)
Step 33:
Bind using your favorite method or see our Article “Binding Small Embroidery” Projects for step by step instructions.
(Click Image to Enlarge)
Step 34:
(Click Image to Enlarge)
See our Article “Attaching a Hanging Sleeve to a Mini Quilt” to hang your completed Applique Cross Mini Quilt to the Ackfeld Frame. Congratulations your project is complete!
Award winning Digitizer, Embroidery Educator, Author and a Consultant to the Industry, Pat Williams has 30 years of experience in the embroidery industry. Pat has won multiple awards for her digitizing expertise including the 2007 Impressions Awards Grand Championship, Best of Show as well as the 1st and 2nd Place Awards. Pat’s love of digitizing has afforded her the opportunity to write numerous articles for Impressions magazine in the United States and Images Magazine in Europe. In 2001 Pat was named “Embroidery Educator of the Year.” For many years Pat taught digitizing seminars at the ISS Shows in Long Beach, CA and for Compucon software. She now resides in Tucson, AZ.