


PROJECT INSTRUCTIONS


PROJECT INSTRUCTIONS

Aquatic Pillow Embroidery Project
By
Ruth Vangrowski
on
January 27, 2017
PROJECT DETAILS
SKILL LEVEL
Some Experience
TIME REQUIRED
06:30
FINISHED SIZE
18 x 18 inches
Description
Need to update your bedroom or den? The design used in this project is so pretty stitched out, I am sure that you will want to make a pillow cover.
Project Preview Video

QUICK VIEW
Goldfish Scene
$8.69
$4.35
Circle Price: $4.35

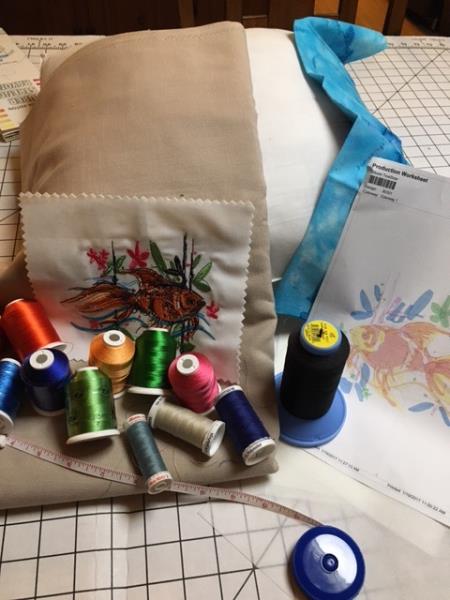
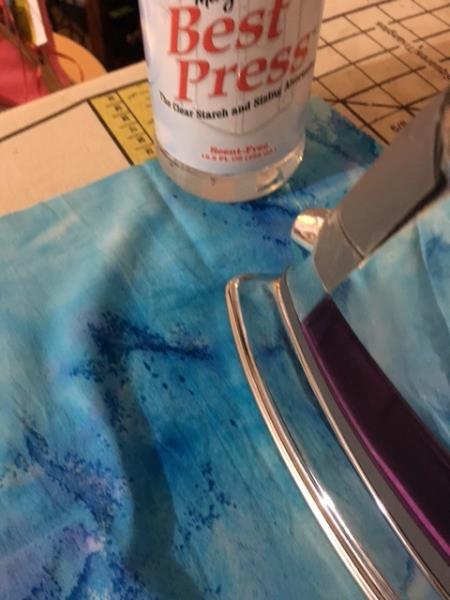
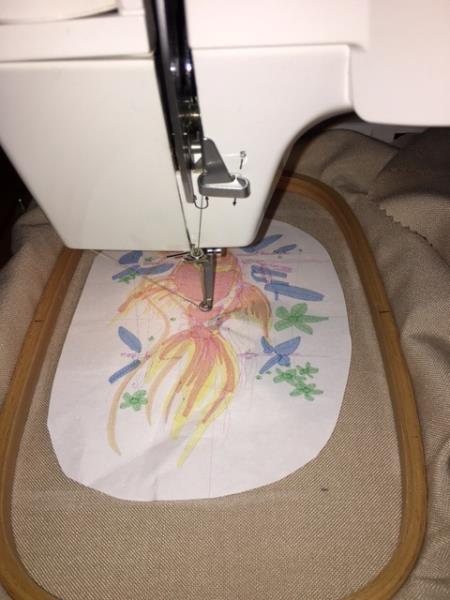
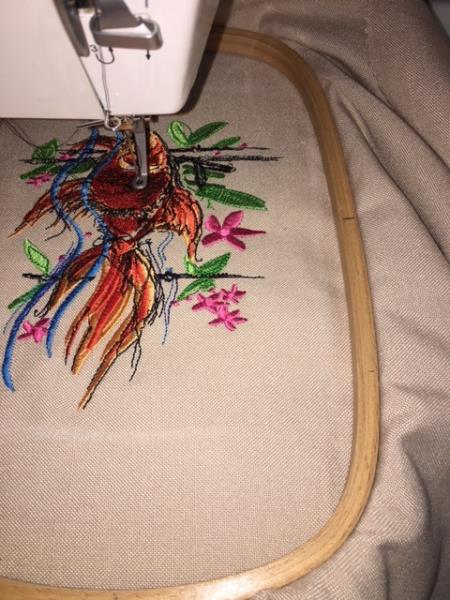
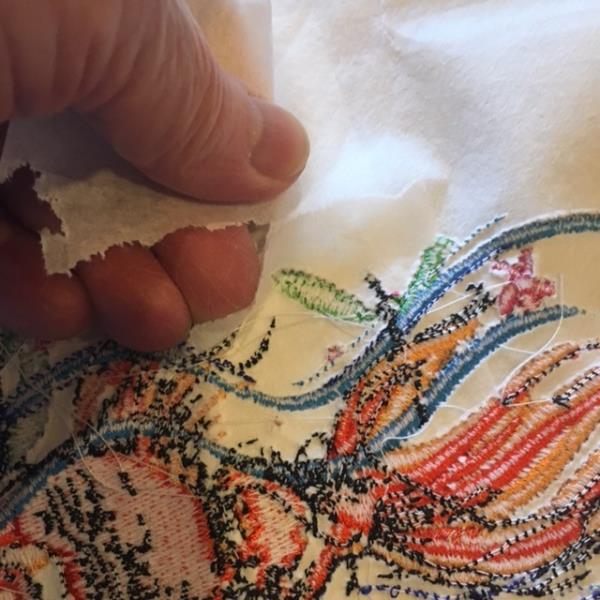
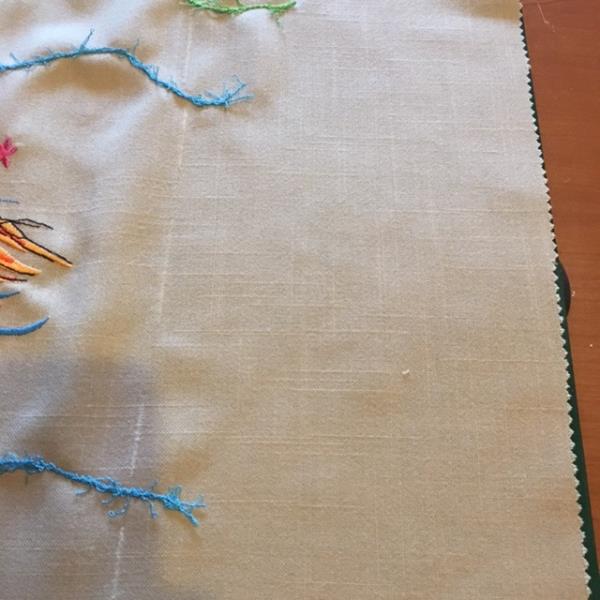
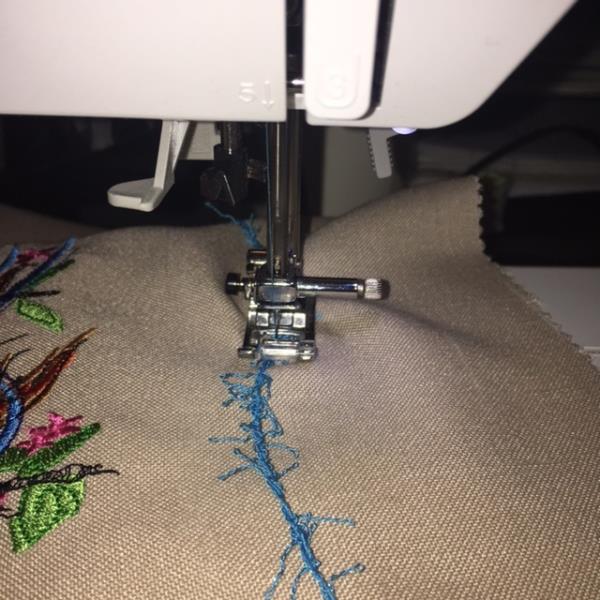
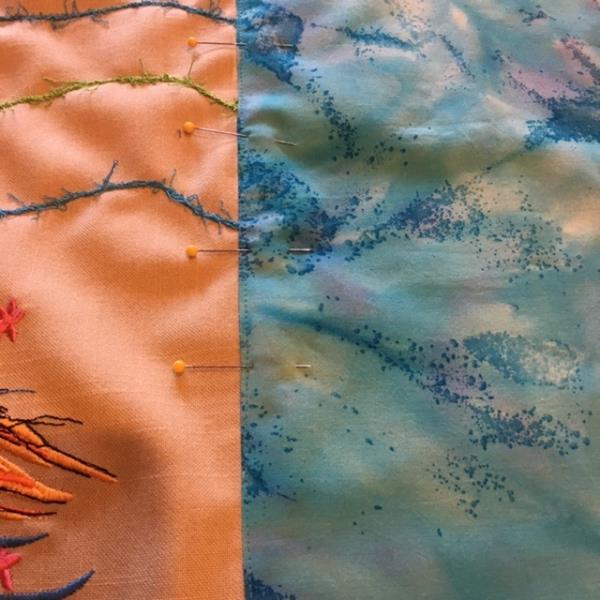
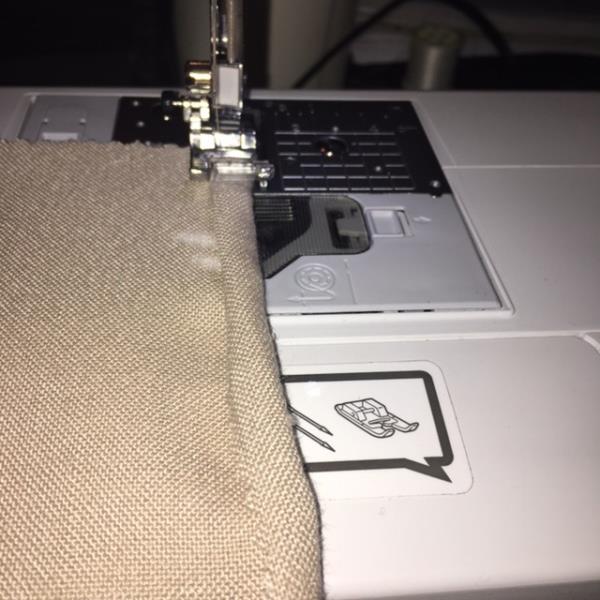
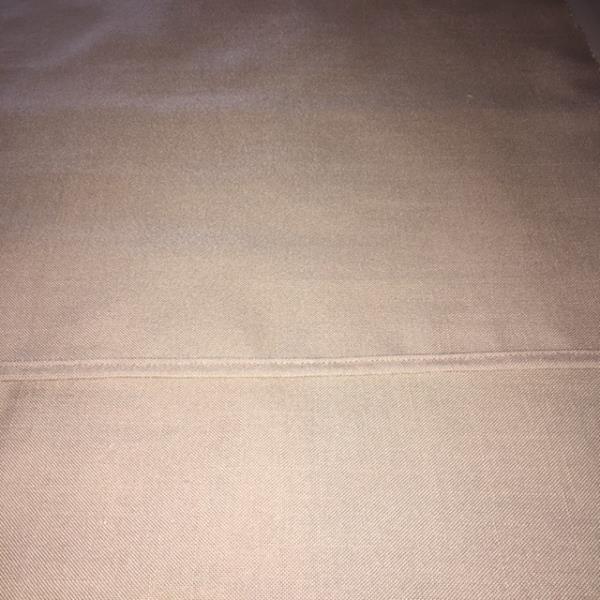
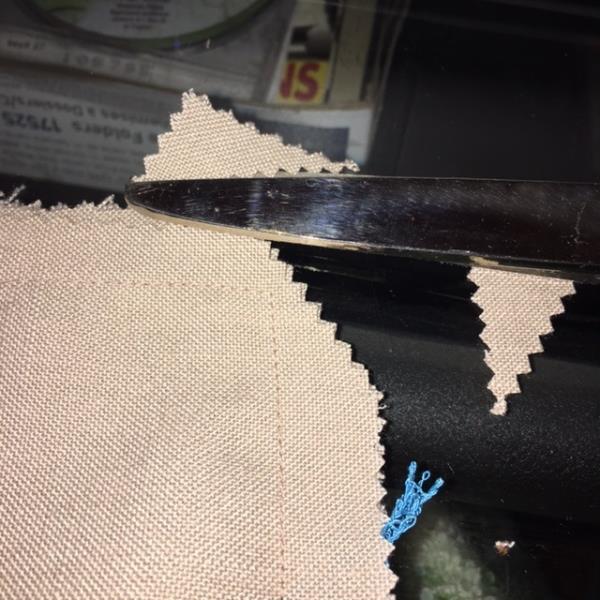
| Materials 5/8 yard of 60" wide fabric, linen look fabric was used 1 square pillow form 18" x 18", I used an old form 1 fat quarter or 5/8 yard of 44"/45" contrast fabric 2 sheets of tear away stabilizer Pinking Shears or Serger Several pieces of yarn or decorative thread or ribbons. I used Red Heart Scrubby yarn in Ocean color and Lime color Hoop size 6" x 10" Sewing thread to match fabrics Embroidery thread per design cart, thread used by Robinson-Anton Embroidery design used by Great Notions Goldfish Scene #80321 |
| Designs used in this project |
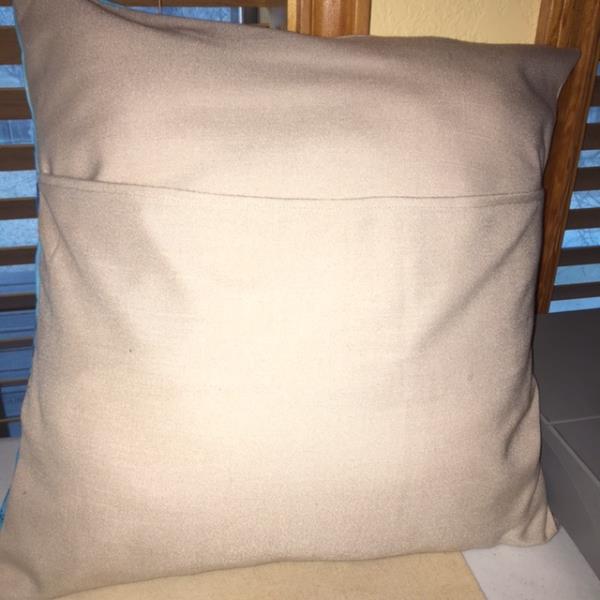
| Final Product: What You Will Create |
 |
|


| I hope that you have enjoyed this project. |
Projects You May Like
Meet the Author:
Ruth Vangrowski

Ruth works for Great Notions. Has been sewing for over 50 years and embroidering for more than 30 years.
Feedback
Characters Remaining
Please Login to Submit a Feedback
Invalid Characters, Please enter a valid Comment
Please enter a valid Comment
Reviewed On
Link is Broken, Please check the URL