


PROJECT INSTRUCTIONS


PROJECT INSTRUCTIONS

Beer Apron Embroidery Project
By
Ruth Vangrowski
on
January 18, 2017
PROJECT DETAILS
SKILL LEVEL
Beginner
TIME REQUIRED
02:00
FINISHED SIZE
29.25 x 31.5 inches
Description
Know A Special Guy - Father, Brother, Husband, Boyfriend, Uncle who is having a birthday soon? Maybe you want to get an early start on Father's Day! This is a fast and easy project!
Project Preview Video

QUICK VIEW
BEER MUG
$6.44
$3.86
Circle Price: $3.86

BEER MUG
$5.44
$3.26
Circle Price: $3.26

PRETZEL
$4.89
$2.93
Circle Price: $2.93

QUICK VIEW
BEER GLASS
$6.69
$4.01
Circle Price: $4.01

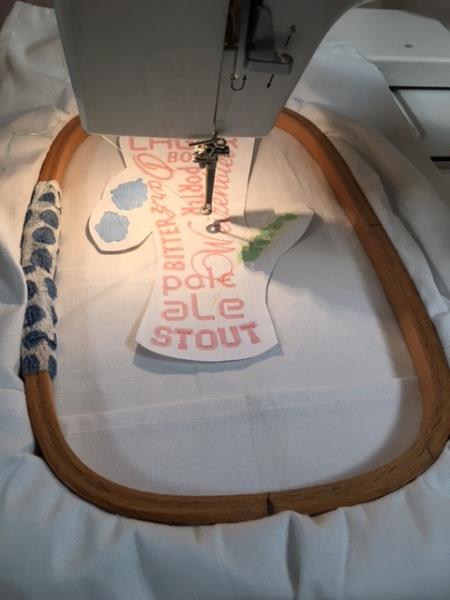
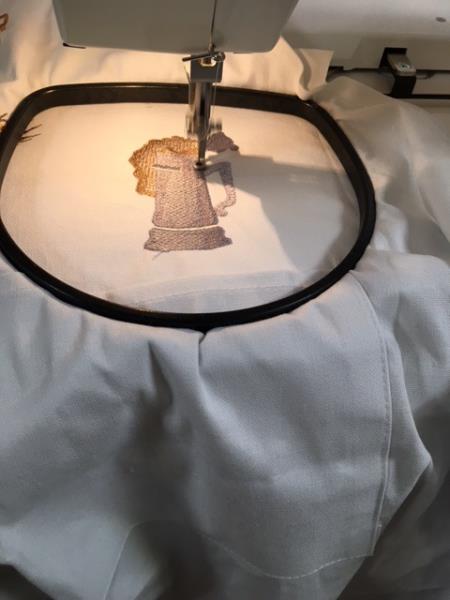
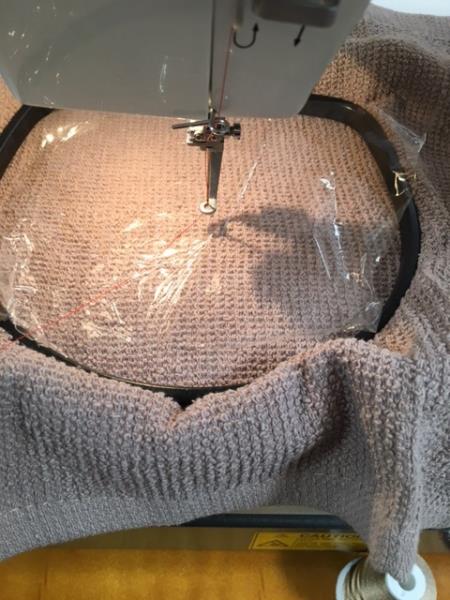
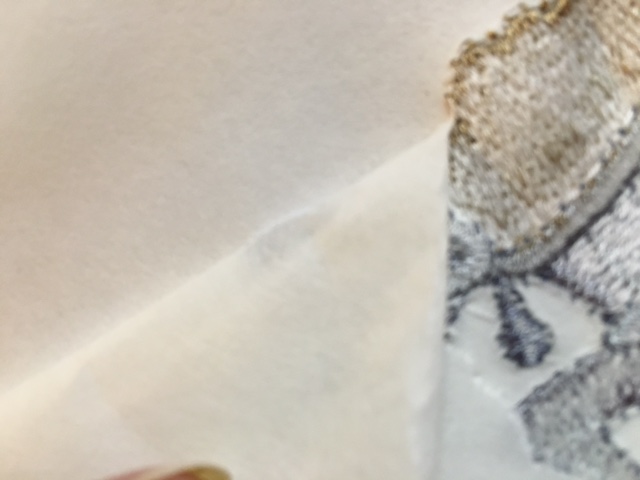
| Materials 1 Ready made apron (from craft store) 1 Bar towel 2 Sheets of tear away stabilizer 1 Sheet of water solvent topping Lettering software, most machines comes with an alphabet program Embroidery thread per design color chart, thread used by Robinson- Anton Designs used by Great Notions: Beer Glass 95484, Beer Stein 8616, Beer Mug 48038, Pretzel 8619 |
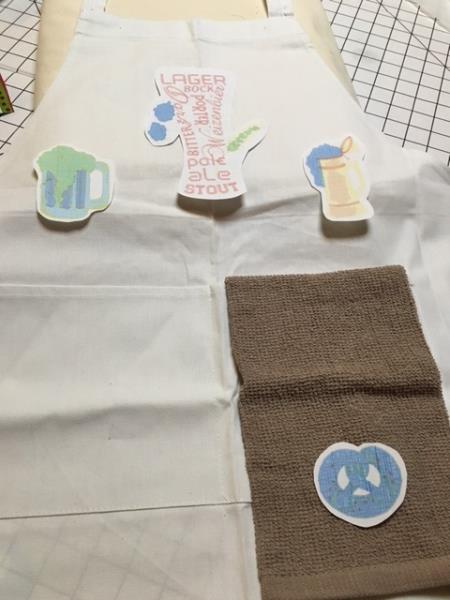
| Designs used in this project |
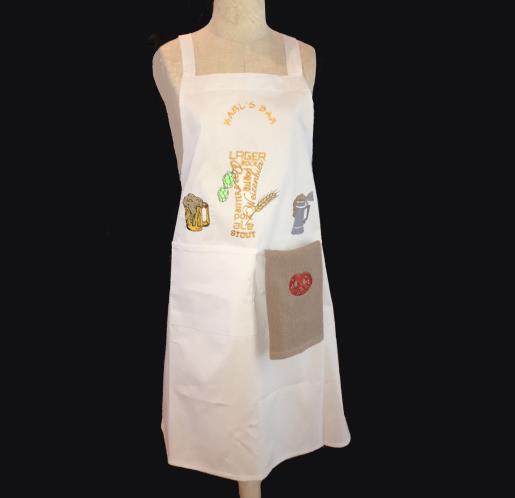
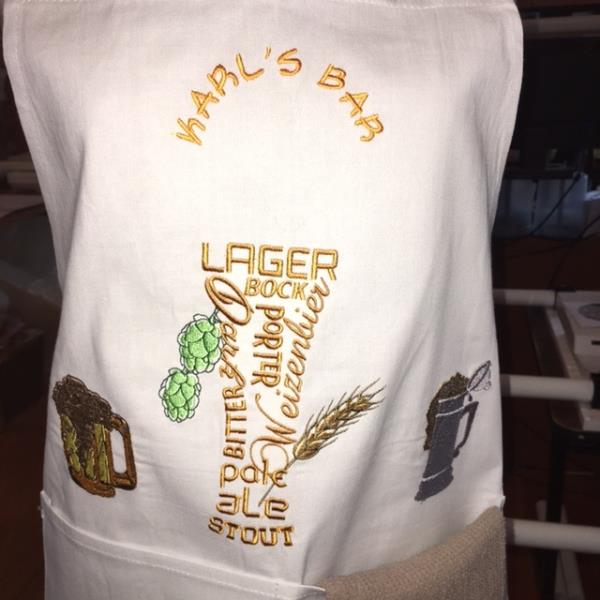
| Final Product: What You Will Create |
 |
|

| I hope that you have enjoyed this project. Just think of other themes that you can do, Bar-B-Que, Grill Master!! Have Fun! |
Projects You May Like
Meet the Author:
Ruth Vangrowski

Ruth works for Great Notions. Has been sewing for over 50 years and embroidering for more than 30 years.
Feedback
Characters Remaining
Please Login to Submit a Feedback
Invalid Characters, Please enter a valid Comment
Please enter a valid Comment
Reviewed On
Link is Broken, Please check the URL