{{superHeaderAds.title}}
Live Chat
Embroidery Designs
Welcome, Embroiderer
Login
Doggie Scarf Collar
{{mainImageAlt || (productInfo._source && productInfo._source.name) || ''}}

Doggie Scarf Collar Embroidery Project

By   Ruth Vangrowski   on   December 09, 2016

PROJECT DETAILS

SKILL LEVEL
Some Experience
TIME REQUIRED
01:30
FINISHED SIZE
15 x 7.5 inches
Description

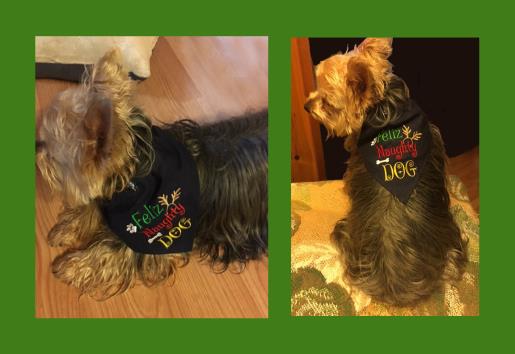
This would make a great gift before Christmas for the doggie lover on your list. Then make some up for after the Christmas Holidays.

Project Preview Video

Materials
  • Dog Collar to fit dog
  • 1/2 yard 44/45" wide cotton or cotton/poly or 1 fat quarter
  • Iron on tear away stabilizer per scarf (Sulky totally stable)
  • 2 sheets of tear away stabilizer
  • 2 small scrap of iron on interfacing
  • Best Press or other sizing product
  • Sewing thread to match fabric
  • Embroidery thread per design color chart, thread used by Robinson-Anton
  • Design used by Great Notions
  • Feliz Naughty Dog 15941
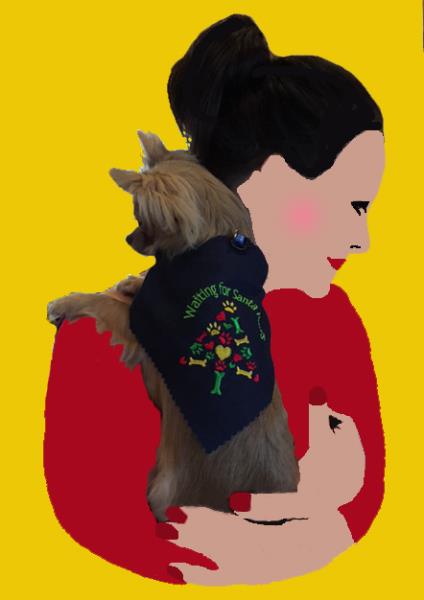
  • Waiting for Santa Paws 88934

  • Designs used in this project

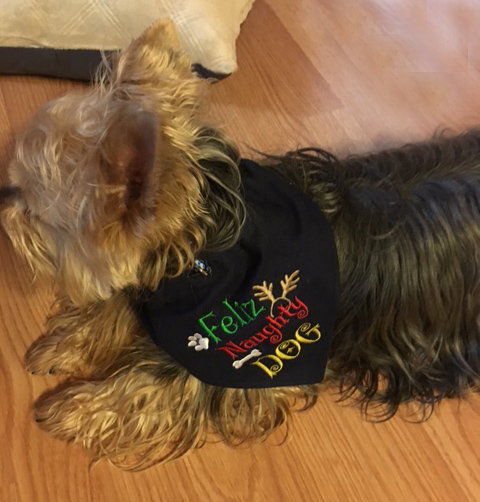
    Final Product: What You Will Create

    Preface:
    My dog measured 10 1/2" around the neck, my finished scarf is 15" wide at top, this allows for the ends to meet under his chin and have room for the collar to be inserted. You will need to adjust the size for your dog.


    Step 1:
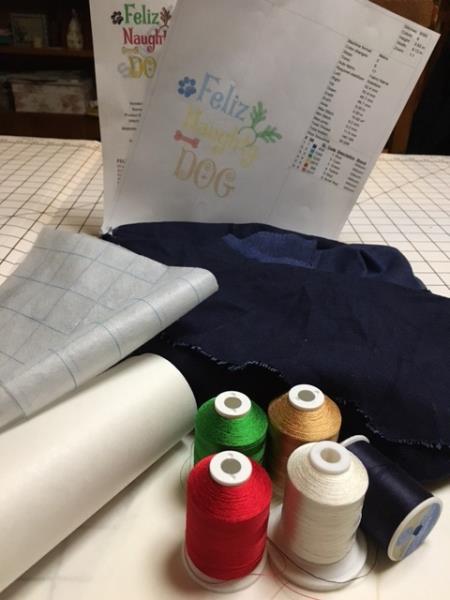
    Gather all supplies needed and read through the instructions.

    (Click Image to Enlarge)


    Step 2:
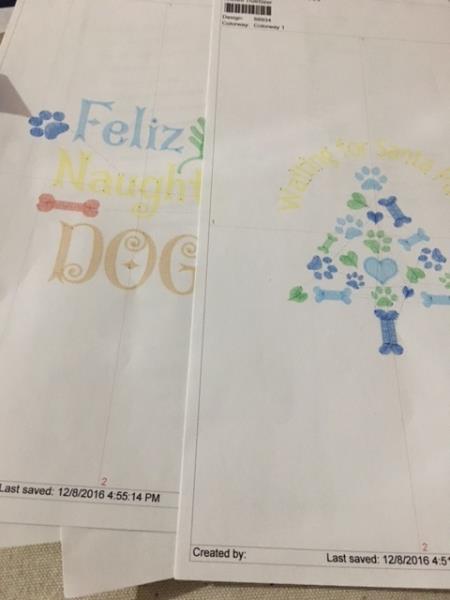
    Print out template of designs.

    (Click Image to Enlarge)


    Step 3:
    Cut a square 14" x 14".

    (Click Image to Enlarge)


    Step 4:
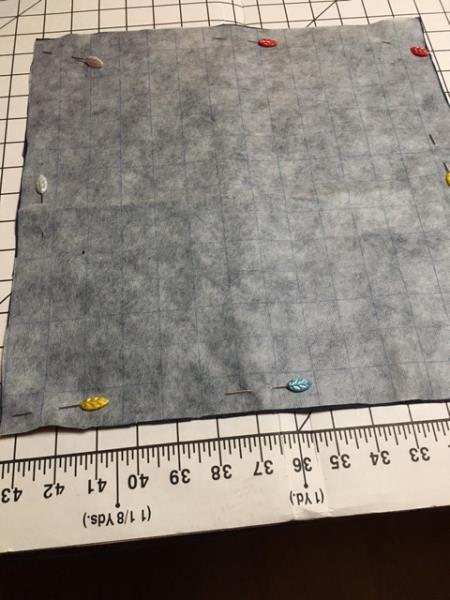
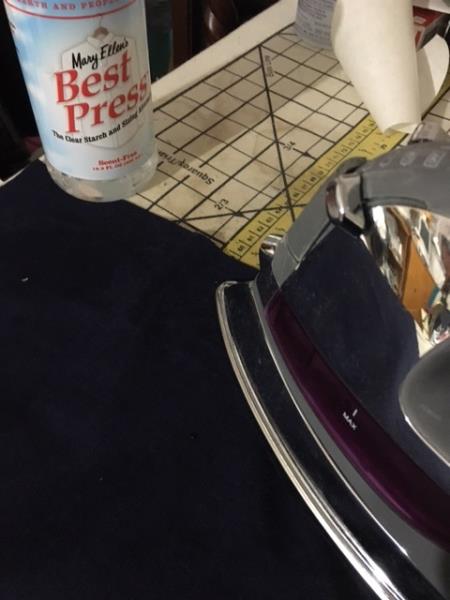
    Press the square with a sizing product.

    (Click Image to Enlarge)


    Step 5:
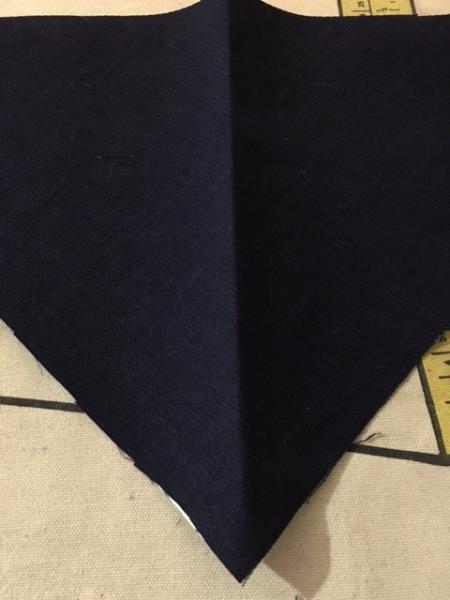
    Fold the square on the diagonal, press fold.

    (Click Image to Enlarge)


    Step 6:
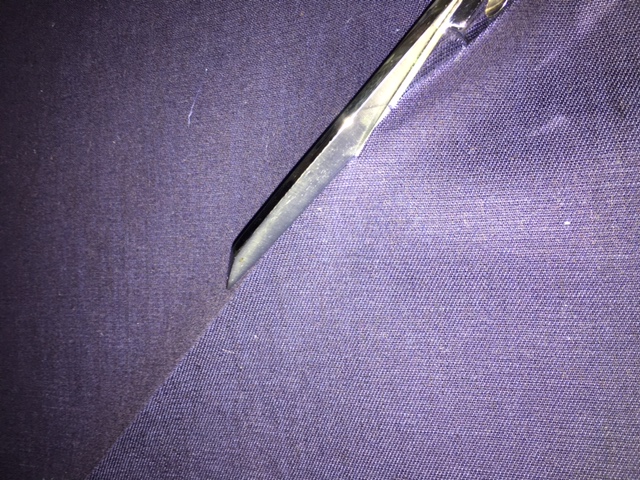
    Cut the square on the pressed fold, now you have two pieces, you can make 2 scarfs from one square. Use design number 88943 for the second one.

    (Click Image to Enlarge)


    Step 7:
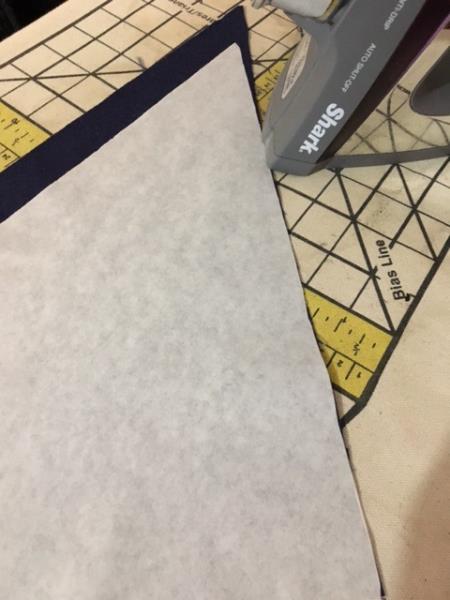
    Press the iron on tear away stabilizer to the wrong side of the scarf, let it cool.

    (Click Image to Enlarge)


    Step 8:
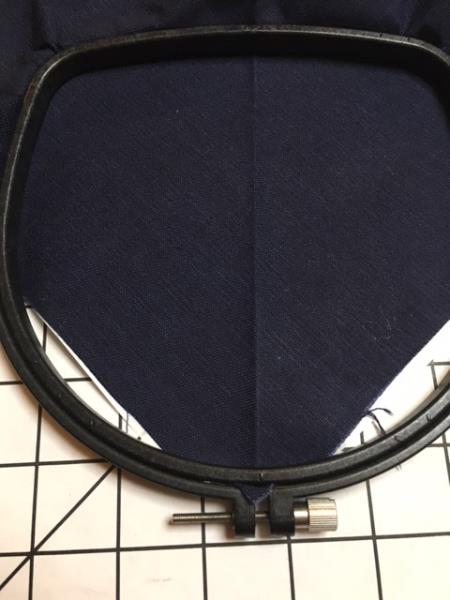
    Hoop the scarf on point.

    (Click Image to Enlarge)


    Step 9:
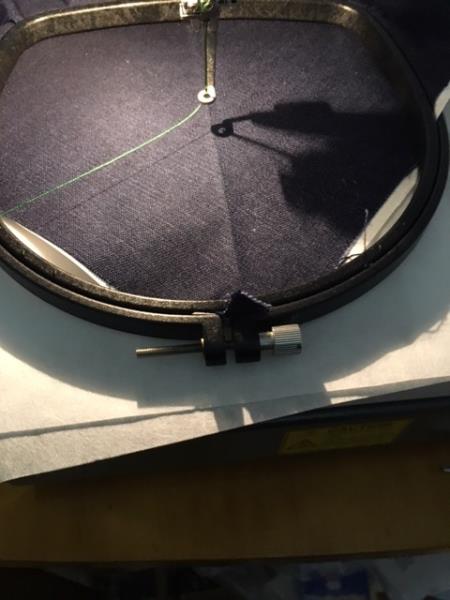
    Attach hoop to machine and float 2 sheets of tear away stabilizer under hoop.

    (Click Image to Enlarge)


    Step 10:
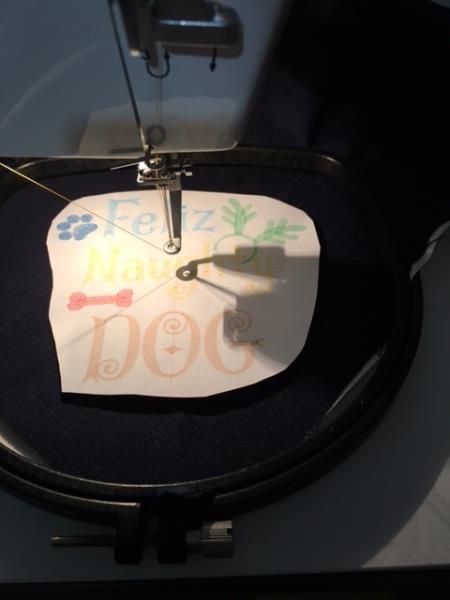
    Place template inside hooped scarf and mark center, remover template.

    (Click Image to Enlarge)


    Step 11:
    Run design number 15941, I did change two colors of threads, as I used 5 3/4 oz denim, color 1 and color 5 I changed to white to show up better. I am calling the scarf with design 15941 version 1. On design 88934 I changed the last color as the chart called for a dark green and on the denim I felt that it would not show up. I am calling this scarf with design 88934 version 2.


    Step 12:
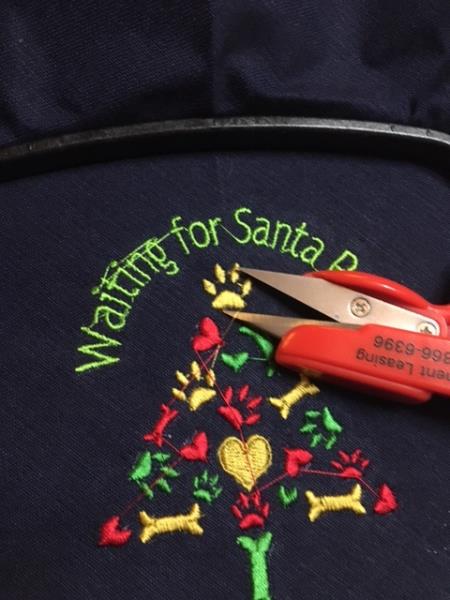
    Remove hoop from machine, clip jump stitches and carefully remove stabilizer one at a time.

    (Click Image to Enlarge)


    Step 13:
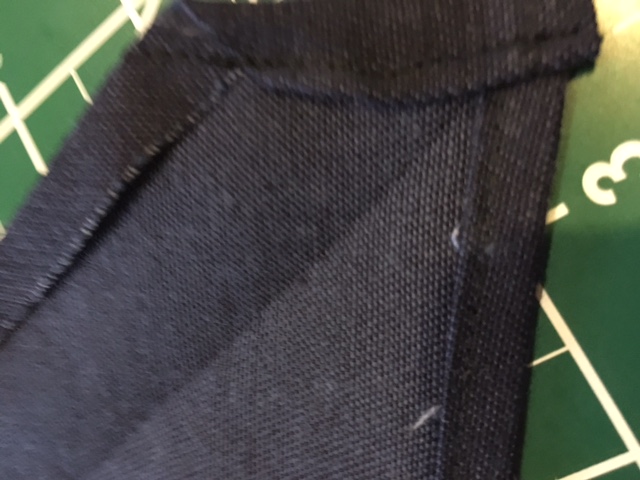
    On the two sides, do a narrow hem.

    (Click Image to Enlarge)


    Step 14:
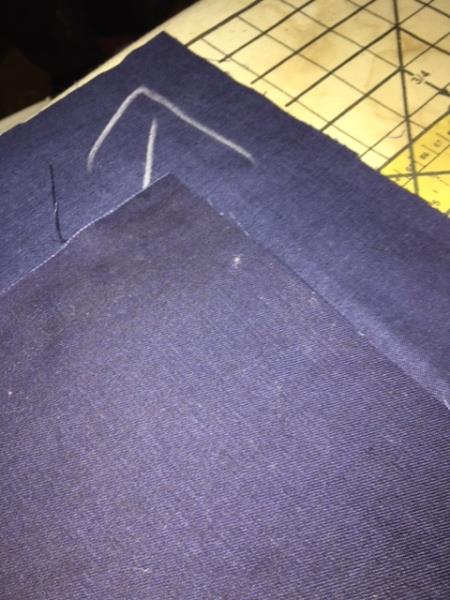
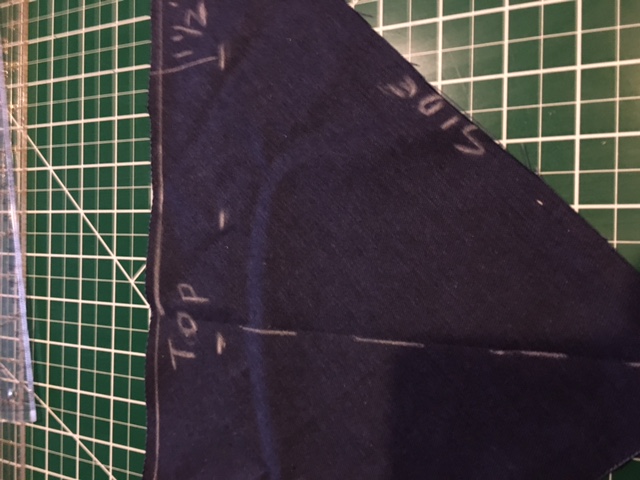
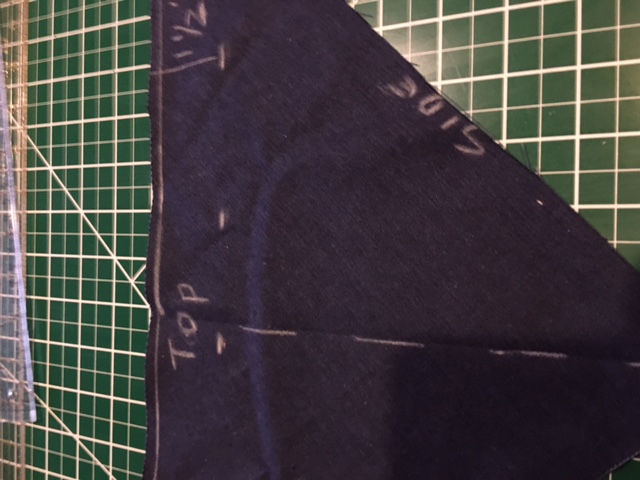
    On the top you will measure down and mark 1 3/4" inches from cut top.

    (Click Image to Enlarge)


    Step 15:
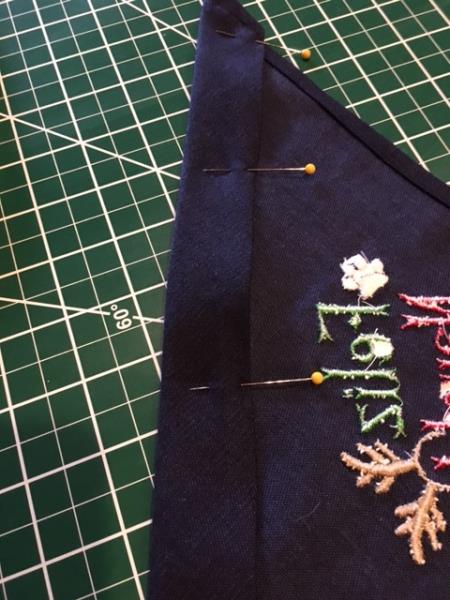
    Press under 1/4" along the top edge to the wrong side of the scarf.


    Step 16:
    Now press under 1 1/2" to the wrong side.

    (Click Image to Enlarge)


    Step 17:
    You will need to find the center by folding the scarf in half and marking it.

    (Click Image to Enlarge)


    Step 18:
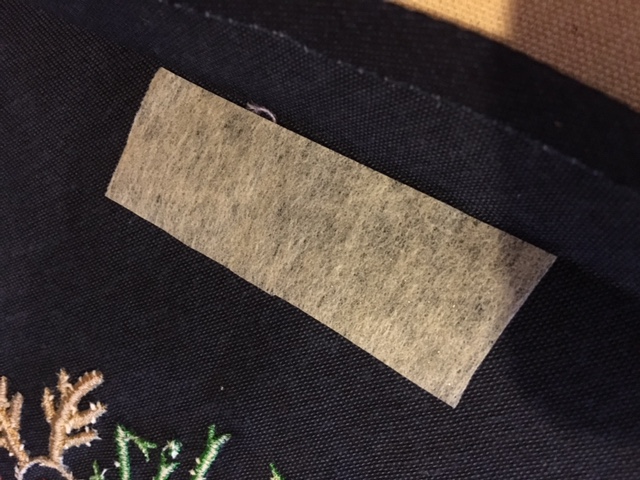
    Lift the folded top of the scarf up and cut a 2 1/2" long by 1 1/2" wide piece of iron on interfacing, mark the center. Now match the centers of the interfacing and the wrong side of the scarf at the top, place the interfacing with the centers matched along the crease from the fold down. Fuse the interfacing to the scarf.

    (Click Image to Enlarge)


    Step 19:
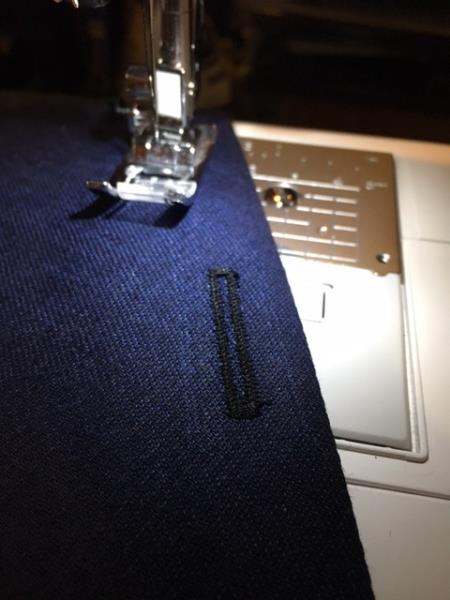
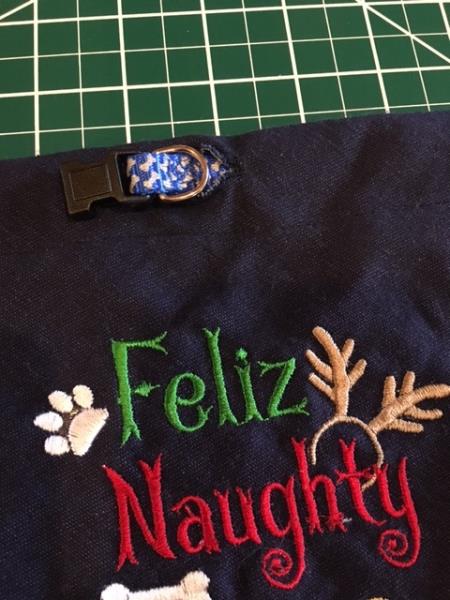
    Make a button hole at least 1 1/4" long.

    (Click Image to Enlarge)


    Step 20:
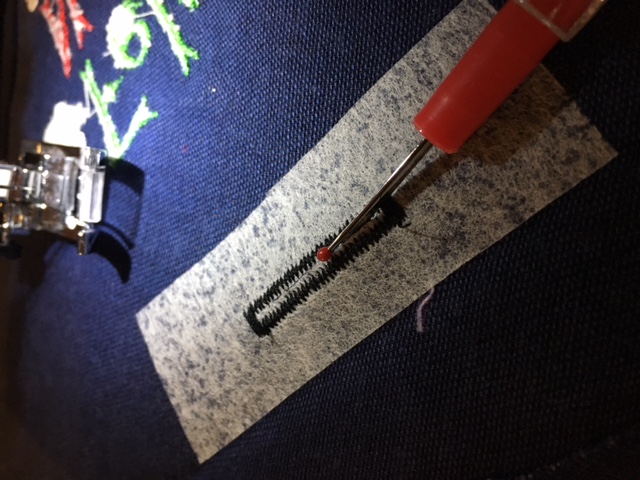
    Slit the button hole open.

    (Click Image to Enlarge)


    Step 21:
    Press the top fold back to the wrong side of the scarf, you will now need to trim the side ends and finish them with a narrow hem.

    (Click Image to Enlarge)


    Step 22:
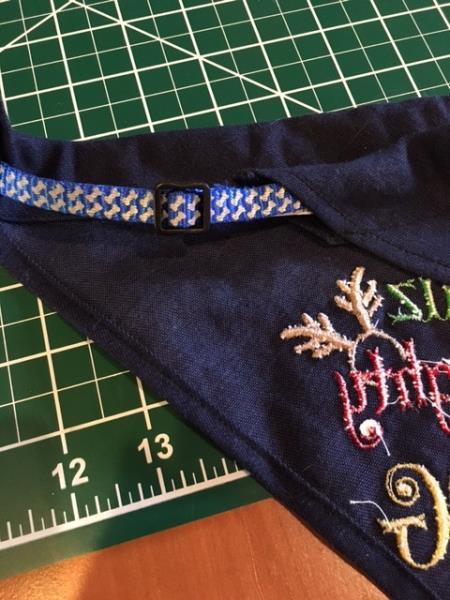
    Stitch the folded edge to the scarf, making a 1 1/2" channel for the dog collar to be slipped through.

    (Click Image to Enlarge)


    Step 23:
    Push the collar through, then fasten the ends together. Next work the fastened ends to the button hole and pull out the D ring so you can attach the lash if you are taking the dog out for a walk.

    (Click Image to Enlarge)


    Step 24:
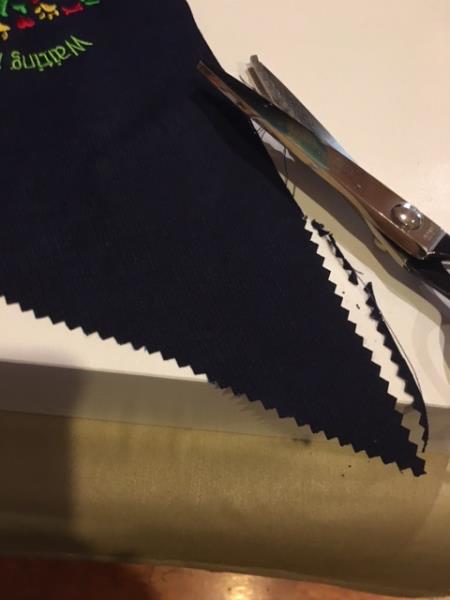
    For version 2, follow steps 1-12, OMIT steps 13, 15, and 21. You are going to use pinking shears to cut around the entire scarf.

    (Click Image to Enlarge)


    Step 25:
    Next you will you will follow steps 19-20, OMIT step 21. Now follow steps 22 and 23.

    (Click Image to Enlarge)


    I hope that you enjoy making these Doggie Scarf Collars.
    Meet the Author: Ruth Vangrowski
    Ruth Vangrowski
    Ruth works for Great Notions. Has been sewing for over 50 years and embroidering for more than 30 years.
    More From This Author
    Link is Broken, Please check the URL
    Exclusive Embroidery Offers!
    Copyright © {{ currentDate | date:'yyyy'}} - EmbroideryDesigns.com
    GET 50% OFF! ×