


PROJECT INSTRUCTIONS


PROJECT INSTRUCTIONS

Mug Buddies Embroidery Project
By
Ruth Vangrowski
on
November 18, 2016
PROJECT DETAILS
SKILL LEVEL
Some Experience
TIME REQUIRED
00:45
FINISHED SIZE
11.5 x 3.62 inches
Description
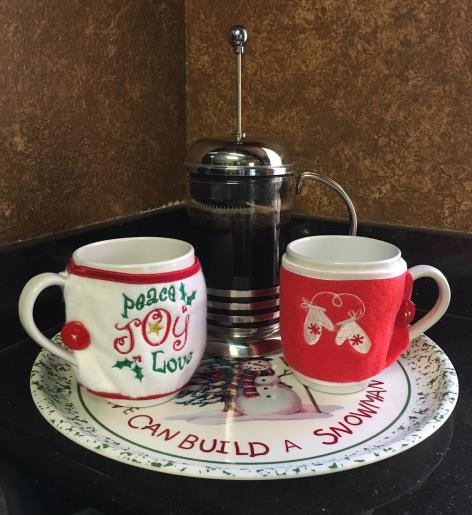
Dress up some plain coffee and "latte" mugs. These are simple and quick to make.
Project Preview Video

QUICK VIEW
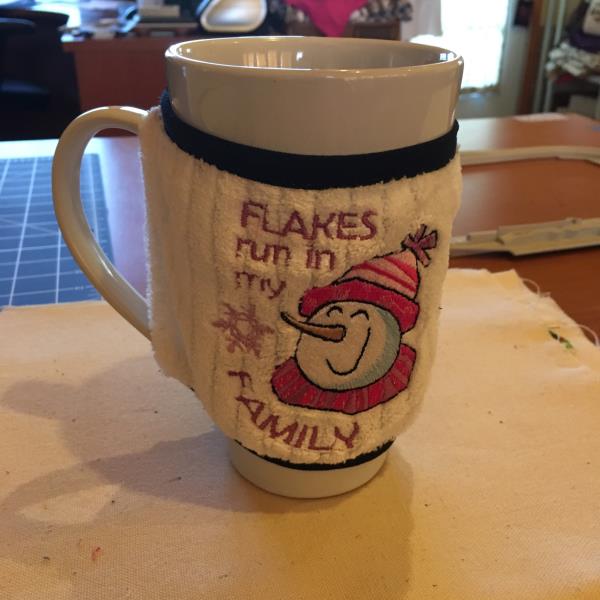
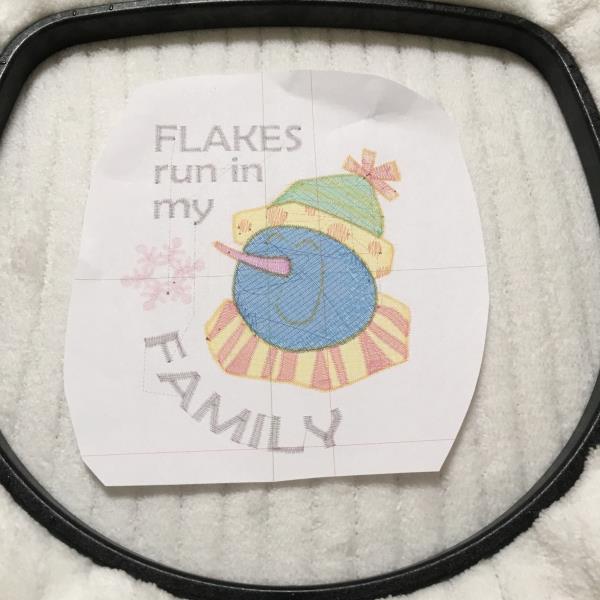
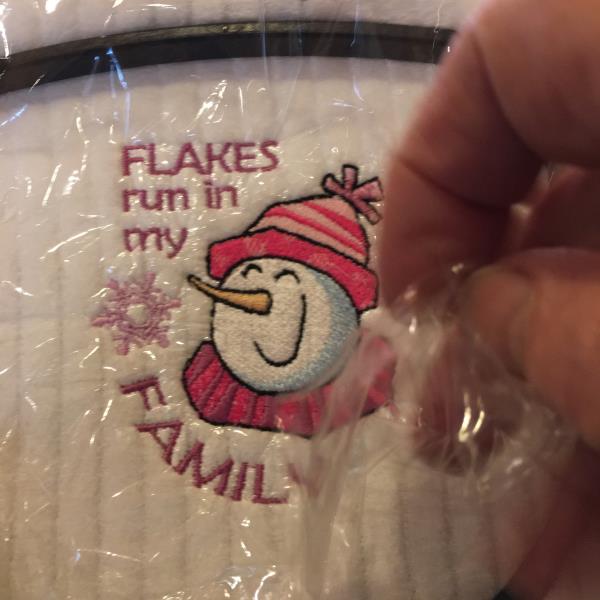
FLAKES RUN IN MY FAMILY
$6.94
$3.47
Circle Price: $3.47

JOY PEACE LOVE
$3.89
$1.95
Circle Price: $1.95

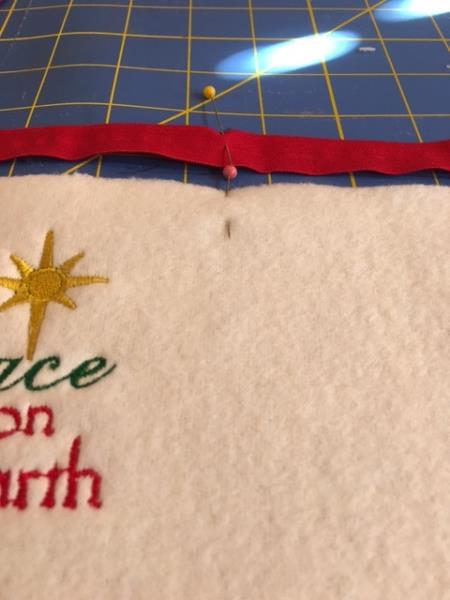
Peace On Earth
$3.89
$1.95
Circle Price: $1.95

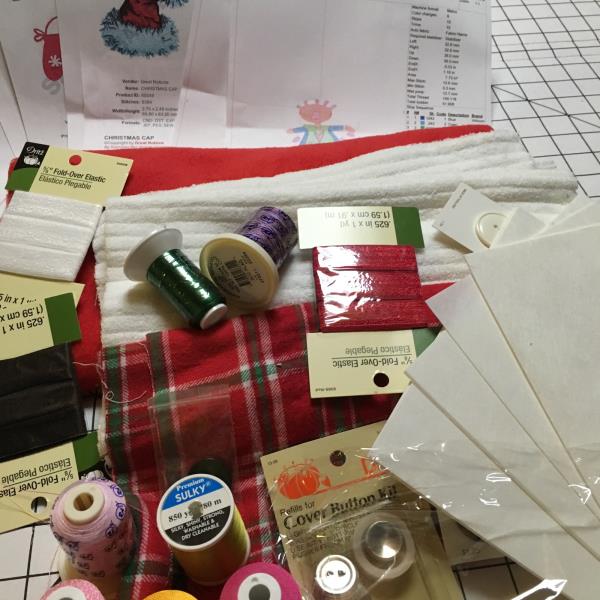
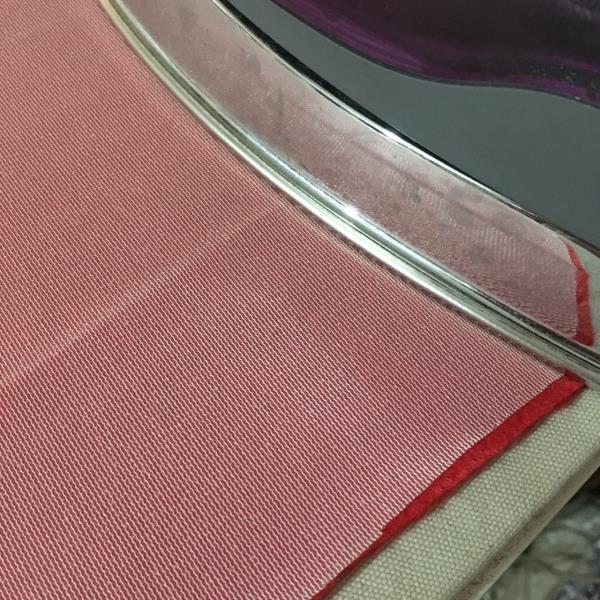
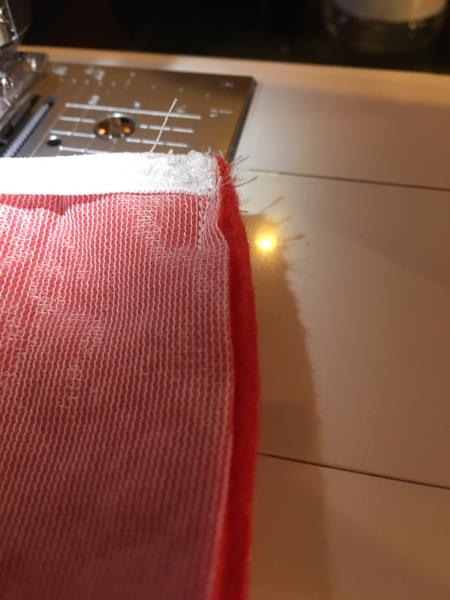
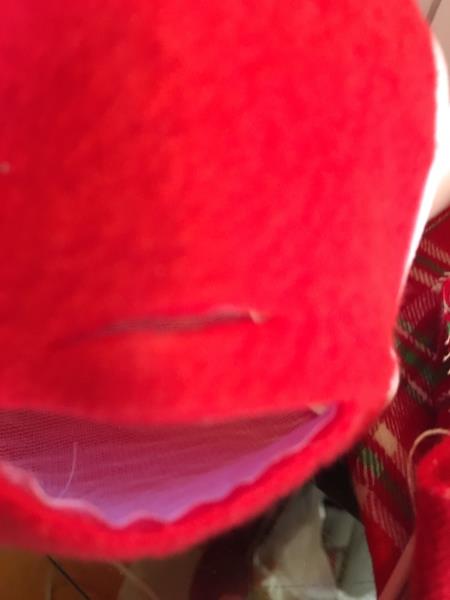
| Materials 1/4 yard of 60" wide fleece fabric of several colors Iron on interfacing 2 sheets of tear away backing per design Fold over elastic in colors to contrast or match fabric Water soluble topping Thread to match fabric Buttons, one per mug if you want the button on it Embroidery thread per design color chart, thread used by Robinson-Anton Designs used by Great Notions Mitten Flakes run in my family Peace on Earth Joy Peace Love |
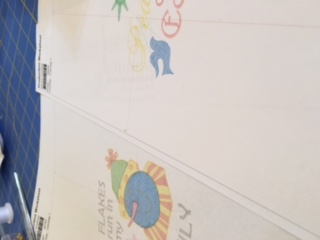
| Designs used in this project |
| Final Product: What You Will Create |
 |
|
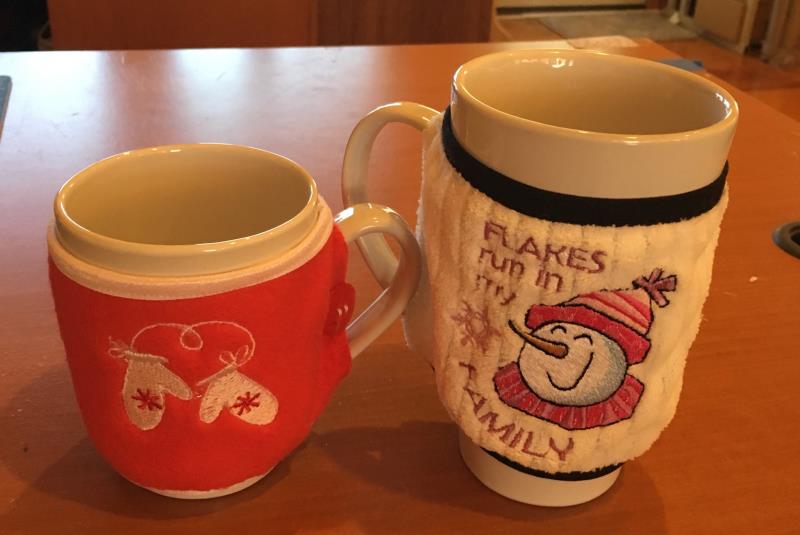
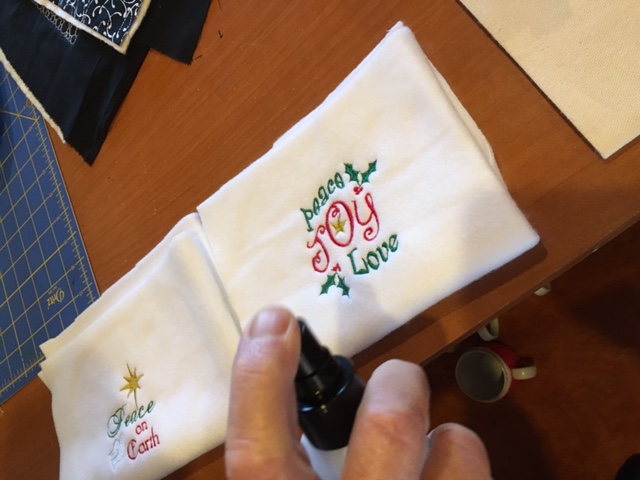
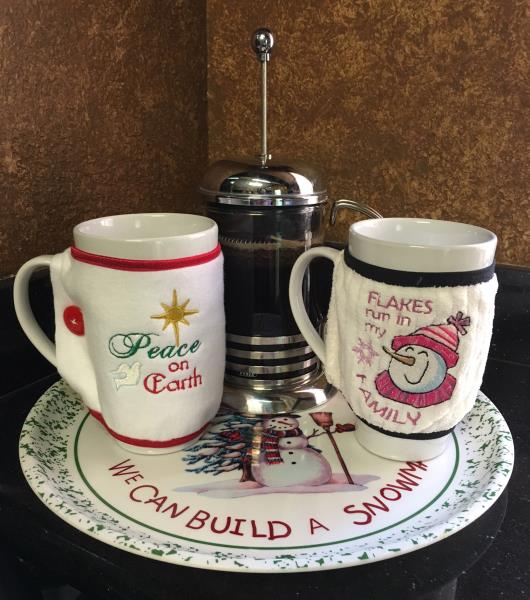
| These are really cute and fun to make. Make up some for a special freind, or family member!!! |
Projects You May Like
Meet the Author:
Ruth Vangrowski

Ruth works for Great Notions. Has been sewing for over 50 years and embroidering for more than 30 years.
Feedback
Characters Remaining
Please Login to Submit a Feedback
Invalid Characters, Please enter a valid Comment
Please enter a valid Comment
Reviewed On
Link is Broken, Please check the URL