


PROJECT INSTRUCTIONS


PROJECT INSTRUCTIONS

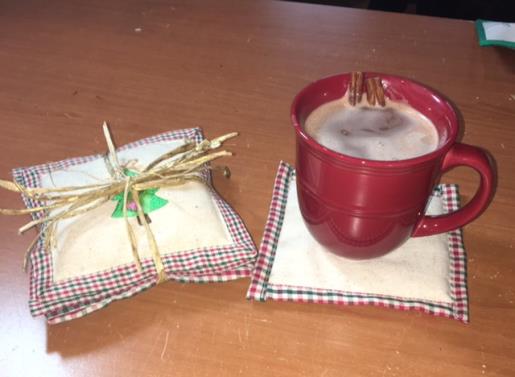
Scented Cozy Coasters Embroidery Project
By
Ruth Vangrowski
on
November 08, 2016
PROJECT DETAILS
SKILL LEVEL
Beginner
TIME REQUIRED
00:30
FINISHED SIZE
5.5 x 5.5 inches
Description
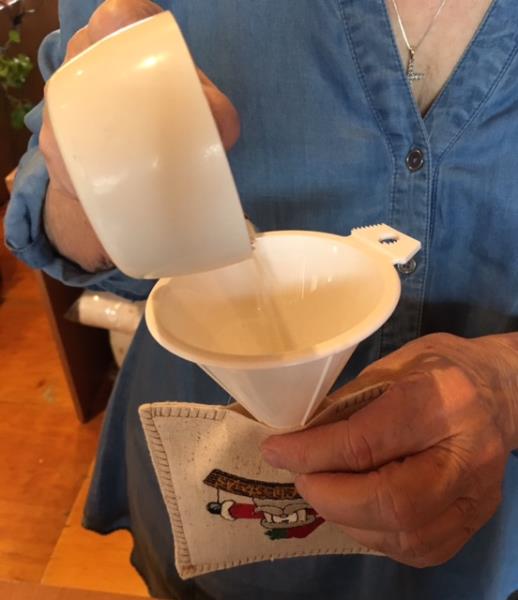
These Aromatic coasters are easy to make and useful for quick personal gifts. Osnaburg is 100% cotton, with a slight loose weave, and is a good thermal insulator. The heat from the hot beverage cup helps in releasing the scents.
Project Preview Video

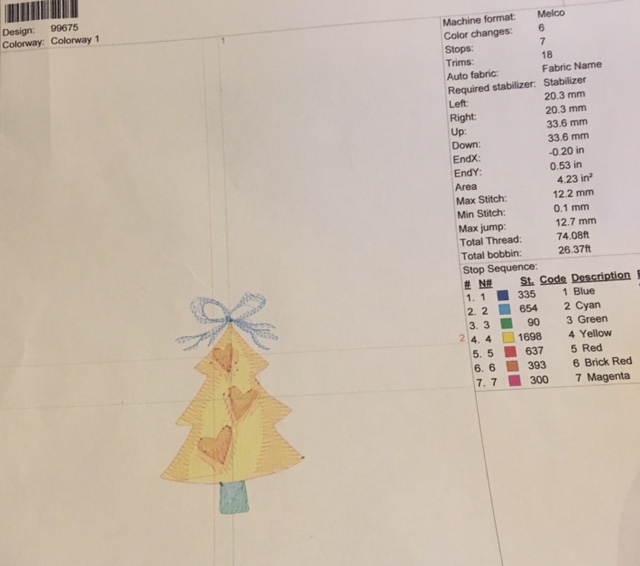
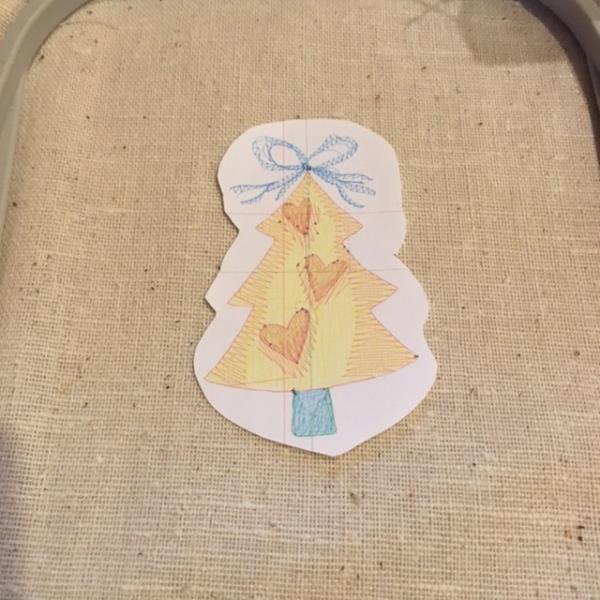
CHRISTMAS TREE
$3.89
$1.95
Circle Price: $1.95

SNOWMAN
$4.14
$2.07
Circle Price: $2.07

WELCOME WINTER
$4.89
$2.45
Circle Price: $2.45

MERRY CHRISTMAS
$5.19
$2.60
Circle Price: $2.60

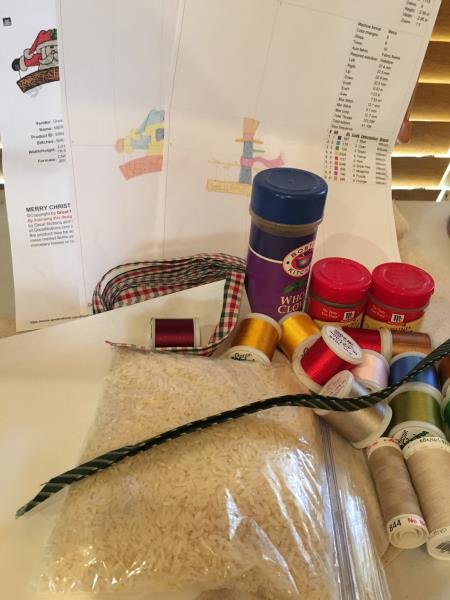
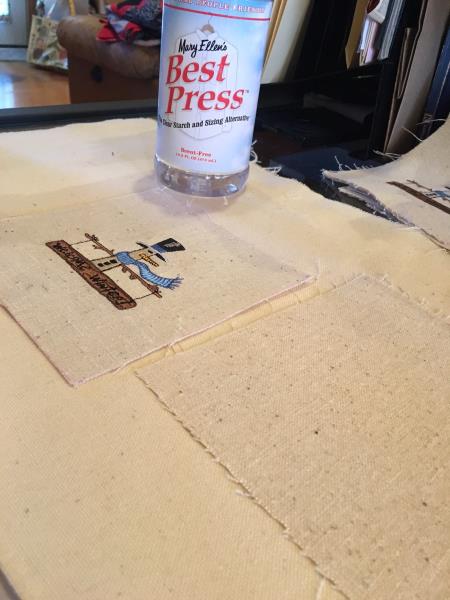
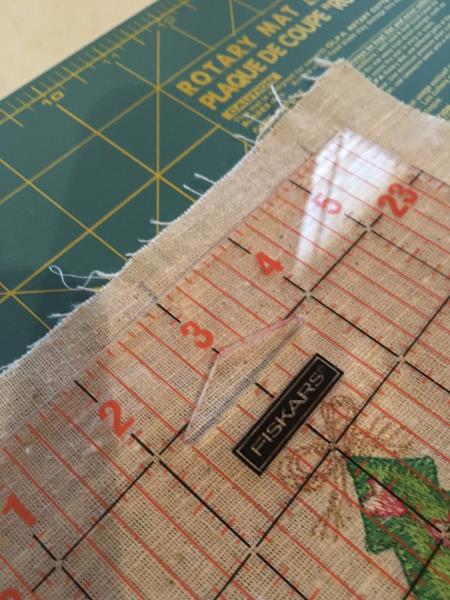
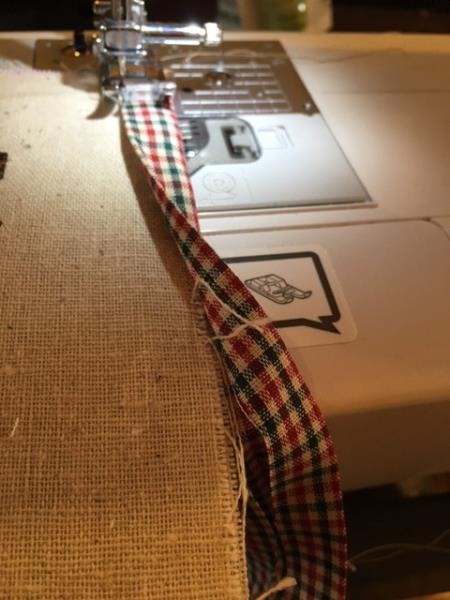
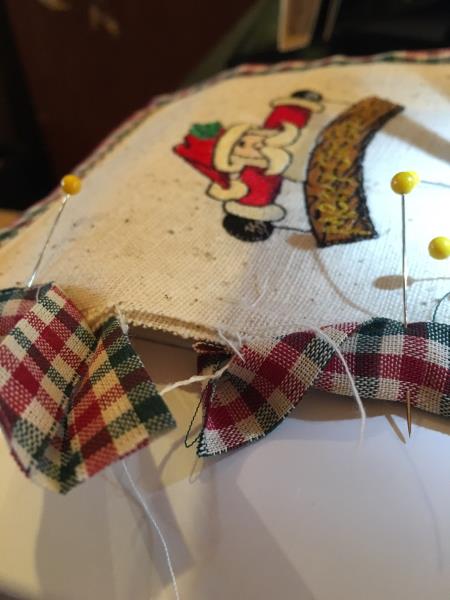
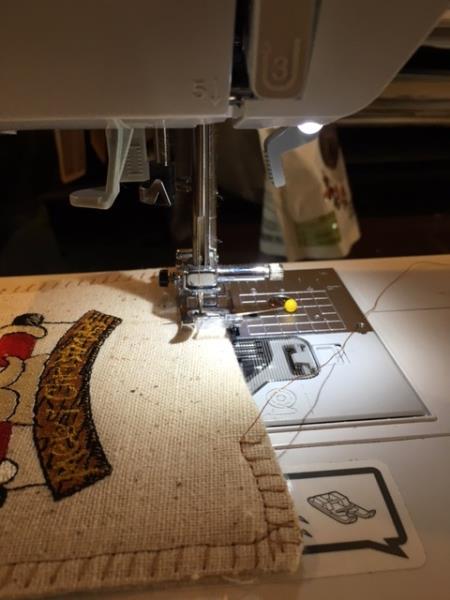
| Materials The finished project for version 1, 5 1/2" x 5 1/2" version 2, is 4 1/2"x 4 1/2" l yard Osnaburg fabric 45" wide 1 pound bag of rice Ground Allspice Ground Nutmeg Whole Cloves Bias trim - about 30" per coaster Tear away backing 2 sheets per design Best Press or other sizing product Thread to match fabric Embroidery thread per design color chart, thread used by Robinson-Anton Designs used by Great Notions Snow Man Welcome Winter Christmas Tree Merry Christmas |
| Designs used in this project |
| Final Product: What You Will Create |
 |
|

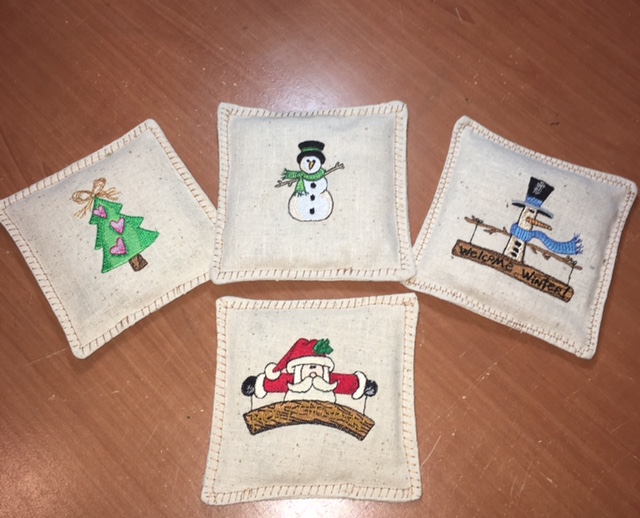
| Have lots of fun making and giving these as gifts!!! |
Projects You May Like
Meet the Author:
Ruth Vangrowski

Ruth works for Great Notions. Has been sewing for over 50 years and embroidering for more than 30 years.
Feedback
Characters Remaining
Please Login to Submit a Feedback
Invalid Characters, Please enter a valid Comment
Please enter a valid Comment
Reviewed On
Link is Broken, Please check the URL