


PROJECT INSTRUCTIONS


PROJECT INSTRUCTIONS

Back to Nature Backpack Embroidery Project
By
Ruth Vangrowski
on
October 27, 2016
PROJECT DETAILS
SKILL LEVEL
Experienced
TIME REQUIRED
15:00
FINISHED SIZE
19 x 13 inches
Description
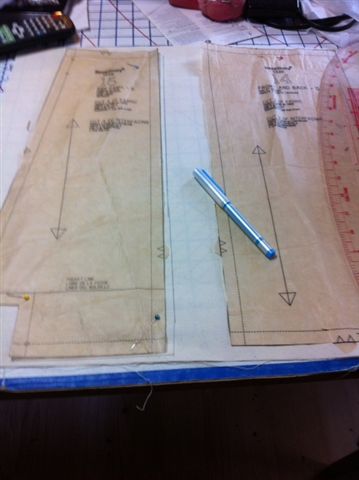
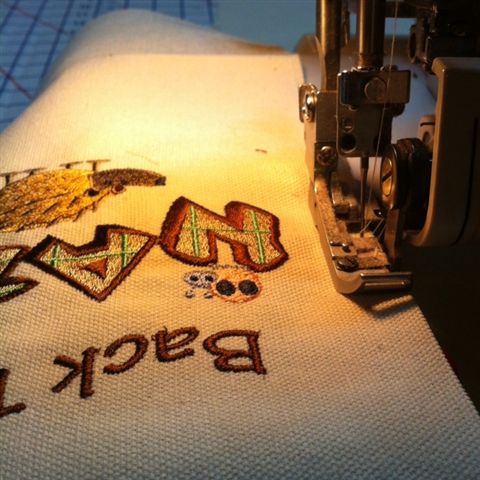
Commercial pattern Simplicity 1338 view D (Backpack). Embroidery is done on center front,sides, and side pockets before stitching backpack together.
Project Preview Video

QUICK VIEW
BACK TO NATURE
$3.89
$1.95
Circle Price: $1.95

NUTS ABOUT NATURE
$3.89
$1.95
Circle Price: $1.95

FAWN DEER
$3.89
$1.95
Circle Price: $1.95

FOX
$3.89
$1.95
Circle Price: $1.95

RACCOON
$3.89
$1.95
Circle Price: $1.95

SKUNK
$3.89
$1.95
Circle Price: $1.95

BEAVER
$3.89
$1.95
Circle Price: $1.95

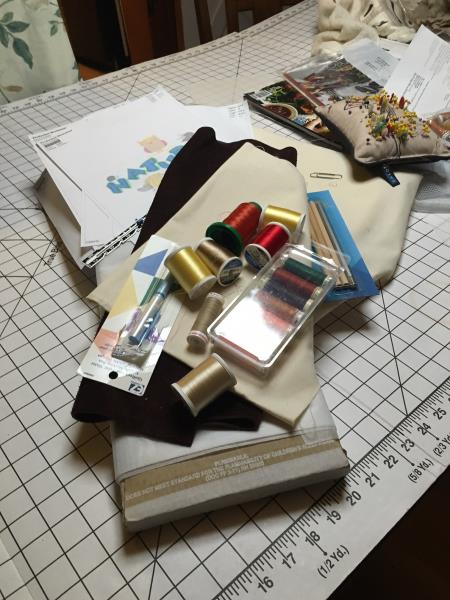
| Materials Purchase required fabric and notions listed on back of pattern envelope Cotton canvas was used for main body of backpack Cotton broadcloth was used for side pockets, straps, and lining Sewing thread to match fabric Fusible interfacing was used Tear away backing for pieces being embroidered Embroidery thread as listed in color chart by Robison-Anton Rayon Embroidery designs |
| Designs used in this project |
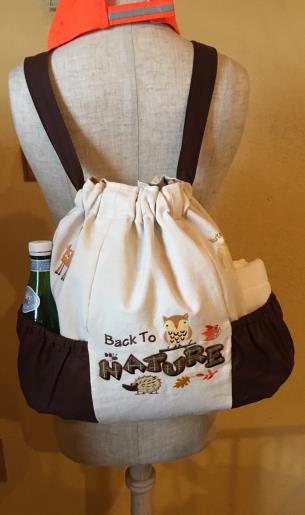
| Final Product: What You Will Create |
 |
|

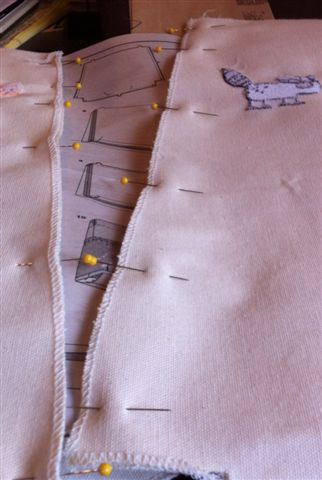
| There are a lot of steps to completing the backpack, but as cute as it turned out, I believe that it was worth doing. My great grandson loves it!! |
Projects You May Like
Meet the Author:
Ruth Vangrowski

Ruth works for Great Notions. Has been sewing for over 50 years and embroidering for more than 30 years.
Feedback
Characters Remaining
Please Login to Submit a Feedback
Invalid Characters, Please enter a valid Comment
Please enter a valid Comment
Reviewed On
Link is Broken, Please check the URL