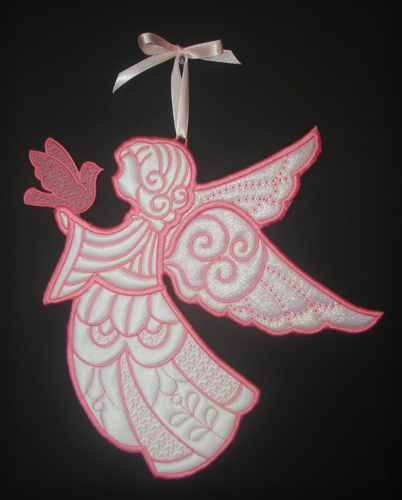
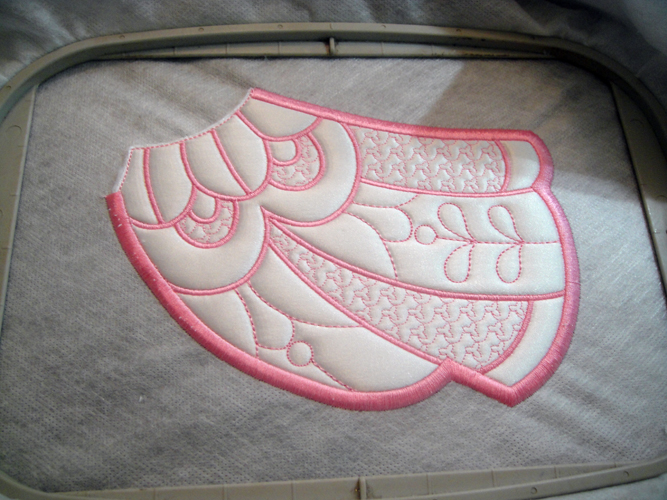
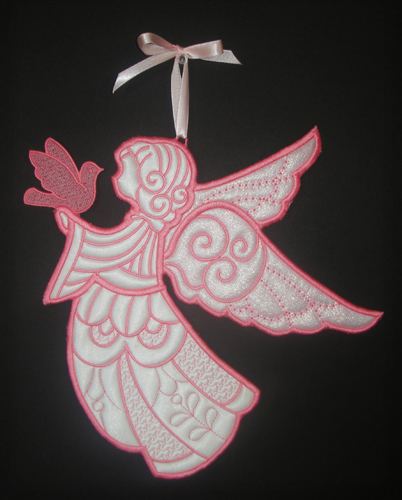
There are four embroidery files in this project, be sure to stitch them in their natural order PAWH01, PAWH02, PAWH03 and PAWH04, as this is necessary to attach the separate parts together at the correct time.
Step 1:
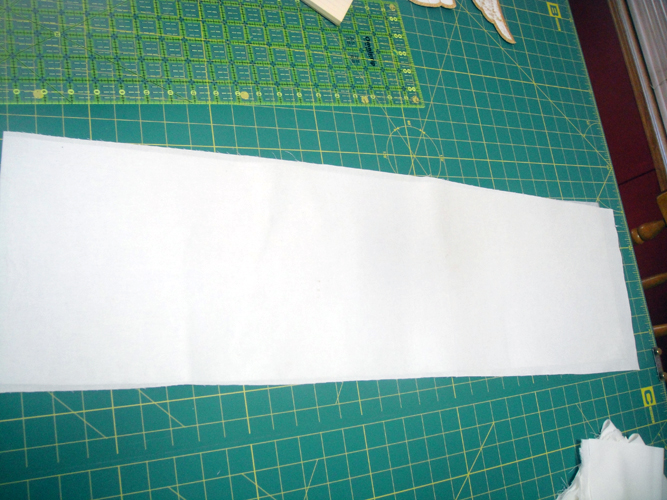
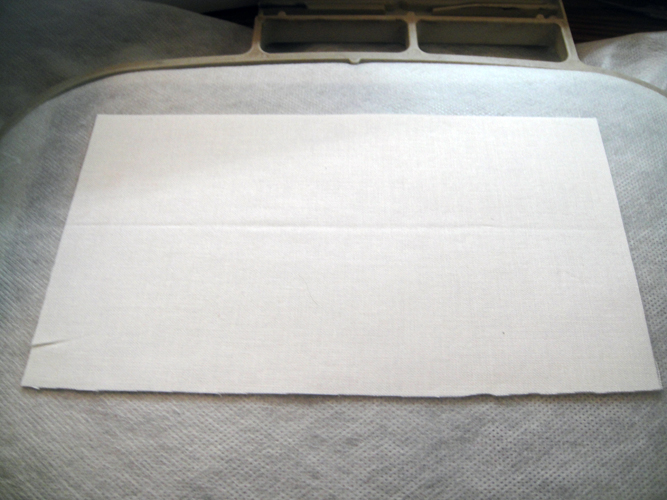
Before you begin cutting your fabrics following the manufacturer’s instruction fuse together a 30” x 9” piece of the Pellon Craft Fuse 808 and the white cotton back fabric. It does take a lot of steam and some time to fuse the fabrics to the stabilizer so be sure to read the manufacturer’s instructions.
(Click Image to Enlarge)
Step 2:
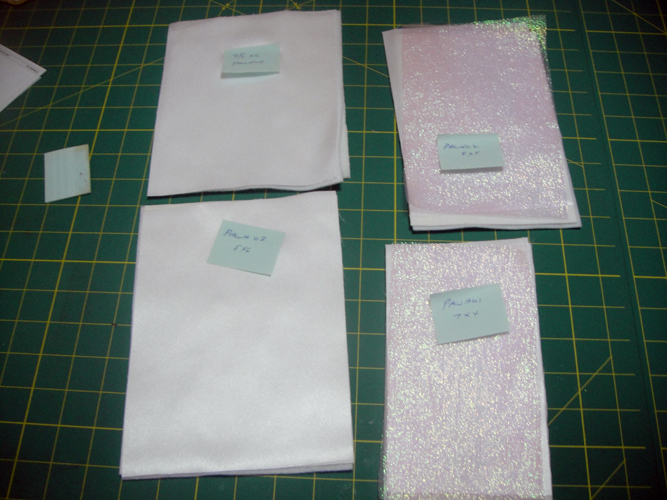
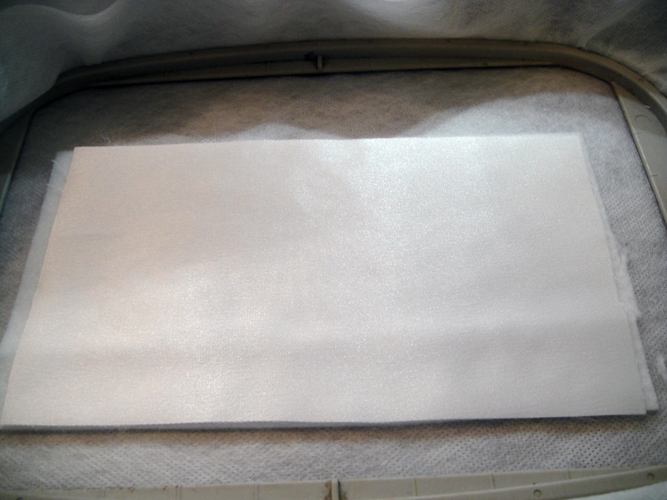
Cut from the fabrics and label the stacks of fabric as follows:
PAWH01: 7” x 4” of satin; the fused back fabric; the glittered fabric and Thermolam
PAWH02: 8” x 5” of satin; the fused back fabric; the glittered fabric and Thermolam
PAWH03: 8” x 6” of satin; the fused back fabric; Thermolam
PAWH04: 7 ½” x 6” of satin, the fused back fabric; Thermolam
(Click Image to Enlarge)
Step 3:
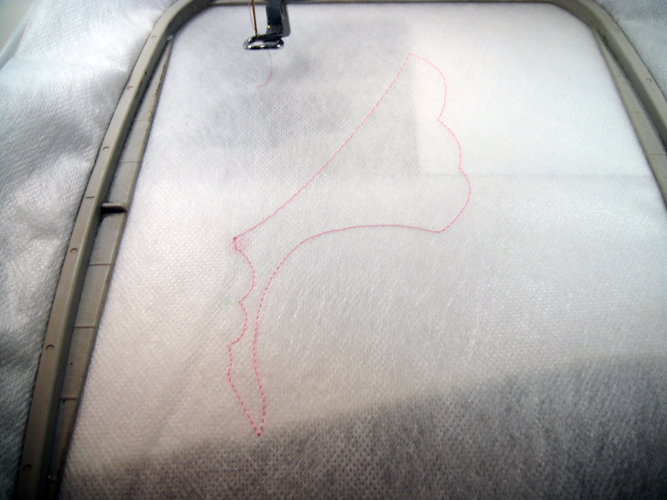
Load embroidery file PAWH01 into your machine; hoop two layers of fibrous water soluble stabilizer in your 5” x 7” hoop; run color stop (CS) 1 as a placement line.
(Click Image to Enlarge)
Step 4:
Remove the hoop from the machine; do not unhoop; turn the hoop over and spray the Pellon side of the fused back fabric with adhesive; center the fabric over the placement line on the back of the hoop.
(Click Image to Enlarge)
Step 5:
Turn the hoop right side up; spray adhesive on the batting and place over the placement lines; spray the wrong side of the satin with adhesive and place over the batting; For embroidery files PAWH01 and PAWH02 spray the glitter fabric with adhesive and place over the satin fabric.
(Click Image to Enlarge)
Step 6:
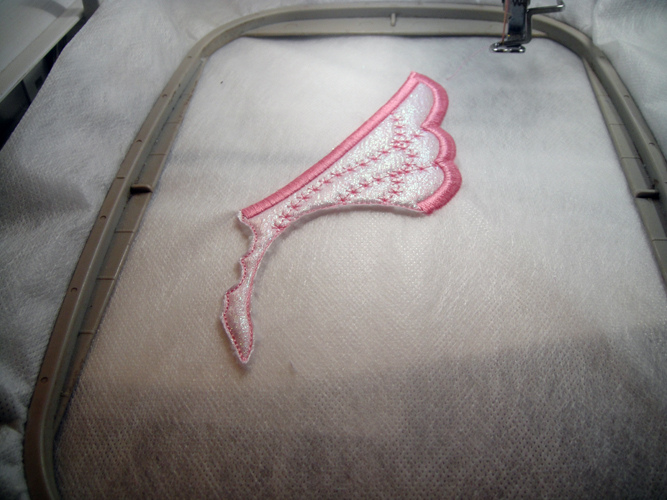
Run CS 2 as a tack down stitch for all fabrics.
(Click Image to Enlarge)
Step 7:
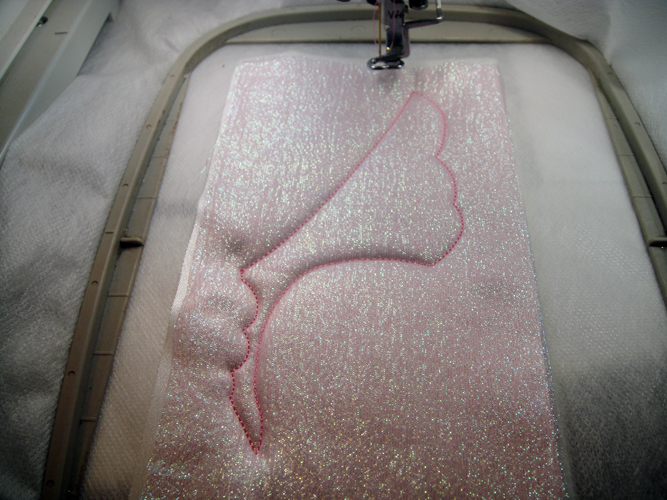
With small sharp in the hoop scissors trim the glitter fabric and satin right up next to the tack down lines; then trim the batting in the same manner.
(Click Image to Enlarge)
Step 8:
Turn the hoop over and trim the fused back fabric in the same way as close as possible to the tack down stitches.
Step 9:
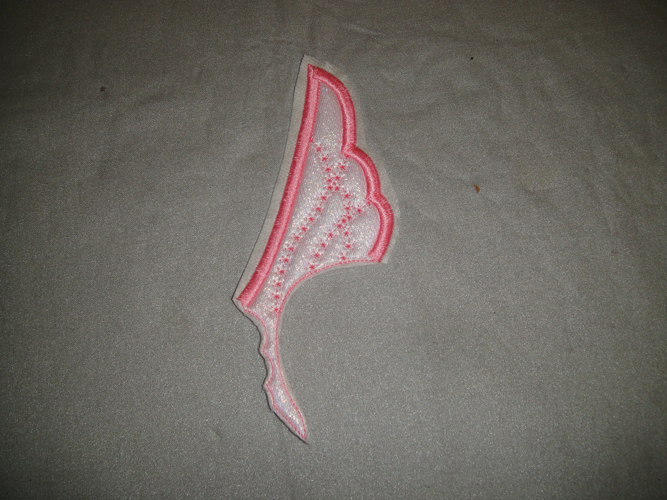
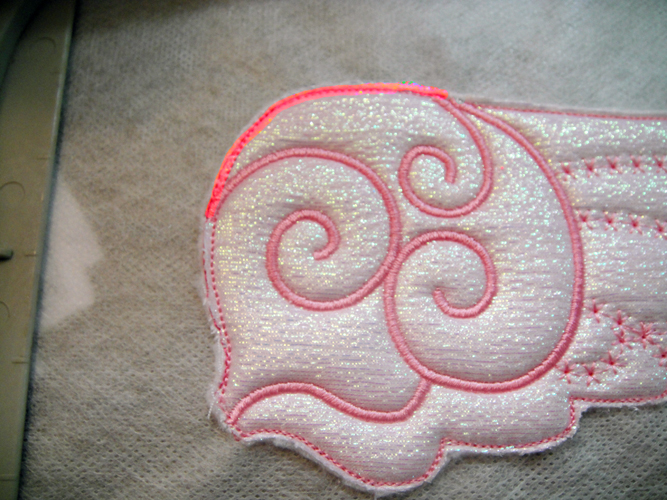
Return the hoop to the machine and run CS 3 to complete the upper wing; run CS 4 to stitch the FSL bird (not pictured) it is on its own color stop so you can change the color of the bird if desired.
(Click Image to Enlarge)
Step 10:
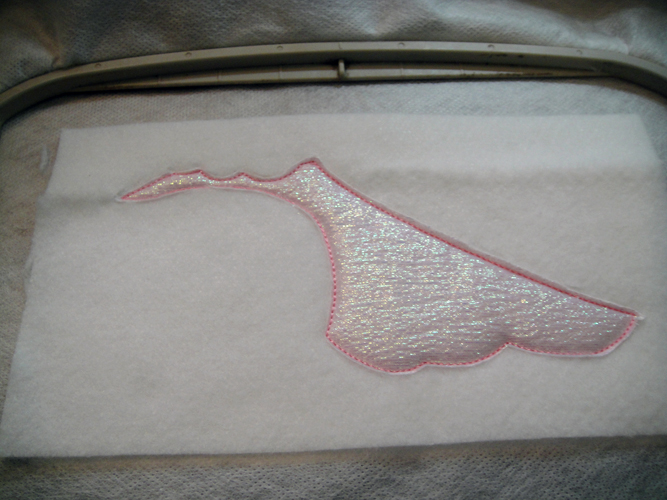
Trim the upper wing about ¼” away from the satin borders; trim as close as possible to the tack down stitches where there is no satin border.
(Click Image to Enlarge)
Step 11:
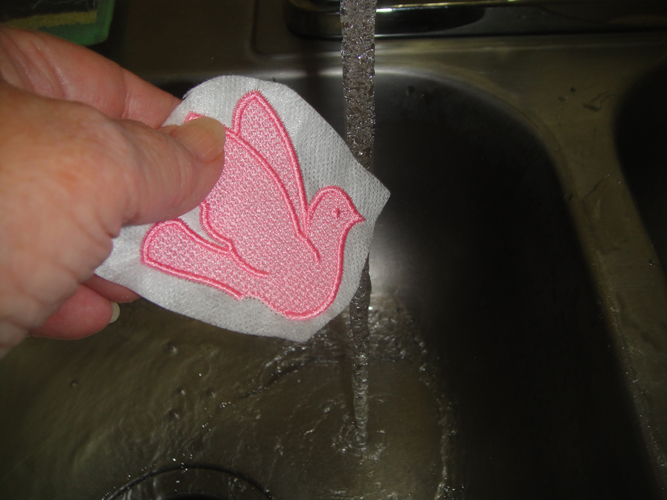
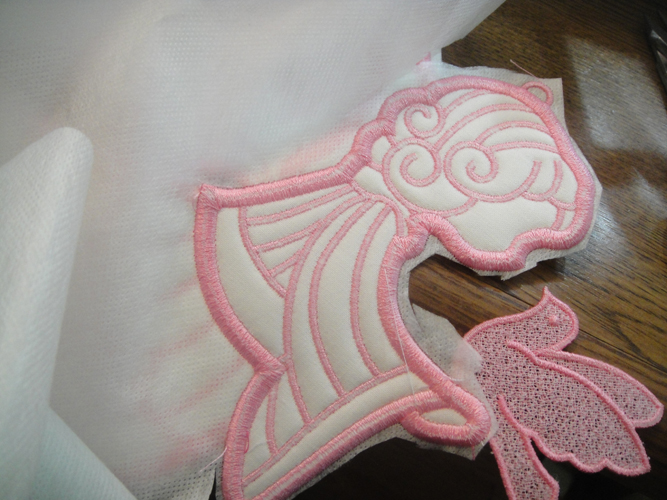
Roughly cut around the FSL bird and hold under hot running water to remove the stabilizer; we want the bird to be stiff so do this quickly leaving a lot of the stabilizer in the bird; place on a smooth cotton dish towel to dry.
(Click Image to Enlarge)
Step 12:
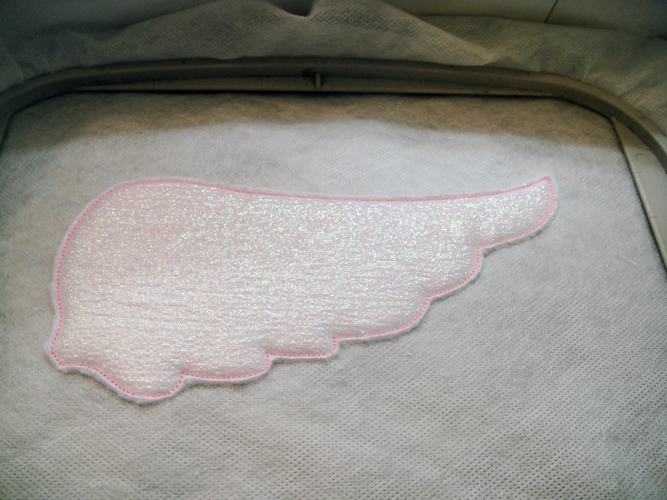
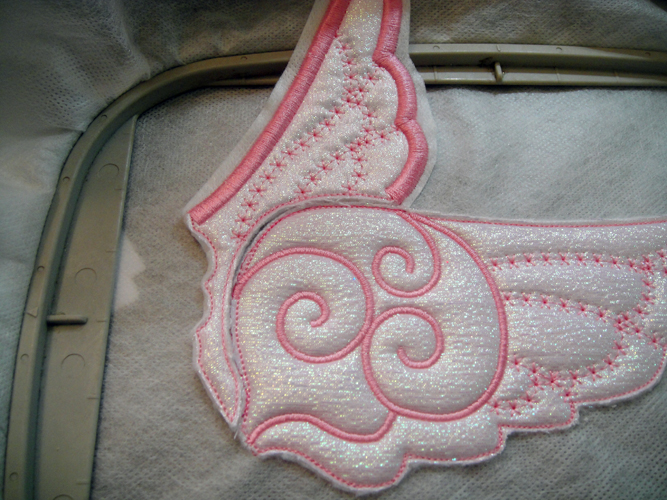
Load design file PAWH02 into your machine; run CS 1 as a placement line; attach the fabrics as in Steps 3 and 4; run CS 2 as a tack down stitch; trim the fabrics on the top and bottom of the hoop as in Steps 7 and 8; run CS 3 for detail stitches on the wing.
(Click Image to Enlarge)
Step 13:
At CS 4 change the thread to something just a shade or two different than the thread you are doing the angel in; run this color stop to give you a placement line for the upper wing; change back to the initial thread color you are using.
(Click Image to Enlarge)
Step 14:
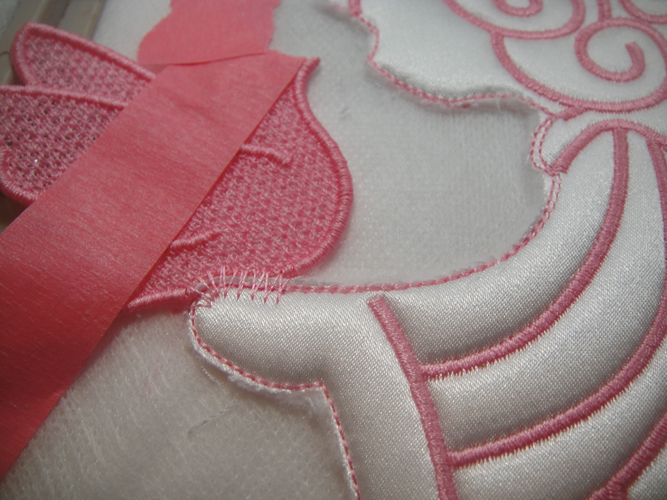
Spray a little adhesive on the upper wing at its base and where it curves and position as close as possible to the lower wing; just butt the upper wing to the lower wing; do not overlap; the placement line is just to show you where the upper wing should start and stop.
(Click Image to Enlarge)
Step 15:
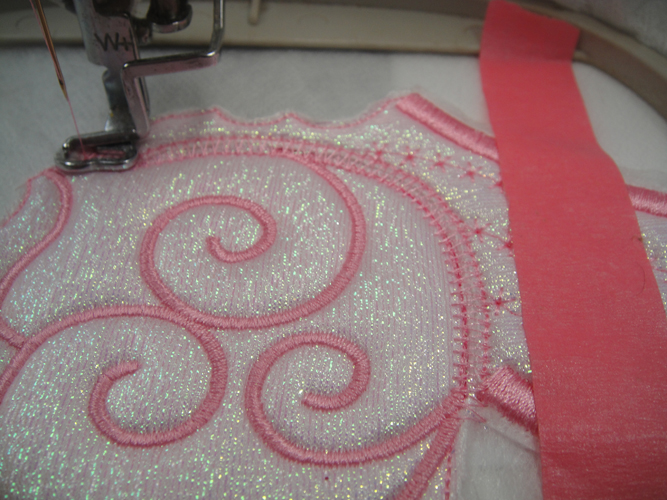
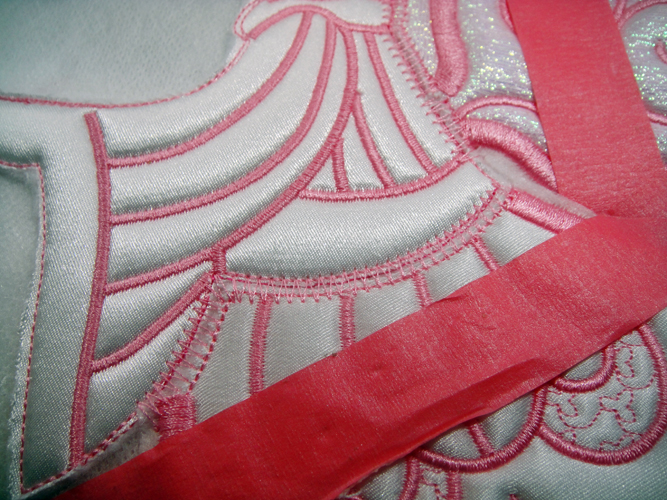
Use embroidery tape to further secure the upper wing then run CS 5 in your normal thread color to zigzag the two wings together. Note: Never put the embroidery tape where it will be sewn over, it does not remove easily if it has been stitched through.
(Click Image to Enlarge)
Step 16:
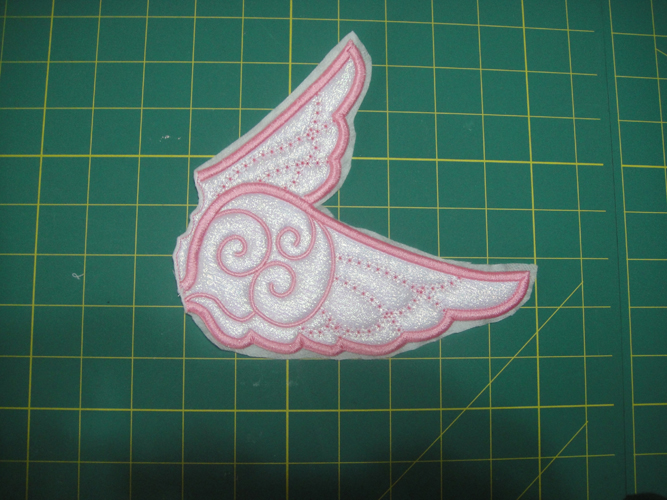
Run CS 5 to complete the satin border of the lower wing; remove the tape and remove the wing from the hoop; trim around the wing about ¼” from the satin stitches and as close as possible to the tack down stitches in the areas where there are no satin stitches; set aside for now.
(Click Image to Enlarge)
Step 17:
Load design PAWH03 into your machine; run CS 1 as a placement line; attach the fabrics as in Steps 3 and 4; run CS 2 as a tack down stitch; trim the fabrics on the top and bottom of the hoop as in Steps 7 and 8; run CS 3 for to complete the skirt; trim the skirt as in Step 10.
(Click Image to Enlarge)
Step 18:
Load design PAWH04 into your machine; run CS 1 as a placement line; attach the fabrics as in Steps 3 and 4; run CS 2 as a tack down stitch; trim the fabrics on the top and bottom of the hoop as in Steps 7 and 8.
(Click Image to Enlarge)
Step 19:
Run CS 4 in that slight different colored thread to mark a placement guide for attaching the wings, the skirt and the bird. Change back to your normal thread color.
(Click Image to Enlarge)
Step 20:
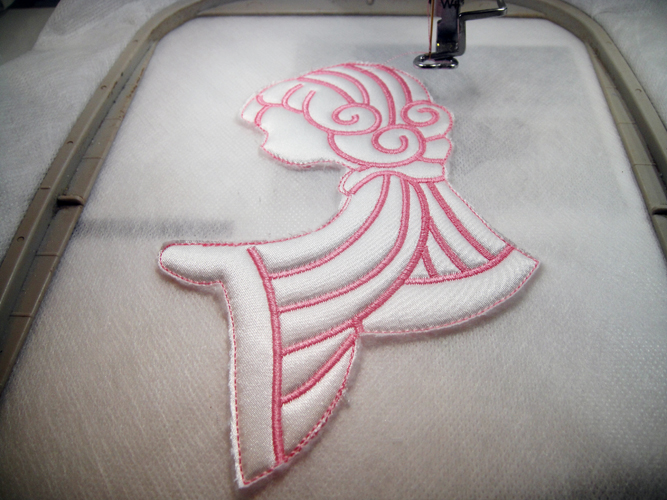
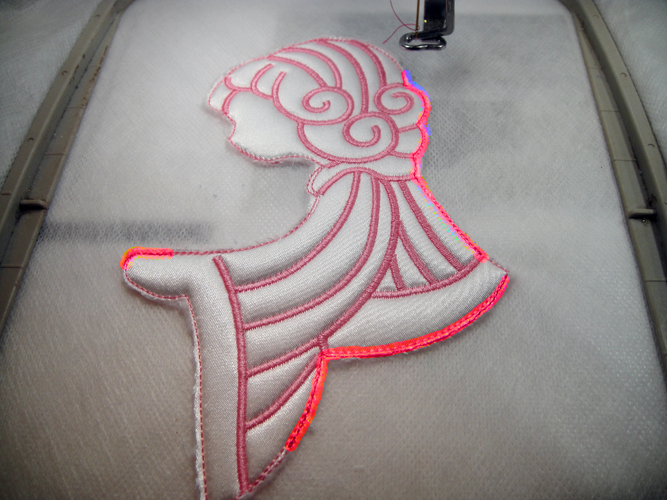
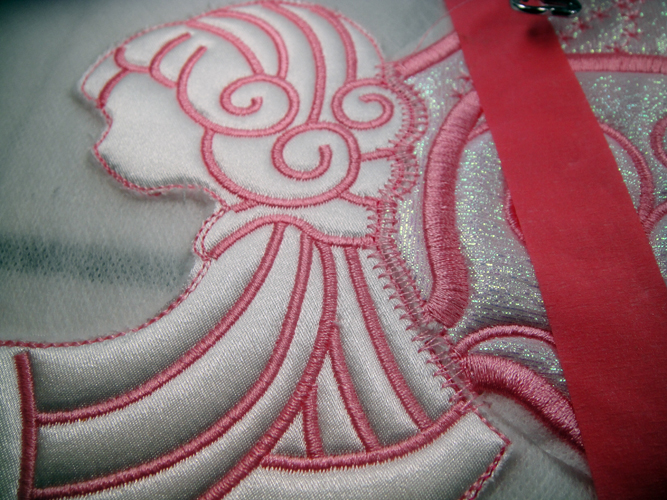
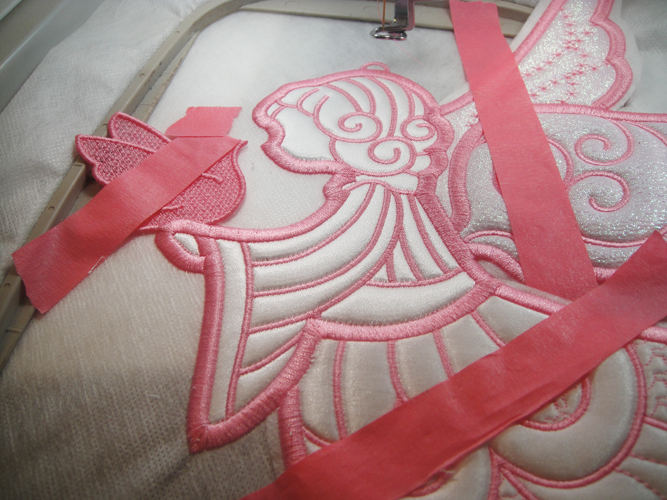
Spray adhesive along the un-bordered edge of the wings and butt up to the head and body using the placement guides to ensure correct alignment; use embroidery tape to further secure the wings; run CS 5 to zigzag the wings to the body.
(Click Image to Enlarge)
Step 21:
Spray adhesive along the top edge of the skirt; butt up the skirt to the lower edge of the bodice; secure in place with embroidery tape and run CS 6 to zigzag the skirt to the body.
(Click Image to Enlarge)
Step 22:
Spray adhesive on the FSL Bird; position the curved lower part of the bird around the placement guide on the hand; secure with embroidery tape (be sure to not put embroidery tape where the final satin border will go around the nose on the face); run CS 7 to zigzag the bird to the hand.
(Click Image to Enlarge)
Step 23:
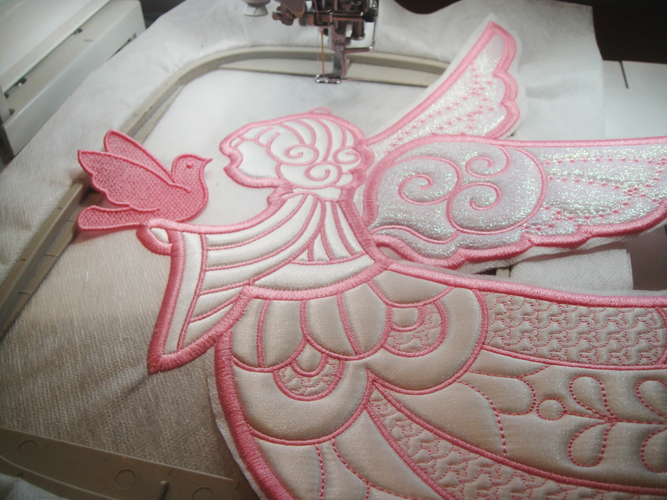
Leaving the embroidery tape in place run CS 8 to border the head and bodice permanently attaching the wings, skirt and bird.
(Click Image to Enlarge)
Step 24:
Remove all the tape and your angel should look like this.
(Click Image to Enlarge)
Step 25:
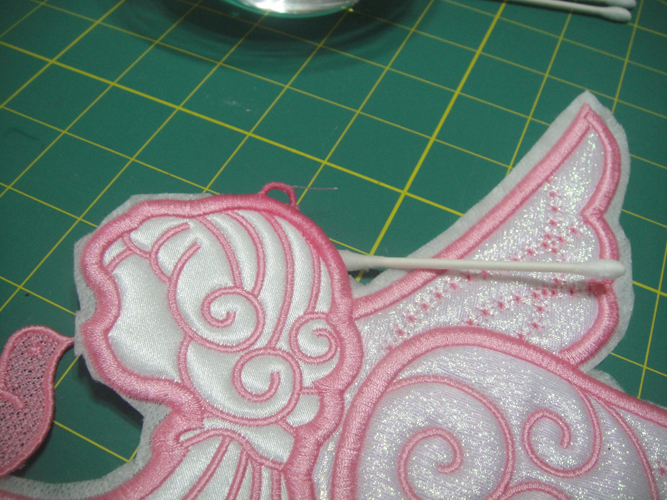
Trim the water soluble stabilizer around the head and the loop on the head as well as on the back of the body.
(Click Image to Enlarge)
Step 26:
Rub cotton swabs or a small sponge dipped in a bowl of hot water to remove the stabilizer from all of the edges of the angel. Take care to not carry too much water to the project as you do not want to get the satin wet.
(Click Image to Enlarge)
Step 27:
After the loop at the top of the head has dried thoroughly cut a 21” length of ¼” ribbon and feed through the loop; tie a bow at the desired height (2” from the top of the head). Congratulations your Precious Angel is complete!
Award winning Digitizer, Embroidery Educator, Author and a Consultant to the Industry, Pat Williams has 30 years of experience in the embroidery industry. Pat has won multiple awards for her digitizing expertise including the 2007 Impressions Awards Grand Championship, Best of Show as well as the 1st and 2nd Place Awards. Pat’s love of digitizing has afforded her the opportunity to write numerous articles for Impressions magazine in the United States and Images Magazine in Europe. In 2001 Pat was named “Embroidery Educator of the Year.” For many years Pat taught digitizing seminars at the ISS Shows in Long Beach, CA and for Compucon software. She now resides in Tucson, AZ.