{{superHeaderAds.title}}
Live Chat
Embroidery Designs
Welcome, Embroiderer
Login
Christmas Napkins
{{mainImageAlt || (productInfo._source && productInfo._source.name) || ''}}

Christmas Napkins Embroidery Project

By   Ruth Vangrowski   on   October 13, 2016

PROJECT DETAILS

SKILL LEVEL
Beginner
TIME REQUIRED
00:45
FINISHED SIZE
20 x 20 inches
Description

Embroidered and trimmed Christmas napkins for your Christmas Day Dinner.

Project Preview Video

Materials
  • Tear away backing (2) per napkin
  • 1 package of napkins by Aunt Martha, they are pre-finished 20" x 20". Four napkins come in one package. Find them at most crafts and hobby shops.
  • 1/2" wide bias tape, you will need approximately 90" for each napkin.
  • You can use purchased tape or trim of your choice.
  • Sewing thread to match napkins and trim
  • Embroidery thread as listed in color chart by Robinson-Anton rayon
  • Designs by Great Notions
  • Merry Christmas
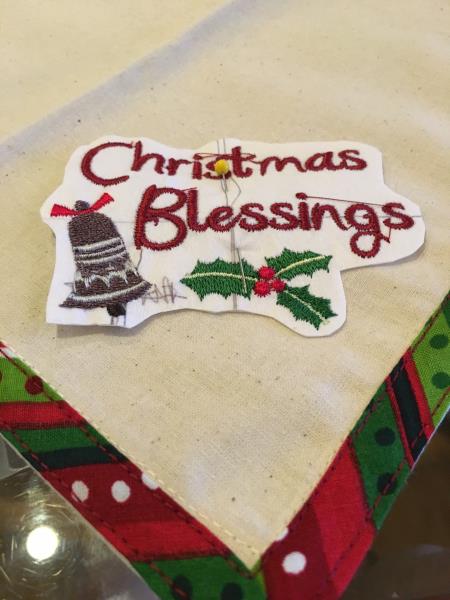
  • Christmas Blessings

  • Designs used in this project

    Final Product: What You Will Create

    Preface:
    These are so easy to do, I am sure that you will want to make up a set for every holiday. The bias tape I used was left over from the Christmas Door Hanger. I love the premade napkins, you can purchase them in different colors. If you do not want to make the bias tape, purchase single fold, for you are going to stitch it flat to the napkin. It takes about 30 to 45 minutes to finish each napkins.


    Step 1:
    Gather all supplies needed. Read through the instructions.


    Step 2:
    Print templates of both designs.

    (Click Image to Enlarge)


    Step 3:
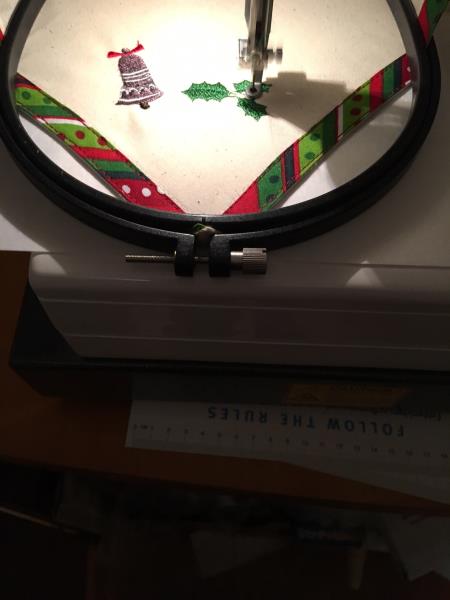
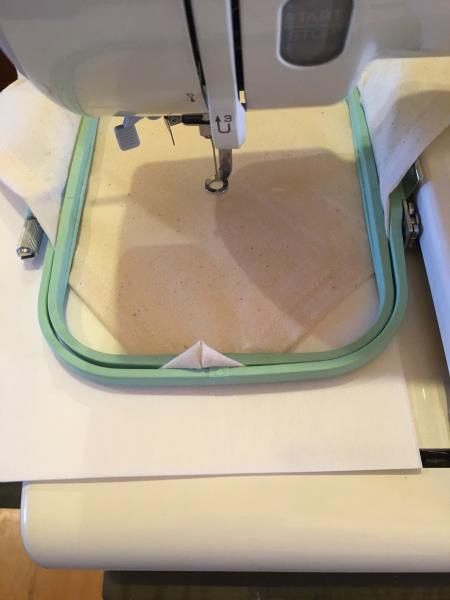
    Hoop napkin ON POINT, trying to hoop 1/2" from hem line.

    (Click Image to Enlarge)


    Step 4:
    Float tear away backing under the hooped napkin, after you hoop only the napkin, place hoop on machine, slip 2 sheets of tear away backing under the hoop.

    (Click Image to Enlarge)


    Step 5:
    Run design on each napkin, embroider 2 napkins with same design before stitching second design to save time.


    Step 6:
    Carefully tear away the backing.


    Step 7:
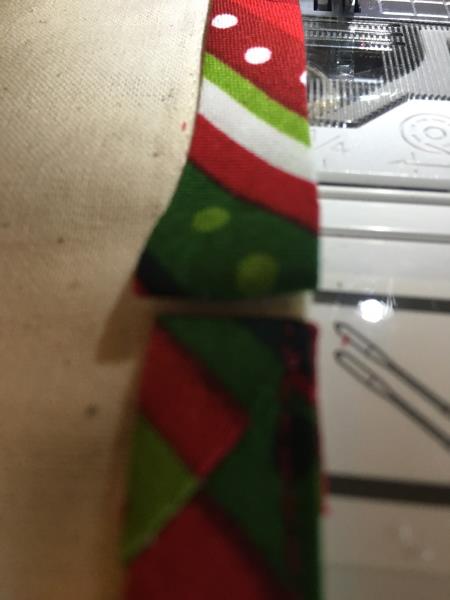
    Using single fold bias tape or other flat trim, stitch onto hem line of napkins. Stitch the outside edge first by folding under 1/4" and placing over hem line of napkin. Never start at a corner. For mitered corners, stop stitching 1/4"from corner, backstitch a couple of stitches, remove napkin from under the needle. Rotate napkin a quarter turn and fold binding straight up away from corner forming a 45 degree angle fold. Bring binding straight down in line with next edge to be sewn, leaving top fold even with edge of previously sewn side. When you reach the starting point cut off extra bias or trim allowing 1/4" to turn under. Butt the two ends to gather and finish stitching.

    (Click Image to Enlarge)


    Step 8:
    Stitch the inside edge of the trim.

    Set your table for your Christmas dinner and enjoy the compliments. I know that I will be making sets for other holidays.
    Meet the Author: Ruth Vangrowski
    Ruth Vangrowski
    Ruth works for Great Notions. Has been sewing for over 50 years and embroidering for more than 30 years.
    More From This Author
    Link is Broken, Please check the URL
    Exclusive Embroidery Offers!
    Copyright © {{ currentDate | date:'yyyy'}} - EmbroideryDesigns.com
    GET 50% OFF! ×