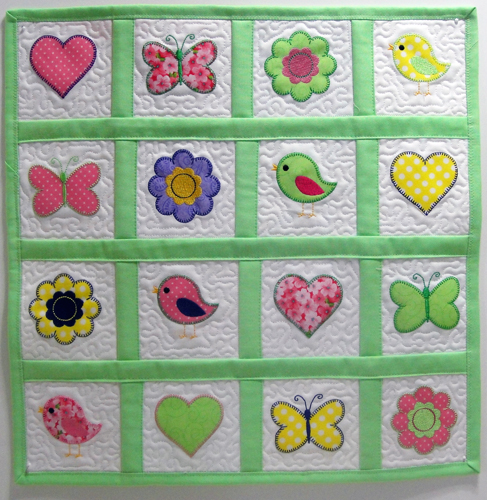
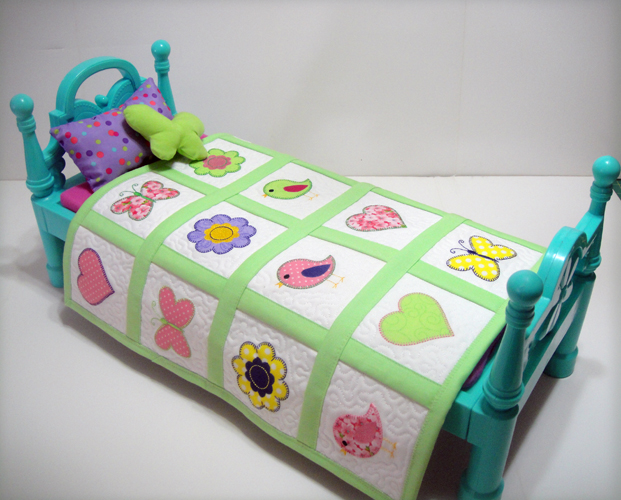
You will have all the versatility you need to make adorable doll bed quilts with these ITH quilted mini blocks. Make it all birds, hearts, flowers or butterflies or add the plain stippled block in between applique blocks.
A quilted in the hoop project for 4” hoops. You will have maximum flexibility with these little blocks as you can mix and match them to your heart’s content. You may also make it any size your desire by just adding more blocks. The little appliques do need to be precut either by hand or electronic cutting machine as they are edged with an E-stitch or blanket stitch border. PDF files are available for those cutting by hand; svg and fcm files are downloadable for those cutting with electronic cutters. The appliques in the sample were cut with a Scan N Cut2.
Step 1:
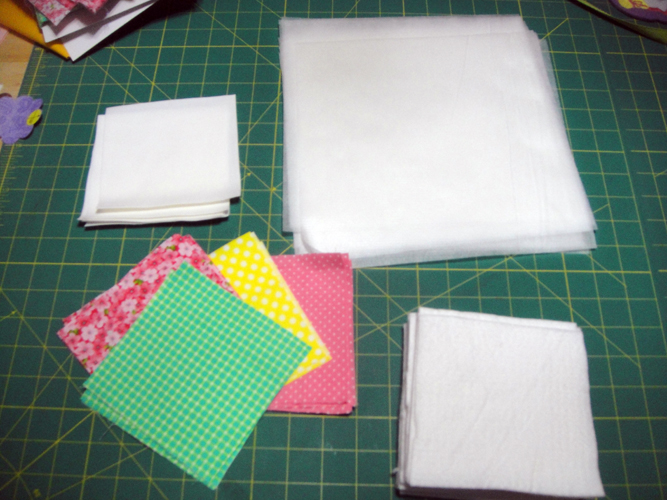
For the 16” x 16” doll bed quilt you will need the 5” squares as listed in the materials list and 16 rectangles of stabilizer to fit your embroidery hoop.
(Click Image to Enlarge)
Step 2:
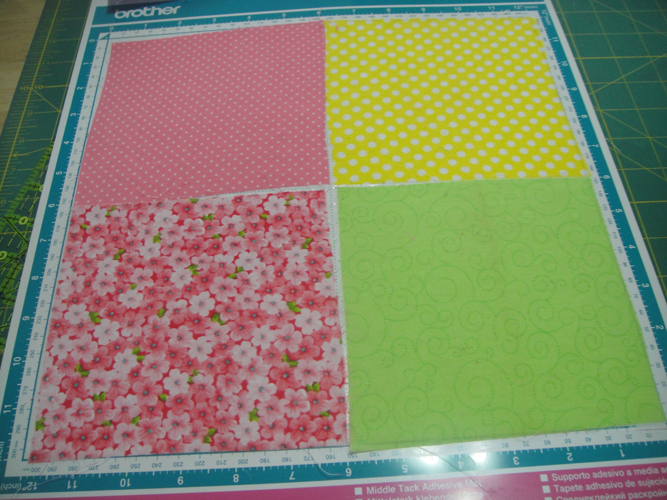
Prepare the 4 6” squares of fabric from which you will cut your appliques by pressing 4 times with Magic Sizing and following the manufacturer’s instructions iron Heat N Bond Lite® to the back of each of the squares. If cutting with the Scan N Cut: remove the paper from the Hear N Bond Lite® from the applique fabrics and place one fabric in each square of the mat.
(Click Image to Enlarge)
Step 3:
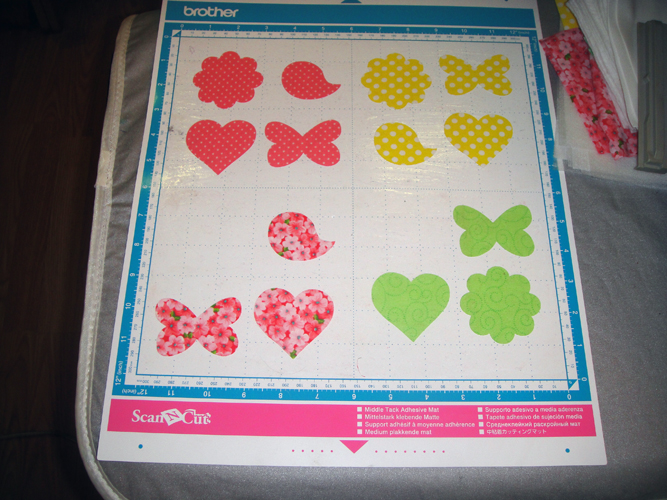
Your machine settings may vary, but I set my blade depth at 4, cutting speed 4 and cut pressure at 4 to cut these appliques. I loaded the files into the Scan N Cut 4 times and cut a butterfly, a flower, a bird and a heart from each fabric all at one pass through the machine, note a couple of pieces had already been removed from the board before this picture was taken.
(Click Image to Enlarge)
Step 4:
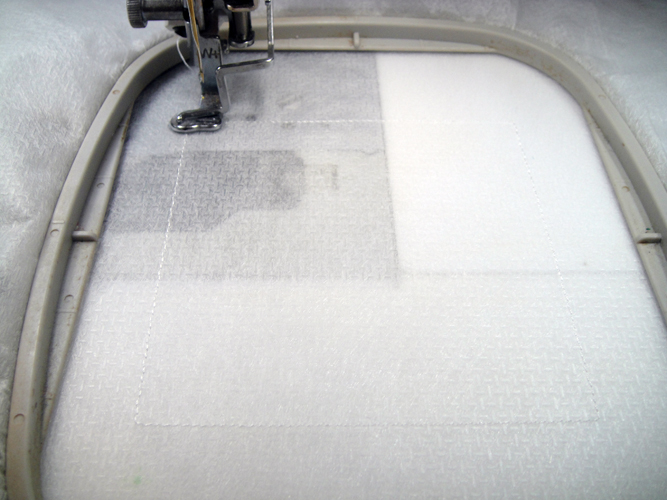
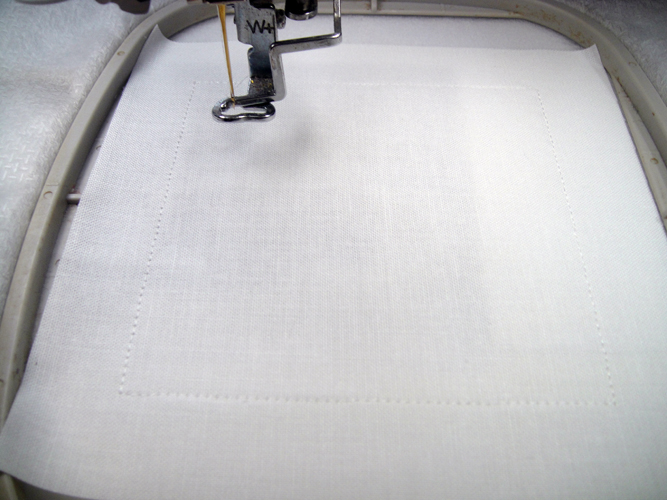
Hoop a sheet of stabilizer in your hoop and run the first color stop (CS) in white thread as a placement line.
(Click Image to Enlarge)
Step 5:
Spray adhesive on a white square of fabric and position over the placement line so that the fabric exceeds the placement line by at least ½” on all sides; tack down the fabric with CS2 in water soluble thread in the top of your machine. You can also retain the water soluble thread in the machine to run CS 3 which will be the placement line for the applique. Note if you do not wish to use water soluble thread for the applique placement line use a color thread that matches your fabric.
(Click Image to Enlarge)
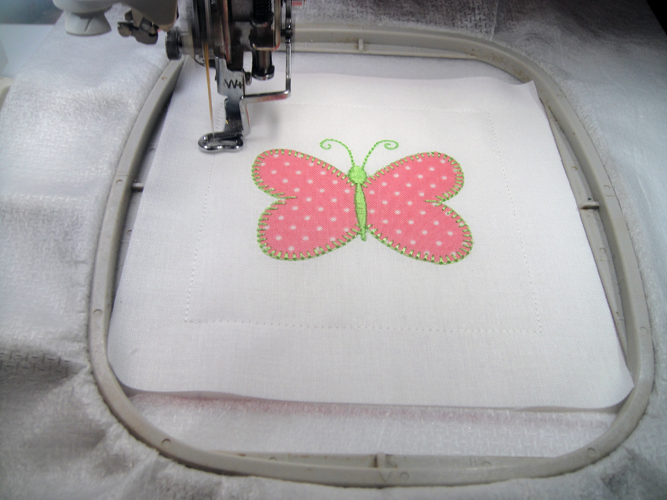
Step 6:
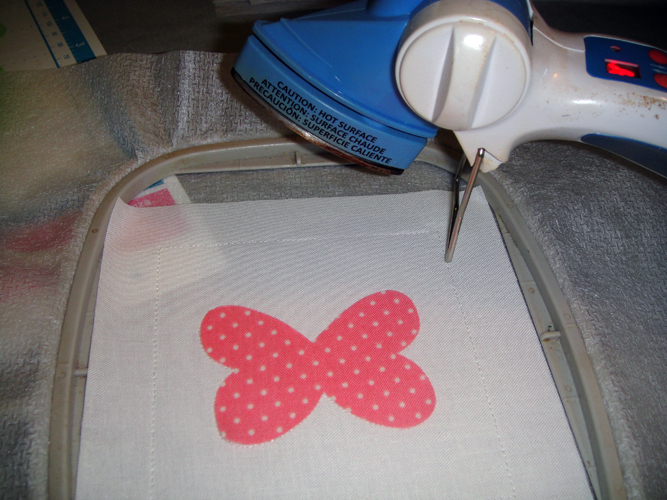
Remove the hoop from the machine; do not unhoop; position your applique and press with an applique iron.
(Click Image to Enlarge)
Step 7:
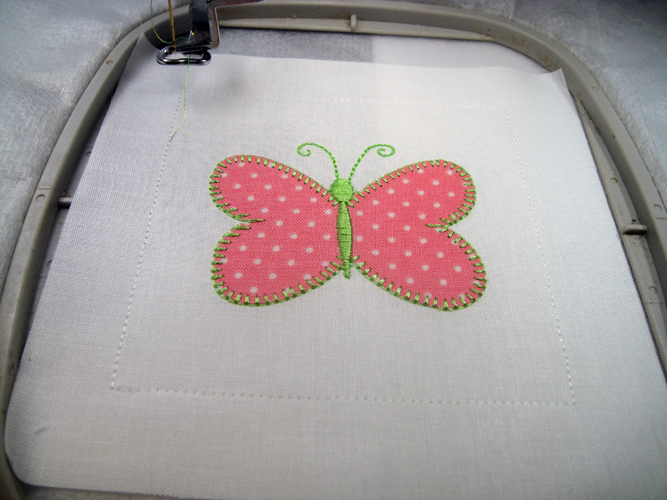
Follow the color chart to border and complete the detail on each applique; in this picture lime green thread was used for both the border (CS 4) and the body (CS 5) to complete the butterfly, but separate colors may be used depending on your fabrics.
(Click Image to Enlarge)
Step 8:
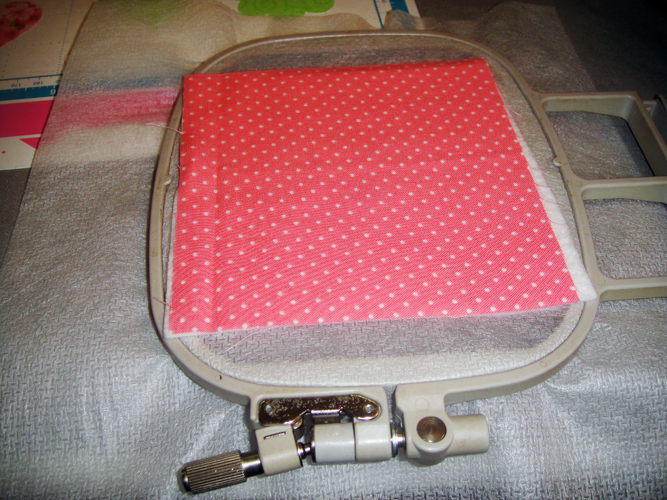
Before you sew the last two colors stops remove the hoop from the machine; do not unhoop; turn the hoop over; spray adhesive on the batting and place on the back side of the hoop aligning with the front fabric; spray adhesive on the block back fabric and place over the batting.
(Click Image to Enlarge)
Step 9:
Return the hoop to the machine and run the next to last CS in Water soluble thread to tack the block together.
(Click Image to Enlarge)
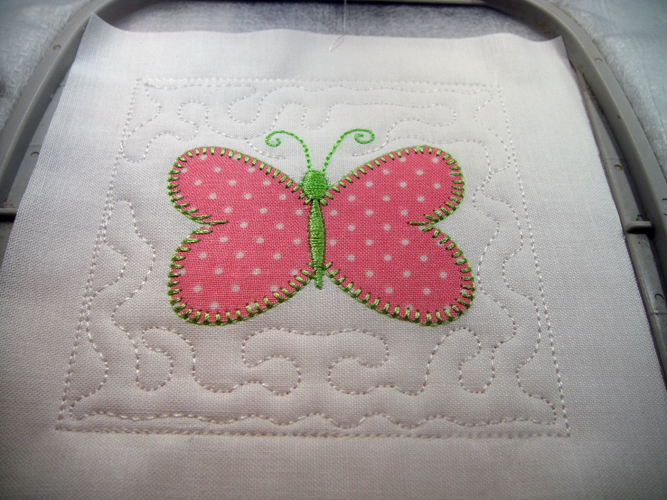
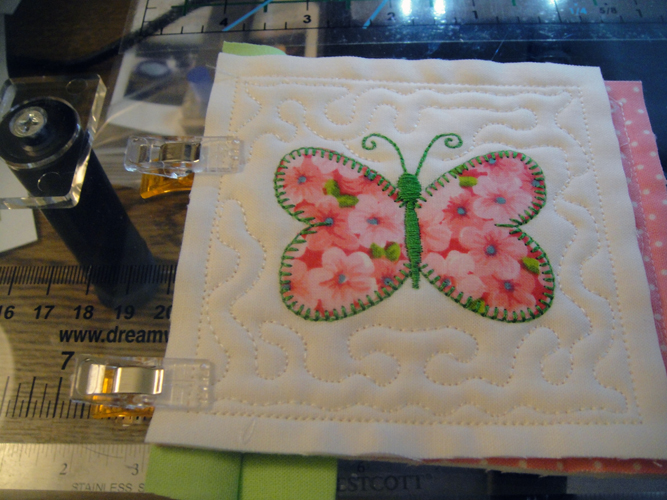
Step 10:
Switch to White thread in the top of the machine, or whatever color you would like the quilting to be stitched, run the final CS to quilt the block.
(Click Image to Enlarge)
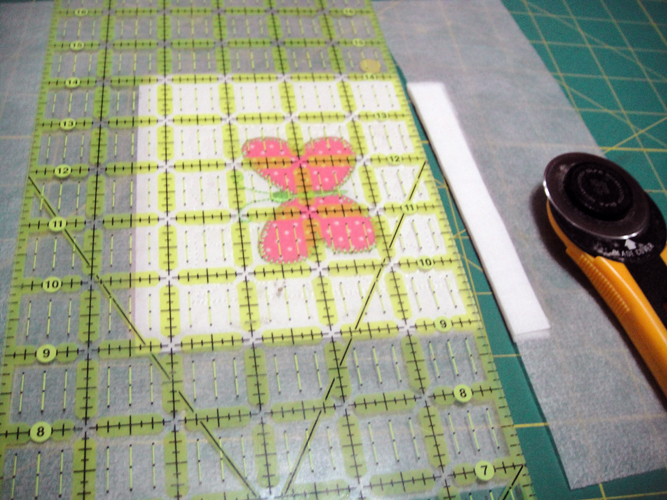
Step 11:
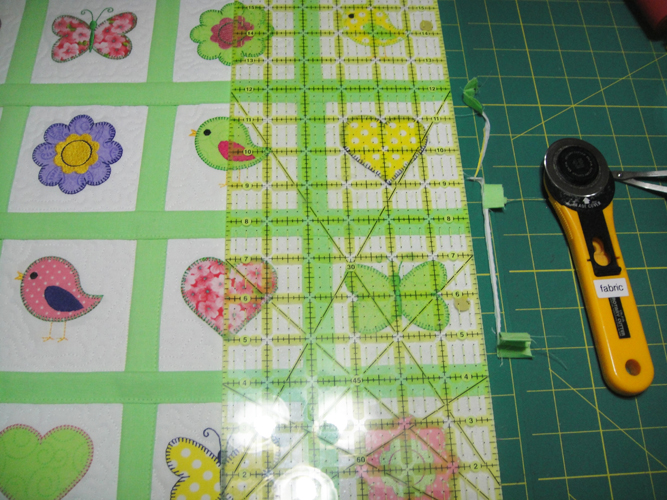
Use the ¼” mark on a see through ruler lying on the water soluble tack down stitches to trim all edges of the quilt block to ¼”.
(Click Image to Enlarge)
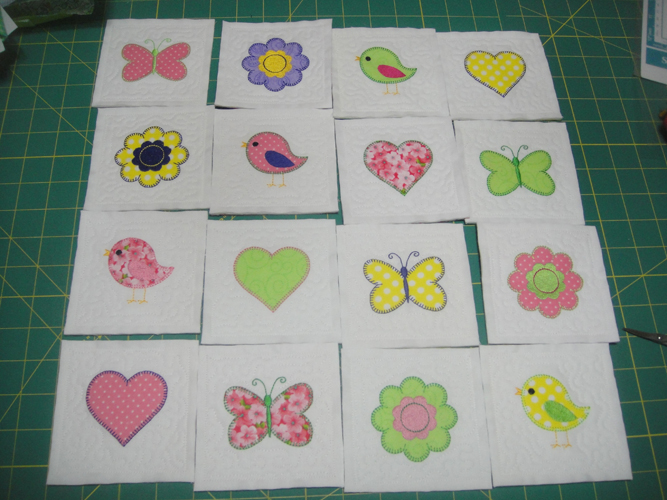
Step 12:
Complete 15 more quilt blocks using the above techniques.
(Click Image to Enlarge)
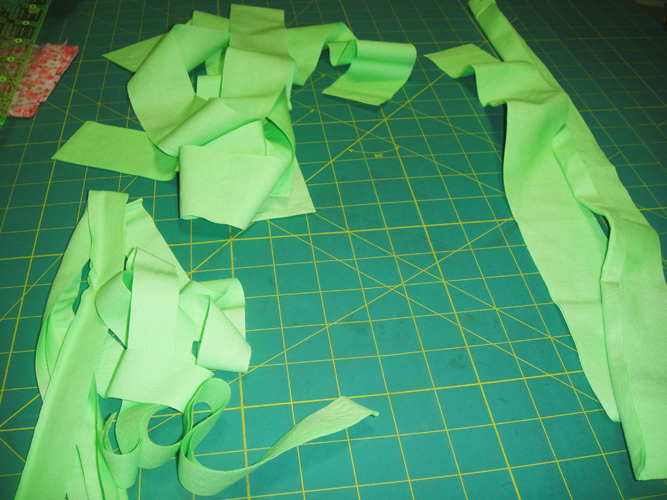
Step 13:
From the ½ yard of lime fabric cut 3 1” strips and 3 2” strips across the width of the fabric for sashing; cut 2 binding strips the width you use for binding; these were cut at 2 ¼” wide.
(Click Image to Enlarge)
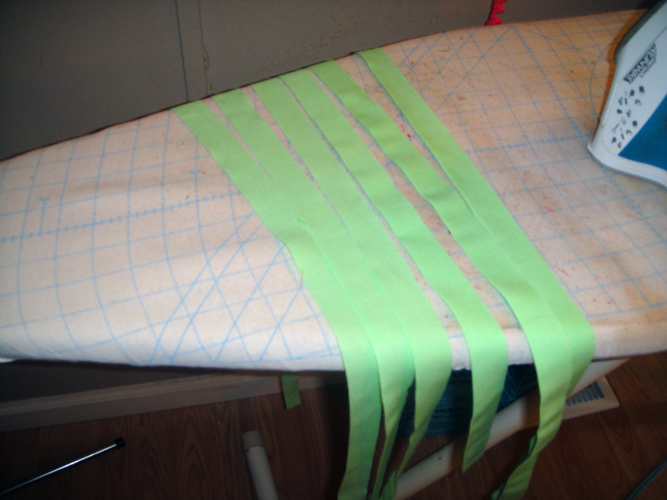
Step 14:
Press the 1” sashing strips with Magic Sizing®; fold the two” strips in half lengthwise and press with Magic Sizing®.
(Click Image to Enlarge)
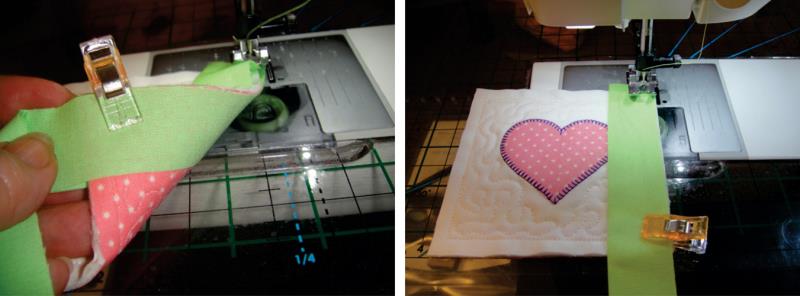
Step 15:
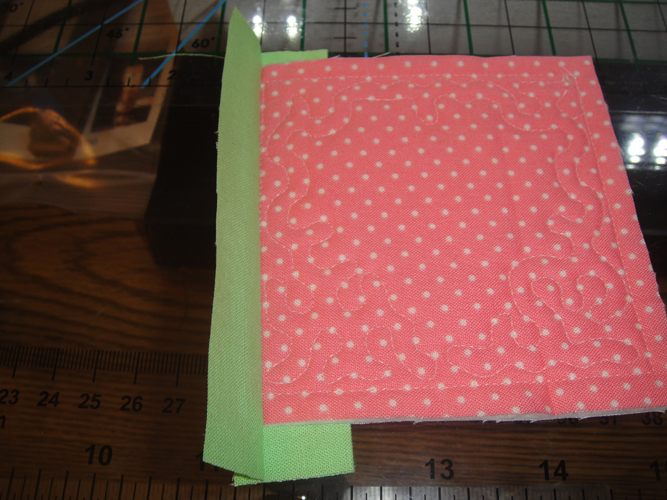
Place the 1” back sashing strip on the back of the block having the sashing extend a little over the top of the block; simultaneously place the folded 2” strip of sashing having the raw edges meeting the right side edge of the block on the face of the block; pin or clip to hold in place.
(Click Image to Enlarge)
Step 16:
With a stitch length of 3mm and an accurate seam allowance of ¼” stitch the two sashing strips to the block with one row of straight stitches. A walking foot, if available, is always suggested for stitching the pre quilted blocks together.
(Click Image to Enlarge)
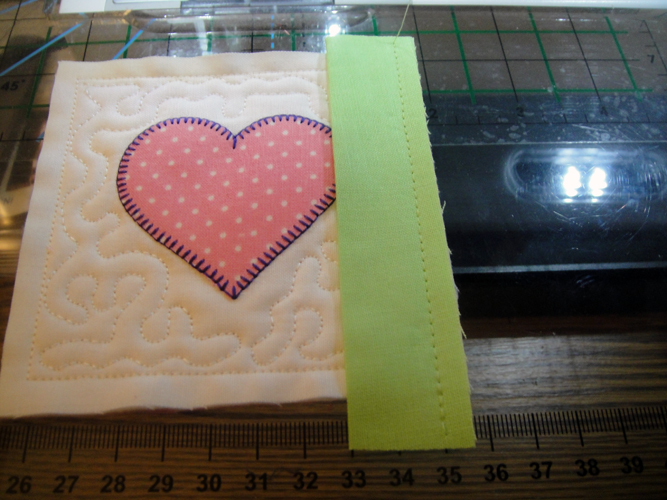
Step 17:
Finger press or press the back sashing from the back side of the quilt block.
(Click Image to Enlarge)
Step 18:
Clip the back sashing strip to the back of the second block; align the top and bottom edges of the two blocks while doing this so that the row of blocks will be straight; turn over and stitch the back sashing to the second block with an accurate 1/4” seam allowance.
(Click Image to Enlarge)
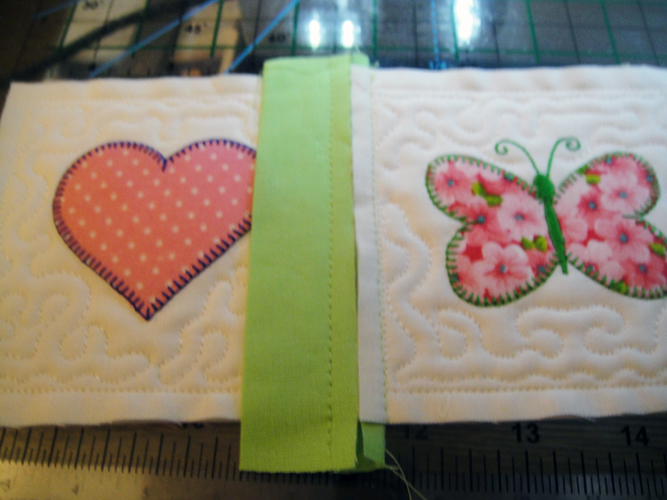
Step 19:
When you open up the two blocks joined by the back sashing the seam allowances should just butt together as shown in this picture without overlaps or gaps in the seam allowances.
(Click Image to Enlarge)
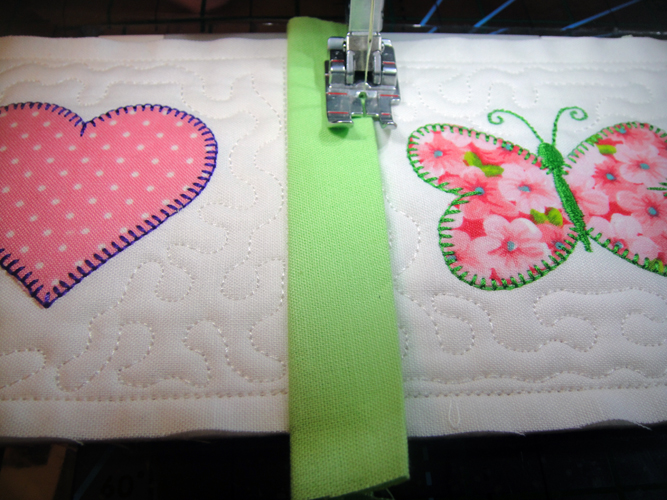
Step 20:
Fold the top sashing over the seam allowance and edge stitch down over the second block.
(Click Image to Enlarge)
Step 21:
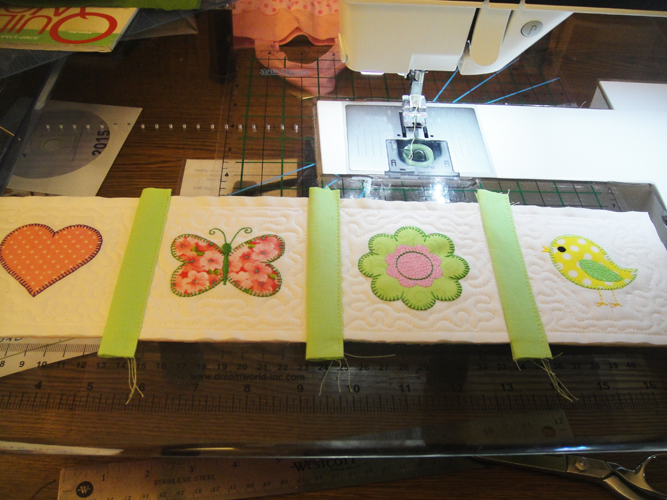
Repeat Steps 15 through 20 to join to more blocks to form a row of 4 blocks.
(Click Image to Enlarge)
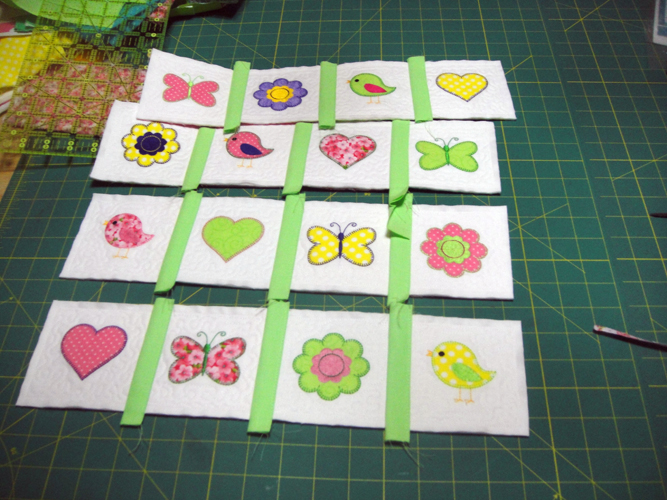
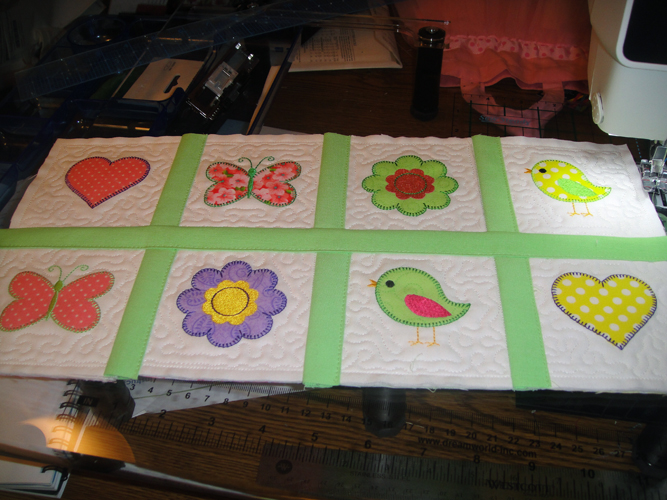
Step 22:
Repeat Steps 15 through 21 to complete 3 more rows of blocks.
(Click Image to Enlarge)
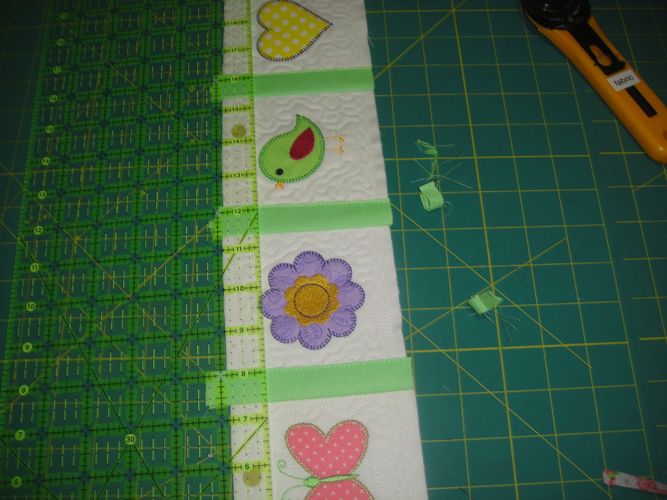
Step 23:
Trim excess sashing from the tops and bottoms of all rows.
(Click Image to Enlarge)
Step 24:
Using the same techniques stitch the top and bottom sashings to the bottom edge of the first row; then stitch the back sashing of the 1st row to the top edge of the second row.
(Click Image to Enlarge)
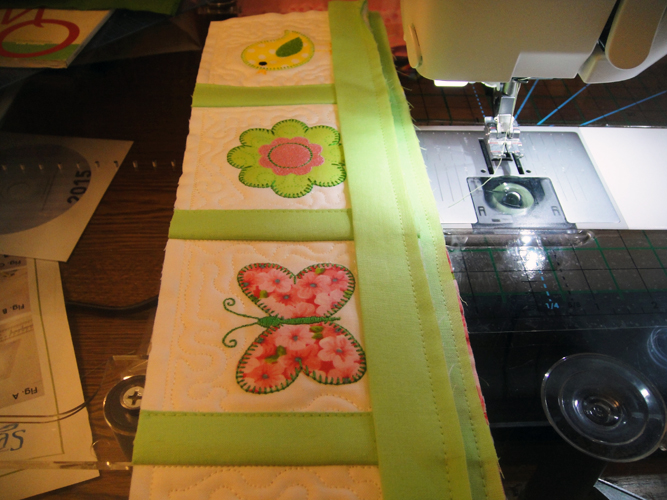
Step 25:
Then cover the seam allowances by edge stitching the top sashing over the top.
(Click Image to Enlarge)
Step 26:
After all the rows are joined by the sashing trim the sashing even with the blocks.
Award winning Digitizer, Embroidery Educator, Author and a Consultant to the Industry, Pat Williams has 30 years of experience in the embroidery industry. Pat has won multiple awards for her digitizing expertise including the 2007 Impressions Awards Grand Championship, Best of Show as well as the 1st and 2nd Place Awards. Pat’s love of digitizing has afforded her the opportunity to write numerous articles for Impressions magazine in the United States and Images Magazine in Europe. In 2001 Pat was named “Embroidery Educator of the Year.” For many years Pat taught digitizing seminars at the ISS Shows in Long Beach, CA and for Compucon software. She now resides in Tucson, AZ.