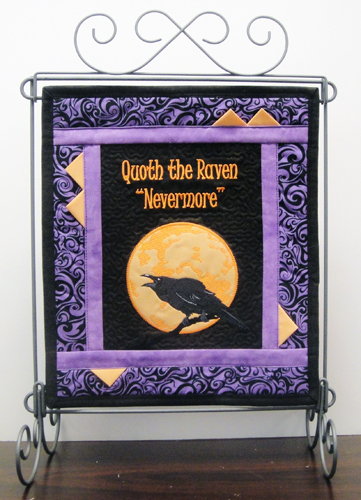
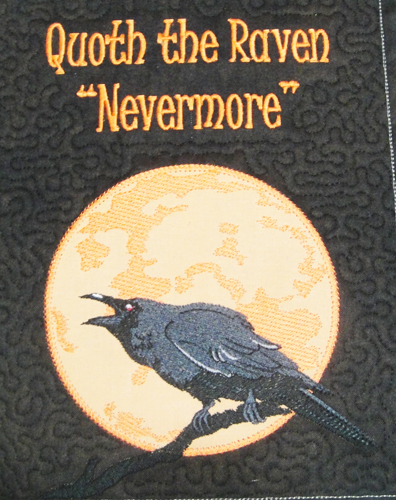
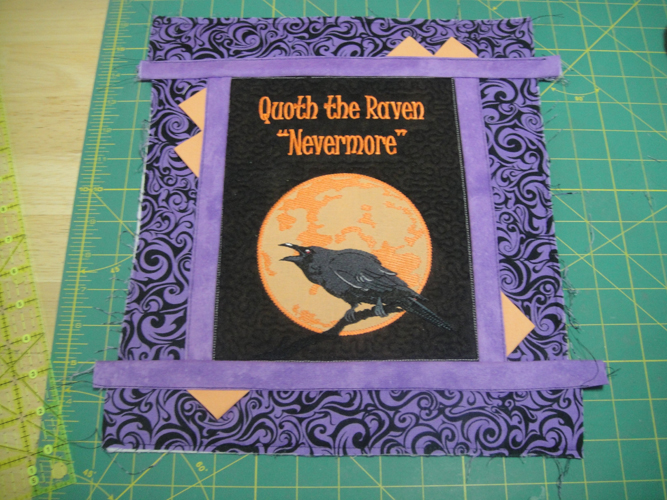
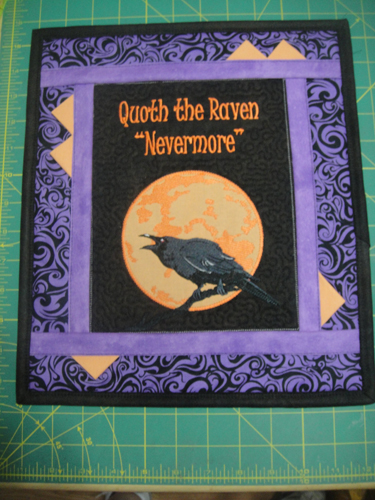
This mini quilt boasts Edgar Allen Poe’s famous line from his poem “The Raven.” A line that strikes a little fear into all of us. The center graphic is appliqued, embroidered and quilted in the hoop. The borders are added with a sewing machine.
Due to the number of stitches in this design a stable 2.5 ounce stabilizer is recommended. If you use a light weight poly mesh stabilizer 2 layers are recommended. The use of water soluble thread is recommended for tacking down the fabrics as the outline will shift approximately 1 mm between the time the first and last outlines sew. If you have use water soluble thread you will be able to quickly remove any block tack down stitches that show.
Step 1:
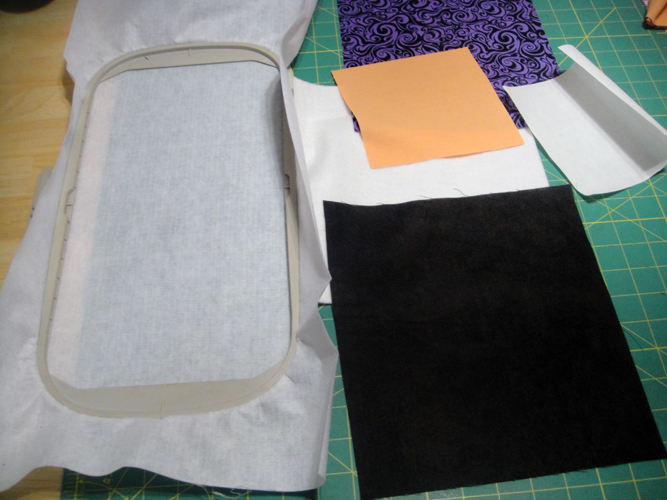
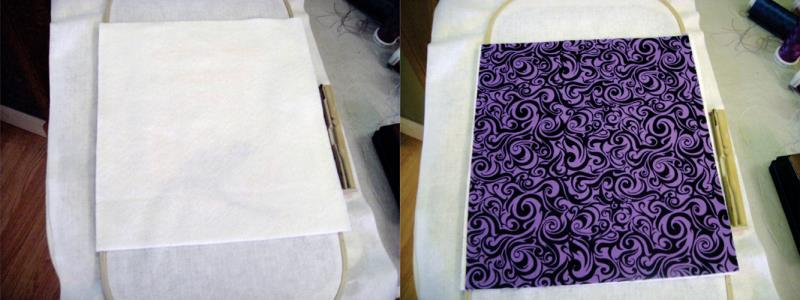
To embroider the middle graphic hoop the cut away stabilizer tautly in your hoop, cut a 9” x 10 rectangle of the Battilizer®, the Dark Brown fabric, and of the print for the block back; also cut a 6” square of the Amber fabric and Heat N Bond Lite®; iron the Amber fabric 4 times with Magic Sizing® and apply the Heat N Bond Lite® to the back following the manufacturer’s instructions.
(Click Image to Enlarge)
Step 2:
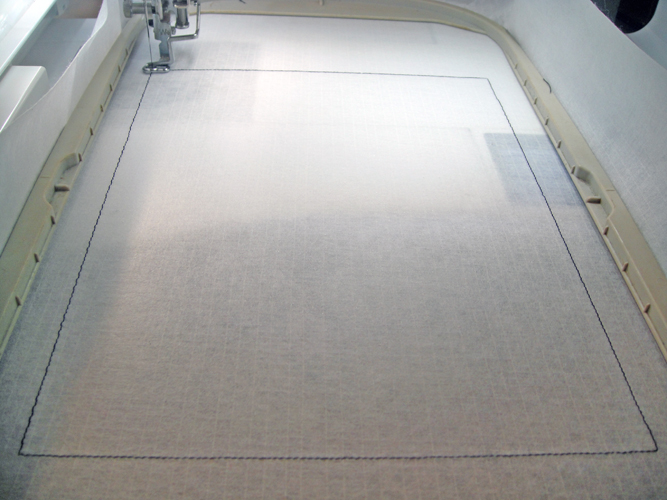
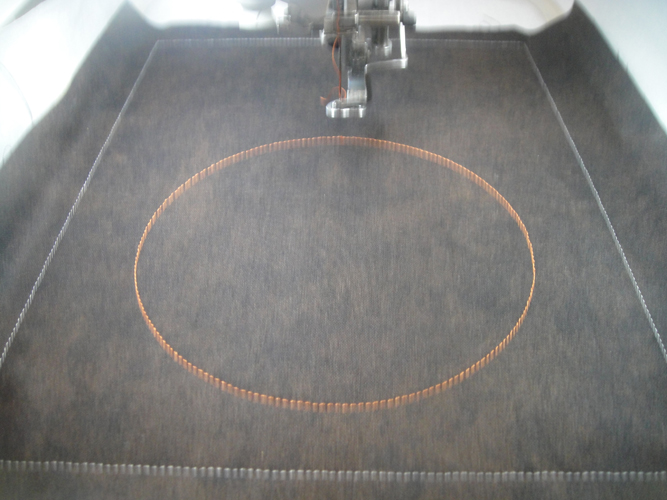
Load the design into your machine, run color stop (CS) 1 in a neutral color as a placement line for the fabrics.
(Click Image to Enlarge)
Step 3:
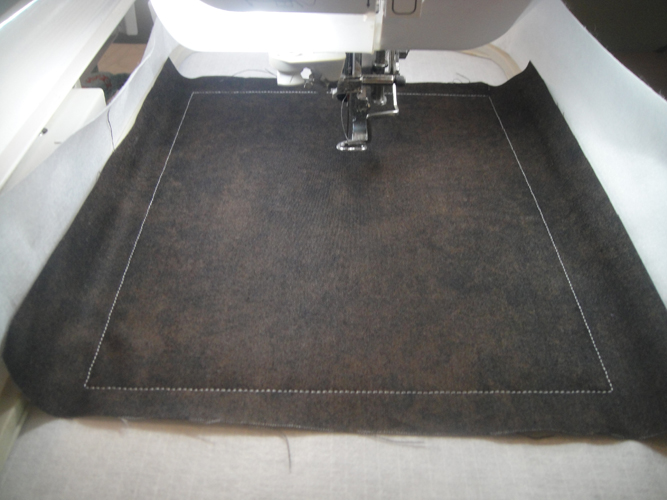
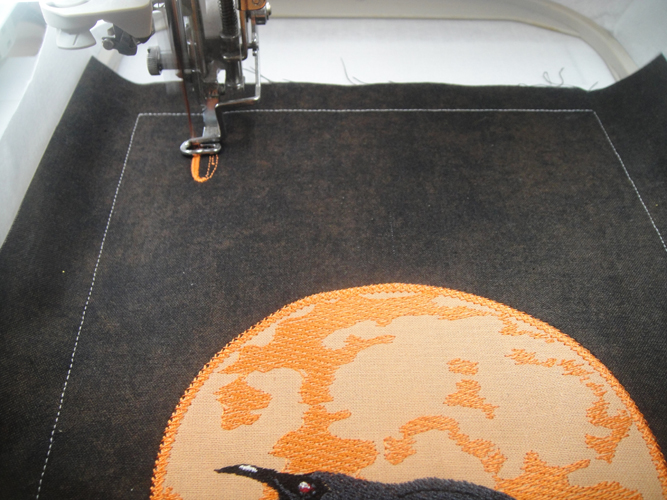
Spray the dark brown fabric with adhesive and position over the placement lines making sure the fabric exceeds the outlines by ½” on all sides; change the top thread only to water soluble thread and stitch CS 2 to tack down the fabric.
(Click Image to Enlarge)
Step 4:
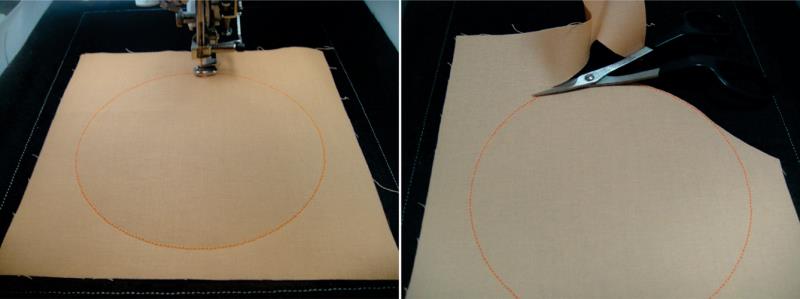
Change the thread to Carrot (1178) and run CS 3 as a placement line for the moon.
(Click Image to Enlarge)
Step 5:
Remove the paper and spray adhesive on the back of the prepared amber applique fabric; place over the placement line; continuing with Carrot thread run CS 4 as a tack down line. Trim the excess fabric right up next to the tack down line.
(Click Image to Enlarge)
Step 6:
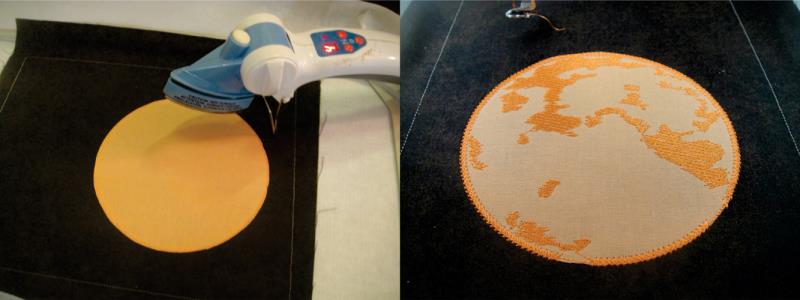
Iron the appliqued moon with an applique iron for permanent adhesion; run CS 5 in Carrot (1178) to complete the moon embroidery.
(Click Image to Enlarge)
Step 7:
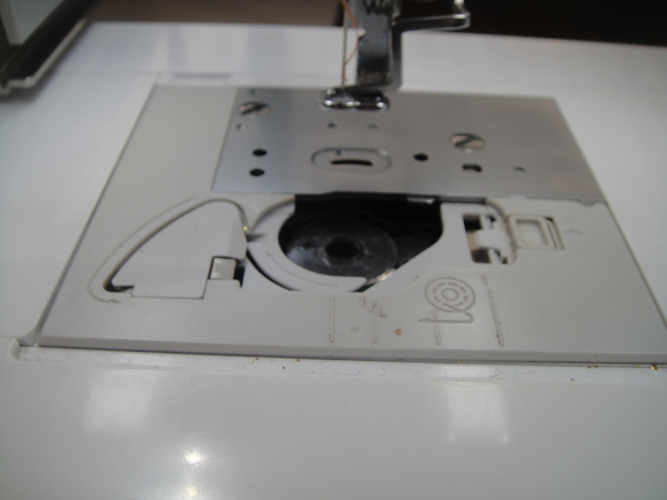
Due to the high color contrast and the dark threads switch to a black bobbin in the embroidery machine. Follow the color chart from CS 6 through CS 13 to embroider the raven.
(Click Image to Enlarge)
Step 8:
Before you run CS 14 in Carrot (1178) change back to a white bobbin; run CS 14 to stitch the lettering.
(Click Image to Enlarge)
Step 9:
Remove the hoop from the machine; do not unhoop; turn the hoop over; spray adhesive on the Battilizer® and place over the embroidery on the back of the hoop aligning with the fabric on the front of the hoop; spray adhesive on the wrong side of the back print fabric and place over the Battilizer®.
(Click Image to Enlarge)
Step 10:
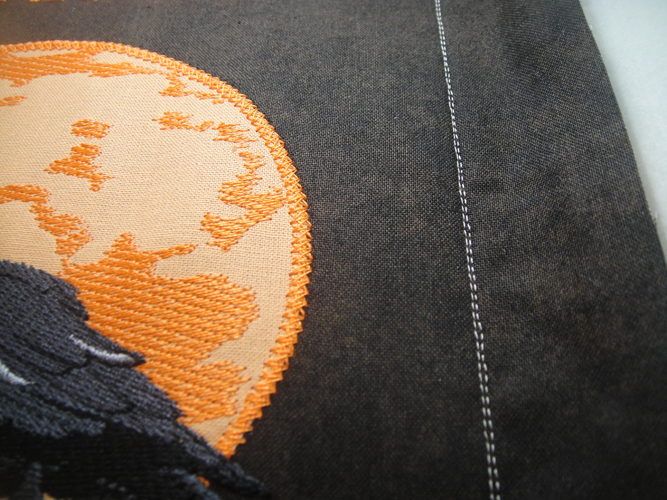
Change to a black bobbin again and put water soluble thread in the top of your machine to run CS 15 to tack the Battilizer® and back fabric to your block. This picture is a good example of why we use water soluble thread. The slight difference in the tack down lines is how much the embroidery has pulled up your block during the stitching process. From this point forward and when trimming your block you will use the outside tack down lines to make your measurements. If any of these tack down stitches show after you piece your block to the sashing you will be able to remove them with the corner of a damp sponge.
(Click Image to Enlarge)
Step 11:
(Click Image to Enlarge)
Run CS 16 in black to quilt the block.
Step 12:
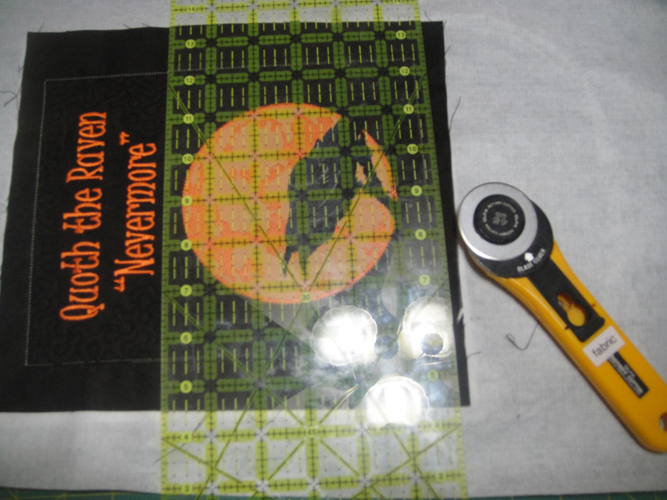
Align the ¼” line on your ruler with the outer water soluble tack down line and trim all sides of the block to ¼”.
(Click Image to Enlarge)
Step 13:
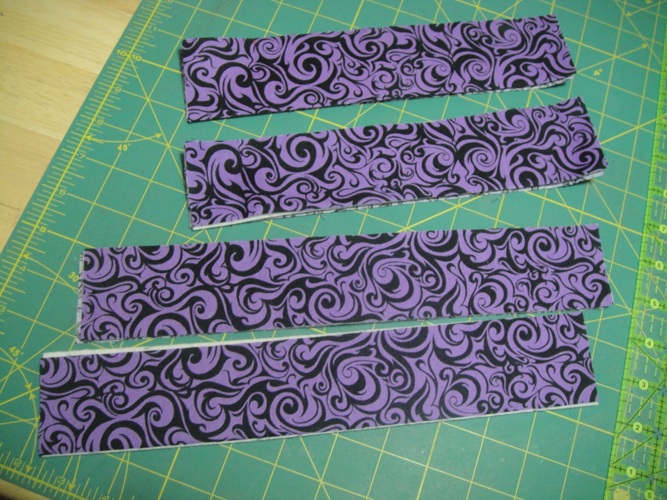
Cut 4 rectangles of the border print 2” x 10” and 4 rectangles 2” x 12”; cut 2 strips of Battilizer® 2” x 10” and 2 strips 2” x 12”. Also cut (not pictured) 2 strips of the lavender fabric 2” wide across the width of the fabric and 2 strips 1” wide across the width of the fabric. Cut 6 2’ squares of the amber fabric. Make a quilt sandwich for each border by placing one rectangle of the print fabric right side down, align a rectangle of Battilizer on top of that; and then place a matching print fabric rectangle on top. You can use spray adhesive to hold these border quilt sandwiches together if desired.
(Click Image to Enlarge)
Step 14:
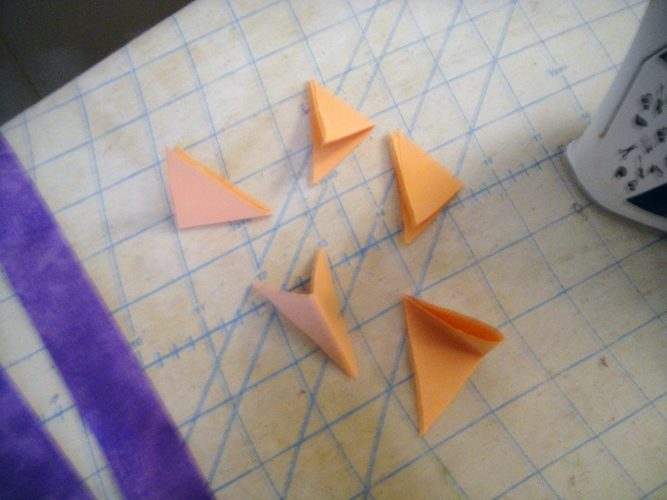
Spray the amber fabric squares with Magic Sizing and fold into a triangle twice to form the prairie points; spray with Magic Sizing, fold lengthwise the 2” lavender strips and press for the top sashing; spray with Magic Sizing and press the 1” strips for the back sashing.
(Click Image to Enlarge)
Step 15:
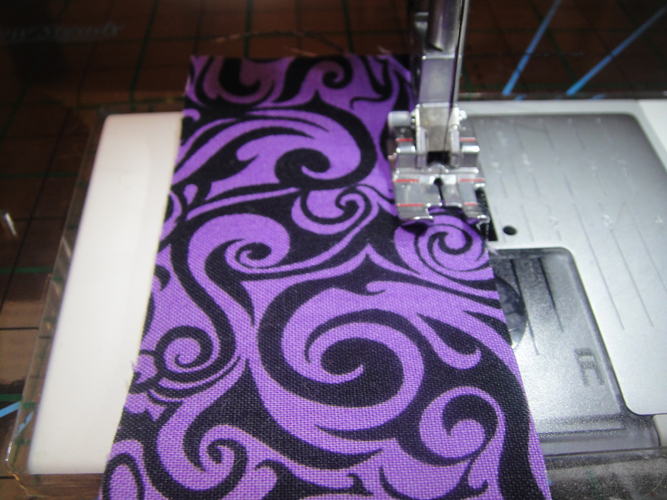
Using a scant ¼” seam allowance, a walking foot if available, and a 3mm stitch length baste down both long sides of each of your border quilt sandwiches.
(Click Image to Enlarge)
Step 16:
(Click Image to Enlarge)
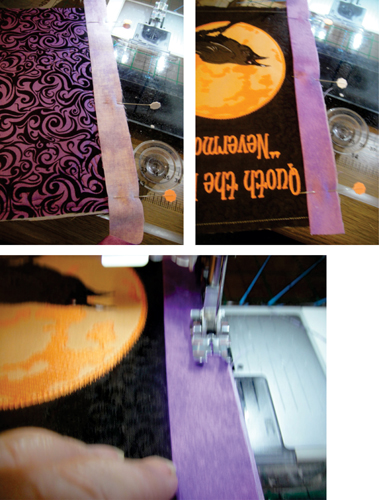
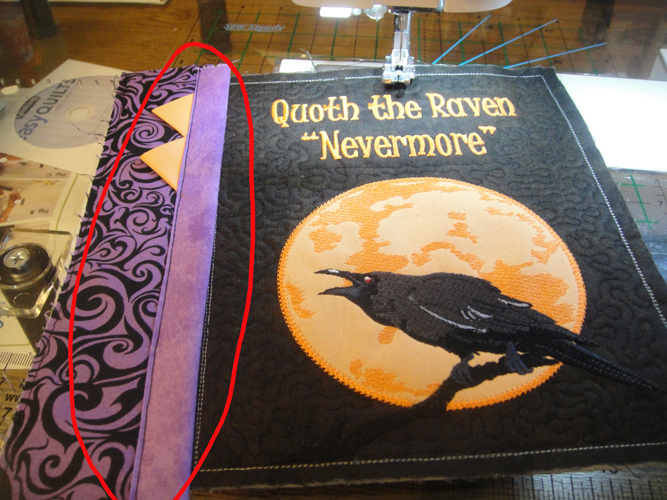
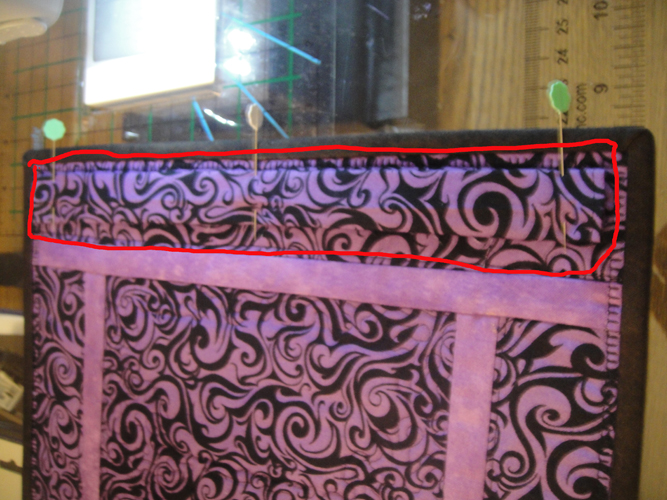
You will now join one of the side borders to the quilt block with the sashing strip by placing a strip of the 1” lavender sashing face down on the back of the quilt block aligning the edge of the sashing with the side of the block; turn to the front of the quilt block; place the raw edges of the folded strip of sashing to the front of the block; pin the back sashing the quilt block and the top sashing strips together aligning the raw edges; with a 3mm stitch length and an accurate 1/3’ seam allowance stitch all three pieces together. Press the sashing pieces away from the quilt block.
Step 17:
(Click Image to Enlarge)
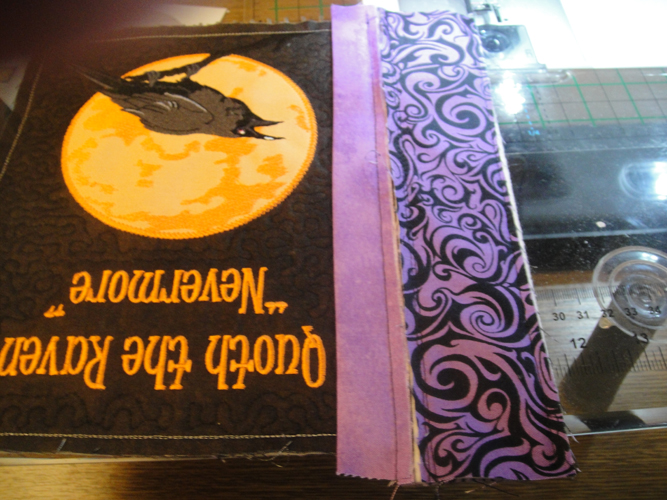
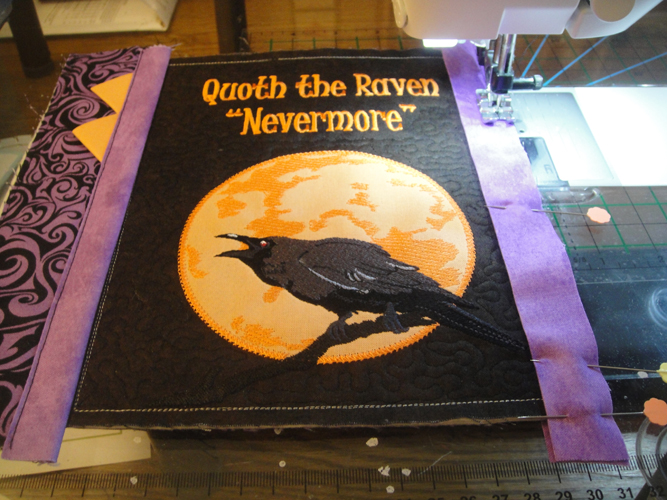
Place one of the 10” prepared border pieces under the 1” sashing strip only. In the picture the raw edge of the border piece is not aligned with the edge of the sashing strip just so you can see it going on the bottom. You will align those raw edges and pin together. The border piece is slightly longer than the edge of the center quilt block, that is on purpose, leave a little of the border piece above the top of the center quilted block and a little below the bottom edge, you will trim those after sewing.
Step 18:
Keeping a very accurate ¼” seam allowance stitch the border strip to the 1” sashing strip.
(Click Image to Enlarge)
Step 19:
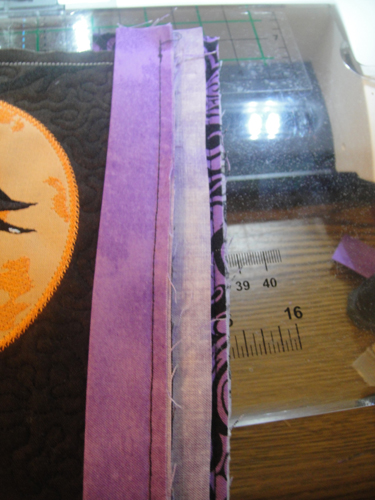
Open out the border strip and the seam allowances; the sashing and the border strip should butt up against each other without gaps or overlapping. Press the seam allowances down to flatten.
(Click Image to Enlarge)
Step 20:
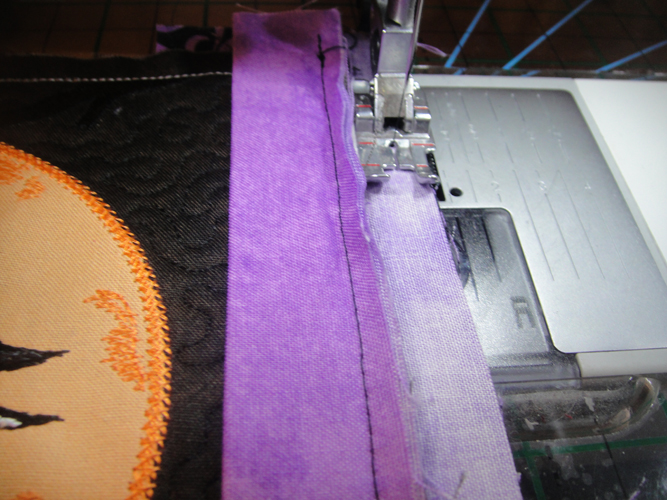
Press the top sashing over the to the border covering the seam allowances, tuck a couple of prairie points about 3/16th” under the sashing; edge stitch the sashing strip down.
(Click Image to Enlarge)
Step 21:
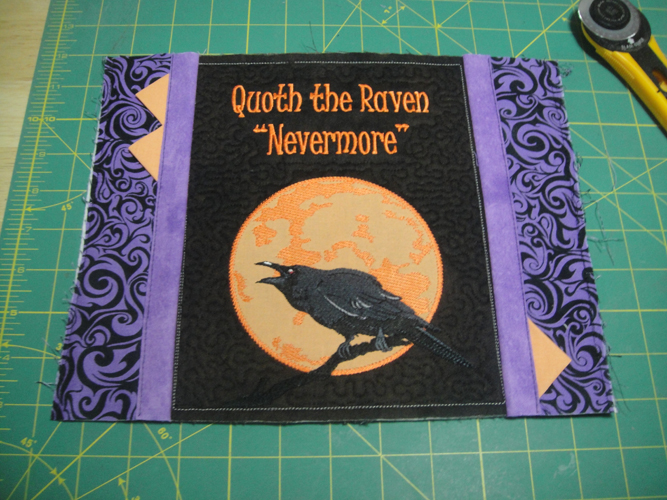
Repeat Steps 16 through 20 to attach the other side border to the center quilt block. The placement of the prairie points is optional and random. I attached two slightly overlapping prairie points to the top left side of the quilt block and one at the lower right side.
(Click Image to Enlarge)
Step 22:
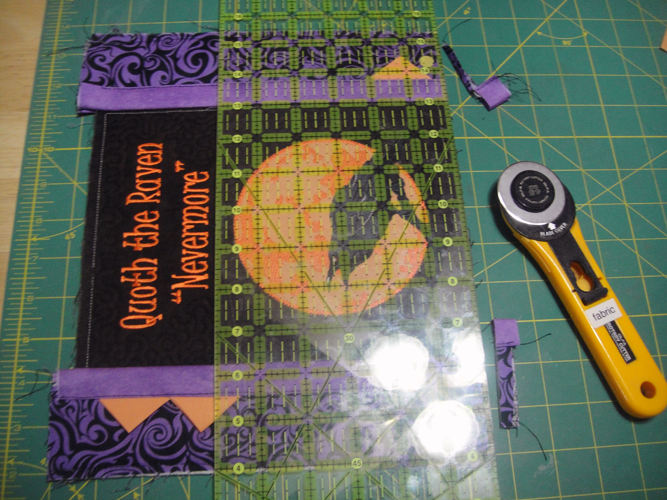
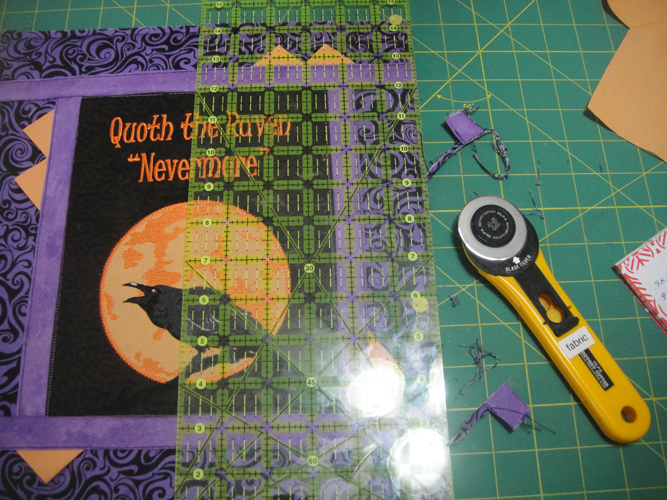
Use your quilting ruler to line up and trim off the excess border strips at the top and bottom.
(Click Image to Enlarge)
Step 23:
Your mini quilt will now look like this.
(Click Image to Enlarge)
Step 24:
Repeat Steps 16 through 20 to add the top and bottom borders; place the prairie points as shown or as desired.
(Click Image to Enlarge)
Step 25:
Trim off the excess top and bottom strip and square up your mini quilt.
(Click Image to Enlarge)
Step 26:
(Click Image to Enlarge)
Bind as desired. I cut two 2.25” strips from the dark brown shadow fabric and bound mine with mitered corners.
Step 27:
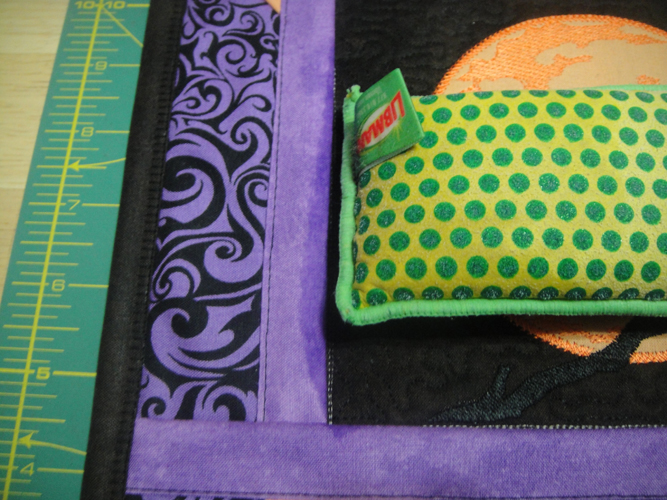
Clean up any exposed water soluble thread that is exposed with the corner of a wet sponge.
(Click Image to Enlarge)
Step 28:
Attach a small hanging sleeve to the back of the quilt ½” from the top in order to attach it to the wire frame. I cut a 3” strip the width of the quilt. Fold in the ends ¼” twice and stitched to finish the ends. Folding the strip in half lengthwise, wrong sides together and stitched with a ¼” seam. Folded and pressed the hanging sleeve with the seam pressed to one side and centered on the back of the hanging sleeve; pin the sleeve to the quilt ½”; hand stitched the top edge of the hanging sleeve; pinned the bottom edge of the hanging sleeve pushing up about a ¼” of the fabric to the front of the sleeve to put a little slack into the sleeve; hand stitch the bottom side edges and the bottom of the hanging sleeve to the quilt back.
(Click Image to Enlarge)
Step 29:
Insert the rod on the frame into the hanging sleeve and your Quoth the Raven mini quilt is complete!
Award winning Digitizer, Embroidery Educator, Author and a Consultant to the Industry, Pat Williams has 30 years of experience in the embroidery industry. Pat has won multiple awards for her digitizing expertise including the 2007 Impressions Awards Grand Championship, Best of Show as well as the 1st and 2nd Place Awards. Pat’s love of digitizing has afforded her the opportunity to write numerous articles for Impressions magazine in the United States and Images Magazine in Europe. In 2001 Pat was named “Embroidery Educator of the Year.” For many years Pat taught digitizing seminars at the ISS Shows in Long Beach, CA and for Compucon software. She now resides in Tucson, AZ.