A bar towel is a great item to have at the grill. They absorb well and are easily laundered. A bar towel forms the basis of this project with a cute embroidery design stitched on cotton fabric as a topper to hold the towel on the handle of the grill when not in use. For safety, always remove the towel when using the grill.
Step 1:
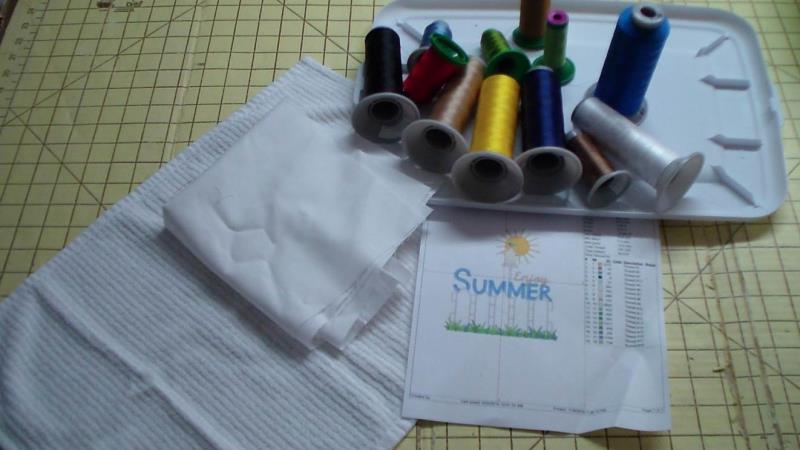
Gather the materials and read through the instructions before beginning. Print out a paper template of the design and color sequence.
(Click Image to Enlarge)
Step 2:
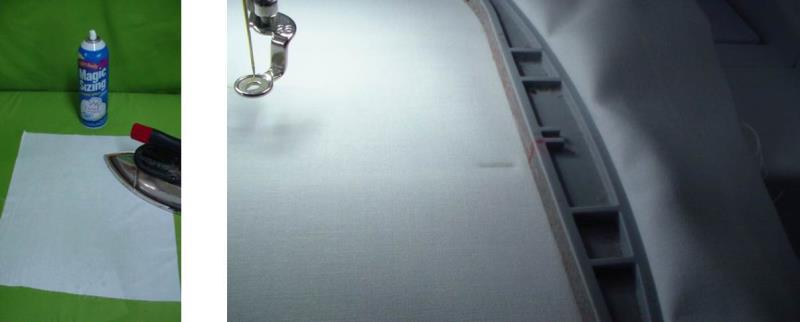
Press both pieces of cotton fabric well using spray sizing or starch. Hoop one piece of fabric with two pieces of tearaway stabilizer. Use a removable chalk or marker to mark the crosshairs of the hoop on the fabric - this will aid in aligning the paper template in Step 7.
(Click Image to Enlarge)
Step 3:
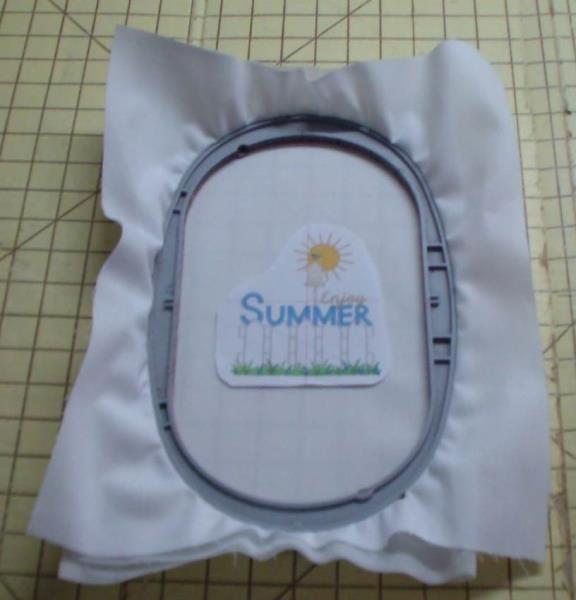
Place the template in the center of the hoop using the marks as a guide.
(Click Image to Enlarge)
Step 4:
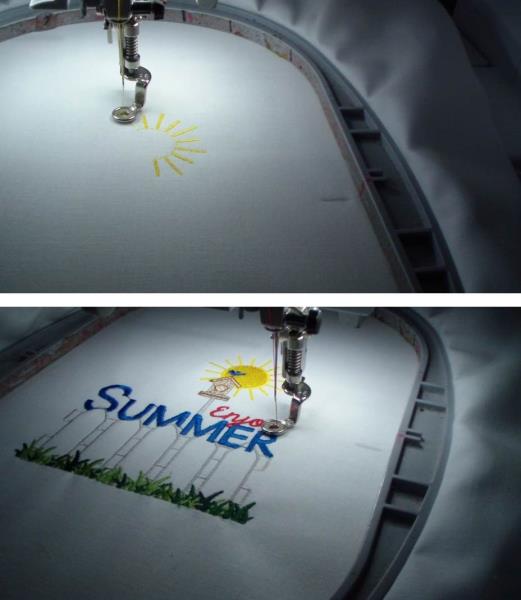
Place the hoop on the machine, align the needle over the center of the template, remove the template and stitch the design following the color sequence.
(Click Image to Enlarge)
Step 5:
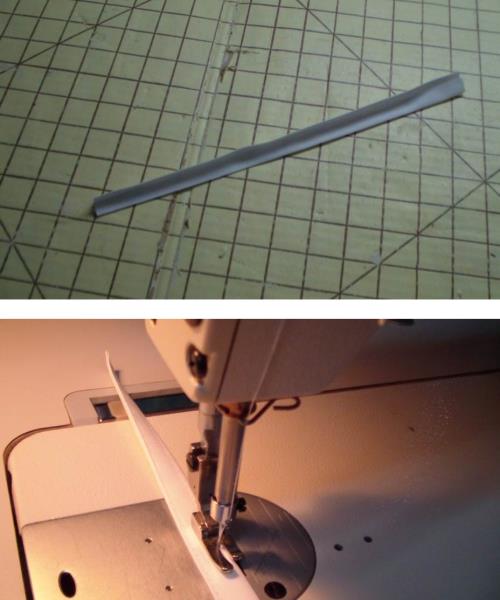
While the design stitches, prepare the button strap. Cut the fabric to size. Fold the fabric in half lengthwise and crease. Open up the fabric and bring the long cut edges to the center crease and press to crease. Now meet the folds together to press into one long strip. Edge stitch along both long edges.
(Click Image to Enlarge)
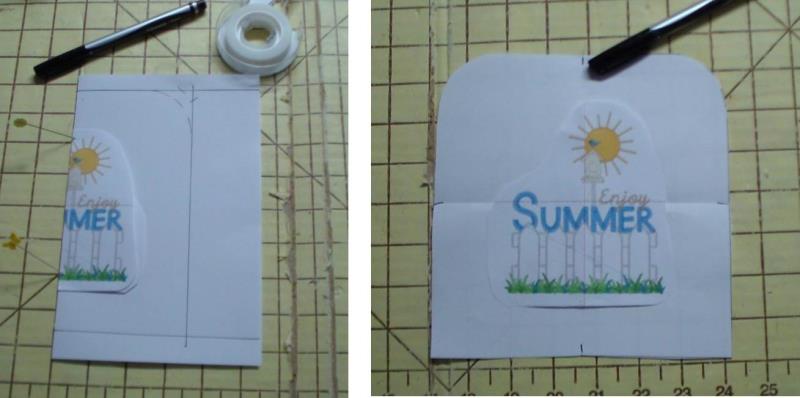
Step 6:
Also prepare a paper template to create the topper. Fold the design template in half. Fold the piece of computer paper in half meeting the shorter edges. Place the design template fold along the paper’s folded edge and pin them together. Measure out around the design template about 2” all around (this will include ¼” seam allowances for sewing). Use a circular edge to draw a rounded corner at the upper right edge. Cut around the drawn lines.
(Click Image to Enlarge)
Step 7:
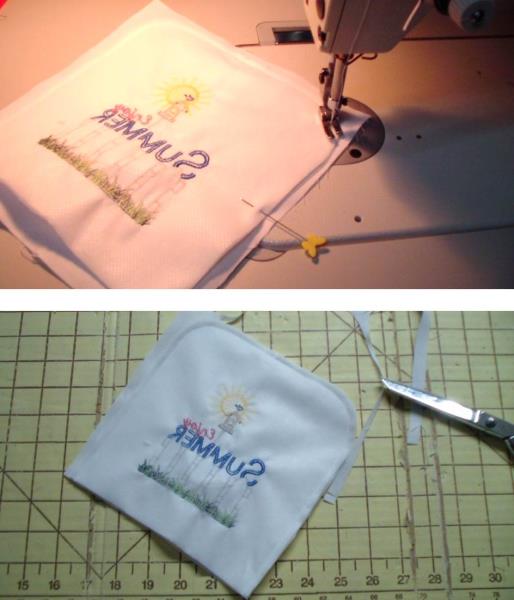
After the design has finished stitching remove the fabric from the hoop but do not trim the stabilizer; it stays in the finished project. Quarter fold the paper template and crease to form alignment lines. Fold the paper template in half horizontally and align it to the marks made on the fabric in Step 2; also use the vertical fold line to make sure the template is aligned over the design vertically. Pin the paper template to the fabric and cut out the fabric to the shape of the template. Find the center top of the topper and center the button strap cut edges to the topper as shown; pin the strap in place. Now place the topper of the 8” fabric square, right sides together, and pin them together.
(Click Image to Enlarge)
Step 8:
Stitch around the top and sides using a ¼” seam. Trim the square of fabric to match the top.
(Click Image to Enlarge)
Step 9:
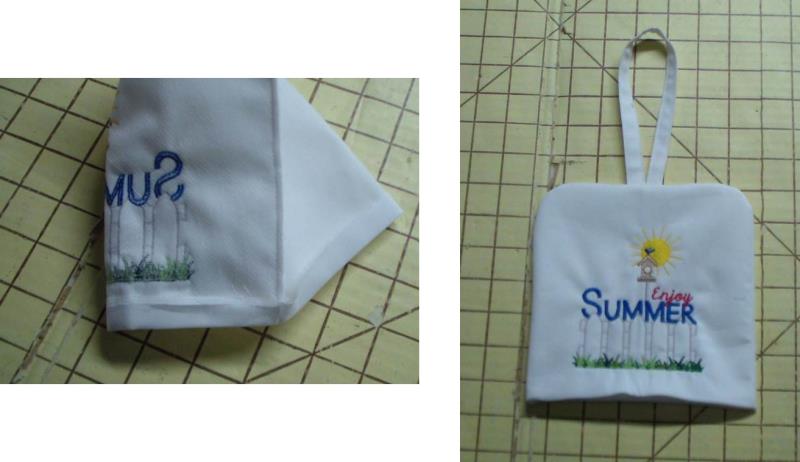
Fold under the bottom edge ¼”. Turn the topper right side out.
(Click Image to Enlarge)
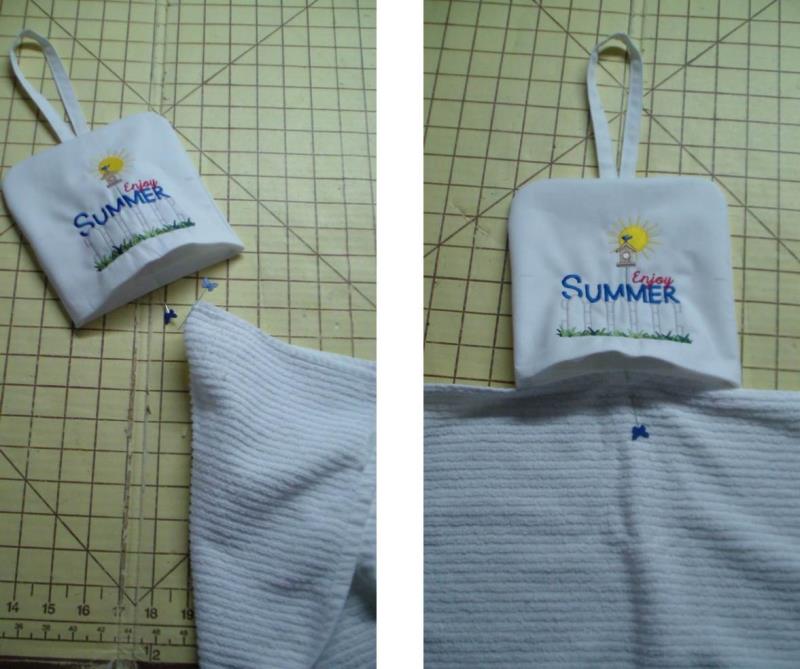
Step 10:
Find the center of the top of the towel and the center of the bottom of the topper. Match the pins and pin the towel top to the bottom opening of the topper.
(Click Image to Enlarge)
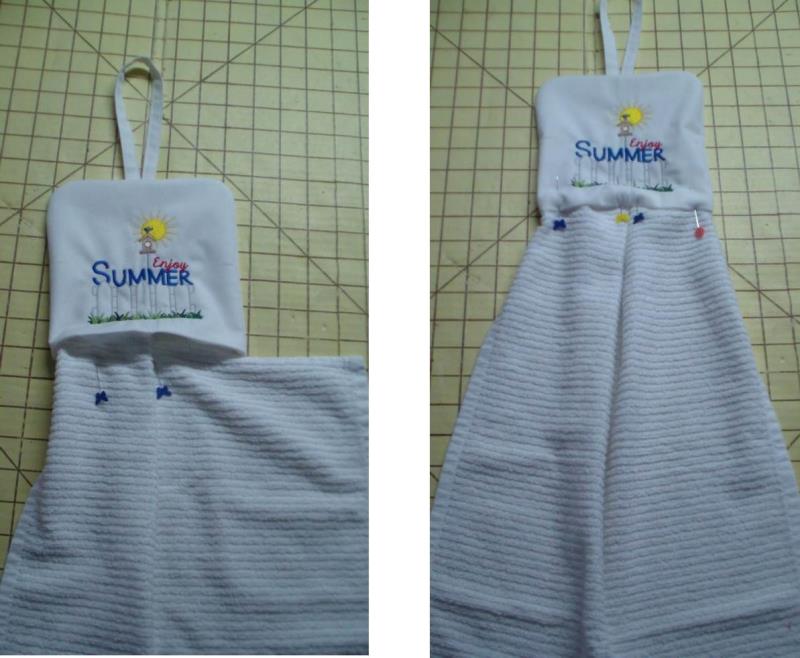
Step 11:
Fold under the left side of the towel about an inch and pin it in place at the left edge of the topper. Create a tuck in the remaining left side of the towel to meet the center pin. Repeat for the right side of the towel and pin everything in place. Place the top of the topper over the towel edge and pin through all layers (be sure to catch the topper back piece so it will be caught in the stitching).
(Click Image to Enlarge)
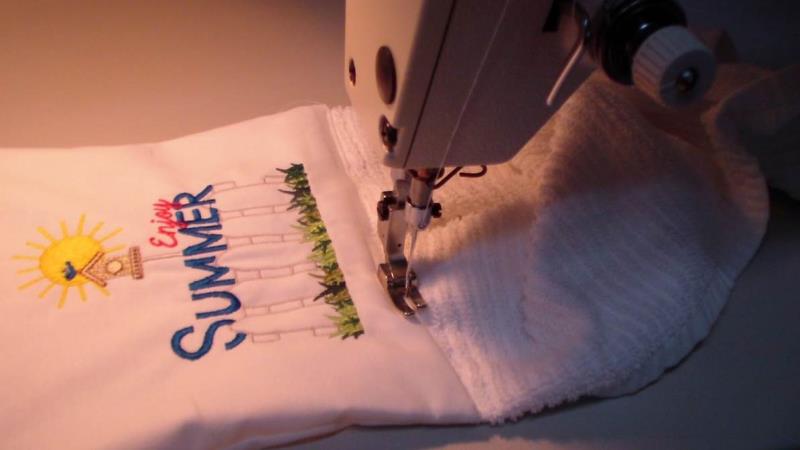
Step 12:
Stitch the towel to the topper through all layers.
(Click Image to Enlarge)
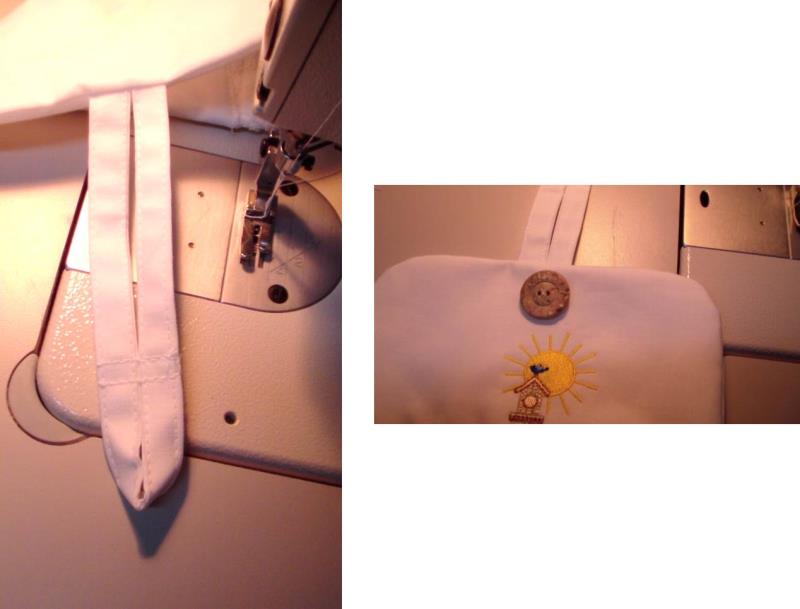
Step 13:
Bring the edges of the strap together and create a double row of stitching about 1 ½” from the end of the strap. Sew a button at the top of the topper through all layers, centering it.
(Click Image to Enlarge)
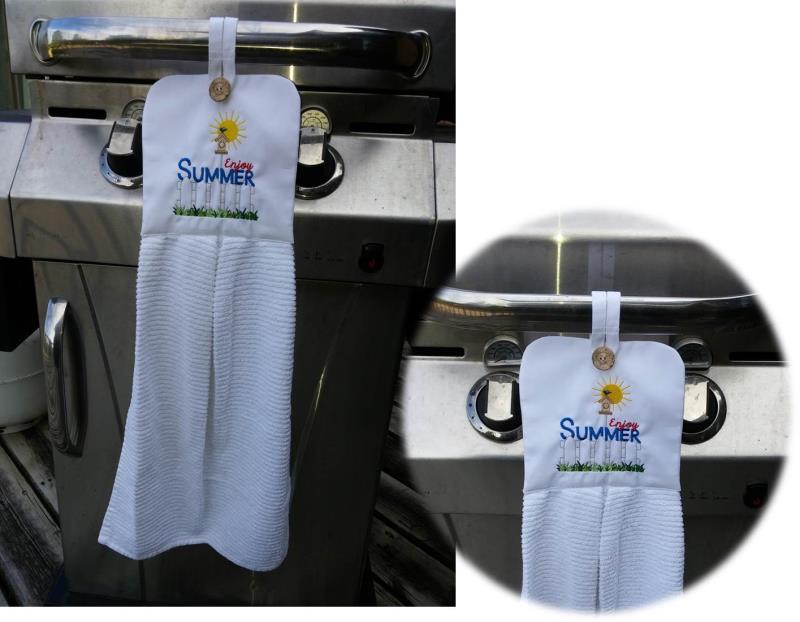
Step 14:
Wrap the strap over the grill handle and button it in place. Congratulations on creating a handy “Grill Towel”. A grill towel is a great gift any time of year!
Ramona Baird has been in the embroidery industry for over 23 years. She and her husband owned a commercial and retail embroidery store in Arizona for many years. She is an experienced digitizer having been mentored by award-winners Pat Williams and Lindee Goodall. Ramona is a contributor to “Creative Machine Embroidery” magazine having 5 covers to her credit. Ramona has worked for Wilcom America and served many years as Education Director for the American Sewing Guild. With a degree in fashion design, she is able to design and execute patterns which Pat Williams says are “out of the box” in creativity and application. Ramona likes to challenge the boundaries of embroidery and bring new and exciting designs, ideas, and projects to EmbroideryDesigns.com. She wants embroiderers of all levels to increase their skills and enjoyment in using their embroidery machine for gift-making and personal pleasure.