


PROJECT INSTRUCTIONS


PROJECT INSTRUCTIONS

Flip Flop Wine Coaster Embroidery Project
By
Starbird Inc.
on
June 07, 2016
PROJECT DETAILS
SKILL LEVEL
Some Experience
TIME REQUIRED
01:30
FINISHED SIZE
3.89 x 3.9 inches
Description
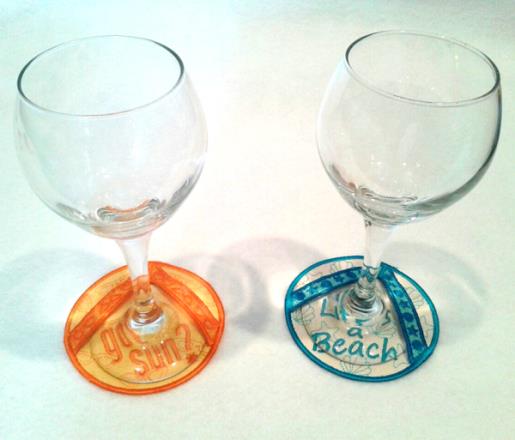
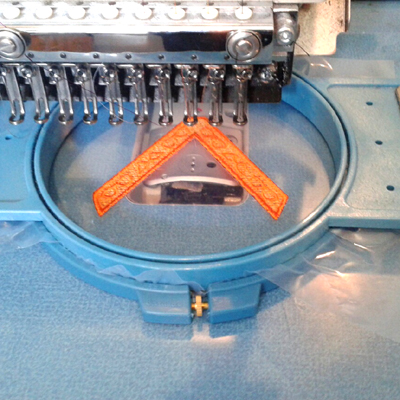
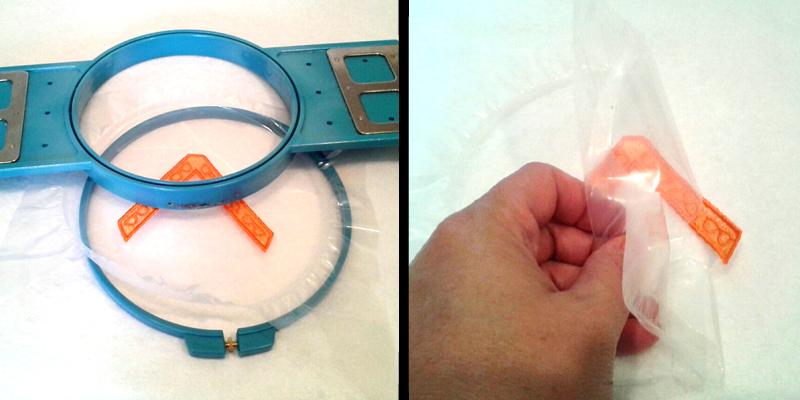
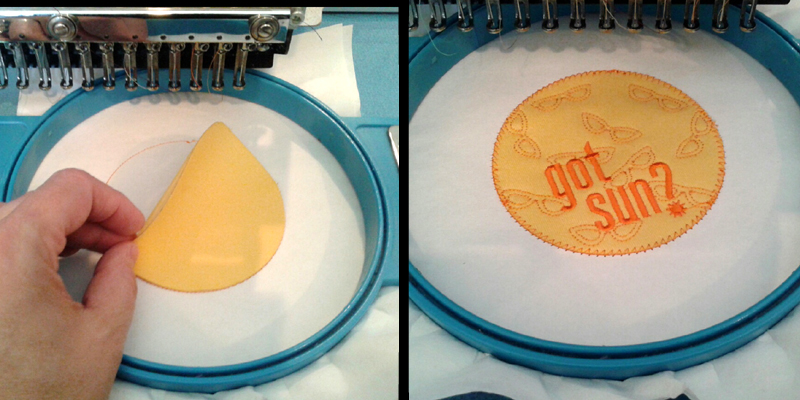
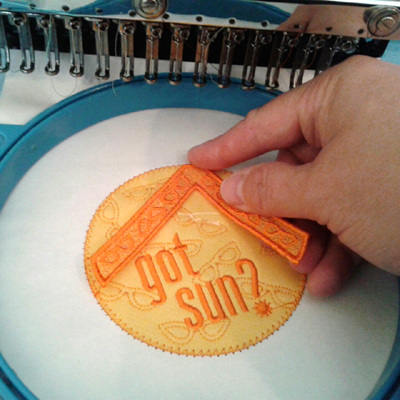
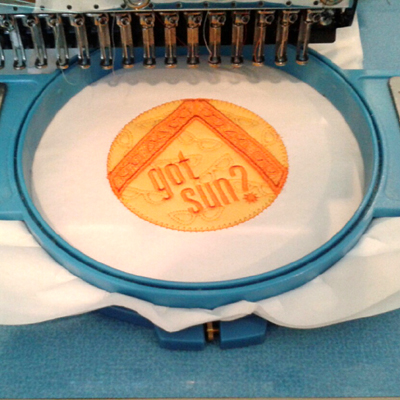
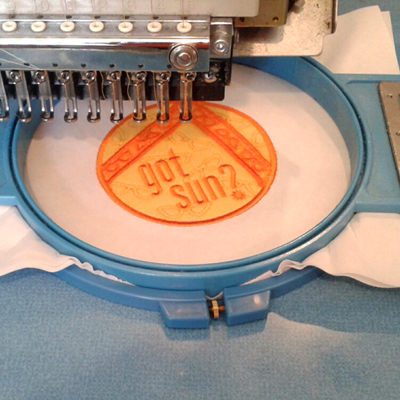
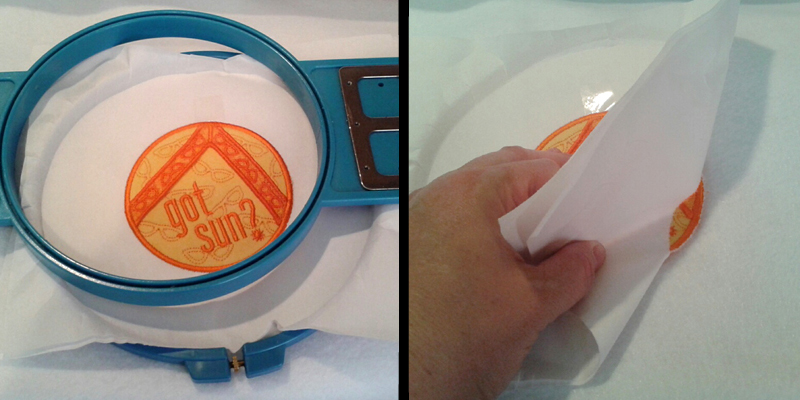
Here is a new twist on an exciting summer wine coaster, we have added a thong to make them into fun flip flops. They are made using free standing lace and applique techniques and are really easy to make.
Project Preview Video

QUICK VIEW
Wine Gift Totes
$32.95
$23.07
Circle Price: $23.07

QUICK VIEW
Wine Glass Lace Charms
$29.95
$20.97
Circle Price: $20.97

QUICK VIEW
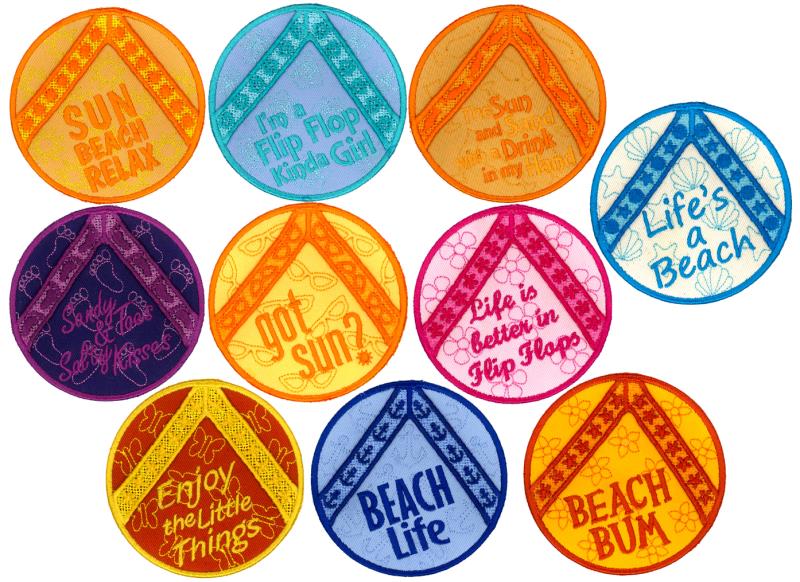
Flip Flop Wine Coasters
$28.95
$20.27
Circle Price: $20.27

QUICK VIEW
Wine Gift Totes 2
$32.95
$23.07
Circle Price: $23.07

QUICK VIEW
Water Soluble Stabilizer - 12" x 25 Yds
$32.46
$25.97
Circle Price: $25.97


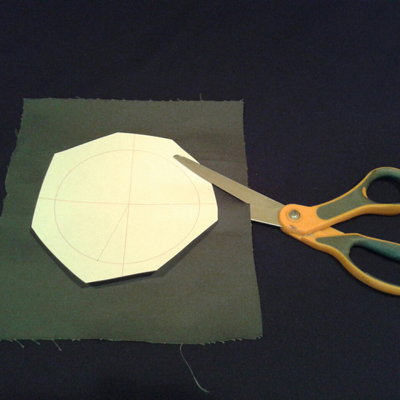
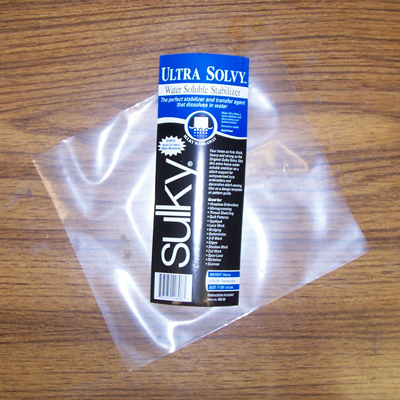
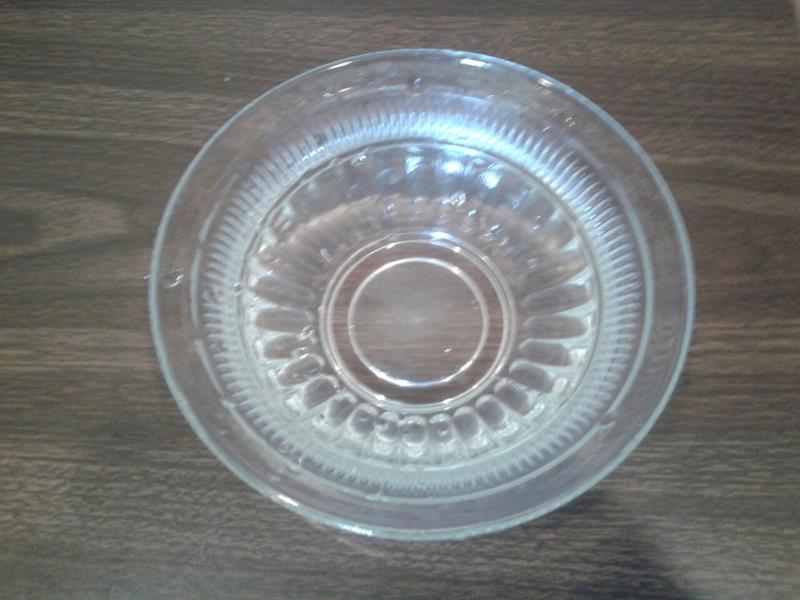
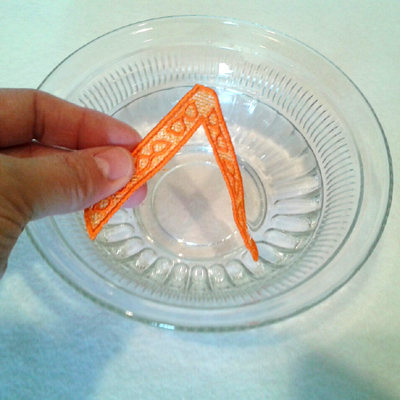
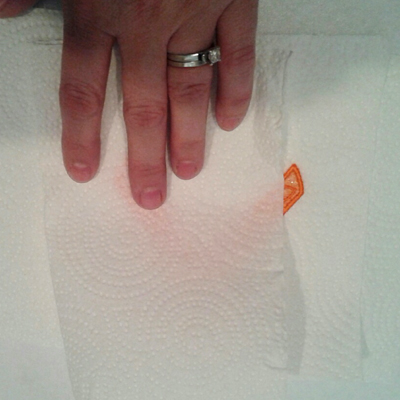
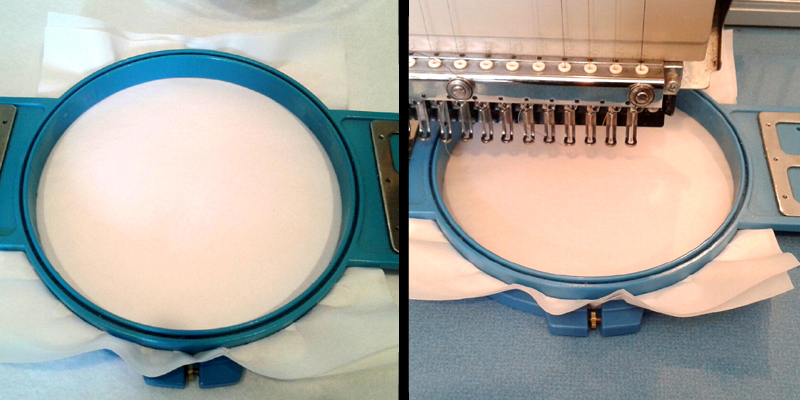
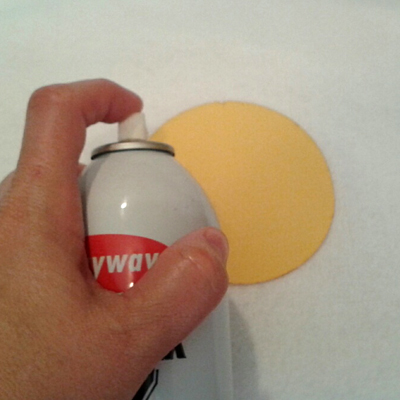
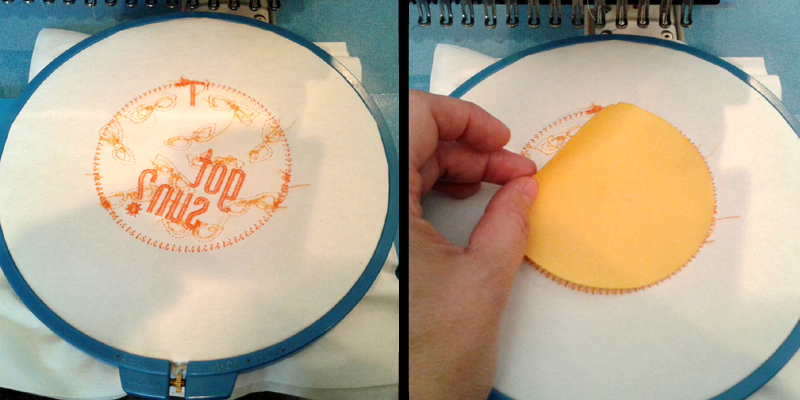
| Materials FSL Thong design & Wine Coaster Designs of your choice 2 pieces of Tearaway backing per design 2 Pieces of applique fabric (we used twill) 2 Pieces of paper for the dieline printouts Thread & Bobbin Thread (same color) Ultra Solvy – Thick Water Soluble Stabilizer Sharp 11 Needle Spray Adhesive Bowl & Water Paper Towels Scissors Tape |
| Designs used in this project |
| Final Product: What You Will Create |
 |
|
Projects You May Like
Meet the Author:
Starbird Inc.
Starbird Inc. has been digitizing custom embroidery designs for over 25 years. They have seen so many wonderful and creative designs over the years that Starbird decided to create some of their own embroidery stock designs. Starbird Inc. is having a great time creating new and imaginative ideas and would like you to be able to enjoy them also.
Feedback
Characters Remaining
Please Login to Submit a Feedback
Invalid Characters, Please enter a valid Comment
Please enter a valid Comment
Reviewed On
Link is Broken, Please check the URL