The embroidery designs used in this project have recently been revised and updated. If you purchased these designs before April 2016 you may download them again from your account in embroiderydesigns.com. The designs can be made with precut appliques cut by hand or electronic cutting machines, or they can be made using the stitch and trim method. To download the PDF files for precutting by hand, the FCM files for the Scan N Cut, or the SVG files for other cutting machines be sure to select “Download all formats” in the download window. These file types will then appear for your use. The applique pieces in these files have already been slightly enlarged to cut you the perfect sized appliques. When precutting by hand cut on the outside edge of the drawn lines.
This project is designed to inspire you to use the advantages of your sewing machine along with the embroidery machine. The applique designs are not quilted in the hoop blocks so you will use free motion quilting to quilt the table runner. This project also uses wide decorative stitches from your sewing machine to further enhance the table runner.
Step 1:
(Click Image to Enlarge)
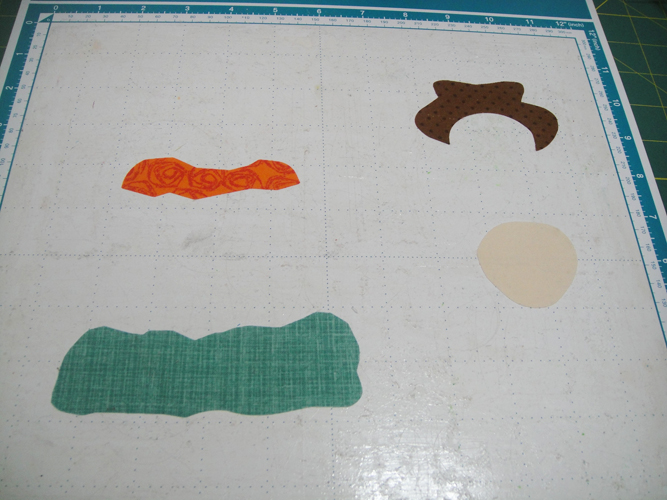
Cut 5 10” x 14” rectangles of White Kona cloth and poly mesh stabilizer for the back of each main block; print out the design sheets at actual size. Measure the applique pieces and cut fabrics at least 1” larger than the appliques; spray each applique fabric 4 times with Magic Sizing then apply Heat N bond lite to the backs of the fabrics.
Step 2:
Following the manufacturer’s instructions these appliques were cut with the Scan N Cut2. Settings may vary from machine to machine but these appliques were cut with the Hear and Bond Lite back paper removed; Cut speed 4; Pressure 4; Blade depth 4.
(Click Image to Enlarge)
Step 3:
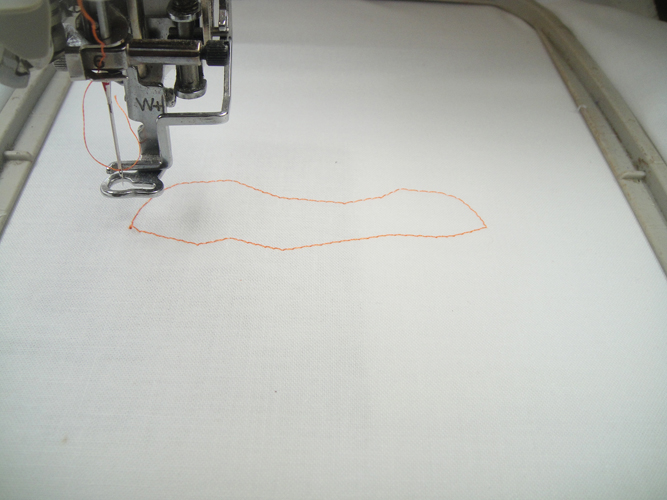
Hoop the stabilizer and the Kona cloth; with a thread to match your shirt applique run (color stop) CS 1 for a placement line for the applique.
(Click Image to Enlarge)
Step 4:
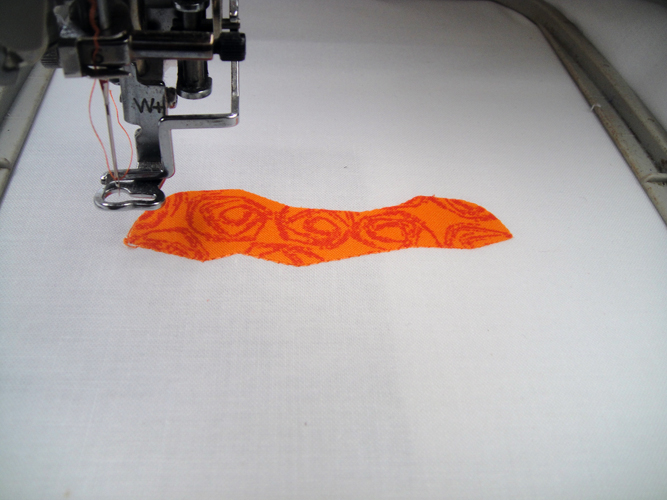
If using precut appliques iron the applique into place. Run CS 2 which are tack down stitches that will just outline the applique.
If using the stitch and trim method spray a little adhesive on to the applique square and place over the outline; Run CS 2 for the tack down stitches and then trim right up next to tack down stitches; the iron the applique to permanent adhesion.
(Click Image to Enlarge)
Step 5:
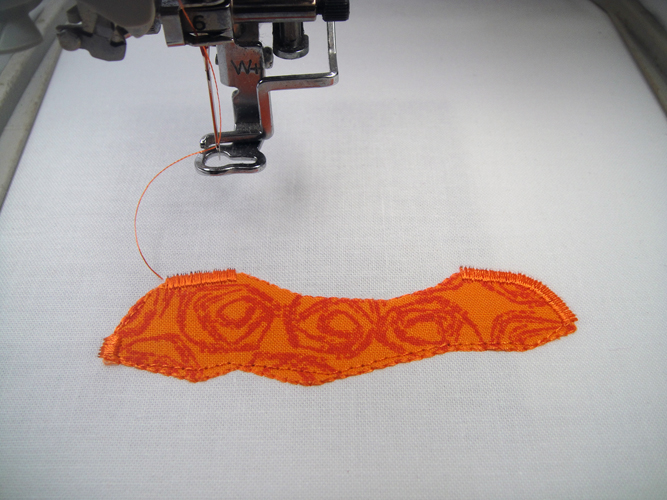
Run CS 3 in thread to match your shirt.
(Click Image to Enlarge)
Step 6:
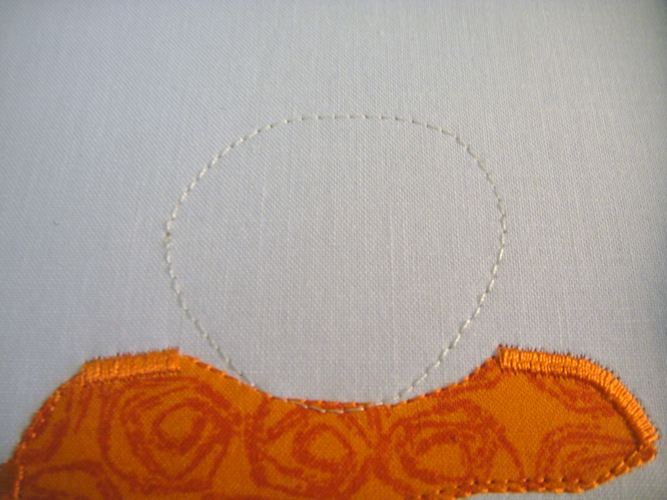
Run CS 4 in a neutral thread for a placement line for the face.
(Click Image to Enlarge)
Step 7:
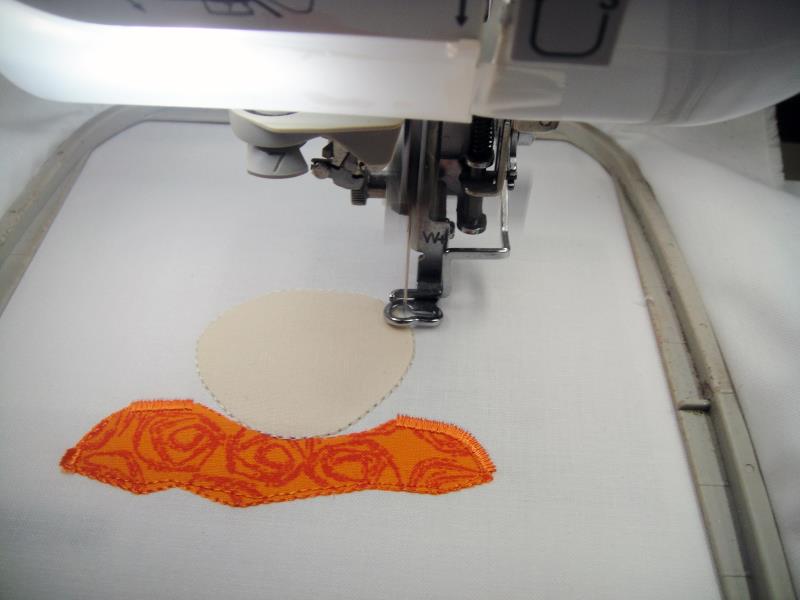
Place the face applique following the instructions in Step 4 depending on whether or not you are using precut appliques or the stitch and trim method. CS 5 is the tack down for the face.
(Click Image to Enlarge)
Step 8:
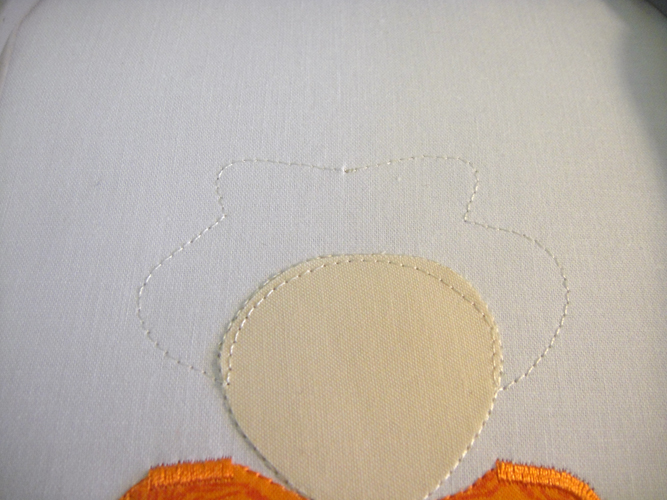
CS 6 is the placement line for the hat.
(Click Image to Enlarge)
Step 9:
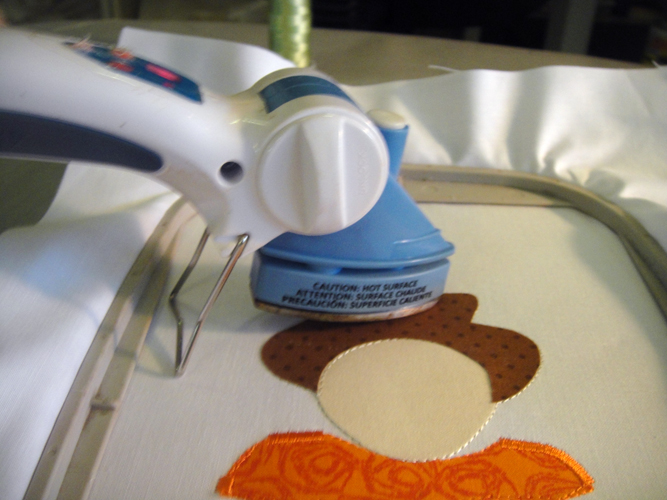
Place the hat applique using your preferred method. CS 7 is the tack down for the hat.
(Click Image to Enlarge)
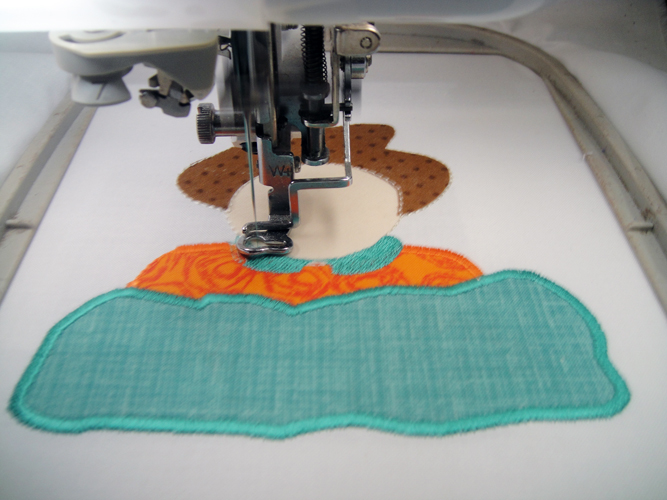
Step 10:
CS 8, CS 9 and CS 10 will be the placement line, tack down and border of the sign as well as the stitching for the collar.
(Click Image to Enlarge)
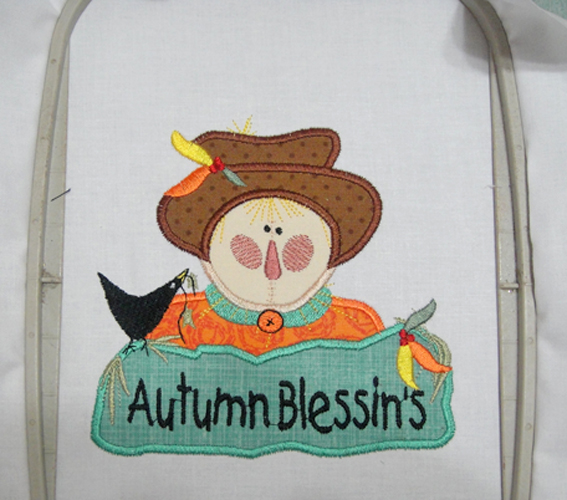
Step 11:
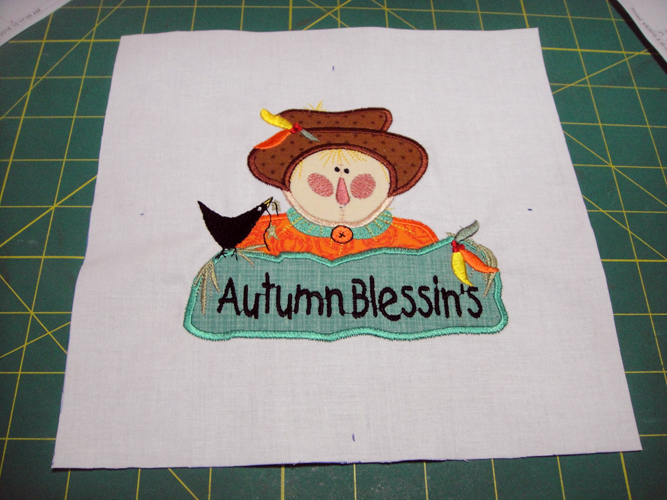
Follow the color chart to complete the design. This scarecrow has the largest number of appliques; use the same methods outlined above complete the other 4 applique designs.
(Click Image to Enlarge)
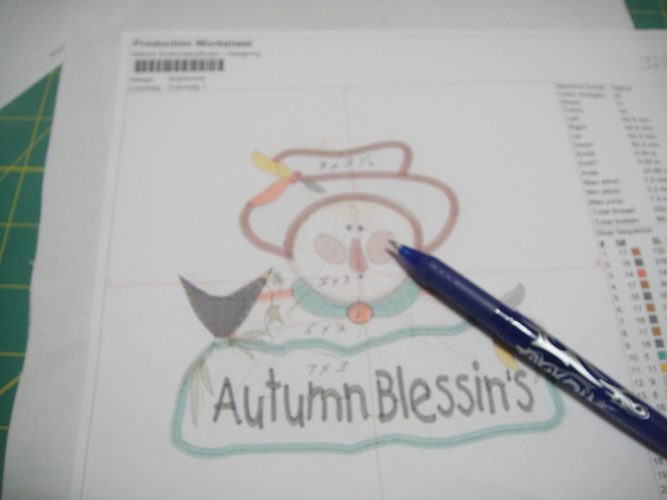
Step 12:
Lay the paper print out over the embroidery and with a Frixion® pen punch right through the paper and make a mark at the center of the design as well as on the end points of the cross hairs.
(Click Image to Enlarge)
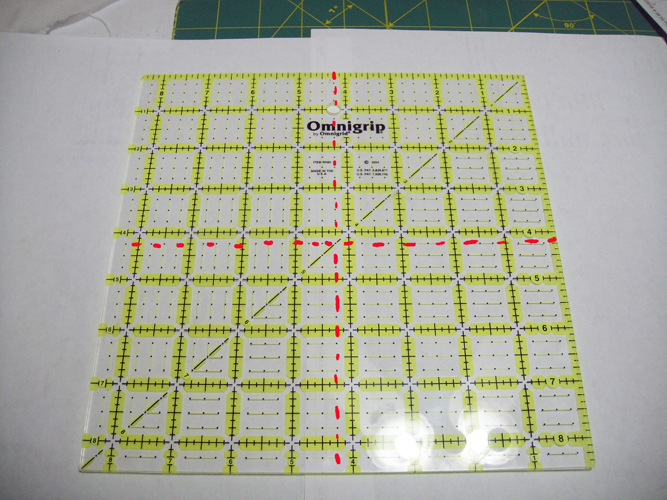
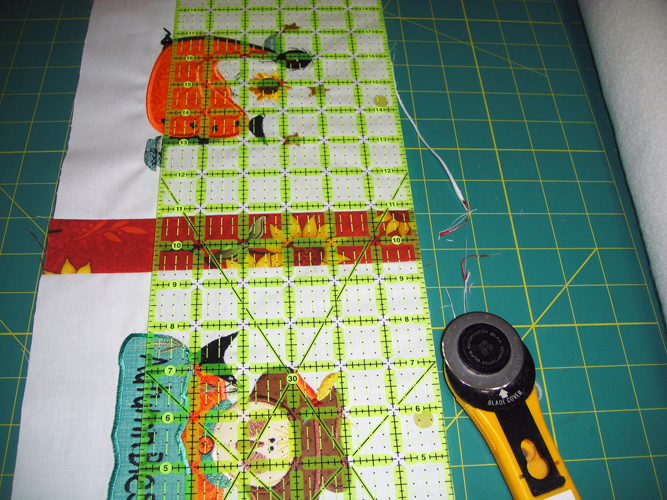
Step 13:
We are now going to use an 8.5” quilter’s template to cut the blocks down to size. I want you to be aware that since the template is 8.5” rather than 8” square you have to align the ruler along the lines shown highlighted in red, that is ¼” to the right and ¼” below what looks like the center of the template. Align these lines with the marks you made on the block and draw a line all the way around the block.
(Click Image to Enlarge)
Step 14:
Then use a longer ruler to trim your block down to 8.5” square.
(Click Image to Enlarge)
Step 15:
Cut 4 2” strips of your sashing and border fabric 8.5” long.
(Click Image to Enlarge)
Step 16:
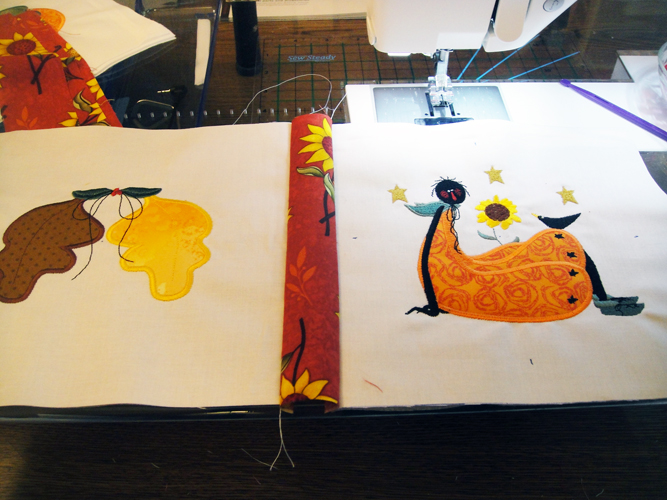
With a ¼” seam allowance on each side join the sashing strips to the inside edges of the blocks; press all seams in towards the sashing strips.
(Click Image to Enlarge)
Step 17:
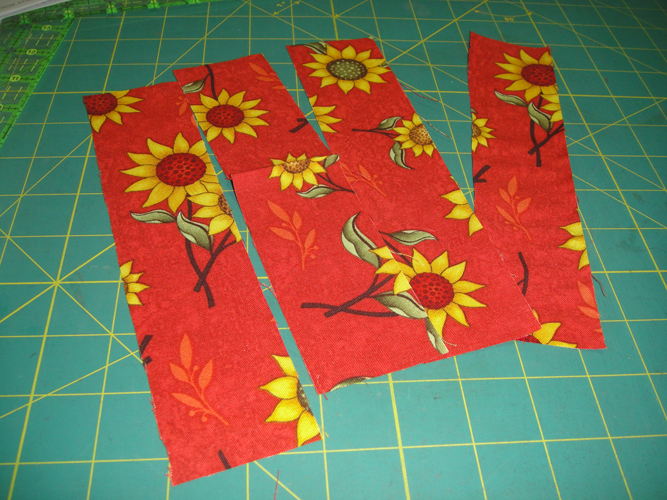
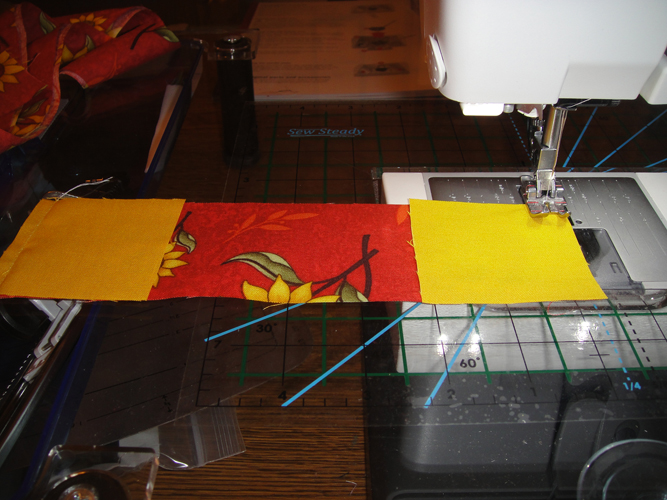
Cut 2 2.5” by 50” long strips (this have to be cut lengthwise on the fabric), and 2 2.5” by 8.5” strips for the borders; Cut 4 2.5” square from the gold Kona cloth for the corners.
(Click Image to Enlarge)
Step 18:
With a ¼” seam allowance join the corner squares to the short end strips of the border; press the seams towards the border strip.
(Click Image to Enlarge)
Step 19:
Before stitching the long borders to the top and the bottom of the table runner lay it on your cutting mat and make sure the edges of the blocks are even; trim any little areas necessary.
(Click Image to Enlarge)
Step 20:
Stitch the long borders to the top and bottom of the quilt with a ¼” seam allowance; press the seams towards the borders; these strips have been cut slightly longer than the table runner; trim on the side edges even with the end blocks after stitching and pressing.
(Click Image to Enlarge)
Step 21:
Aligning the seam of the corner blocks with the seam on the long borders stitch the end borders to the table runner; press the seams towards the end borders.
(Click Image to Enlarge)
Step 22:
Cut batting and back fabric 4” wider and longer than the table runner; lay the back fabric right side down on a flat surface and spray with adhesive spray; lay the batting on top of the back fabric and smooth out any wrinkles; spray adhesive on the batting; center the table runner top on the batting and smooth out any wrinkles.
(Click Image to Enlarge)
Step 23:
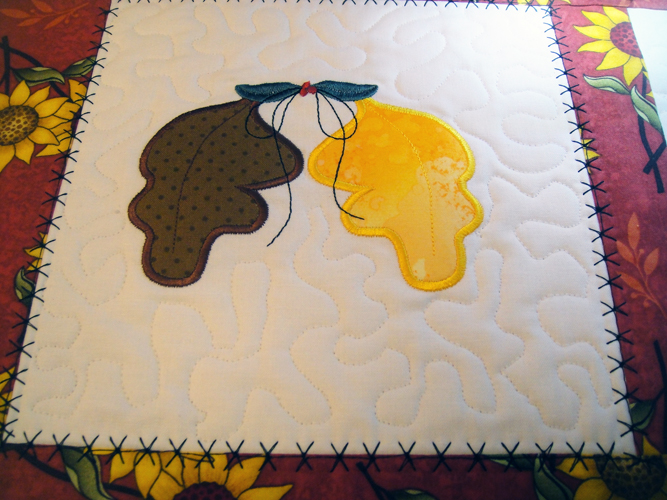
Enhance your quilt blocks with free motion and decorative stitches on your sewing machine. Free motion stipple quilting was use inside the blocks around the appliques. It is easier than you think. Youtube has many videos showing you how to free motion stipple stitches. I particularly like the Free Motion Quilt Along #1 - Let's Wiggle! Video by Leah Day. A half hours practice session on a sandwich of fabric made from left over batting and fabric will get you ready to stipple your blocks. It does not have to be perfect, just do it! You are also free to try any other types of patterns to quilt around your appliques, echo quilting around the applique (just stitching ¼” around the applique, following around the shape of the applique would be another option.
(Click Image to Enlarge)
Step 24:
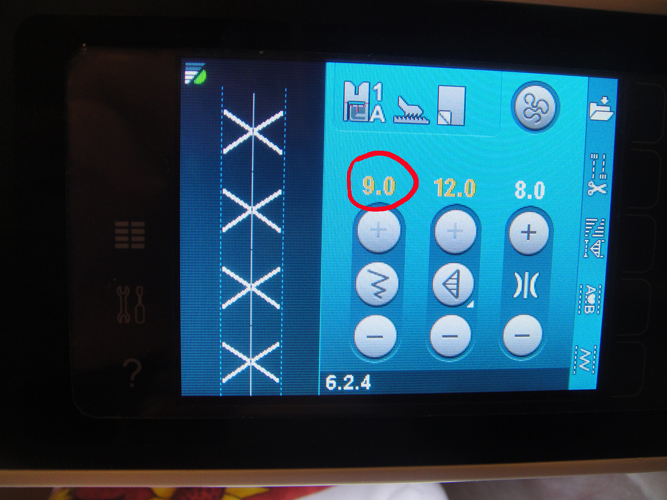
Explore the many options on your sewing machine for decorative stitches to further embellish your table runner. I made another sandwich of batting and fabric and tested many stitches before I chose this cross pattern. I adjusted it to 9mm wide which is as wide as it would let make it. With the sewing machine manual in hand if necessary play with the stitches your machine has to choose one that you like.
(Click Image to Enlarge)
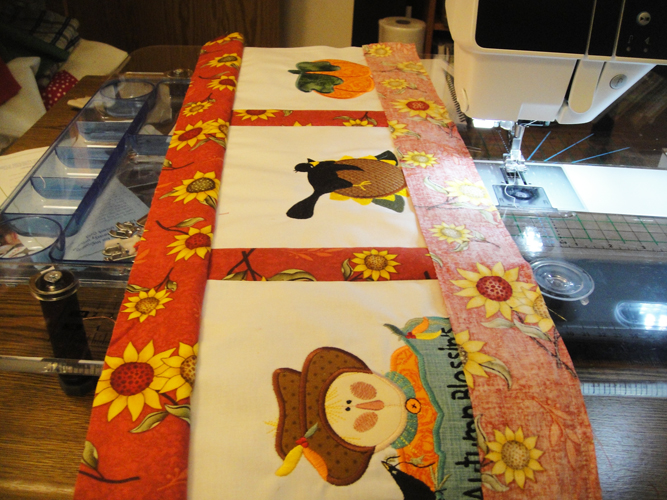
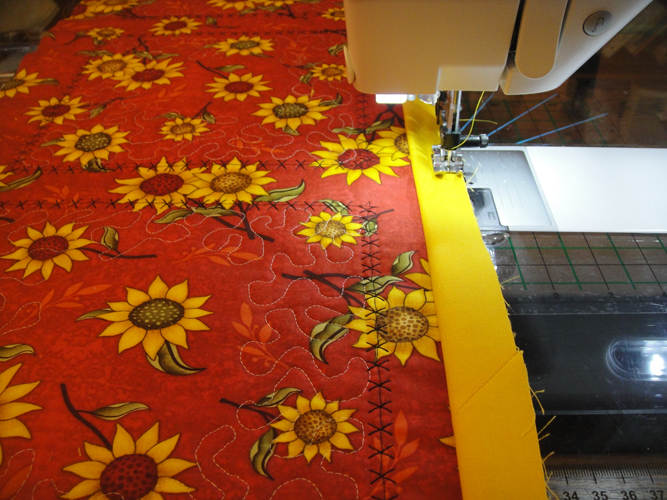
Step 25:
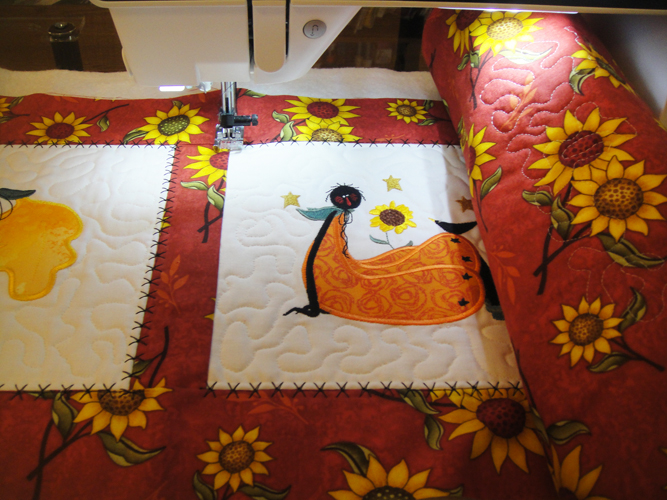
With this stitch I choose to have half of the stitch in the border and half within the block, so I aligned the presser foot along the seams of the block; roll the ends of the table runner as necessary to be able to turn the block as you stitch.
(Click Image to Enlarge)
Step 26:
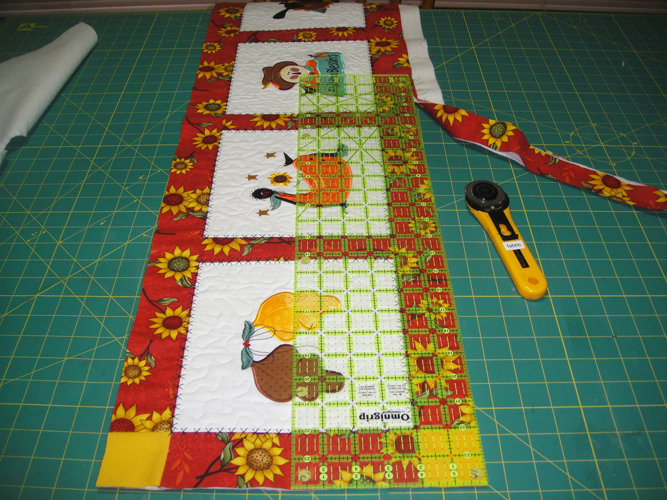
Trim the excess batting and back fabric from the table runner.
(Click Image to Enlarge)
Step 27:
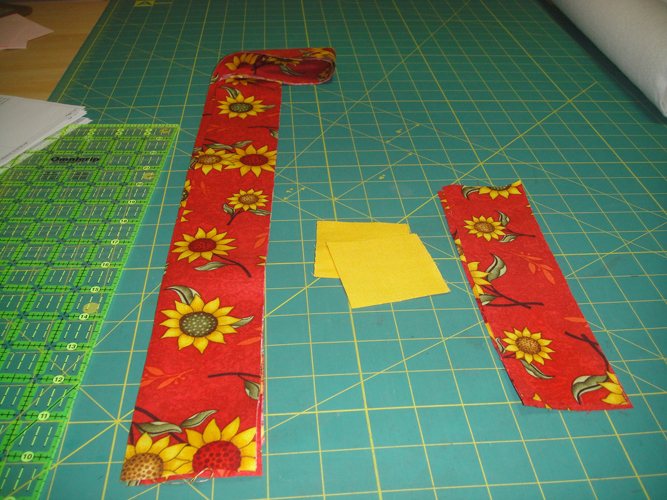
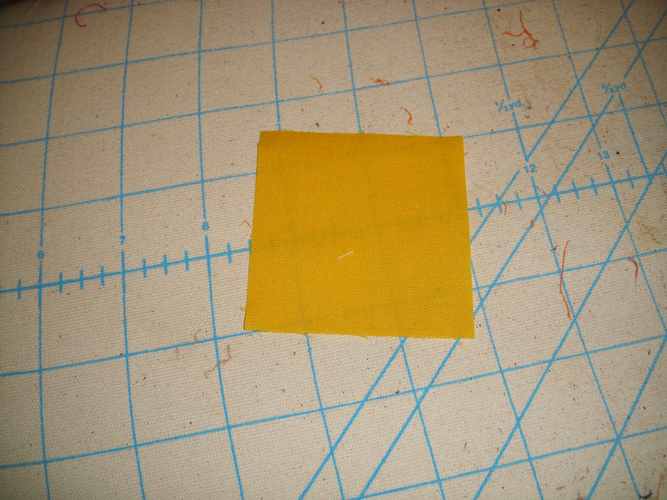
As I was trimming the batting and backing from the quilt I had to move the rest of the 2.5” strip of gold that I had used to cut the 4 corner squares. So I decided to sub-cut it into 8 2 ½” squares to make prairie points to add to the table runner. After sub-cutting the 2 ½” squares take them to the ironing board and press them.
(Click Image to Enlarge)
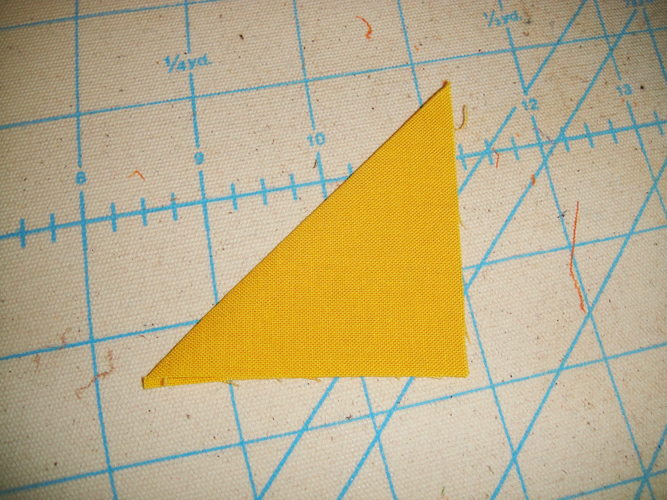
Step 28:
Fold them diagonally and press again.
(Click Image to Enlarge)
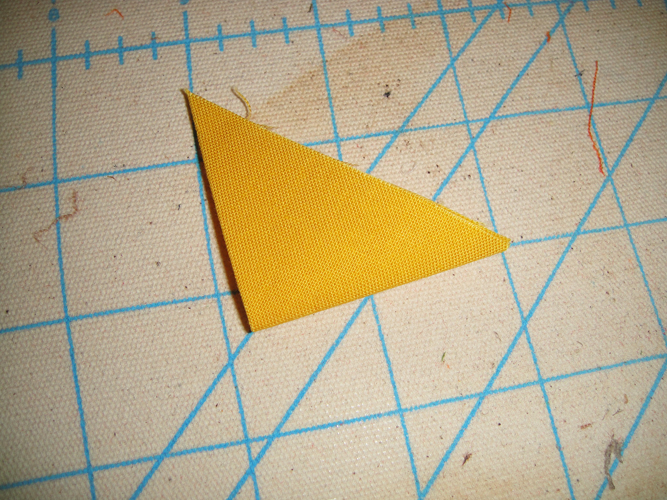
Step 29:
Fold diagonally again and press well.
(Click Image to Enlarge)
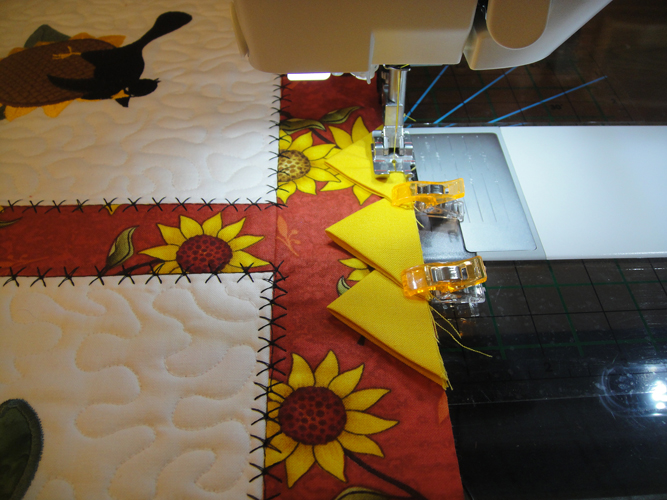
Step 30:
Align the prairie points in a random, but planned, manner along the edges of the table runner. You can see that I aligned three along the bottom of the first sashing strip and at the top of the last sashing strip, one prairie point was placed at the top left sashing strip and one was placed at the bottom right of the center block. You may put yours where ever you like. Baste them into place with a scan ¼” seam
(Click Image to Enlarge)
Step 31:
Cut 4 binding strips the width you prefer to work with, these were but at 2.25” and bind with your favorite method.
(Click Image to Enlarge)
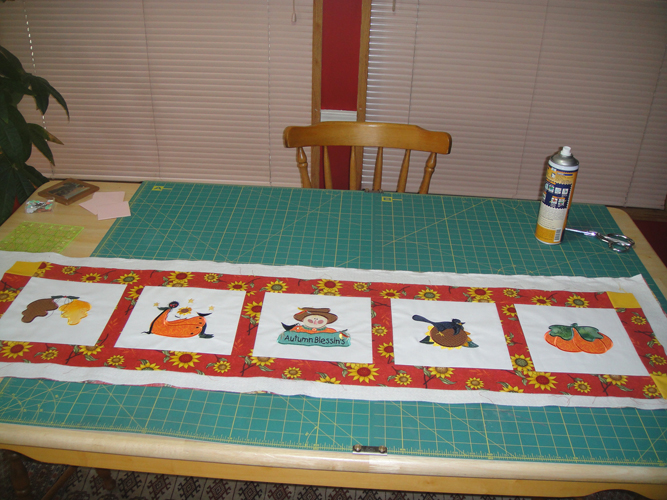
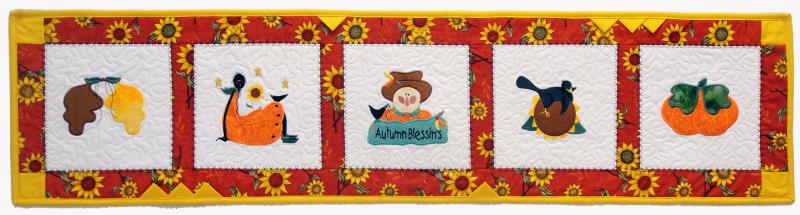
Step 32:
Congratulations your Autumn Blessin’s table runner is complete, I hope this project has inspired you to become more familiar with the amazing features of your sewing machine.
Award winning Digitizer, Embroidery Educator, Author and a Consultant to the Industry, Pat Williams has 30 years of experience in the embroidery industry. Pat has won multiple awards for her digitizing expertise including the 2007 Impressions Awards Grand Championship, Best of Show as well as the 1st and 2nd Place Awards. Pat’s love of digitizing has afforded her the opportunity to write numerous articles for Impressions magazine in the United States and Images Magazine in Europe. In 2001 Pat was named “Embroidery Educator of the Year.” For many years Pat taught digitizing seminars at the ISS Shows in Long Beach, CA and for Compucon software. She now resides in Tucson, AZ.