{{superHeaderAds.title}}
Live Chat
Embroidery Designs
Welcome, Embroiderer
Login
Conversation Hearts Crazy Quilt Box
{{mainImageAlt || (productInfo._source && productInfo._source.name) || ''}}

Conversation Hearts Crazy Quilt Box Embroidery Project

By   Ramona Baird   on   January 11, 2016

PROJECT DETAILS

SKILL LEVEL
Experienced
TIME REQUIRED
05:15
Description

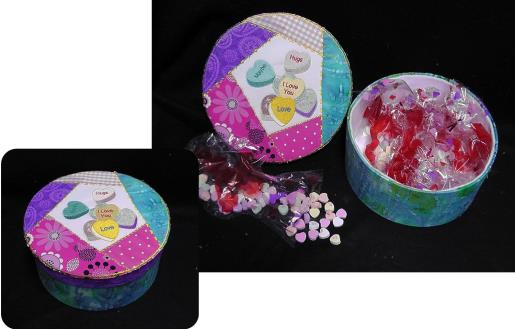
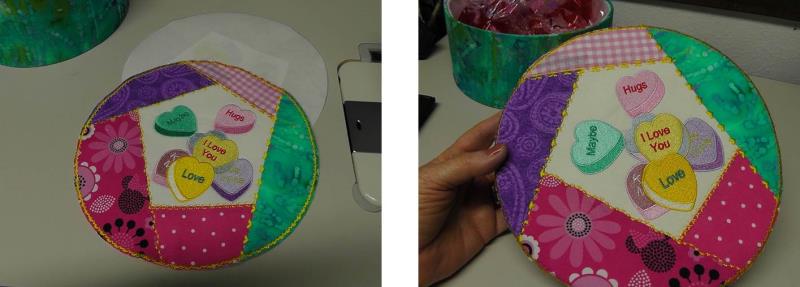
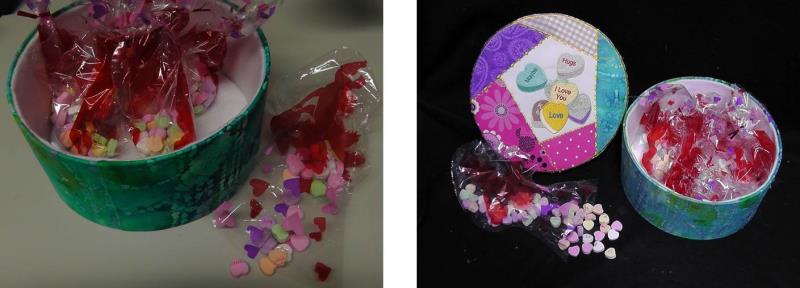
Create a Valentine box to hold candy hearts or other goodies.

Project Preview Video

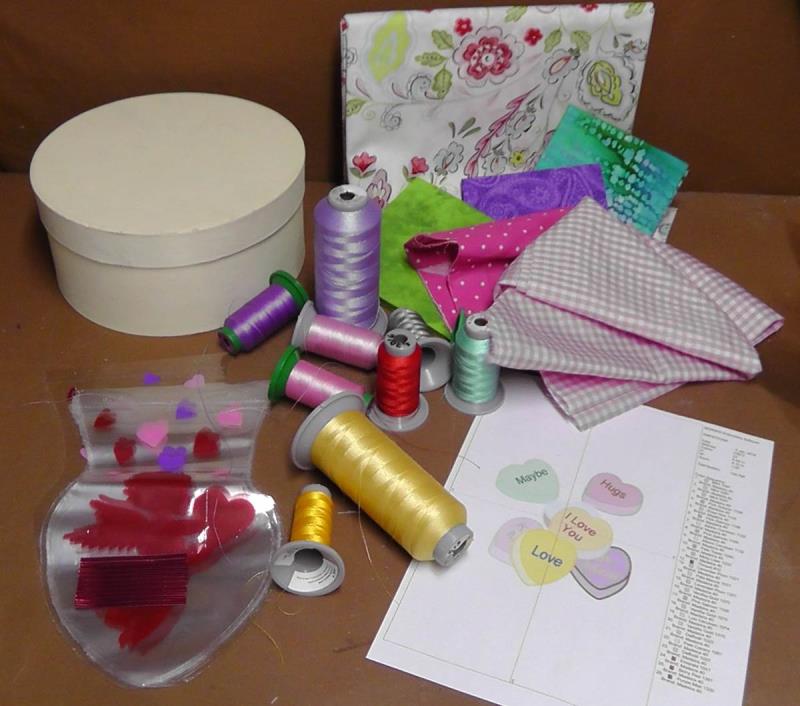
Materials
  • Paper mache box (round 9” diameter used for project)
  • White cotton fabric for stitching embroidery design
  • Fabric scraps for box top
  • Fabric for outside of box and box top
  • Felt or fleece for inside of box bottom and sides, inside lid and underside of box
  • Spray fabric adhesive, Hot glue gun and glue sticks or other fabric/paper glue, or combination
  • Embroidery thread
  • Cutaway stabilizer
  • Candy bags
  • Conversation candy hearts

  • Designs used in this project

    Final Product: What You Will Create

    Preface:
    Paper mache’ boxes vary in sizes. The instructions given for this project will show how to do it, but measure and purchase fabrics (or this is a good “stash buster” project) after the box is chosen. Any method(s) may be chosen to glue the fabric to the box (spray adhesive, tacky glue, glue gun, etc.); just be sure the glue makes a permanent adhesion between the paper mache’ box and the fabric. Coordinate the colors in the fabrics and embroidery threads.


    Step 1:
    Read through the instructions and purchase the instructions before beginning. Any size and shape paper mache’ box may be chosen, just be sure the box is several inches larger than the embroidery design. 

    (Click Image to Enlarge)


    Step 2:
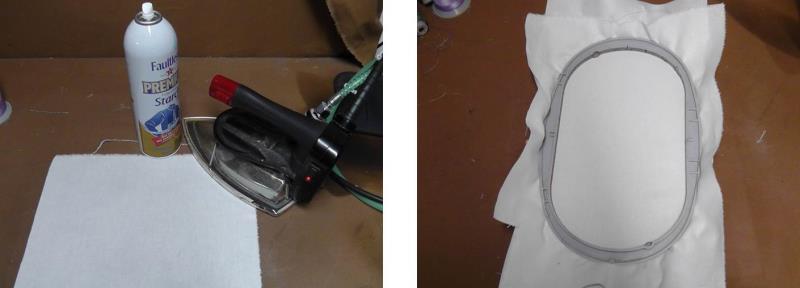
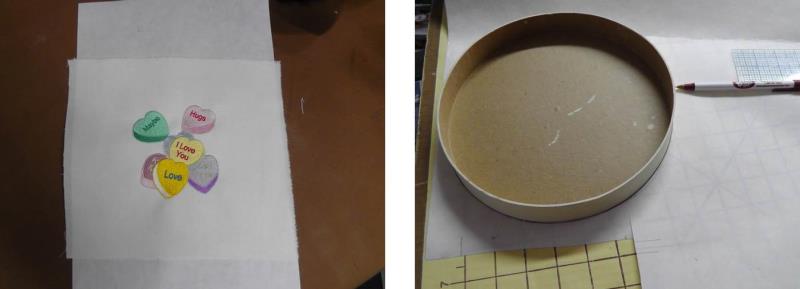
    Cut a piece of fabric large enough to hoop and press it well. Hoop the fabric with cutaway stabilizer larger than the diameter of the box top. The stabilizer will be kept as a permanent part of the project.

    (Click Image to Enlarge)


    Step 3:
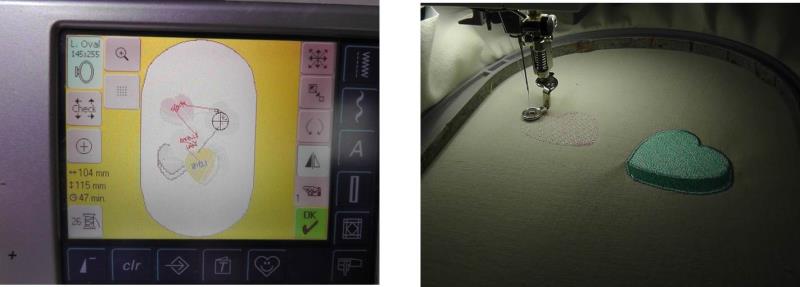
    Load the design “Candy Hearts” on the machine and stitch the design following the color sequence. 

    (Click Image to Enlarge)


    Step 4:
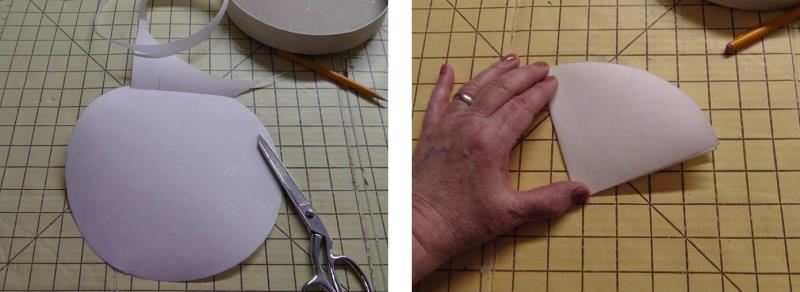
    Remove the finished embroidery design from the hoop and press well (leave the stabilizer intact). Either on paper or a piece of stabilizer trace around the lid of the box; this will be used as a pattern for cutting the fabrics.

    (Click Image to Enlarge)


    Step 5:
    Cut out the pattern and quarter fold it. The folds will aid in aligning the embroidery design to the center of the lid.

    (Click Image to Enlarge)


    Step 6:
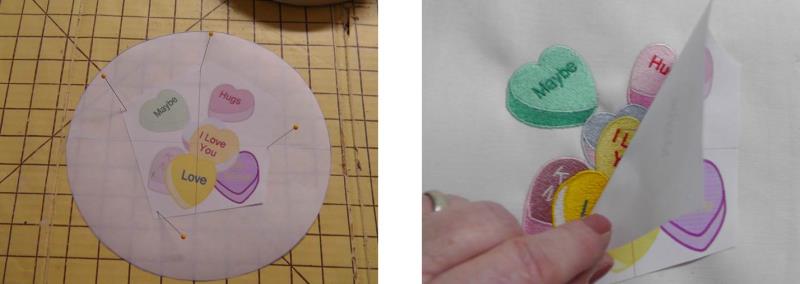
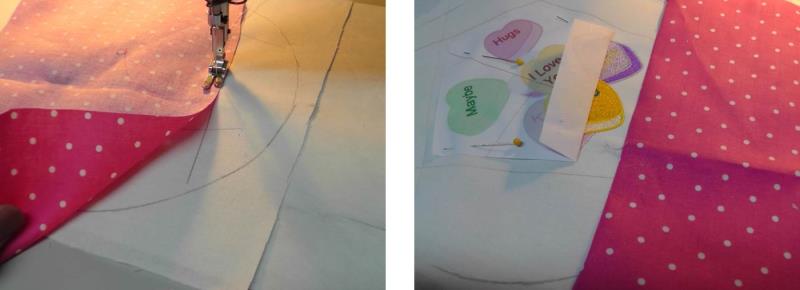
    Cut the paper template so it has five sides. Align the paper template crosshairs to the folds on the pattern; this will center the design like it will be on the lid. Remove the paper design and align it over the embroidery design and pin it in place. 

    (Click Image to Enlarge)


    Step 7:
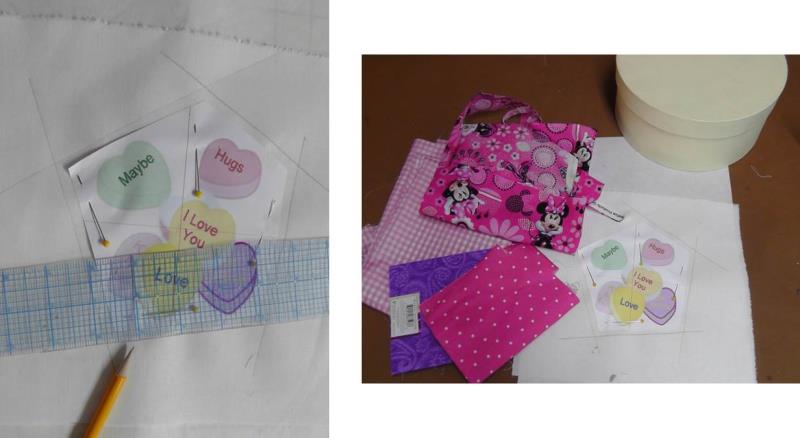
    Use a ruler to draw about ¼” outside of the five sides. Choose the fabrics for the box top to make the crazy quilt patches.

    (Click Image to Enlarge)


    Step 8:
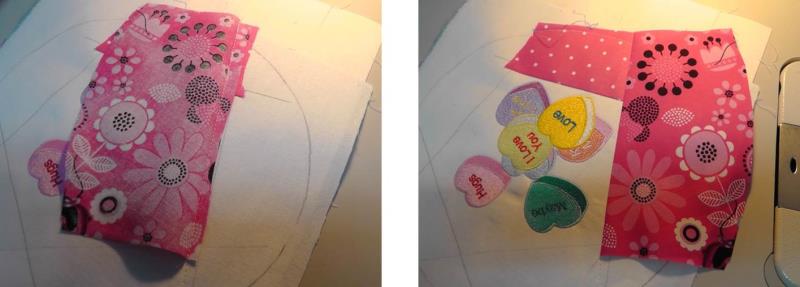
    Beginning at one line, place the fabrics right sides together and match the cut straight edge of the fabric to the drawn line. Stitch the fabric through all layers using a ¼” seam allowance. Press the fabric away from the embroidery.

    (Click Image to Enlarge)


    Step 9:
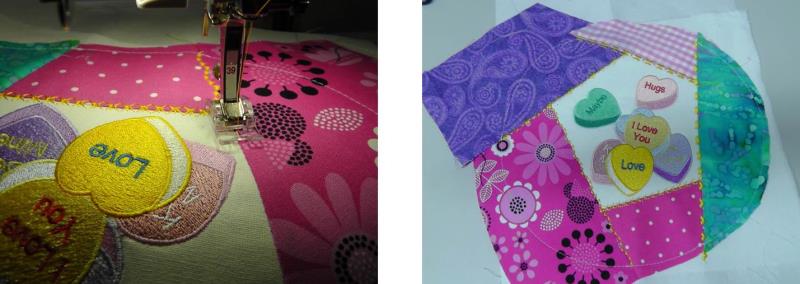
    Working in a clockwise direction, repeat the steps to create a crazy quilt pattern all around the embroidery using the chosen fabrics.

    (Click Image to Enlarge)


    Step 10:
    On the regular sewing machine, use decorative stitches to sew over the seam lines.

    (Click Image to Enlarge)


    Step 11:
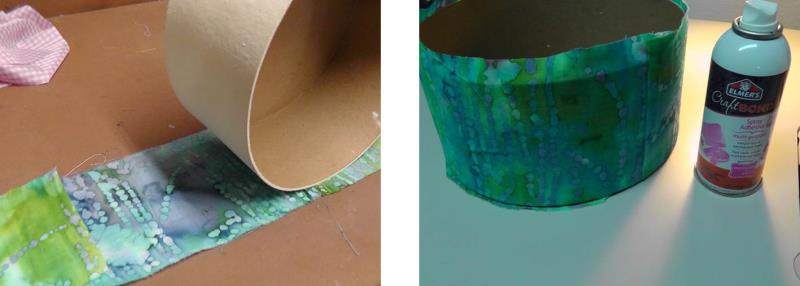
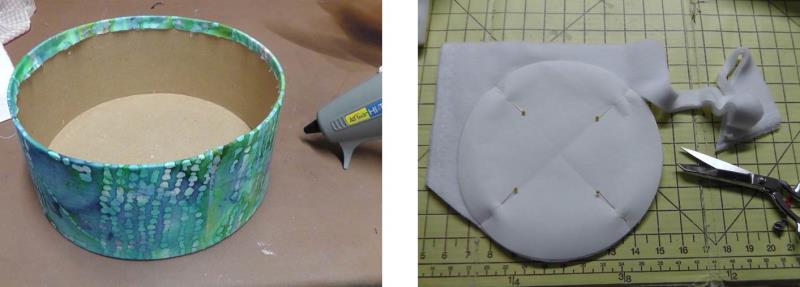
    Measure the depth and around the box bottom. Cut a piece of fabric the depth of the box plus 1 ½” and the length equal to the measurement around the box plus ½”. Use adhesive to attach the fabric to the box, leaving equal amounts of fabric above and below the depth of the box. Wrap the fabric around the box, turning under to overlapping edge and secure in place.

    (Click Image to Enlarge)


    Step 12:
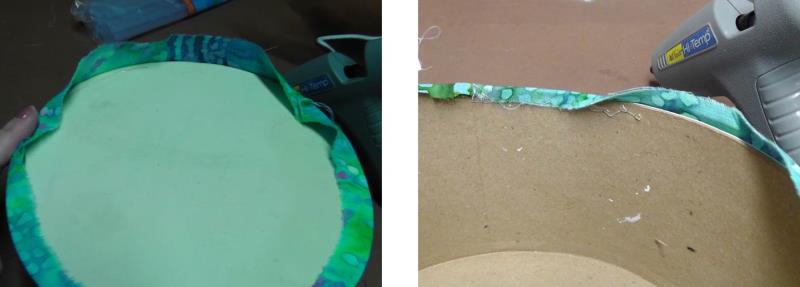
    Use glue to secure the cut edge fabric to the underside of the box and also to the inside of the top of the box.

    (Click Image to Enlarge)


    Step 13:
    Cut a piece of fleece (or felt) to wrap around the inside of the box wall and use the drawn pattern to cut three pieces of the fabric: one for the bottom inside of the box, one for the inside of the lid, and one for the underside of the box.

    (Click Image to Enlarge)


    Step 14:
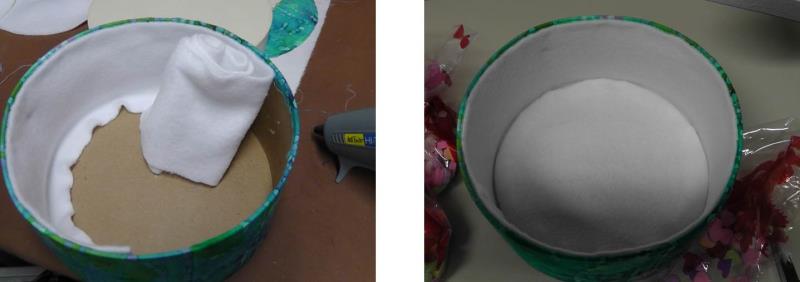
    Use glue to secure the fleece to the inside wall of the box and the bottom as shown.

    (Click Image to Enlarge)


    Step 15:
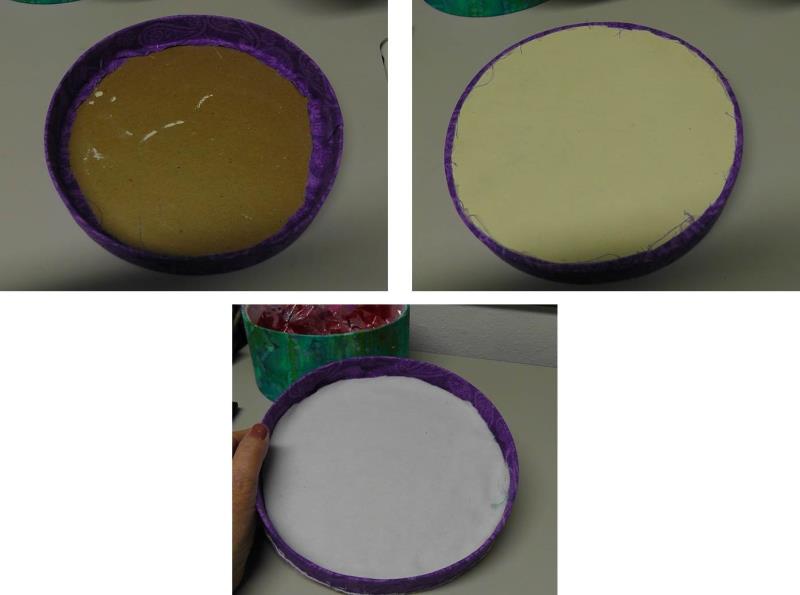
    Repeat for covering the lip of the box lid and glue the fleece to the inside of the box lid.

    (Click Image to Enlarge)


    Step 16:
    Use the paper pattern to the size needed for the box top. Use a decorative machine stitch to finish off the outer edge. Glue the crazy quilt top to the box top.

    (Click Image to Enlarge)


    Step 17:
    Fill the bags with candy and place them inside the box.

    (Click Image to Enlarge)


    Step 18:
    Place the lid on the box and give the box as a gift or to keep Valentine treats in your home.

    (Click Image to Enlarge)

    Meet the Author: Ramona Baird
    Ramona Baird
    Ramona Baird has been in the embroidery industry for over 23 years. She and her husband owned a commercial and retail embroidery store in Arizona for many years. She is an experienced digitizer having been mentored by award-winners Pat Williams and Lindee Goodall. Ramona is a contributor to “Creative Machine Embroidery” magazine having 5 covers to her credit. Ramona has worked for Wilcom America and served many years as Education Director for the American Sewing Guild. With a degree in fashion design, she is able to design and execute patterns which Pat Williams says are “out of the box” in creativity and application. Ramona likes to challenge the boundaries of embroidery and bring new and exciting designs, ideas, and projects to EmbroideryDesigns.com. She wants embroiderers of all levels to increase their skills and enjoyment in using their embroidery machine for gift-making and personal pleasure.
    More From This Author
    Link is Broken, Please check the URL
    Exclusive Embroidery Offers!
    Copyright © {{ currentDate | date:'yyyy'}} - EmbroideryDesigns.com
    GET 50% OFF! ×