{{superHeaderAds.title}}
Live Chat
Embroidery Designs
Welcome, Embroiderer
Login
Monograming Men’s Handkerchiefs
{{mainImageAlt || (productInfo._source && productInfo._source.name) || ''}}

Monograming Men’s Handkerchiefs Embroidery Project

By   Pat Williams   on   December 28, 2015

PROJECT DETAILS

SKILL LEVEL
Some Experience
TIME REQUIRED
00:30
Description

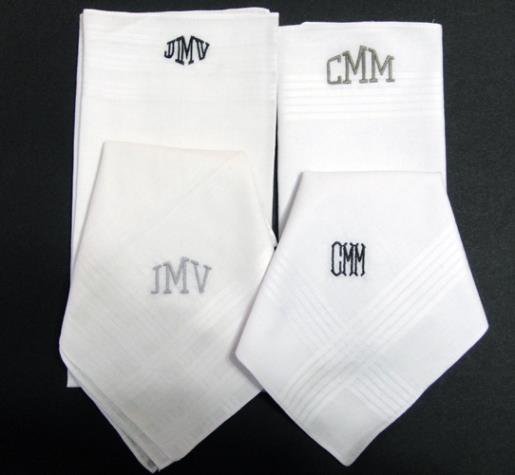
Elegant gifts for the men in your life are quickly created by monogramming handkerchiefs. These are great gifts for Christmas, Father’s Day, birthdays or for groomsmen for weddings.

Project Preview Video

Materials
  • Package of Men’s Handkerchiefs
  • Fibrous water soluble stabilizer such as Wet N’ Gone®
  • Embroidery threads of choice
  • Embroidery software and/or machine with monogramming options
  • Optional: purchased monogramming embroidery alphabets
  • Extra handkerchiefs or small amount of batiste fabric for test sewing
  • Spray adhesive
  • Frixion® pen or fabric marker

  • Designs used in this project

    Final Product: What You Will Create

    Preface:

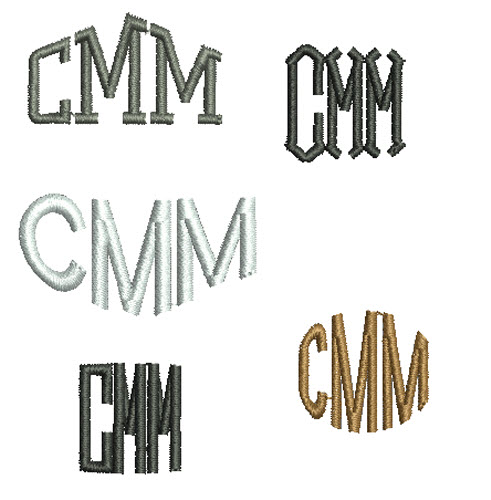
    You can create the monograms for your men’s handkerchiefs in most of the embroidery software packages on the market; check your user’s manual for instructions. If you do not have embroidery software check the manual for your embroidery machine most machines can generate the series of letters you need as well as borders and ornaments to complete your monogram. There are also many monogramming alphabets available on this website. Check the size of the letters before purchasing any particular font to make sure it will stitch well at the size you intend to monogram the handkerchiefs. A font that is designed to be 3” in height will not be the best choice if you want to make your monograms 5/8” of an inch tall. You can make the monograms any size you choose but a height size of 5/8” or 17.15mm was used in the samples pictured here.

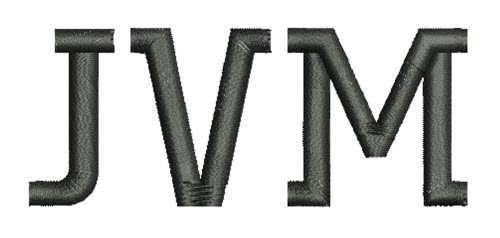
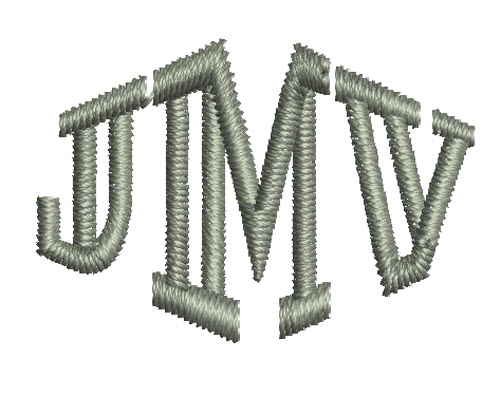
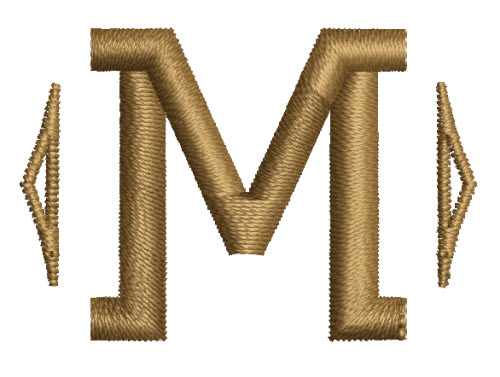
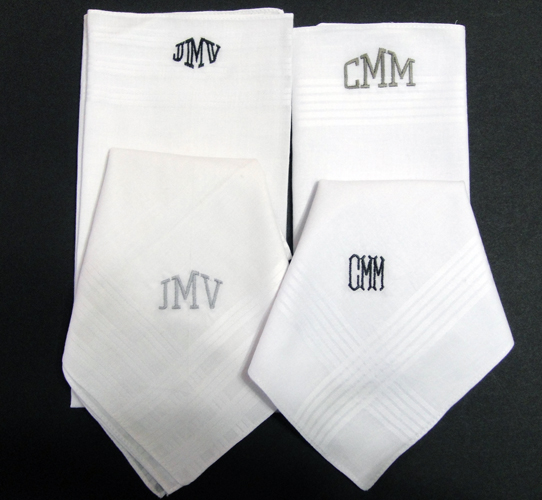
    Monograms for men’s handkerchiefs traditionally take three different forms.


    Step 1:
    The three initials can be stitched in their natural order, i.e., for John Vincent Miller the initials can be sewn as JVM and all letters are of the same size.


    Step 2:
    A more formal presentation is with the last name stitched as a larger initial in the center, the initial of the first name on the left and the initial of the middle name on the right in smaller sizes, i.e., JMV.


    Step 3:
    Either the first or last initial may be used by itself with or without ornaments on the sides to embroider the men’s handkerchiefs.


    Step 4:
    As you explore your embroidery software or lettering package make up various forms of the monogram styles available to you to see which pleases you most. A slightly heavier density of 3.8 worked well on these monograms. Purchase a few extra handkerchiefs or test sew on batiste fabric before stitching on your project.


    Step 5:
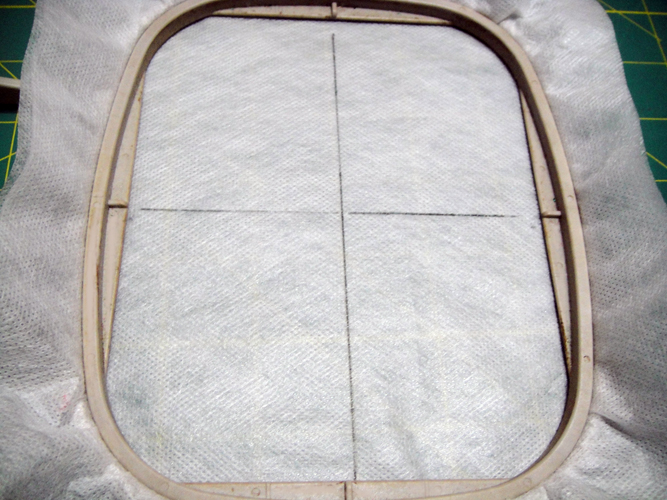
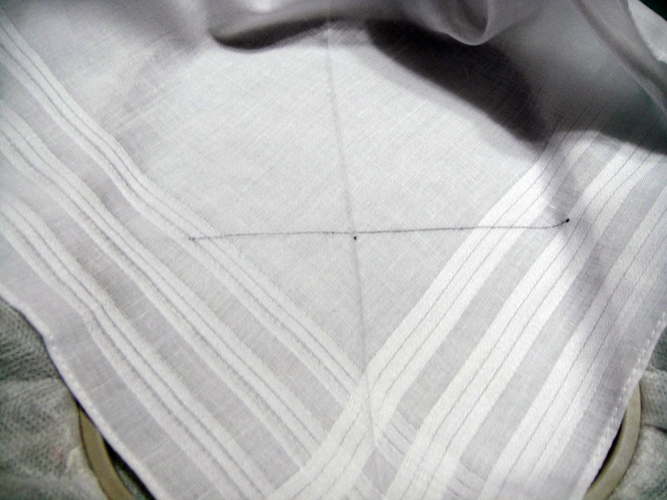
    To embroider the monogram hoop two layers of fibrous water soluble stabilizer; mark the vertical and horizontal centers with a water or heat soluble marker.

    (Click Image to Enlarge)


    Step 6:
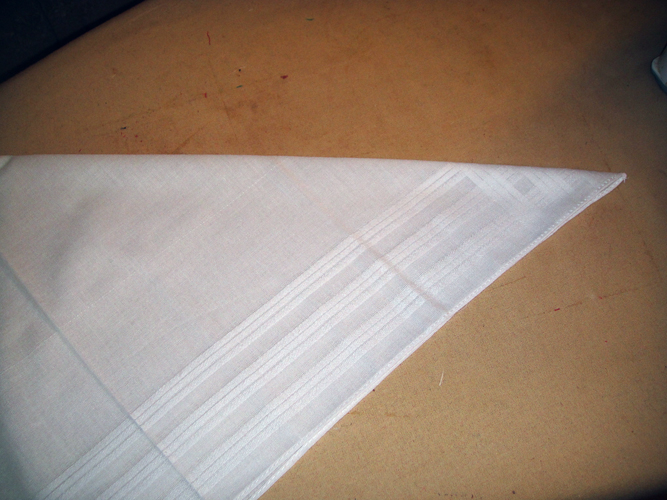
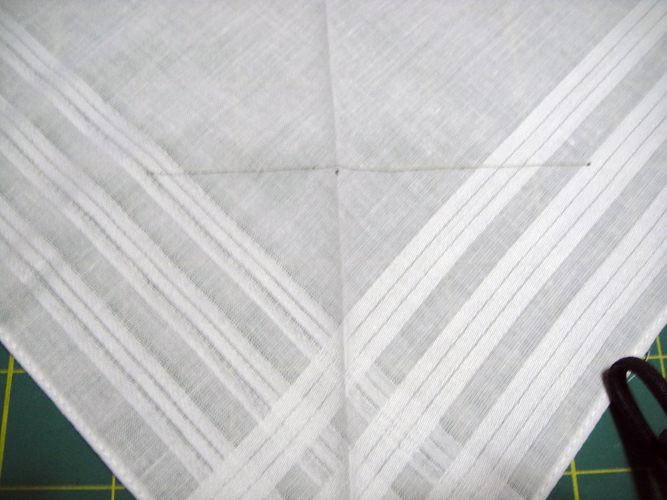
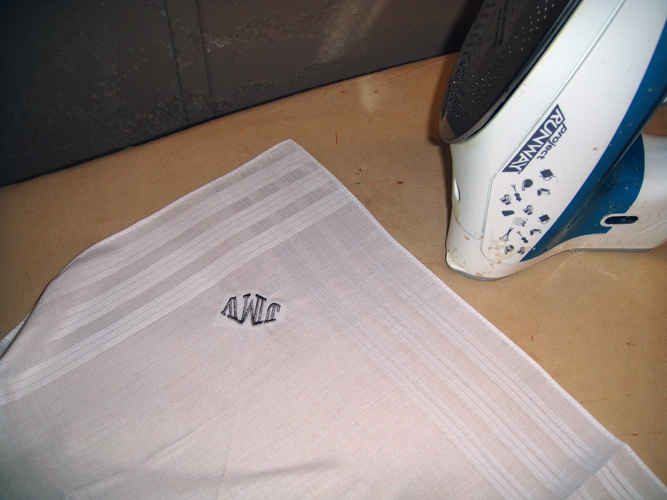
    Monograms traditionally are placed in the corner of the handkerchief though they can be placed along a straight edge. For this sample the monogram will be placed on point in the corner. To prepare the handkerchief fold the handkerchief on the diagonal from one corner to the other. Press lightly with a dry iron to set a center line just in the corner in which you will be stitching.

    (Click Image to Enlarge)


    Step 7:
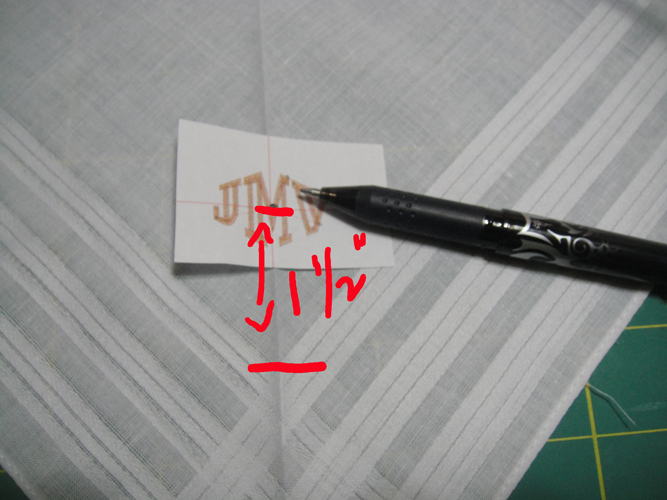
    A template is useful to determine where you want to place the monogram, but if you can’t print yours out all of the samples were stitched with the center of design being 1 ½” above the stripes on the handkerchief corner. Make a mark on the handkerchief 1 ½” above the stripe junctions.

    (Click Image to Enlarge)


    Step 8:
    Draw a horizontal line across the mark just made with heat or water soluble pen.

    (Click Image to Enlarge)


    Step 9:
    Spray a little adhesive on the back of the handkerchief corner and align the crease and horizontal lines with the lines previously drawn on the stabilizer. The handkerchiefs are transparent enough that you should be able to see right though it to smooth the fabric into place.

    (Click Image to Enlarge)


    Step 10:
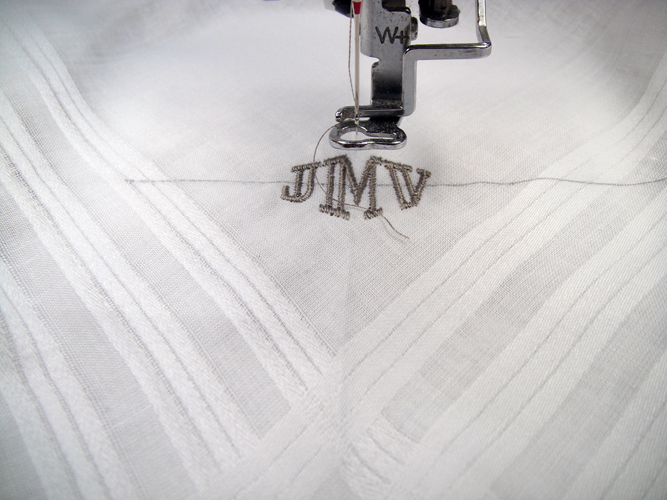
    Align the sewing machine needle to the center point you have marked and stitch the design.

    (Click Image to Enlarge)


    Step 11:
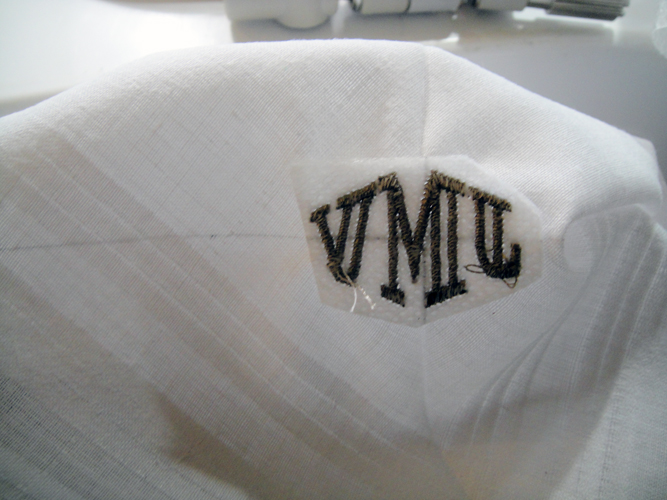
    Remove the project from the hoop; trim the stabilizer close to the monogram; trim the tie-in and tie-off thread tails too without cutting the knot that joins the threads.

    (Click Image to Enlarge)


    Step 12:
    If you used a heat removable marker to draw your lines remove them at this time with a dry iron.

    (Click Image to Enlarge)


    Step 13:
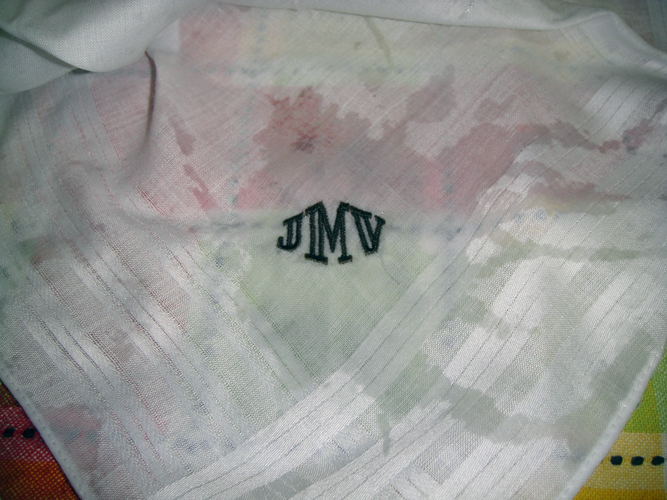
    Run a little hot water on the stabilizer to remove and lay the handkerchief on a cotton towel to dry; press again when dry and fold.

    (Click Image to Enlarge)


    Step 14:
    Congratulations your men’s monogramed handkerchiefs are complete!

    (Click Image to Enlarge)


    For love of embroidery…
    Pat Williams
    Meet the Author: Pat Williams
    Pat Williams
    Award winning Digitizer, Embroidery Educator, Author and a Consultant to the Industry, Pat Williams has 30 years of experience in the embroidery industry. Pat has won multiple awards for her digitizing expertise including the 2007 Impressions Awards Grand Championship, Best of Show as well as the 1st and 2nd Place Awards. Pat’s love of digitizing has afforded her the opportunity to write numerous articles for Impressions magazine in the United States and Images Magazine in Europe. In 2001 Pat was named “Embroidery Educator of the Year.” For many years Pat taught digitizing seminars at the ISS Shows in Long Beach, CA and for Compucon software. She now resides in Tucson, AZ.
    More From This Author
    Link is Broken, Please check the URL
    Exclusive Embroidery Offers!
    Copyright © {{ currentDate | date:'yyyy'}} - EmbroideryDesigns.com
    GET 50% OFF! ×