


PROJECT INSTRUCTIONS


PROJECT INSTRUCTIONS

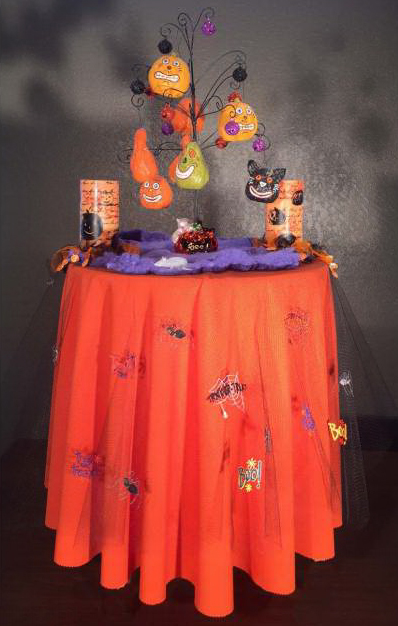
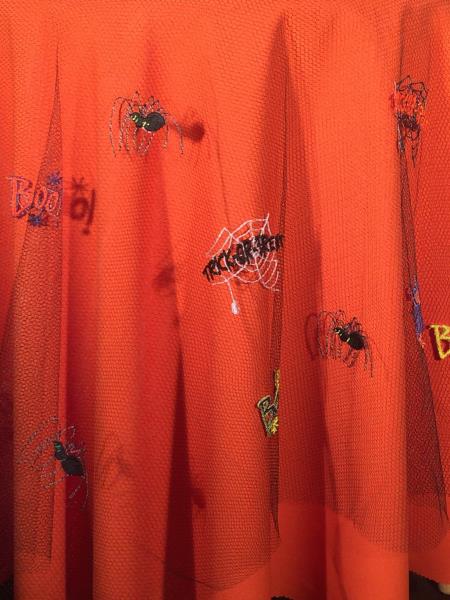
Halloween Tablecloth Overlay Embroidery Project
By
Ruth Vangrowski
on
October 08, 2015
PROJECT DETAILS
SKILL LEVEL
Some Experience
TIME REQUIRED
04:30
Description
Nylon Netting Embroidered Tablecloth Overlay for Party tables, entry table or treat table.
Project Preview Video

SELECT COLORS
Robison Anton Moonglow Thread - 40 wt -500 Yds
$26.99
Circle Price: $26.99

TRICK OR TREAT
$3.89
$1.95
Circle Price: $1.95

BOO
$3.89
$1.95
Circle Price: $1.95

DADDY LONG LEGS SPIDER
$3.89
$1.95
Circle Price: $1.95

TRICK OR TREAT COBWEB
$3.89
$1.95
Circle Price: $1.95


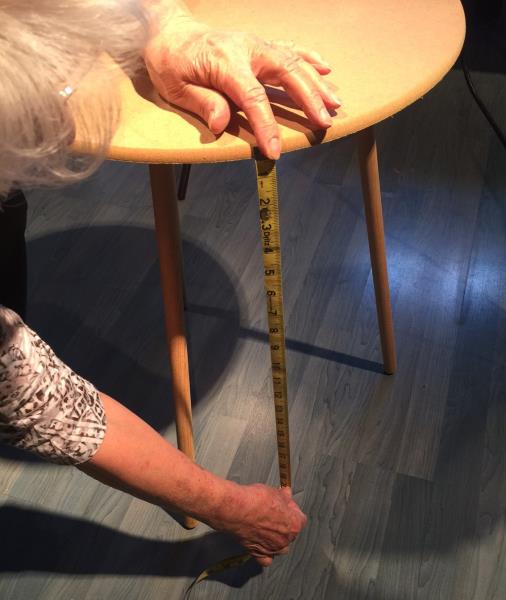
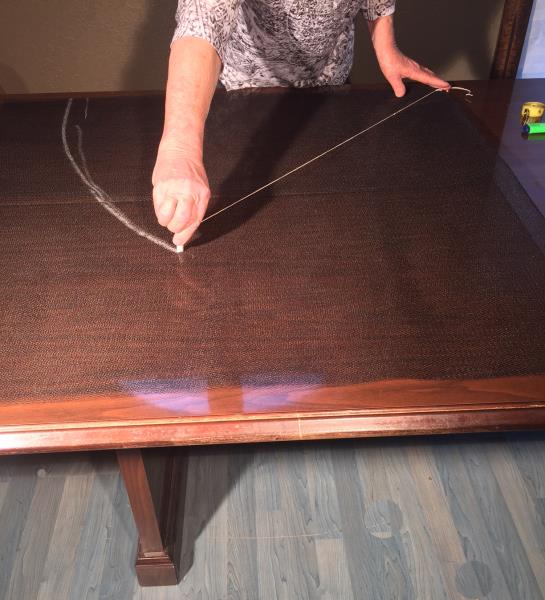
| Materials 2 yards of 72" wide Nylon Netting Extra Heavyweight water soluble stabilizer Embroidery Designs |
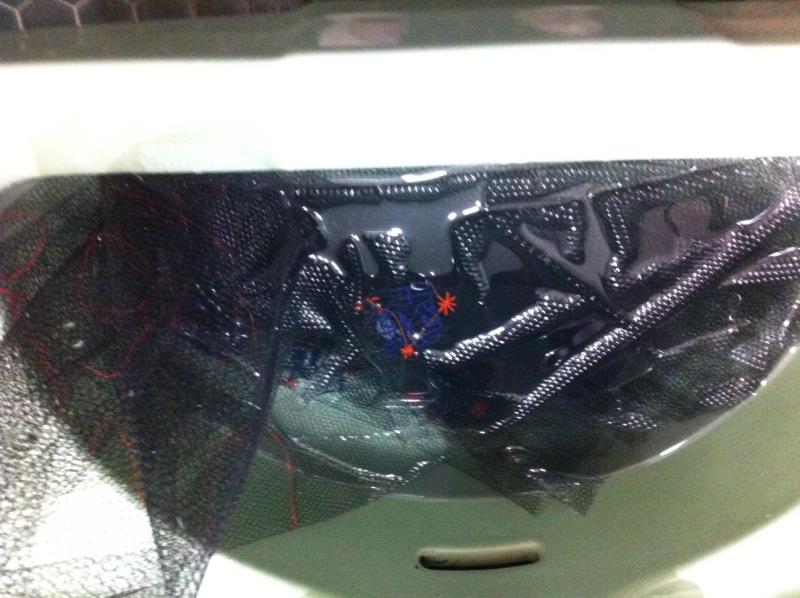
| Designs used in this project |
| Final Product: What You Will Create |
 |
|
Projects You May Like
Meet the Author:
Ruth Vangrowski

Ruth works for Great Notions. Has been sewing for over 50 years and embroidering for more than 30 years.
Feedback
Characters Remaining
Please Login to Submit a Feedback
Invalid Characters, Please enter a valid Comment
Please enter a valid Comment
Reviewed On
Link is Broken, Please check the URL