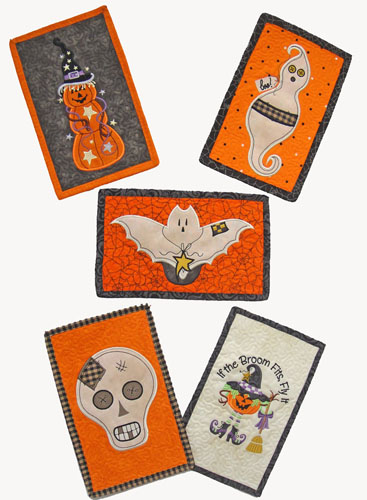
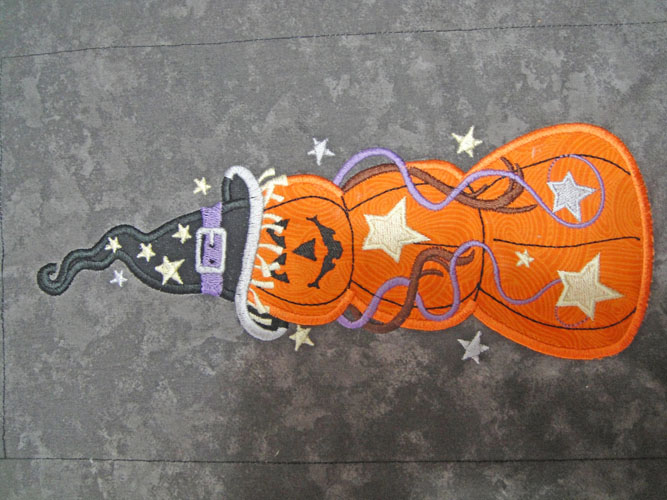
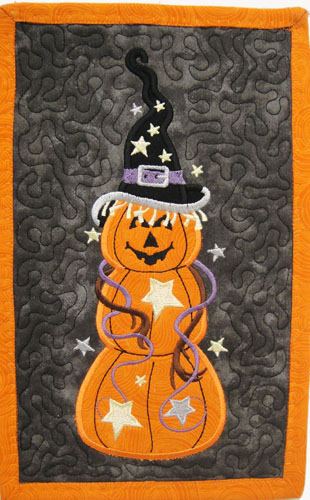
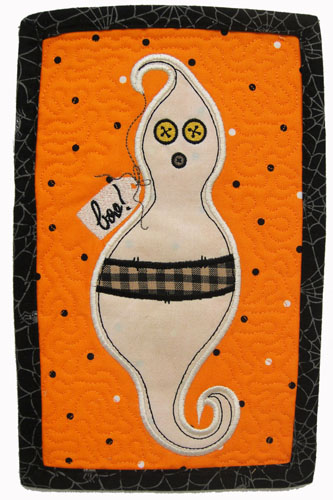
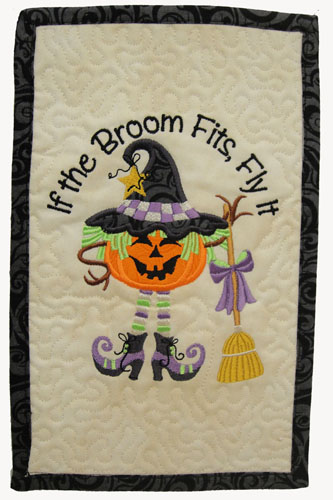
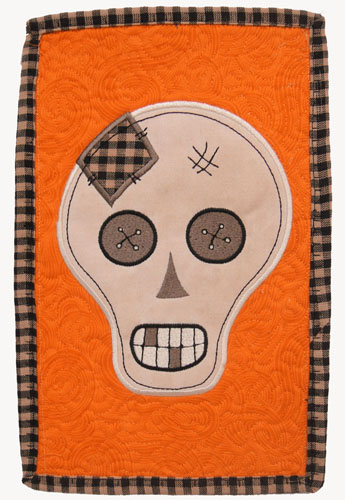
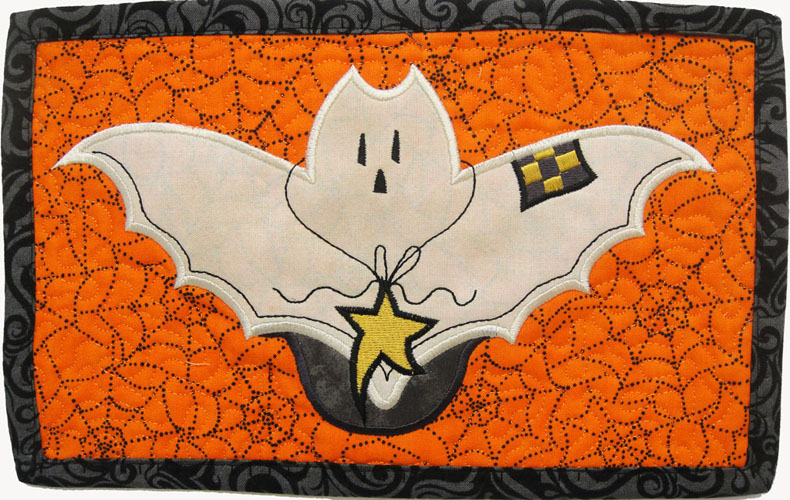
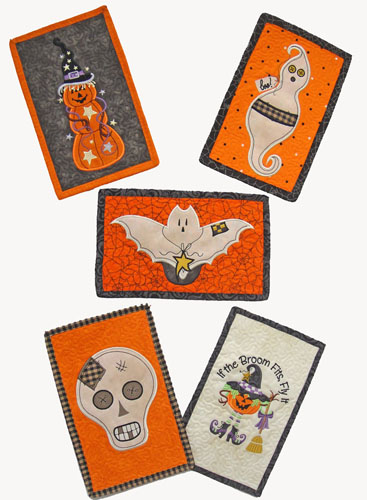
Add a little spook to your Halloween with these great mug mats. Stitch & Trim or pre-cut appliques can be used. The applique and quilting are done in the hoop and only the binding is added with your sewing machine. SVG, FCM and PDF files included.
The time given is for one mug mat though the ones with the lower stitch counts will take you less time. The appliques can be precut or you can use the stitch and trim method. The appliques in the samples were cut with the Scan N Cut. The pictures in the instructions show a 12” x 8” hoop, as that is what I have, but the dimensions of the mug mats are deemed appropriate for a 6” x 10” hoop. The applique designs are also listed as separate designs without the outline and quilting lines used in the mug mat so that you can applique the large spooky designs on any other project of your choosing.
Step 1:
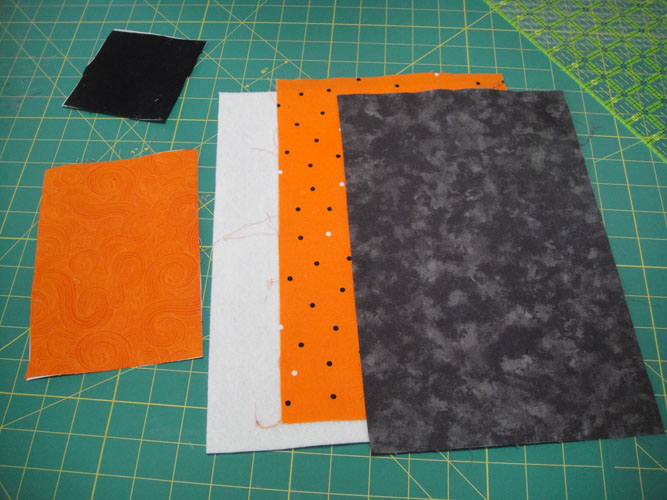
For each mug mat cut:
a. 1 8” x 12” rectangle of Battilizer®
b. 1 8” x 12” rectangle of front fabric
c. 1 8” x 12” rectangle of back fabric
d. For HAPH01 cut 4” x 4” square of hat fabric
e. For HAPH01 cut a 5” x 7” rectangle of body fabric
f. Poly mesh stabilizer to fit your embroidery hoop
(Click Image to Enlarge)
Step 2:
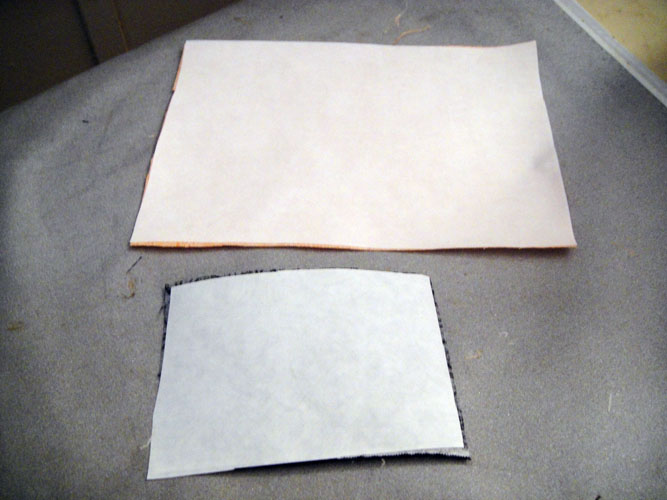
Spray with Magic Sizing or Best Press on the front and back fabric and iron. Spray and iron the applique pieces four times with the Magic Sizing (this helps prevent fraying of the applique pieces. Following the manufacturer’s instructions cut and iron Heat N Bond Lite® to the back sides of the applique pieces. If using the stitch and trim method skip to Step 6.
(Click Image to Enlarge)
Step 3:
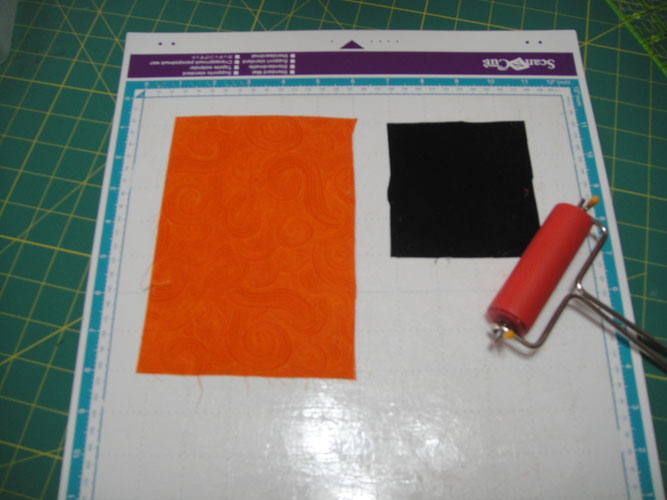
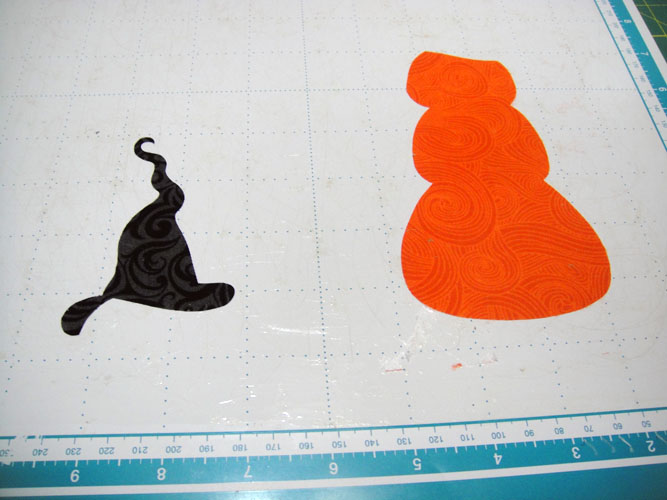
If using a Scan N Cut® remove the paper from the back of the applique pieces and place on the cutting mat. Roll with a brayer to remove any air bubbles.
(Click Image to Enlarge)
Step 4:
Cut the applique pieces. Though settings may vary Cut Speed of 4, Cut Pressure of 4, Blade depth of 4 was used to cut these pieces.
(Click Image to Enlarge)
Step 5:
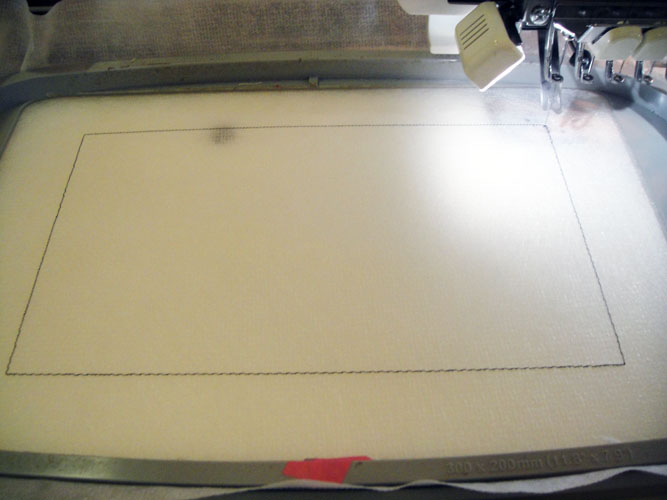
Hoop poly mesh stabilizer in your hoop; load design HAPH01 into your machine and run the 1st CS (color stop) for an outline of the mug mat; stitch this a color to match your front fabric.
(Click Image to Enlarge)
Step 6:
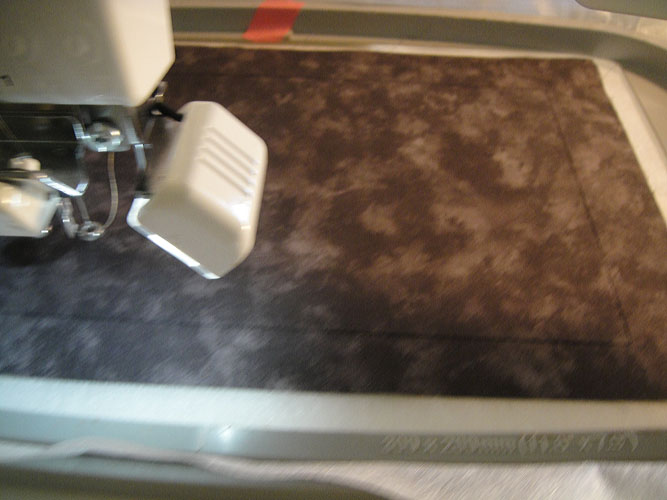
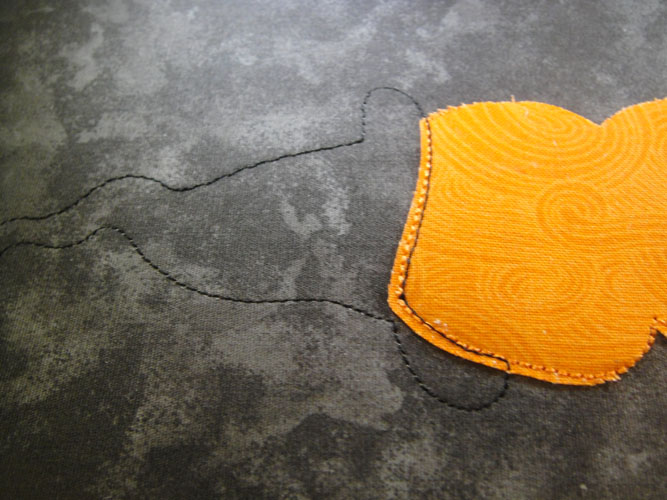
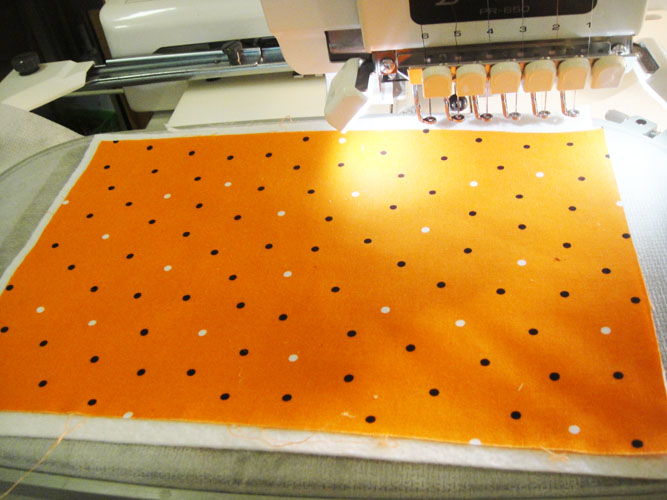
Spray adhesive on the wrong side of the front fabric; place over the outlines making sure the fabric exceeds the outlines by ½” on all sides. Run CS 2 in water soluble thread-preferred- or in a thread to match the fabric.
(Click Image to Enlarge)
Step 7:
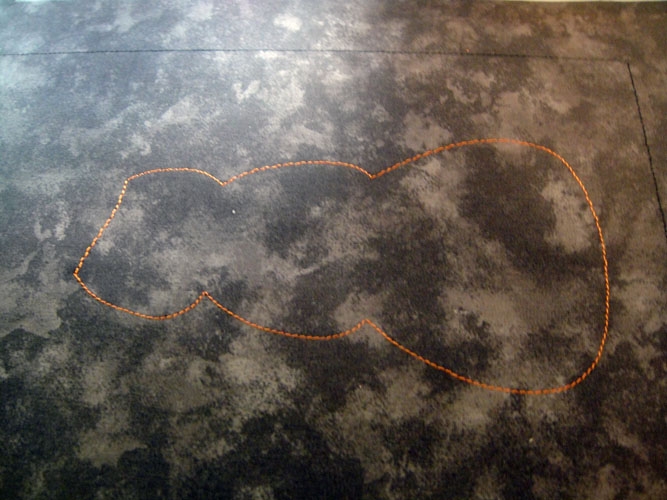
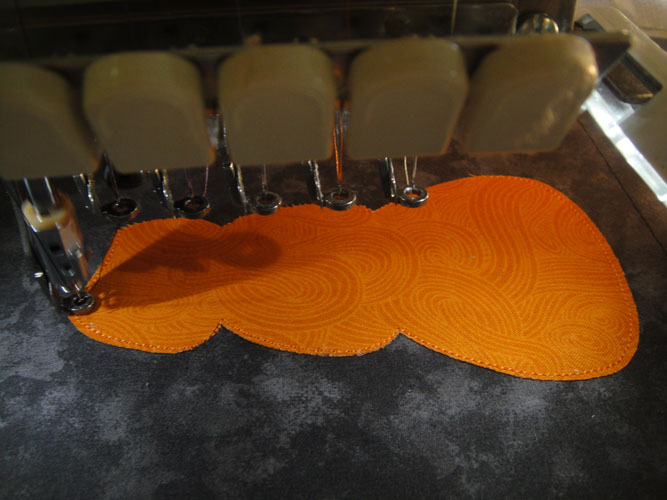
Run CS 3 in a color to match your body applique for an outline.
(Click Image to Enlarge)
Step 8:
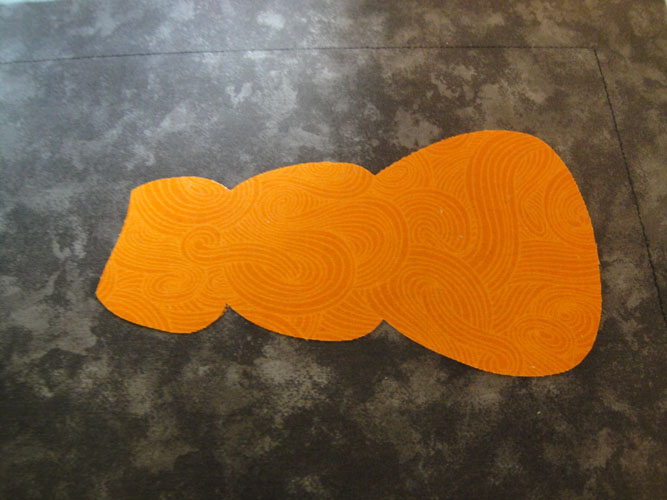
If using pre-cut appliques, place the applique and iron into position. If using the stitch and trim method; remove the Heat N Bond Lite® from the applique piece and place over the outlines, but do not iron yet.
(Click Image to Enlarge)
Step 9:
CS 4 is the tack down stitches for the body. If using the stitch and trim method, trim the applique fabric right up next to the outline stitches and then press the applique. If using precut appliques simply run this stitches as they will let you know if your applique is places correctly.
(Click Image to Enlarge)
Step 10:
CS 5 is the outlines stitches for the hat.
(Click Image to Enlarge)
Step 11:
Follow the color chart up until there are only two color stops remaining to complete the embroidered details of the design.
(Click Image to Enlarge)
Step 12:
Remove the hoop from the machine – do not unhoop – turn the hoop over; spray the Battilizer with adhesive spray and place over the outlines on the back side of the hoop; spray the back fabric with adhesive and place over the Battilizer®.
(Click Image to Enlarge)
Step 13:
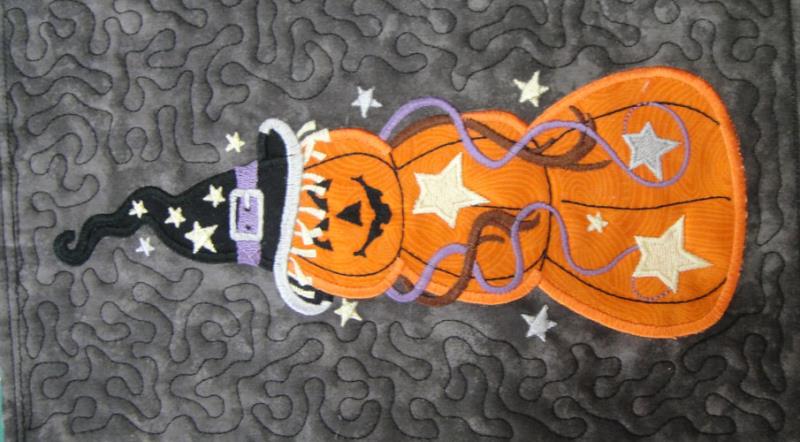
Run the next to last CS in water soluble thread (preferred) or in a color to match the front fabric to tack down the Battilizer® and back fabric; Run the last CS in a color to match the top fabric to quilt the mug mat.
(Click Image to Enlarge)
Step 14:
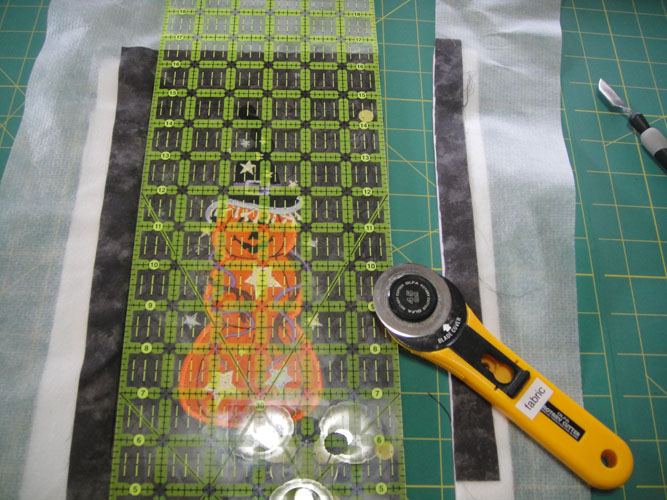
Remove the mat from the hoop; lay the ¼” mark of a ruler on the last outline stitches sewn and trim all edges to ¼”.
(Click Image to Enlarge)
Step 15:
(Click Image to Enlarge)
Apply binding using your preferred method.
Step 16:
(Click Image to Enlarge)
For mug mat HAPH02 cut the front, back and Battilizer® the same as in Step 1; cut a 0.5” x 5” rectangle for the ghost body; cut a 4” x 2” rectangle of homespun for the body stripe applique; assemble the mug mat using the techniques outlined above.
Step 17:
(Click Image to Enlarge)
For mug mat HAPH03 cut the front, back and Battilizer® the same as in Step 1; cut a charcoal rectangle 4” x 3” for the hat; cut a 2.5” x 3” rectangle for the face; assemble the mug mat using the techniques as outlined above.
Step 18:
(Click Image to Enlarge)
For mug mat HAPH04 cut the front, back and Battilizer® the same as in Step 1; cut the skull applique 7.5” x 6”, cut the patch applique 2.5” x 3”; assemble the mug mat using the techniques as outlined above.
Step 19:
For mug mat HAPH05 cut the front, back and Battilizer® the same as in Step 1; cut the bat applique 9.5” x 5.5”; cut the tail applique 2.5” x 4”; assemble the mug mat using the techniques as outlined above.
(Click Image to Enlarge)
Step 20:
File HAPH06 through HAPH10 are the applique files without the stitches that make the mat outlines and quilting. Applique these designs on any other projects using the above techniques in Steps 7 through 11.
Step 21:
(Click Image to Enlarge)
Congratulations your mug mats are complete! They will make great gifts and you can use them as miniature wall quilts as well!
Award winning Digitizer, Embroidery Educator, Author and a Consultant to the Industry, Pat Williams has 30 years of experience in the embroidery industry. Pat has won multiple awards for her digitizing expertise including the 2007 Impressions Awards Grand Championship, Best of Show as well as the 1st and 2nd Place Awards. Pat’s love of digitizing has afforded her the opportunity to write numerous articles for Impressions magazine in the United States and Images Magazine in Europe. In 2001 Pat was named “Embroidery Educator of the Year.” For many years Pat taught digitizing seminars at the ISS Shows in Long Beach, CA and for Compucon software. She now resides in Tucson, AZ.