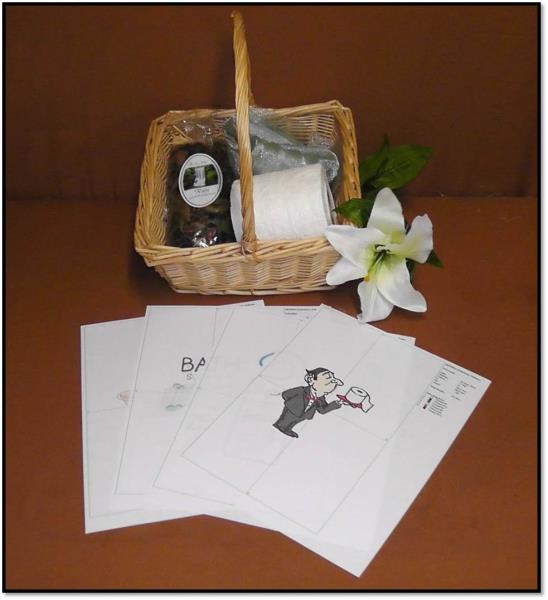
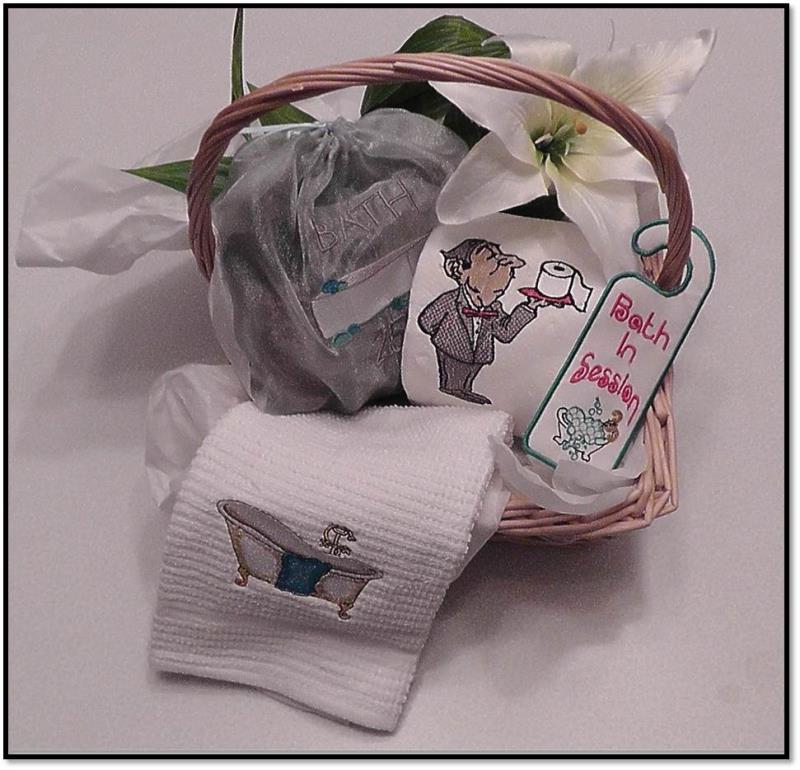
There are four embroidered items to this project: bathroom tissue, a hand towel, a door hanger, and a potpourri bag. Each item is embroidered than placed in the basket with tissue paper. If given as a gift, use shrink wrap around the basket and tie a bow for a beautiful gift.
Step 1:
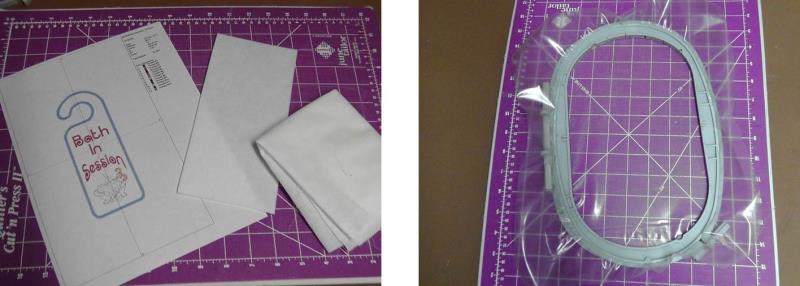
Gather the materials and read through the instructions before beginning. Print out templates of each embroidery design.
(Click Image to Enlarge)
Step 2:
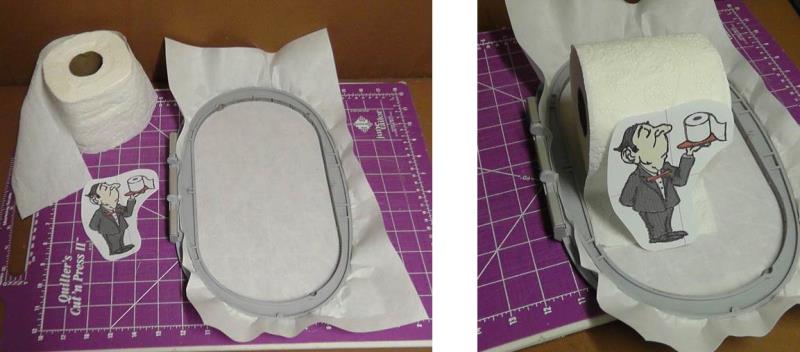
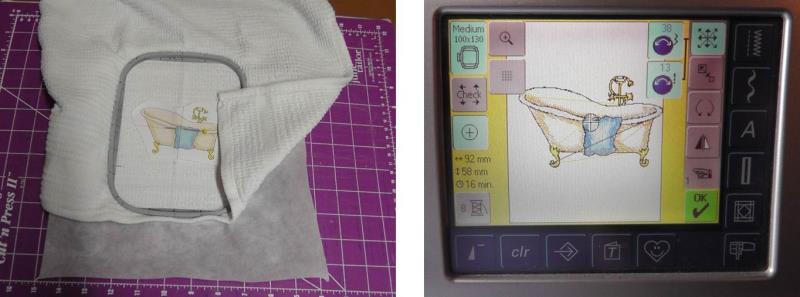
Begin by embroidering the bathroom tissue. Hoop a layer of medium weight cutaway stabilizer. Cut out the design template to aid in placement.
(Click Image to Enlarge)
Step 3:
Fold back three sheets of the bathroom tissue, then fold again creating three layers. The embroidery design will be stitched through these three layers.
(Click Image to Enlarge)
Step 4:
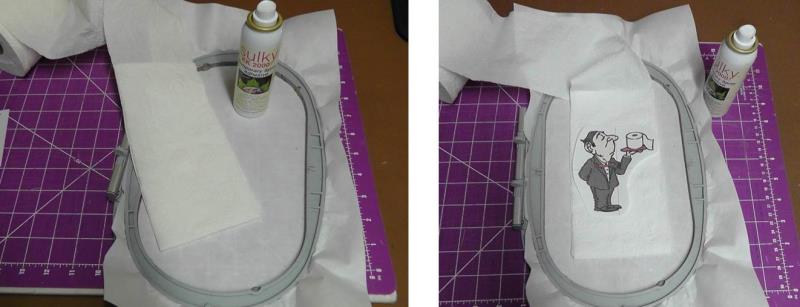
Use the temporary spray adhesive and spray between each layer lightly, and then spray the back of the tissue that is to be placed on top of the stabilizer. Align the hoop to a gridded mat (the lines will show through the stabilizer). Align the edge of the tissue to the grid seen through the stabilizer; this will keep it squarely in the hoop. Next align the paper template to the center of the tissue as shown.
(Click Image to Enlarge)
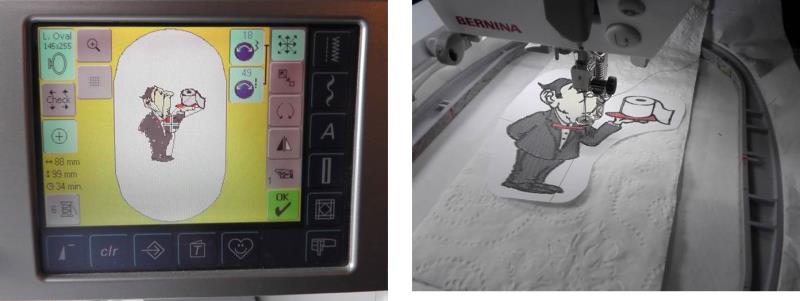
Step 5:
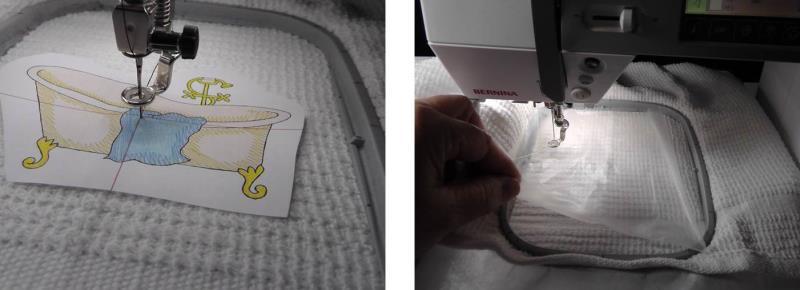
Load design “TP Butler” in the machine. Align the needle to the center of the template.
(Click Image to Enlarge)
Step 6:
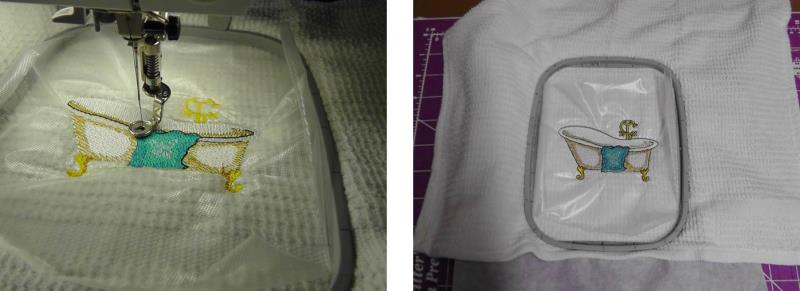
Remove the template and stitch the design following the color sequence. Slow the machine down while stitching. If during stitching the tissue should rip, rip off and discard that amount, refold and hoop a new section and begin again. When all the stitching is completed, carefully remove the stabilizer and tissue from the hoop.
(Click Image to Enlarge)
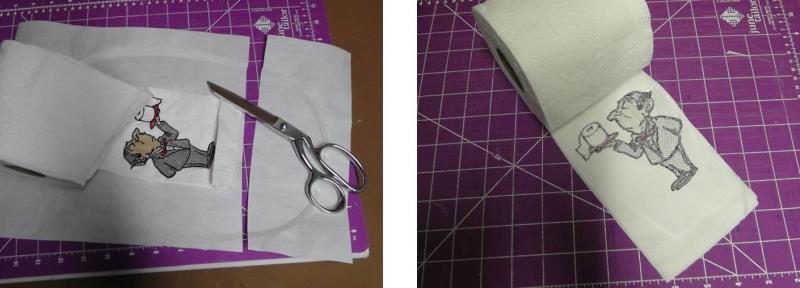
Step 7:
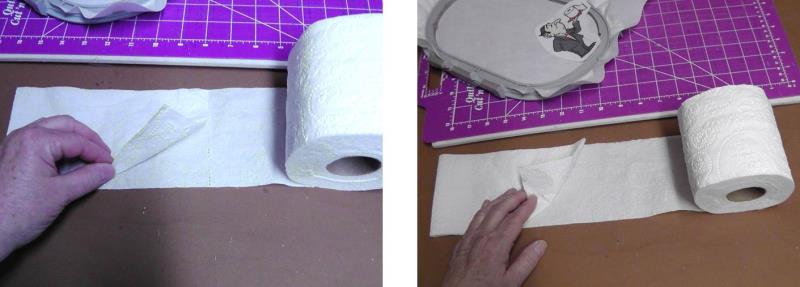
Fold back the tissue carefully and trim the stabilizer; leave a generous amount of stabilizer behind the tissue but make sure it doesn’t show beyond the edges of the tissue.
(Click Image to Enlarge)
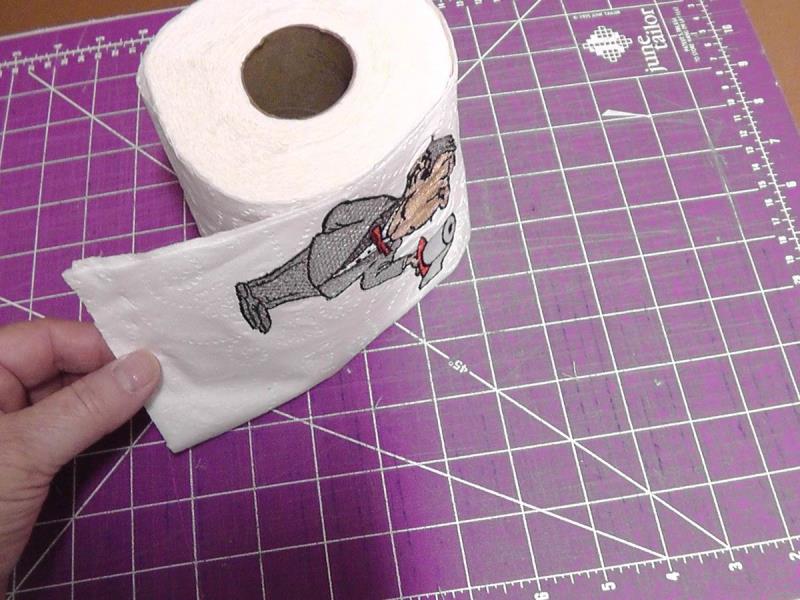
Step 8:
Fold the embroidered tissue section back into place. If desired, spray with adhesive to hold it in place or use a decorative pin.
(Click Image to Enlarge)
Step 9:
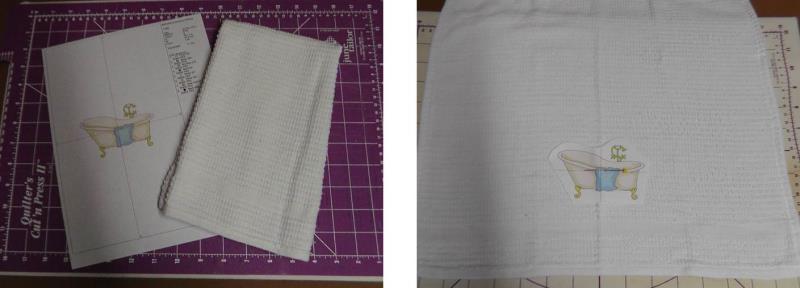
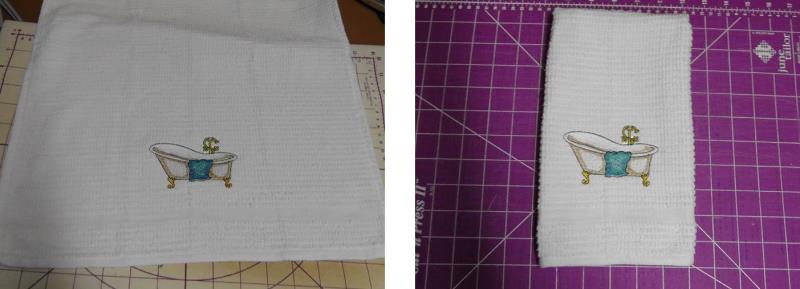
Next stitch the hand towel. Trim the template. Open up the hand towel and decide on the placement of the design on the towel, centered.
(Click Image to Enlarge)
Step 10:
Hoop the towel with one layer of tearaway stabilizer. Load the design “Bath Tub” on the machine.
(Click Image to Enlarge)
Step 11:
Align the needle to the center of the template. Remove the paper template and place a piece of water soluble stabilizer on top of the fabric.
(Click Image to Enlarge)
Step 12:
Stitch the design following the color sequence.
(Click Image to Enlarge)
Step 13:
Remove the stabilizers from around the design. Fold the towel for placement in the basket.
(Click Image to Enlarge)
Step 14:
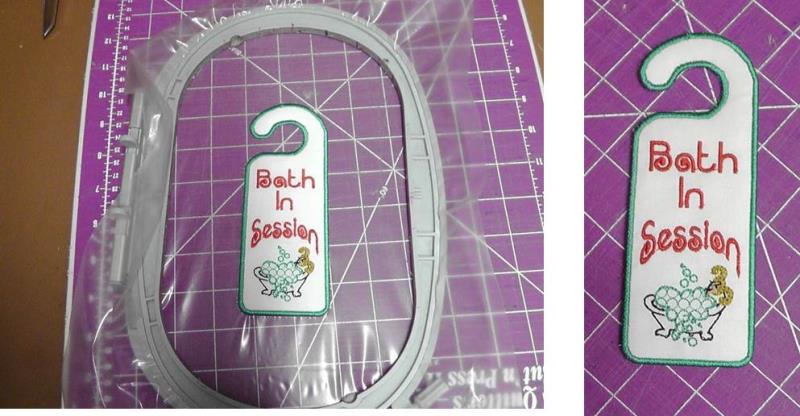
The door hanger will be stitched next. Hoop one piece of heavy water soluble stabilizer.
(Click Image to Enlarge)
Step 15:
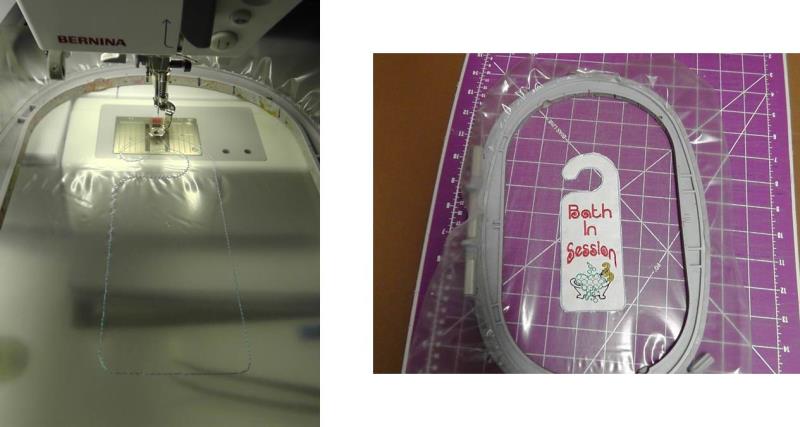
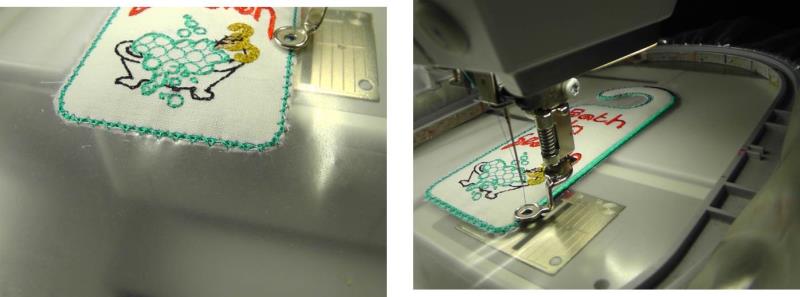
Load the “Bath in Session” design in the machine. Stitch the first color which is the placement line for the white fabric. Place down one piece of the white fabric and continue stitching following the color sequence until all but the last three colors have stitched. Remove the hoop from the machine but do not un-hoop the design.
(Click Image to Enlarge)
Step 16:
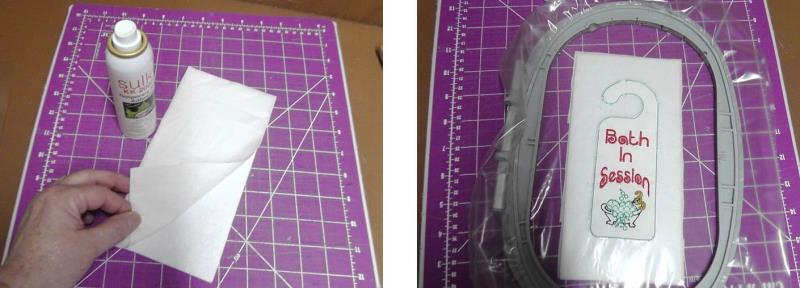
Spray the wrong side of the second piece of white fabric with temporary spray adhesive and place it over the heavy craft stabilizer. Flip the piece over so the fabric is now lying on the board. Spray the remaining side of the heavy craft stabilizer with the temporary spray adhesive. Place the wrong side of the stitched design in the hoop over the heavy craft stabilizer, centering the stitched design over the craft stabilizer as shown.
(Click Image to Enlarge)
Step 17:
Place the hoop back on the machine (make sure the heavy craft stabilizer and white fabric on the back remain undisturbed). Stitch the next color which will tack the heavy craft stabilizer and fabric to the back of the door hanger. Remove the hoop from the machine and trim the fabric and heavy craft stabilizer close to the stitching.
(Click Image to Enlarge)
Step 18:
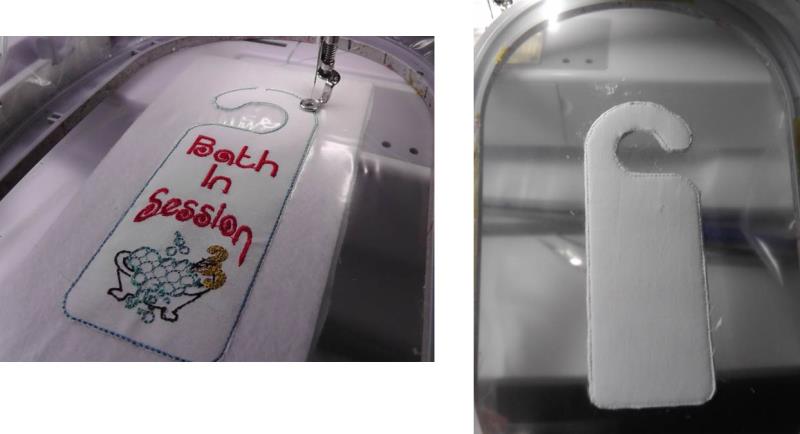
Place the hoop back on the machine and continue stitching the remaining colors.
(Click Image to Enlarge)
Step 19:
Remove the completed design from the machine and remove the project from the hoop. Remove the excess stabilizer from around the project.
(Click Image to Enlarge)
Step 20:
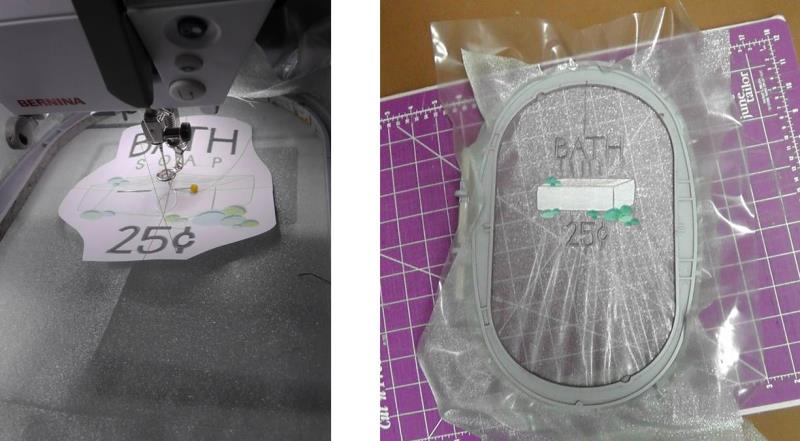
The last item to complete is the potpourri bag which can be used to hold bath beads, sachet, bath bars, or other items. Cut the fabric and find the lengthwise center of the organza. Cut out around the paper template. Fold the fabric in half, meeting the top cut edges, and determine the placement of the design on the bag (keep in mind the ½” hem that needs to be created at the top of the bag). Hoop the front of the bag with one layer of heavy water soluble stabilizer. Load the design “Bath Soap” in the machine.
(Click Image to Enlarge)
Step 21:
Align the needle to the center of the template. Stitch the design following the color sequence.
(Click Image to Enlarge)
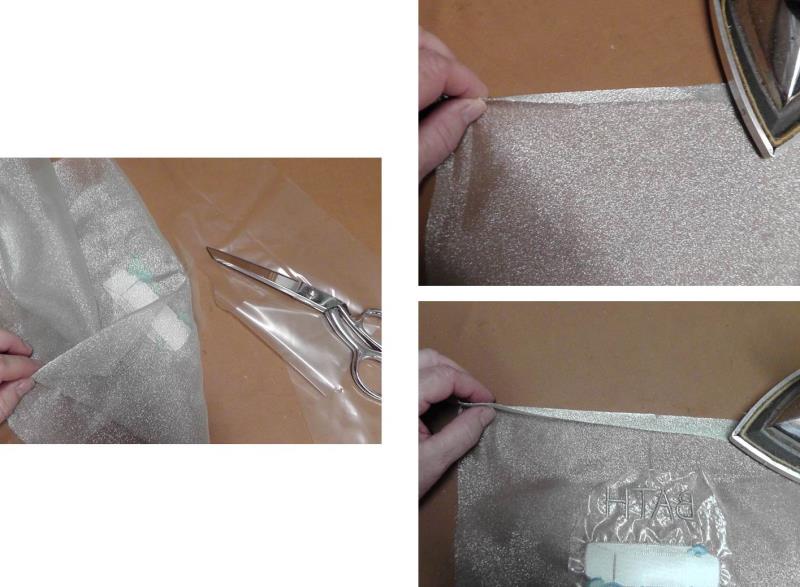
Step 22:
Remove the project from the hoop. Trim away the excess stabilizer. Along the top cut edges, fold back ¼” and press and then fold back another ½” and press. This will create the casing for the ribbon.
(Click Image to Enlarge)
Step 23:
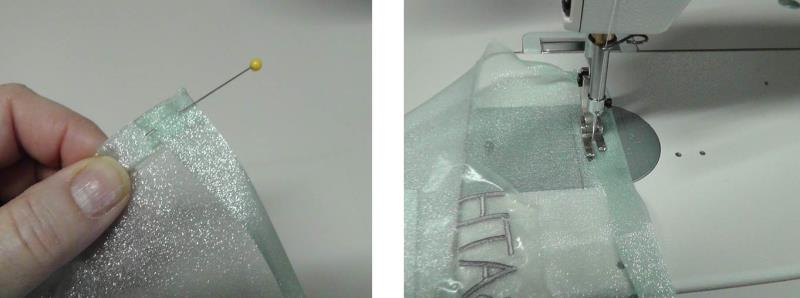
Open up the ½” pressed section and along each end, double fold ¼”, then fold down the ½” again and pin in place. Repeat for the remaining side. Stitch through all layers along the bottom fold of the casing. Repeat for the back top edge.
(Click Image to Enlarge)
Step 24:
With right sides together, fold the bag in half meeting the top casing edges. Sew each side seam using a ½” seam allowance. Toward the top the sides will fold back. Stitching to the folded edges and then stitch to where the seam allowance meets the edges that fold back as shown; back stitch. Repeat for the other side seam.
(Click Image to Enlarge)
Step 25:
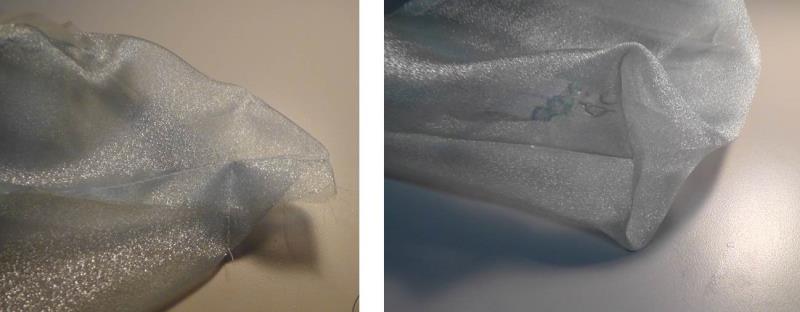
Box each bottom corner by matching the side seam to the bottom crease and sewing across the corner about 1” in depth. Repeat for the other side. Trim the seam to ¼”. Turn the bag right side out.
(Click Image to Enlarge)
Step 26:
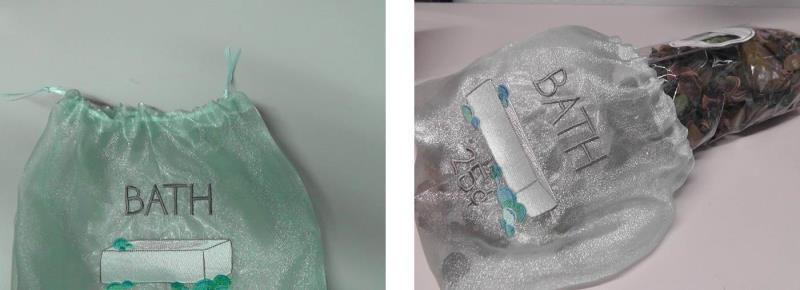
Cut the ribbon in half so there are two 18” lengths. Begin at one side seam of the casing and feed the ribbon all the way around through the casing back to the beginning. Meet the cut edges of the ribbon and tie the ends together. Feed the second length of ribbon through the casing in the same manner beginning on the opposite side; tie the ends. Place the potpourri in the bag and tie the ribbons together at the top of the bag, forming a bow.
(Click Image to Enlarge)
Step 27:
Scrunch white tissue in the bottom of the basket. Artfully arrange the project pieces in the basket and add the silk flower. To give as a gift, wrap the entire basket in gift shrink wrap and add a bow for a beautiful presentation.
Ramona Baird has been in the embroidery industry for over 23 years. She and her husband owned a commercial and retail embroidery store in Arizona for many years. She is an experienced digitizer having been mentored by award-winners Pat Williams and Lindee Goodall. Ramona is a contributor to “Creative Machine Embroidery” magazine having 5 covers to her credit. Ramona has worked for Wilcom America and served many years as Education Director for the American Sewing Guild. With a degree in fashion design, she is able to design and execute patterns which Pat Williams says are “out of the box” in creativity and application. Ramona likes to challenge the boundaries of embroidery and bring new and exciting designs, ideas, and projects to EmbroideryDesigns.com. She wants embroiderers of all levels to increase their skills and enjoyment in using their embroidery machine for gift-making and personal pleasure.