Border OptionsHugging border, circle, square, or rectangle — with a 3mm satin stitch.
Backing OptionsAvailable with iron-on, sew-on, or velcro backing.
Fast ShippingShipped quickly from the USA.
Free Online Tools
Powerful embroidery utilities that save time and prevent costly mistakes.
Stitch AssistantRECOMMENDED
Get the exact stabilizer, machine settings, needle, and thread color sequence for every embroidery design you purchase — based on that design's stitch density, dimensions, and color count.
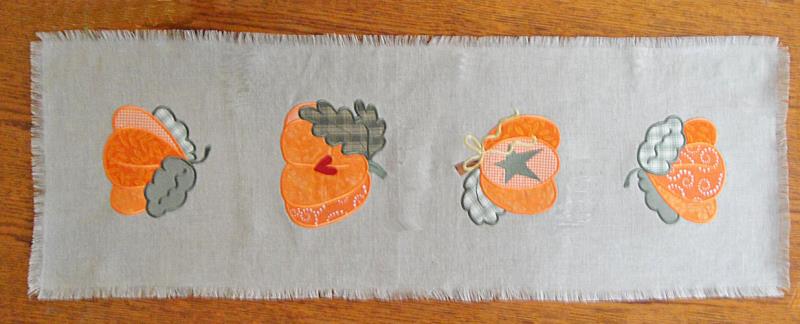
This table scarf was made for the center of a 60” x 35” table. If your table is larger you may increase the length of the scarf by repeating additional pumpkins. Cut your linen fabric 8” longer for each additional pumpkin desired. The pumpkin pieces in the sample were cut with the Scan N Cut®, so the tack down lines in the designs are not really necessary for those appliques, but are included in the designs so that you can also use the stitch and trim method if you do not have an electronic cutter and do not wish to precut the appliques.
PDF files are included for manually precutting appliques, SVG and FCM files are included for precutting appliques with the Scan N Cut® or other electronic cutters.
Step 1:
(Click Image to Enlarge)
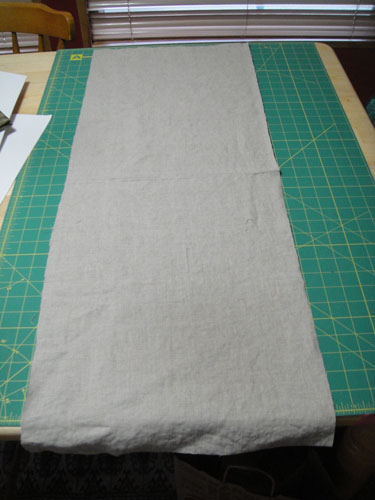
Linen will shrink so prewash your linen and press with Magic Sizing® or spray starch to restore body to the fabric. Cut your linen 14” by 38” keeping on the grain lines as close possible.
Step 2:
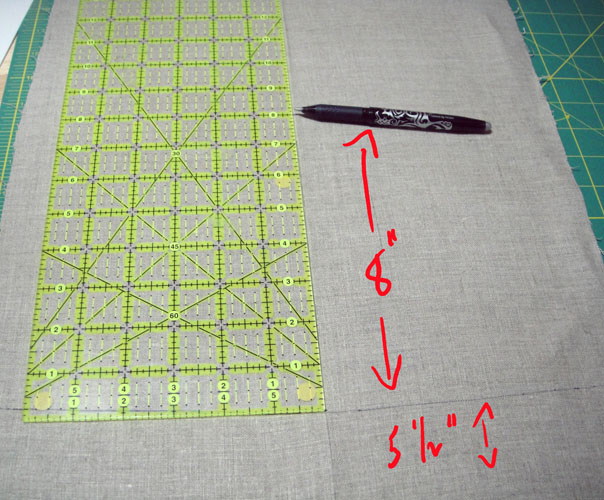
Fold your linen in half lengthwise and mark a line down the center of the scarf with a Frixion or other removable fabric pen; measure up 5.5” from the bottom edge and draw a horizontal line across the bottom of the scarf; measure up 8” from the 1st horizontal line and draw a horizontal line across the scarf; draw 2 more horizontal lines each 8” up from the previous line.
(Click Image to Enlarge)
Step 3:
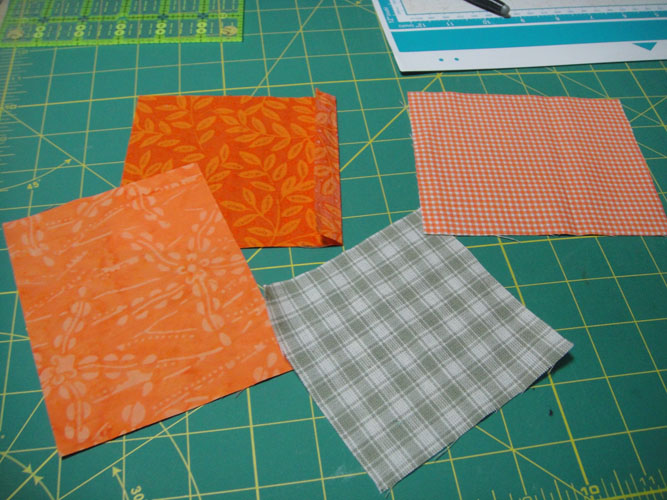
For the 1st pumpkin cut a 4” x 4” sq of your leaf print; a 5” by 4” rectangle of three different orange prints for the sides and front of the pumpkin.
(Click Image to Enlarge)
Step 4:
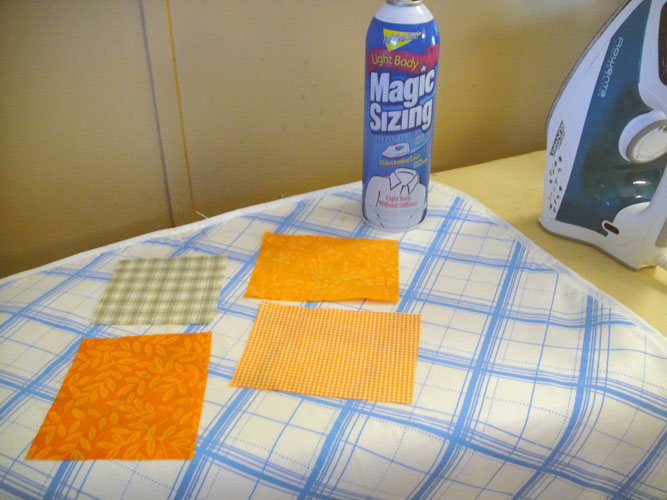
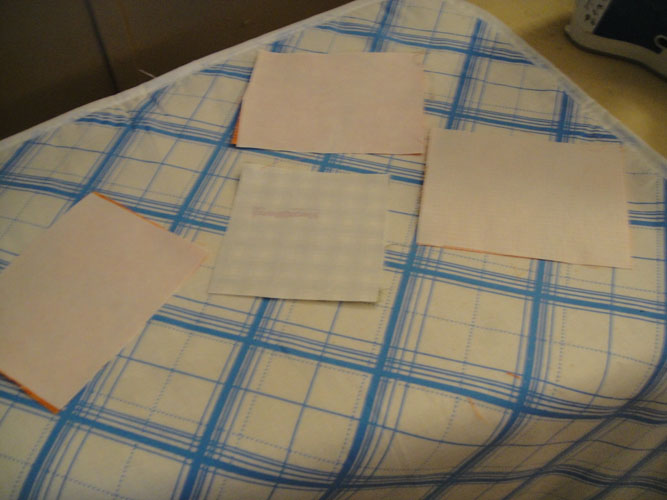
Spray each piece of fabric three to four times with magic sizing and press. This will prevent fraying of the applique pieces.
(Click Image to Enlarge)
Step 5:
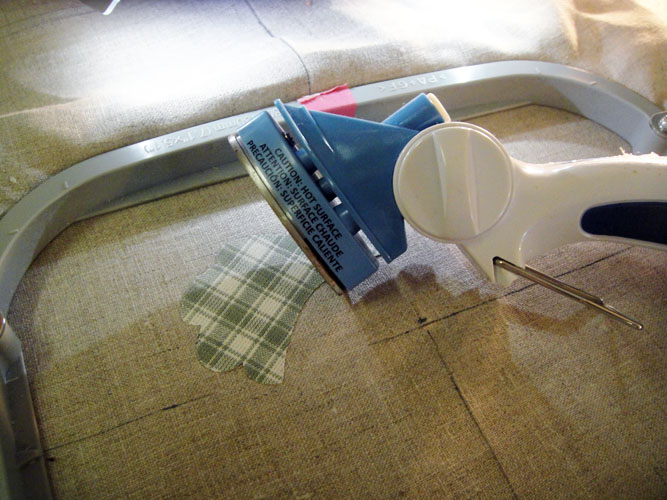
Apply Heat N Bond Lite® to the back of each applique piece following the manufacturer’s instructions.
(Click Image to Enlarge)
Step 6:
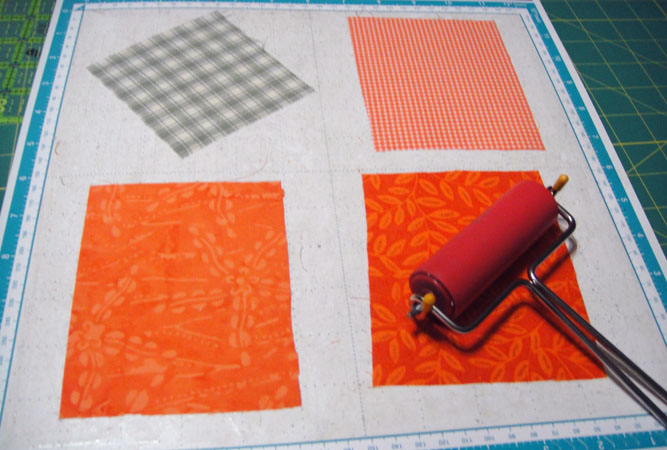
For Scan N Cut users – remove the paper from the back of the fabrics and apply to your cutting mat fabric side up and roll with a brayer. Load the fcm file into your Scan N Cut and arrange the applique outlines over the appropriate fabrics; cut settings used for the sample were: Cut speed 4; pressure 4 and blade 4; your settings may vary depending upon the age of your blade.
To manually precut your applique pieces you may print the PDF file; place the appropriate pieces of the applique patterns to the front of the fabrics and cut on the outside line of the pattern pieces.
Or use the stitch and trim method following the instructions in our article on Stitch and Trim Applique.
Note all applique pieces in the pdf file and in the electronic cutter files have been slightly enlarged to ensure a perfect fit – you do not need to enlarge the patterns in the cut files.
(Click Image to Enlarge)
Step 7:
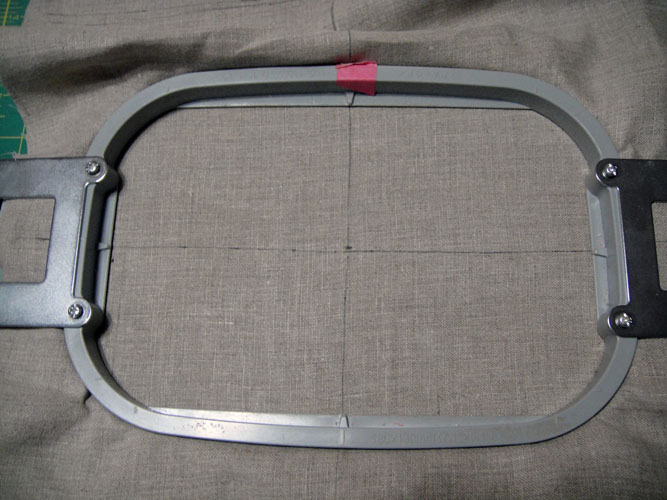
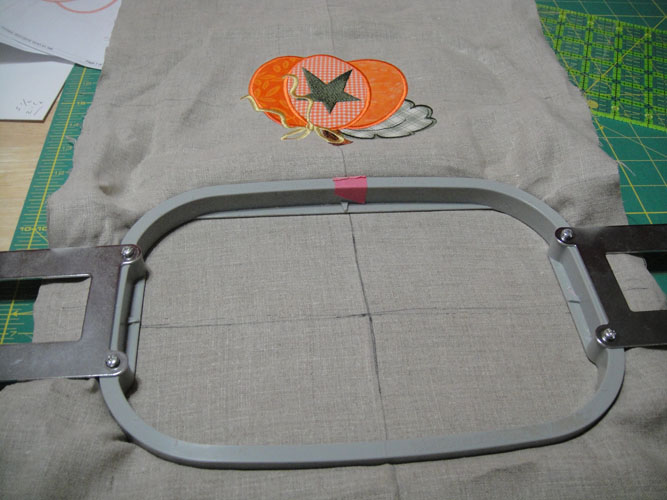
Tautly hoop the linen with tear away stabilizer on the second horizontal line from the bottom of the table scarf; align both the horizontal and vertically marked lines with the guides on your hoop.
(Click Image to Enlarge)
Step 8:
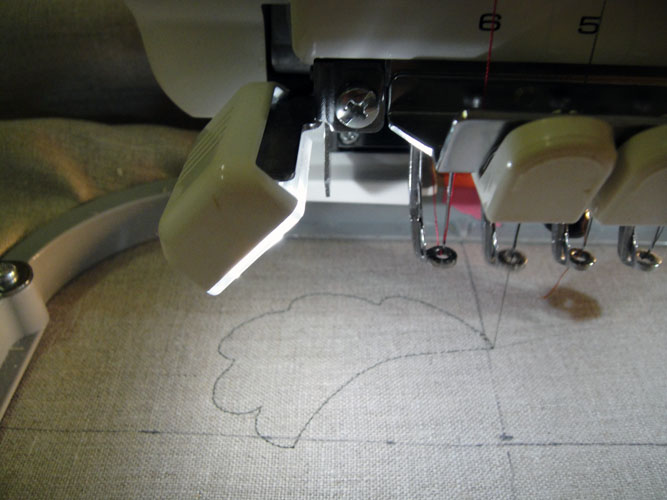
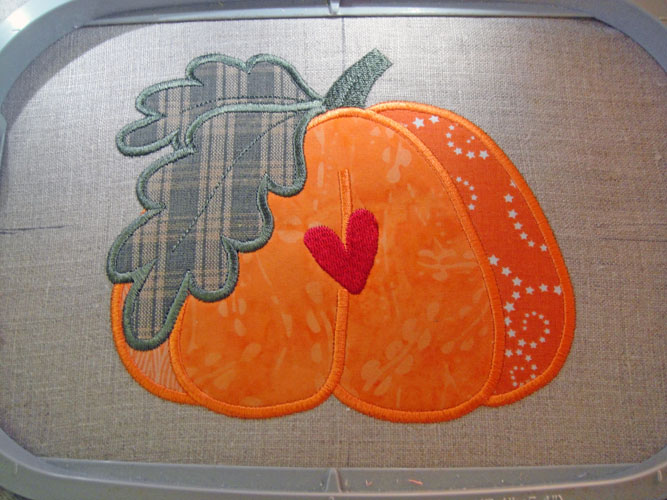
Load design PUMA01 into your embroidery machine, with Dark Olive (1194) stitch the first CS (color stop) for an outline of the leaf.
(Click Image to Enlarge)
Step 9:
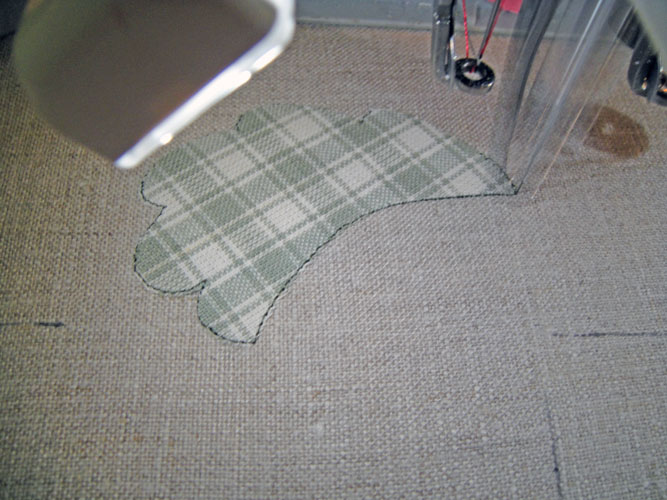
If using precut appliques carefully place the leaf applique and use into place. If using the stitch and trim method, spray a little adhesive spray on the leaf applique and place over the outlines.
(Click Image to Enlarge)
Step 10:
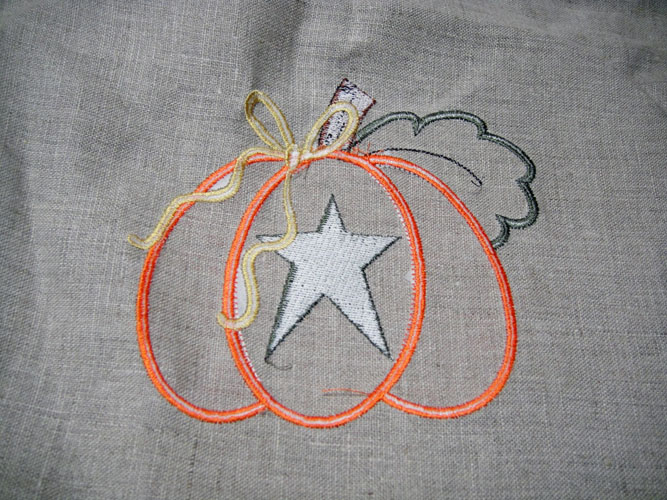
CS2 is tack down stitches for the applique; they are not needed for the precut appliques but run them anyway as they will let you know that your applique is placed properly.
For Stitch and Trim users; stitch these tack down stitches; remove the hoop from the machine; do not unhoop; trim the fabric right up next to the tack down stitches.
(Click Image to Enlarge)
Step 11:
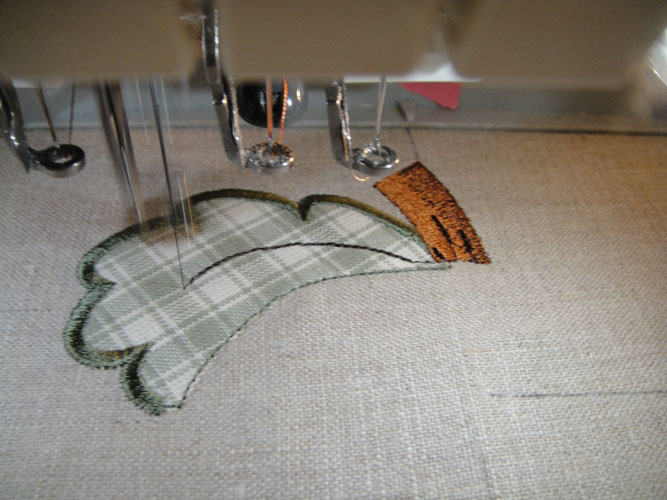
CS3 in Dark Olive (1194) will stitch the border on the leaf; CS4 in Grizzly Bear (1258) and CS5 in Dark Chocolate (1059) will stitch the stem and leaf detail.
(Click Image to Enlarge)
Step 12:
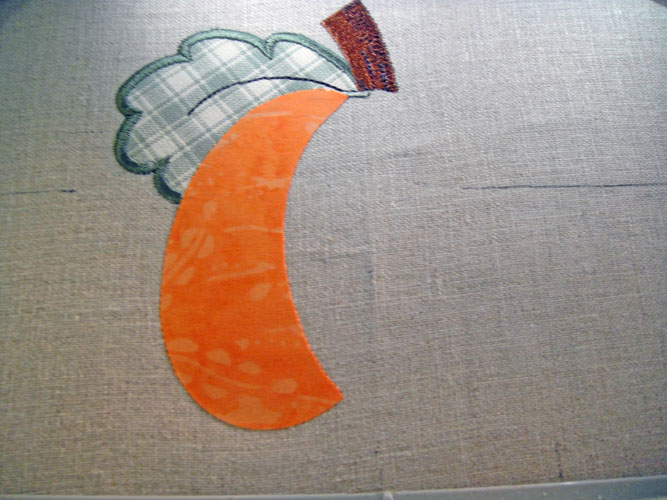
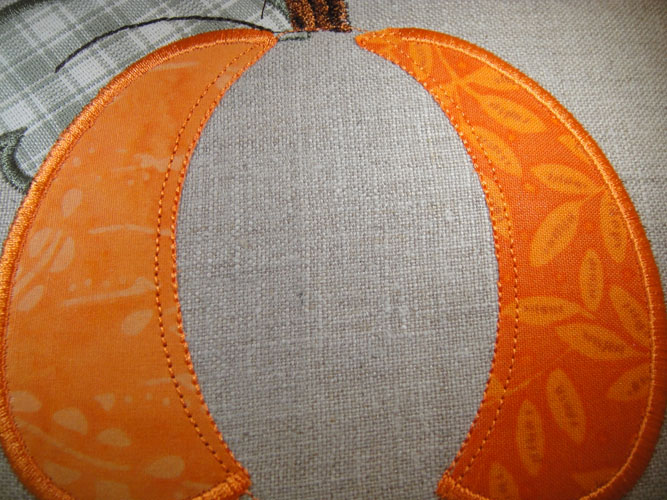
Load Carrot (1178) to stitch the next 8 color stops in the design. CS6 will place an outline for the left side of the pumpkin; place and fuse the precut applique or spray adhesive and place the fabric over the outlines if using the stitch and trim method; CS7 is the tack down for this pumpkin piece; if using stitch n trim method trim the applique after the tack down stitches as before.
(Click Image to Enlarge)
Step 13:
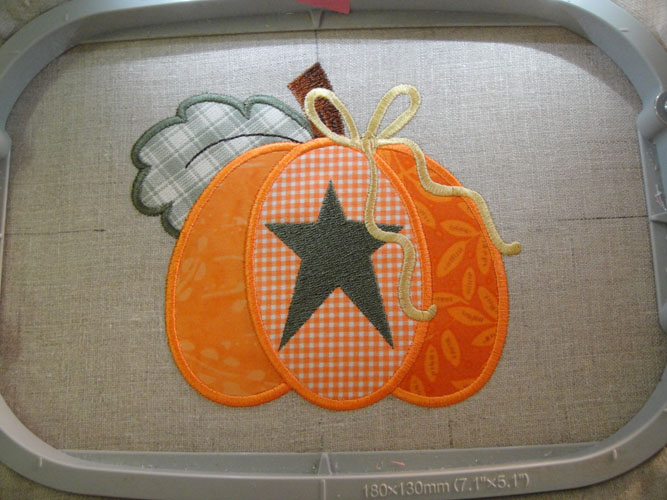
Continue with Carrot (1178) through CS11 to place the applique for the second side; border the side pieces and stitch the outline for the center of the pumpkin using the same techniques.
(Click Image to Enlarge)
Step 14:
CS12 and CS13 will complete the center pumpkin applique; CS14 in Dark Olive (1194) will stitch the star; CS15 in Vegas Gold (1070) will stitch the ribbon.
(Click Image to Enlarge)
Step 15:
Remove your scarf from the hoop. Gently remove as much tear away stabilizer as reasonably possible – the small pieces will come out when the scarf is washed.
(Click Image to Enlarge)
Step 16:
To have the pumpkins facing in the opposite directions turn your scarf around and hoop the marked lines on the second vertical and horizontal lines with tear away stabilizer.
(Click Image to Enlarge)
Step 17:
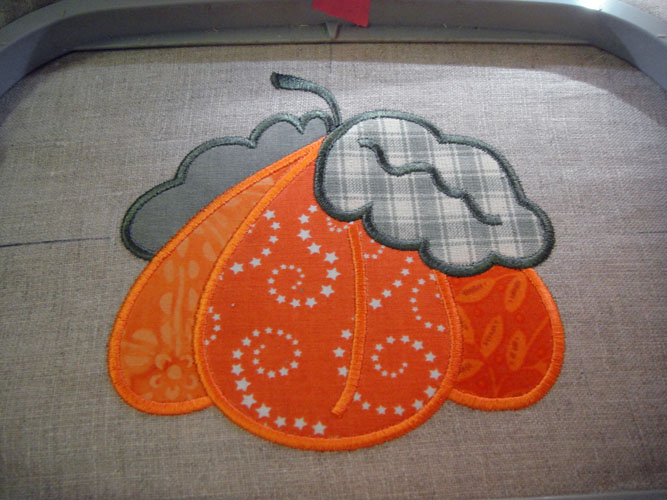
Cut fabrics for the PUMA02 pumpkin as follows; a 4” x 6” rectangle of the leaf fabric; two 5” x 4” pieces of the same or different fabrics for the pumpkin sides a 5” x 5” square of fabric for the pumpkin center. Prepare all fabric appliques as outlined in Steps 4 through 6 above. Following the color chart stitch the outlines and place the appliques using the same techniques used for the 1st pumpkin applique.
(Click Image to Enlarge)
Step 18:
PUMA03 is used at both ends of the scarf. Cut fabrics for each end as follows: cut a 5” x 4” orange fabric for the left side of the pumpkin; cut a 3” x 3” square for the right side; cut a 5” x 4” rectangle for the center; cut two 4” x 3” rectangles of leaf fabrics. Following the color chart stitch the outlines and place the appliques using the same techniques used for the 1st pumpkin applique.
(Click Image to Enlarge)
Step 19:
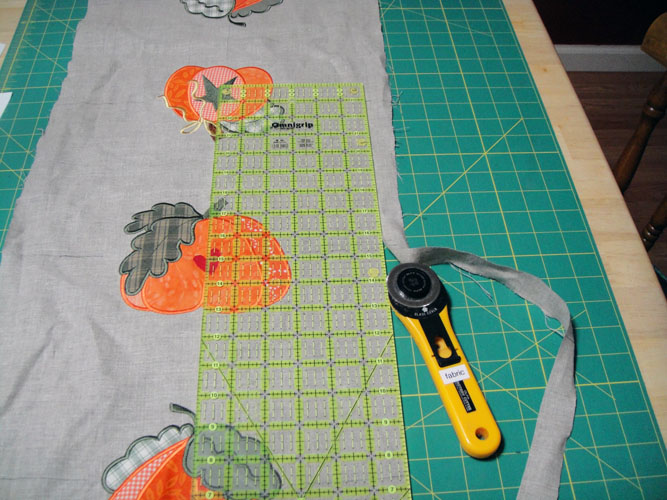
Trim 1” off both the long sides of the scarf; make minor trim on the short edges to square up the table scarf.
(Click Image to Enlarge)
Step 20:
At your sewing machine stitch all around the scarf ½” from the edges, pivoting at the corners with a 1.5mm stitch length in a thread that matches the scarf.
Step 21:
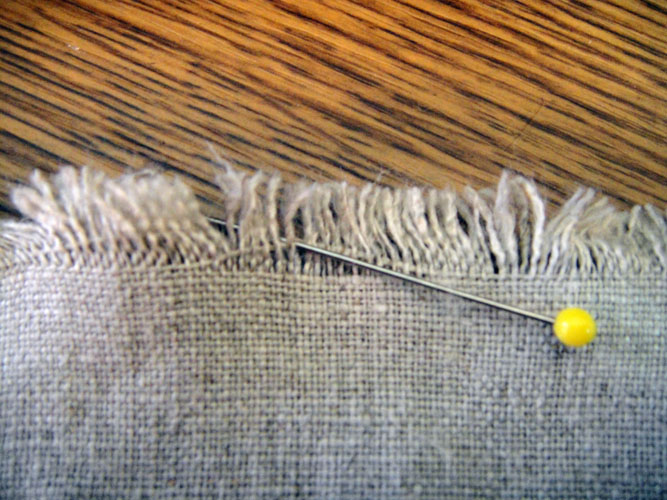
Create the fringe by using a straight pin to lift the outside strands of linen fiber from the edges of the scarf. Remove one strand of fiber at a time up to your stitched line then move to the next section of the scarf.
(Click Image to Enlarge)
Step 22:
Congratulations your Prim Pumpkin Table Scarf is complete!
Award winning Digitizer, Embroidery Educator, Author and a Consultant to the Industry, Pat Williams has 30 years of experience in the embroidery industry. Pat has won multiple awards for her digitizing expertise including the 2007 Impressions Awards Grand Championship, Best of Show as well as the 1st and 2nd Place Awards. Pat’s love of digitizing has afforded her the opportunity to write numerous articles for Impressions magazine in the United States and Images Magazine in Europe. In 2001 Pat was named “Embroidery Educator of the Year.” For many years Pat taught digitizing seminars at the ISS Shows in Long Beach, CA and for Compucon software. She now resides in Tucson, AZ.