















































PROJECT INSTRUCTIONS


PROJECT INSTRUCTIONS
Redwork Baseball Quilt Embroidery Project
By
Barbara Geer
on
September 29, 2015
Description
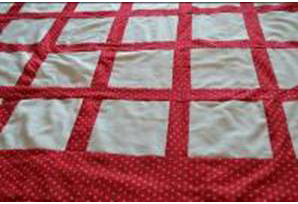
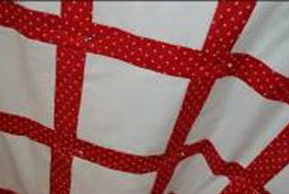
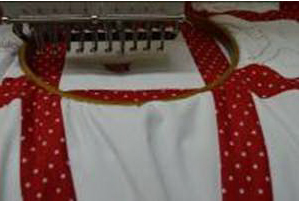
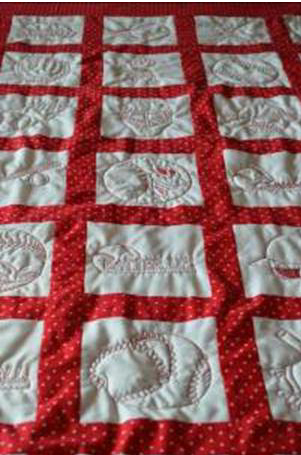
Create a charming quilt featuring Redwork baseball designs. This quilt showcases intricate stitching, making it a wonderful addition to any sports-themed room. Step-by-step instructions are included.
Step
of
Materials
Project Preview Video

Baseball Outline
$4.24
$0.99
Circle Price: $0.99
Tear Away Stabilizer
$7.98
Circle Price: $7.18

| Materials Supplies Required: 2 1/2 yards of 44" white fabric 3 yards of 44" fabric for trim and back. This can be the same fabric, or the trim and back can contrast. 2 yards of quilt batting. Materials Needed Embroidery Designs from Redwork Baseball Quilt Package RED1014-RED1105 (There are three sizes. Choose desired size.) Fabric Listed Above Red Embroidery Thread Embroidery machine Sewing Machine Sewing Thread to match trim Cutting Mat, Rotary Cutter, Scissors, Iron |
| Designs used in this project |
|
Projects You May Like
Meet the Author:
Barbara Geer

Barbara Geer, Creative Director/Digitizer, Grand Slam Designs, an embroidery stock design and contract digitizing operation, has been in the decorated apparel industry since 1990. She is a popular speaker at commercial decorated apparel and home embroidery events. She also is a frequent contributor to commercial and home embroidery publications such as EMB, Stitches, and Printwear. You may reach Barbara at 218-222-3501; e-mail [email protected] or visit her Web site at www.grandslamdesigns.com.
Feedback
Characters Remaining
Please Login to Submit a Feedback
Invalid Characters, Please enter a valid Comment
Please enter a valid Comment
Reviewed On
Link is Broken, Please check the URL