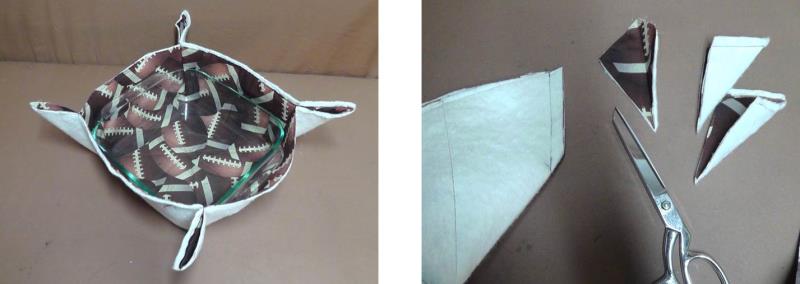
The project was done using an 8” x 8” glass baking pan. The instructions will be general to allow you to adjust the fabric requirements and instructions to use the size pan you wish. Though this project is football themed, this project could be done using any type of design to fit a special occasion or snack time. Simply prepare the snack or dip in the oven or microwave and place the warmed pan inside the warming basket to help keep the food warm.
Please note that this project is NOT intended to be used as a warmer in the microwave oven. Polyester and rayon embroidery thread are not microwave safe. The embroidery thread will tolerate a warm dish, but not a piping hot dish.
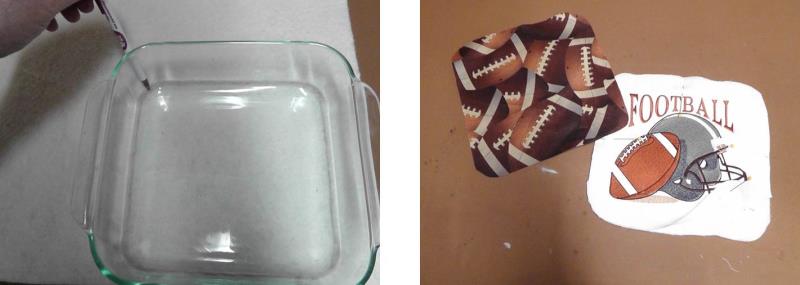
Step 1:
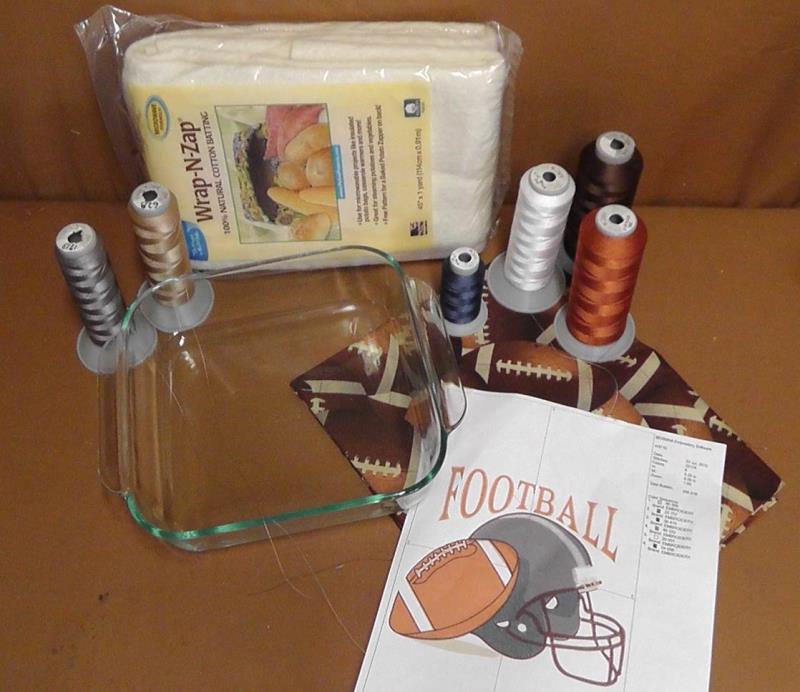
Gather the materials and read through the directions before beginning. Be sure to use a cotton batting and cotton fabrics for this project. For the sample, an 8” x 8” baking dish was used. Adjust the fabric requirements and instructions to fit the dish you wish to use. Print out a paper template of the embroidery design. For the project, embroidery thread was used for all the decorative stitching.
(Click Image to Enlarge)
Step 2:
Cut out around the design on the paper template. Make sure it will fit within the area of the bottom of the dish. Next flip the dish over and measure the width and height of the dish from side to side. Take this measurement loosely. Add generous seam allowances. As this project is being sewn with the batting, room is taken up in the process. Any excess fabric can be trimmed away later if it is not needed.
(Click Image to Enlarge)
Step 3:
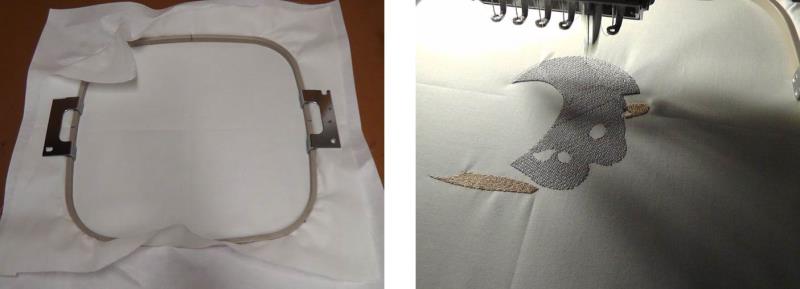
Hoop the white fabric with a piece of cutaway stabilizer. Load the “Football” design on the machine and stitch the design.
(Click Image to Enlarge)
Step 4:
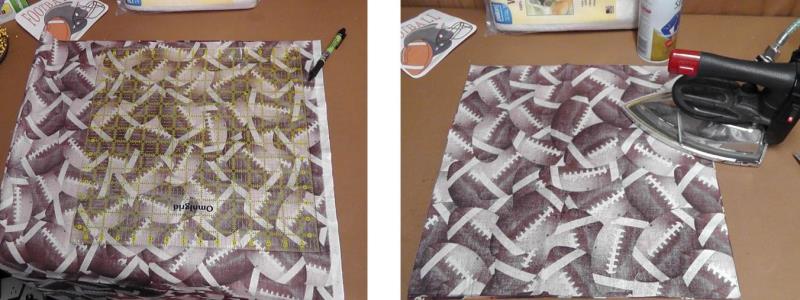
While the embroidery design is stitching the basket can be prepared and sewn. Use the measurements from the dish to mark and cut two pieces of the football themed fabric. For the 8” x 8” dish, two pieces were cut 15” square. Press the fabric well. Choose one piece of fabric for the lining and set it aside until it is needed. Continue with the other piece.
(Click Image to Enlarge)
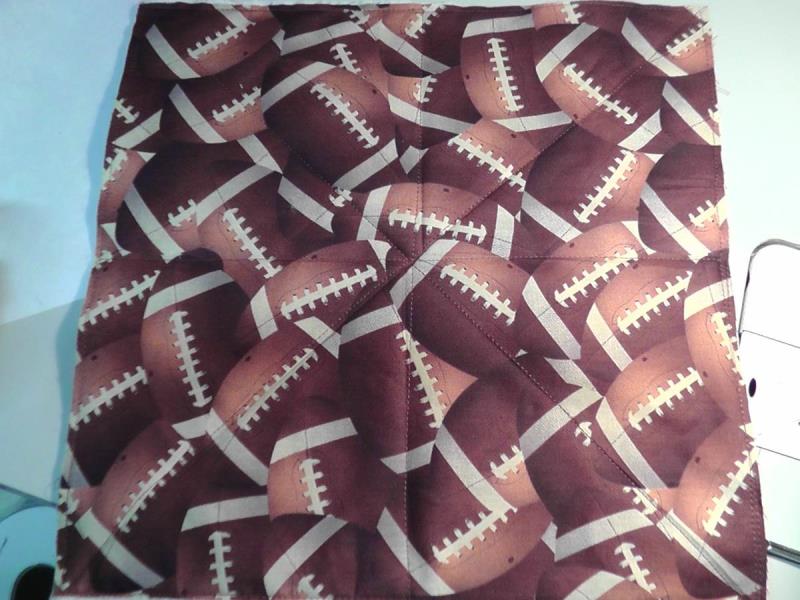
Step 5:
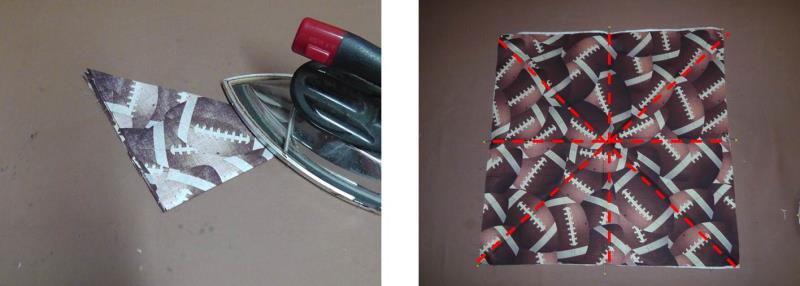
Cut one layer of cotton batting the size of the fabric (15” for the project). To create stitching guide lines, fold one piece of the fabric matching corners and press in a crease.
(Click Image to Enlarge)
Step 6:
Repeat two more times until lines go from corner to corner as well as from side to side as indicated by the red lines. Place the piece of batting behind this pressed fabric and pin them together along the edges.
(Click Image to Enlarge)
Step 7:
Stitch the batting and fabric together along the pressed lines using a coordinating embroidery thread.
(Click Image to Enlarge)
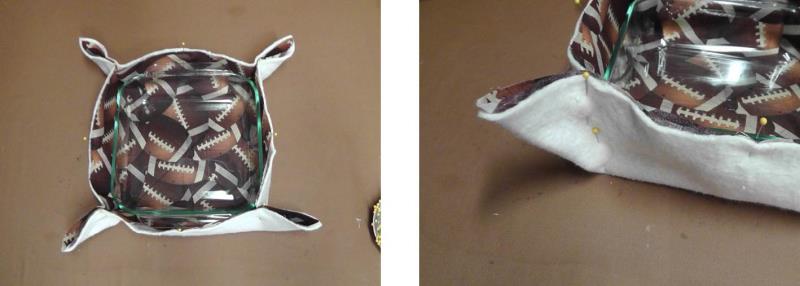
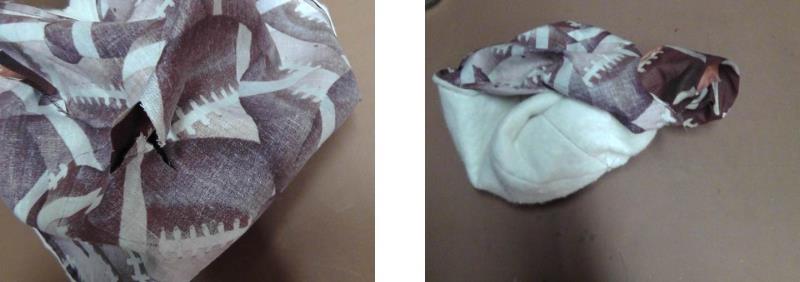
Step 8:
Place the baking dish in the center of the fabric. Bring the edges up around the corners of the baking dish loosely forming darts and pin in place. Be sure the fabric is loosely around the baking dish (the stitching and additional fabrics will take up room and if the fabric is too snuggly at this point in the process, in the end, the dish would not fit into the basket.)
(Click Image to Enlarge)
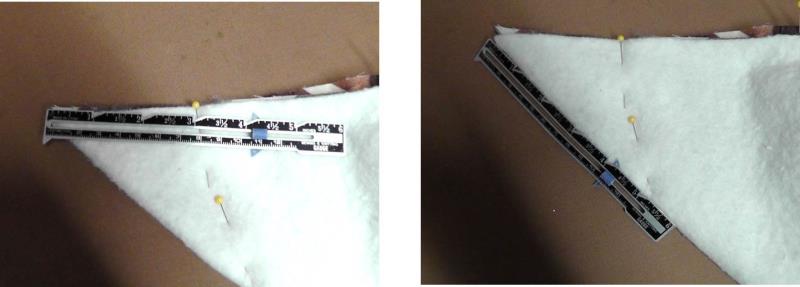
Step 9:
To make sure the darts are the same size, measure the width and length of each dart and take the “mean”.
(Click Image to Enlarge)
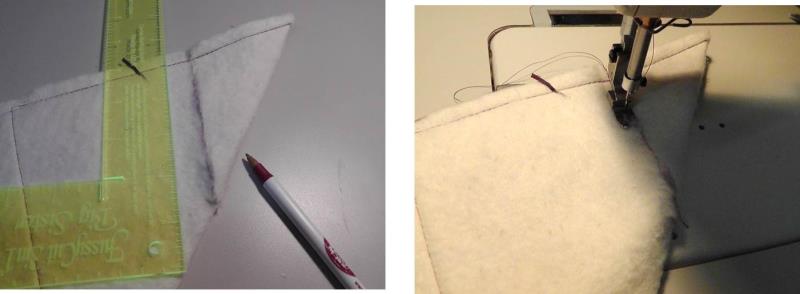
Step 10:
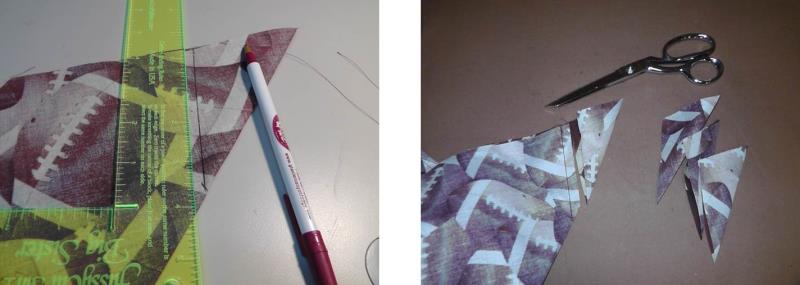
Use a ruler and pen to mark each dart with this new measurement. Sew each dart along the drawn line.
(Click Image to Enlarge)
Step 11:
Double check the fit of the dish again. Now is the time to make any adjustments if necessary. Remember, the fabric should be loose around the dish. Once the darts are correct, trim each dart to a ¼” seam allowance.
(Click Image to Enlarge)
Step 12:
Repeat the same measurements marking darts in the second (lining) piece of fabric, sewing and trimming as before.
(Click Image to Enlarge)
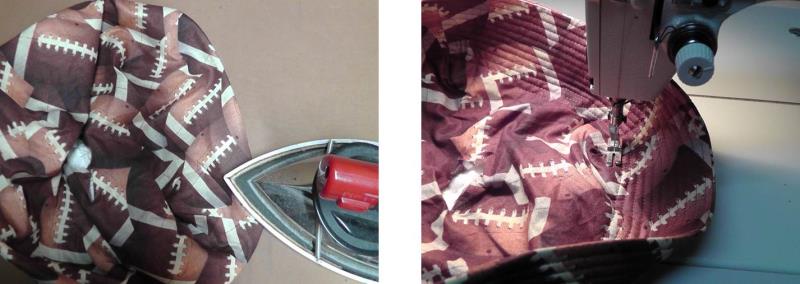
Step 13:
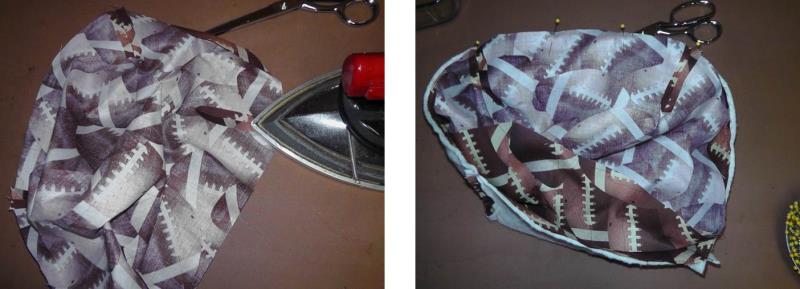
Press the seams of all darts open. Now it is time to assemble the basket. Pin the lining to the basket, having the rights sides of the fabrics together, meeting top cut edges, and matching the darts of the lining piece to the darts of the quilted piece.
(Click Image to Enlarge)
Step 14:
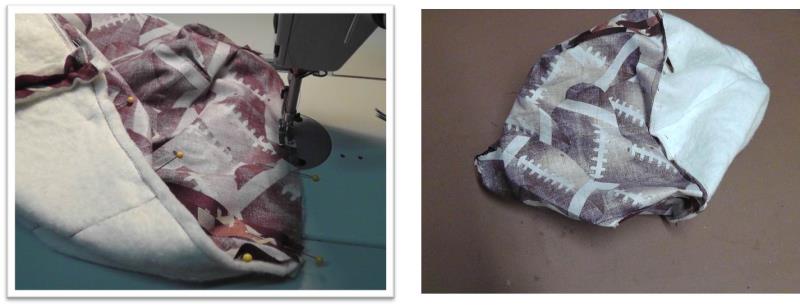
Sew along the top cut edge through all layers using a ¼” seam. Now it is time to make an opening for turning. Separate the lining from the quilted fabric.
(Click Image to Enlarge)
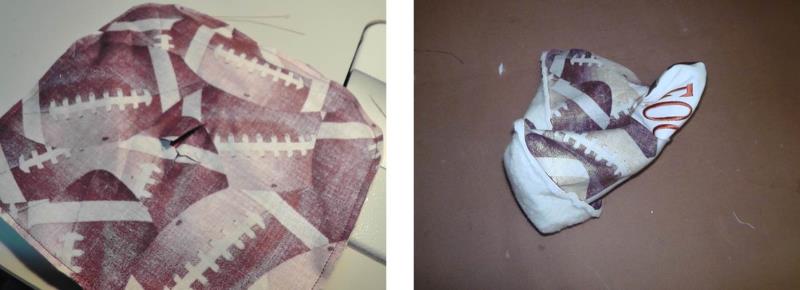
Step 15:
At the center point of the lining, create a small “X” opening with scissors just large enough for turning the fabrics to the right side. This opening will be at the bottom of the basket and covered up by the embroidered piece as the project is finished.
(Click Image to Enlarge)
Step 16:
Smooth the seam and then press the top edge just sewn. Keep both layers of fabric smooth and together. Beginning at the top of the basket, create a series of concentric lines to quilt the sides of the basket. Keep the stitching about a presser foot width apart. Sew lines to within about ½” from the bottom of the darts.
(Click Image to Enlarge)
Step 17:
Remove the embroidery from the hoop when it has finished stitching and cut away the excess stabilizer. Place the baking dish on the cotton batting. Use a pen to draw around the base of the dish. Cut out the batting loosely away from the lines and then match up the lines and smooth and even them out while cutting out the batting. Using the batting as the template, cut out one piece of the football themed fabric and cut out the embroidered fabric, centering the template over the design.
(Click Image to Enlarge)
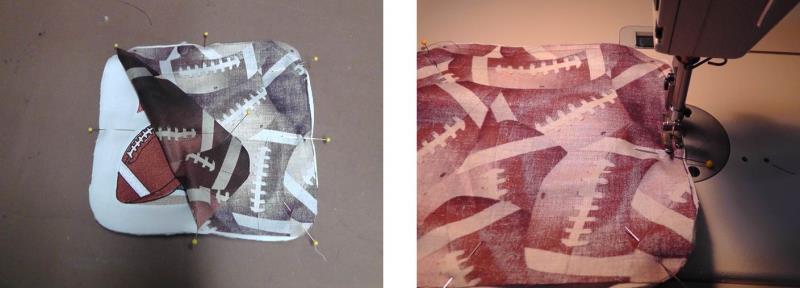
Step 18:
Place the batting behind the embroidered fabric and then place the football fabric right side over the embroidered fabric. Pin all the layers together and then sew around all the edges. Use a short stitch length (2.0mm) to create a smooth seam.
(Click Image to Enlarge)
Step 19:
Separate the lining from the embroidered fabric and cut an “X” in the middle for turning the fabric to the right side.
(Click Image to Enlarge)
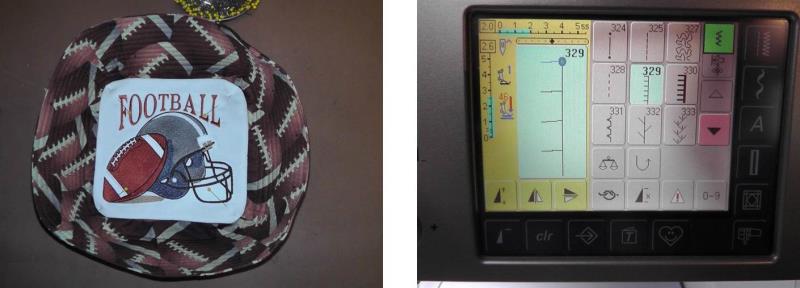
Step 20:
Smooth the edges well and press them. Center the embroidered fabric in the middle of the basket and pin in place. Chose a blanket (or other decorative stitch) on the sewing machine to sew the embroidered fabric in place. Match the thread to the fabrics.
(Click Image to Enlarge)
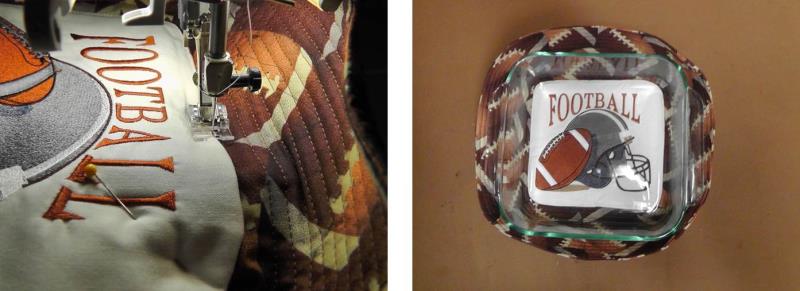
Step 21:
Carefully stitch the embroidered fabric to the basket bottom through all layers. Place the dish inside the basket.
(Click Image to Enlarge)
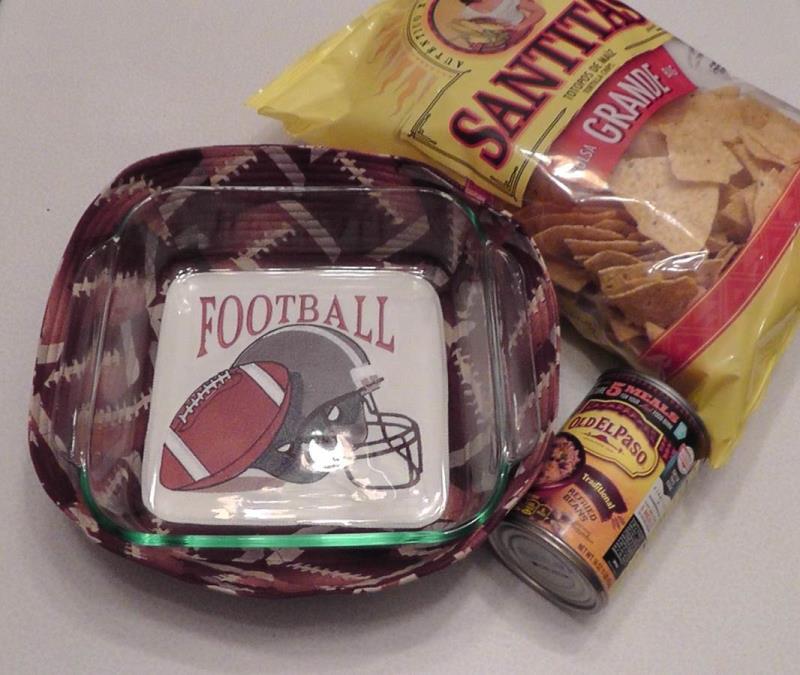
Step 22:
Prepare your favorite dips and chip or other snack and keep the snack warm with your new basket while you enjoy the big game.
Ramona Baird has been in the embroidery industry for over 23 years. She and her husband owned a commercial and retail embroidery store in Arizona for many years. She is an experienced digitizer having been mentored by award-winners Pat Williams and Lindee Goodall. Ramona is a contributor to “Creative Machine Embroidery” magazine having 5 covers to her credit. Ramona has worked for Wilcom America and served many years as Education Director for the American Sewing Guild. With a degree in fashion design, she is able to design and execute patterns which Pat Williams says are “out of the box” in creativity and application. Ramona likes to challenge the boundaries of embroidery and bring new and exciting designs, ideas, and projects to EmbroideryDesigns.com. She wants embroiderers of all levels to increase their skills and enjoyment in using their embroidery machine for gift-making and personal pleasure.